
1. Important Safety Information
Please read all instructions carefully before using the Royal 1830MX Cross-Cut Paper Shredder. Retain this manual for future reference.
- Keep hands, hair, and loose clothing away from the shredder's paper entry slot.
- Keep children and pets away from the shredder.
- Unplug the shredder when not in use or before cleaning.
- Do not shred metal objects, large paper clips, or continuous forms.
- Do not spray any flammable products onto the shredder or use near flammable liquids.
- Do not operate the shredder if the power cord is damaged.
- Empty the waste basket regularly to prevent jams and ensure proper operation.
2. Product Overview
The Royal 1830MX is a cross-cut paper shredder designed for home or office use. It features a robust motor capable of shredding up to 18 sheets of paper in a single pass, as well as credit cards, CDs, and DVDs. The shredder produces small cross-cut particles for enhanced security.
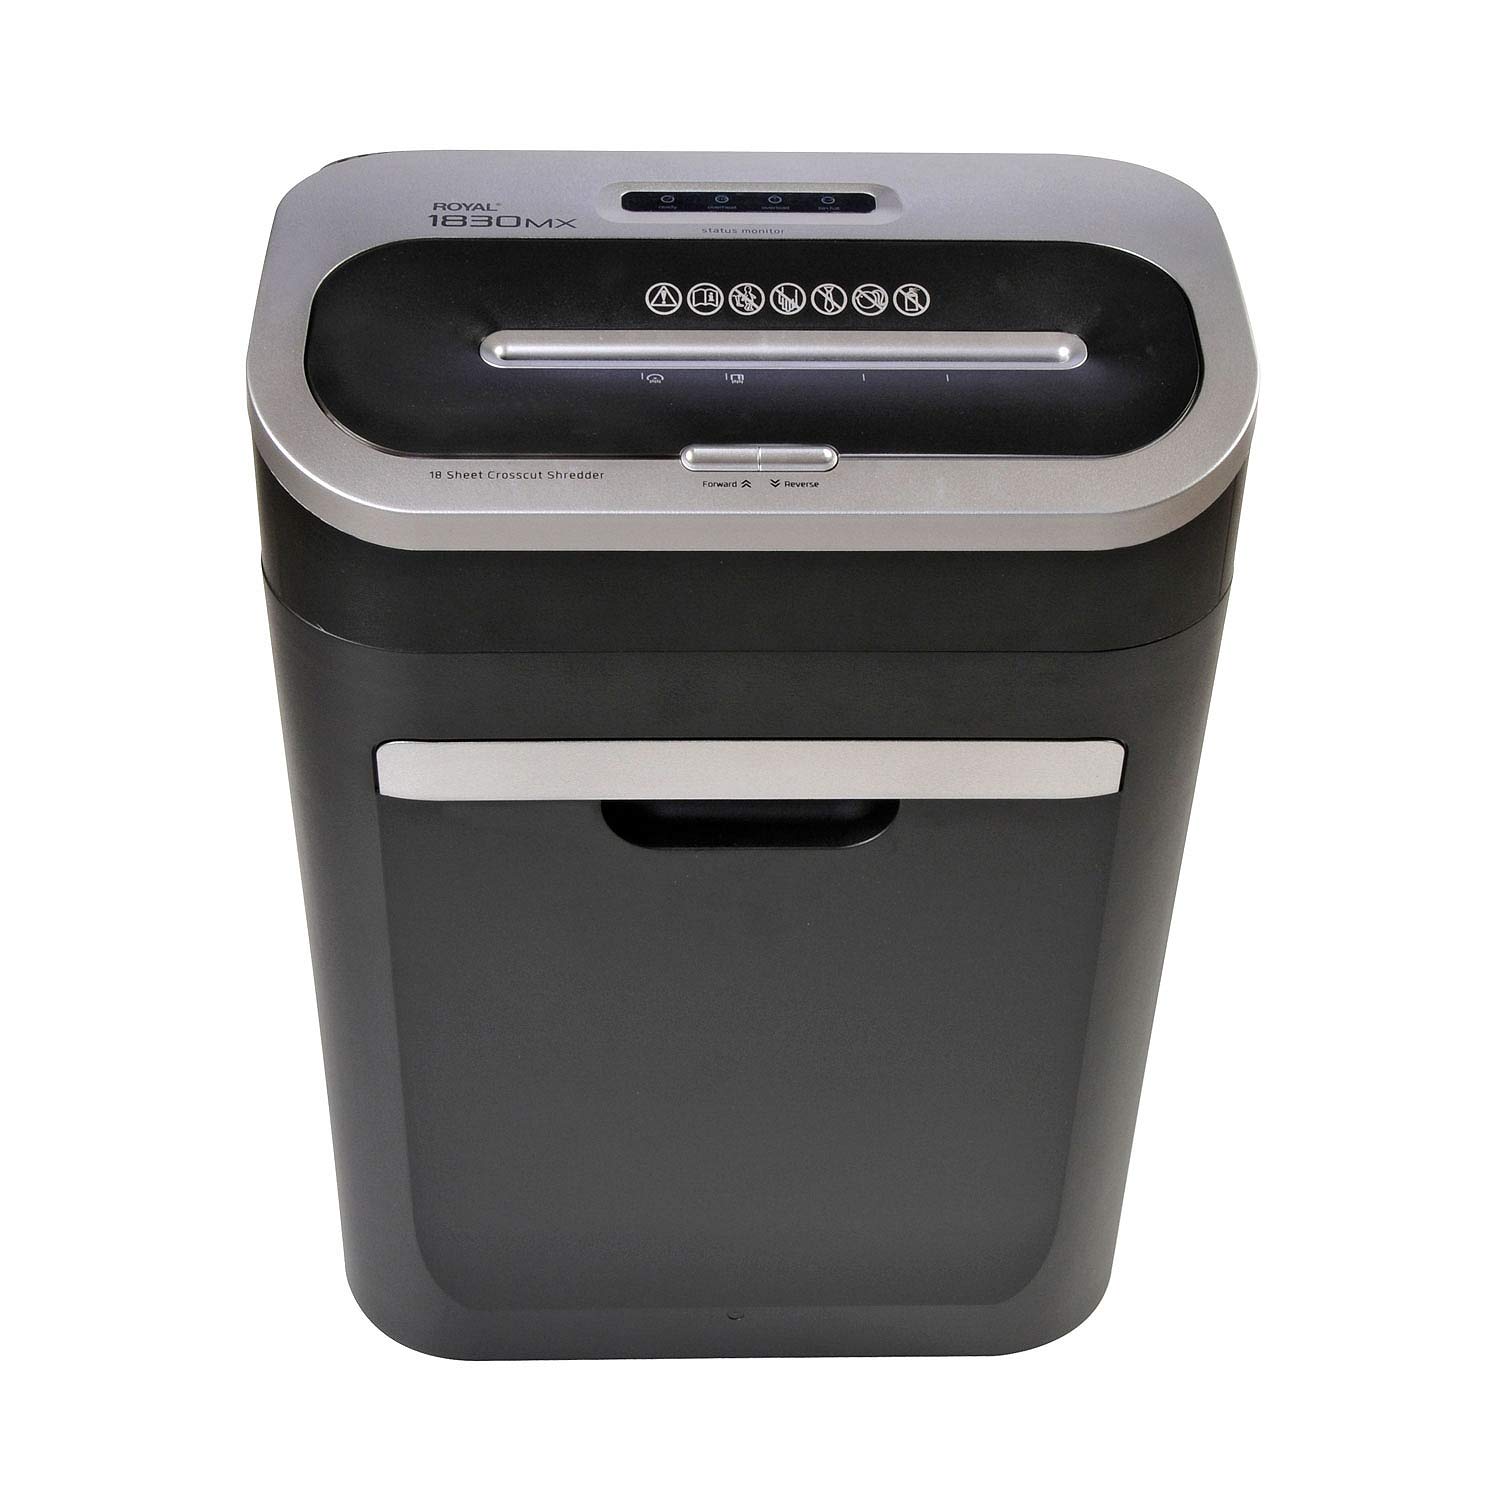
Figure 2.1: Front view of the Royal 1830MX Cross-Cut Paper Shredder, showing the paper entry slot and control panel.

Figure 2.2: Angled view of the Royal 1830MX shredder, highlighting its compact design and pull-out waste basket.
Key Features:
- Shred Type: Cross-cut (5/32" x 1 5/8" particles)
- Sheet Capacity: Up to 18 sheets (20 lb bond paper)
- Shreds: Paper, credit cards, CDs, DVDs, staples
- Waste Basket Capacity: 7.5 gallons, pull-out design with viewing window
- Functions: Auto start/stop, reverse
- Mobility: Casters for easy movement
3. Setup
- Unpack: Carefully remove the shredder from its packaging. Ensure all packing materials are removed from the shredder head and waste basket.
- Position: Place the shredder on a flat, stable surface. Ensure there is adequate space around the unit for ventilation and access to the waste basket.
- Connect Power: Plug the power cord into a standard 120V AC outlet.
- Waste Basket: Ensure the 7.5-gallon pull-out waste basket is correctly inserted and fully closed. The shredder will not operate if the basket is not properly seated.
4. Operating Instructions
4.1 Control Panel
The control panel is located on top of the shredder head. It includes buttons for Forward, Reverse, and indicators for power and status.

Figure 4.1: Close-up of the Royal 1830MX control panel, showing the power, forward, and reverse buttons, along with status indicators.
4.2 Shredding Paper
- Ensure the shredder is plugged in and the waste basket is correctly inserted.
- The shredder is in "Auto" mode by default when powered on.
- Insert up to 18 sheets of paper (20 lb bond) straight into the paper entry slot. The shredder will automatically start and stop once the paper has passed through.
- For optimal performance and to prevent jams, avoid exceeding the maximum sheet capacity.

Figure 4.2: The Royal 1830MX actively shredding paper, demonstrating the paper entry slot in use.
4.3 Shredding Credit Cards, CDs, and DVDs
- Locate the dedicated slot for credit cards and optical media (CDs/DVDs) on the shredder head.
- Insert one credit card or optical disc at a time into the designated slot. The shredder will automatically engage and shred the item.
- The shredded particles for these items will fall into the main waste basket.
4.4 Reverse Function
In case of a paper jam, press the "Reverse" button on the control panel. This will reverse the shredder blades, helping to clear the jam. If the jam persists, unplug the shredder and carefully remove the paper manually.
5. Maintenance
5.1 Emptying the Waste Basket
The Royal 1830MX features a 7.5-gallon pull-out waste basket. When the basket is full, the shredder's "Bin Full" indicator light may illuminate, and the shredder will cease operation. To empty:
- Unplug the shredder from the power outlet.
- Pull out the waste basket from the front of the unit.
- Dispose of the shredded material.
- Slide the waste basket back into the unit until it clicks securely into place.
- Plug the shredder back in.
5.2 Oiling the Shredder Blades
Regular oiling of the shredder blades is recommended to maintain optimal performance and extend the life of your shredder. Oil the blades after every 30 minutes of continuous shredding or at least twice a month with shredder oil (not included).
- Apply a thin line of shredder oil across the paper entry slot.
- Run a few sheets of paper through the shredder to distribute the oil evenly.
- Alternatively, you can oil a sheet of paper and shred it.
6. Troubleshooting
| Problem | Possible Cause | Solution |
|---|---|---|
| Shredder does not turn on. |
|
|
| Paper jam. |
|
|
| "Bin Full" indicator lights up, but bin is not full. |
|
|
| Shredder is noisy or slow. |
|
|
7. Specifications
- Model: 1830MX
- Shred Type: Cross-Cut
- Shred Size: 5/32" x 1 5/8"
- Sheet Capacity: 18 sheets (20 lb bond paper)
- Waste Basket Capacity: 7.5 Gallons
- Shreds: Paper, Credit Cards, CDs, DVDs, Staples
- Functions: Auto Start/Stop, Reverse
- Item Weight: Approximately 34 pounds
- Power: 120V AC
- Color: Black or Silver
- Date First Available: March 25, 2018
8. Warranty and Support
For warranty information or technical support, please refer to the warranty card included with your product or contact Royal customer service. Keep your purchase receipt as proof of purchase.
Note: Specific warranty terms and contact details may vary. Please consult the official Royal website or your product documentation for the most current information.


