1. Introduction
Thank you for choosing the Rheem Portable Air Conditioner RPAI-12H1. This manual provides essential information for the safe and efficient operation, installation, and maintenance of your unit. Please read it thoroughly before use and retain it for future reference.
This portable air conditioner offers multiple functions including cooling, heating, fan operation, and dehumidification, providing comfort in various environments. It features a modern control panel, wireless remote control, and a self-diagnosis system for ease of use and maintenance.
2. Safety Information
Important Safety Instructions:
- Always connect the unit to a properly grounded electrical outlet.
- Do not operate the unit with a damaged power cord or plug.
- Ensure adequate ventilation around the unit. Do not block air inlets or outlets.
- Keep the unit away from heat sources, direct sunlight, and flammable materials.
- Do not insert objects into the air outlets.
- Unplug the unit before cleaning or performing any maintenance.
- This appliance is not intended for use by persons (including children) with reduced physical, sensory or mental capabilities, or lack of experience and knowledge, unless they have been given supervision or instruction concerning use of the appliance by a person responsible for their safety.
- The unit is equipped with wheels for easy movement; however, ensure it is stable on a flat surface during operation.
3. Product Overview
The Rheem RPAI-12H1 is a versatile portable air conditioner designed for convenience and performance. Key components include the main unit, exhaust hose, window kit, and remote control.

Figure 3.1: Front view of the Rheem Portable Air Conditioner RPAI-12H1. This image shows the sleek white design with the Rheem logo prominently displayed on the front panel.

Figure 3.2: Side view of the Rheem Portable Air Conditioner RPAI-12H1. This image illustrates the unit's profile, highlighting the air intake and exhaust port on the side.
4. Setup
Proper setup is crucial for optimal performance and safety.
4.1 Unpacking
Carefully remove the unit and all accessories from the packaging. Check for any damage during transit. Keep the packaging for future storage or transport.
4.2 Placement
Place the air conditioner on a firm, level surface in a location that allows for proper air circulation. Ensure there is at least 20 cm (8 inches) of space around the unit for air intake and exhaust. Position the unit near a window for exhaust hose installation.
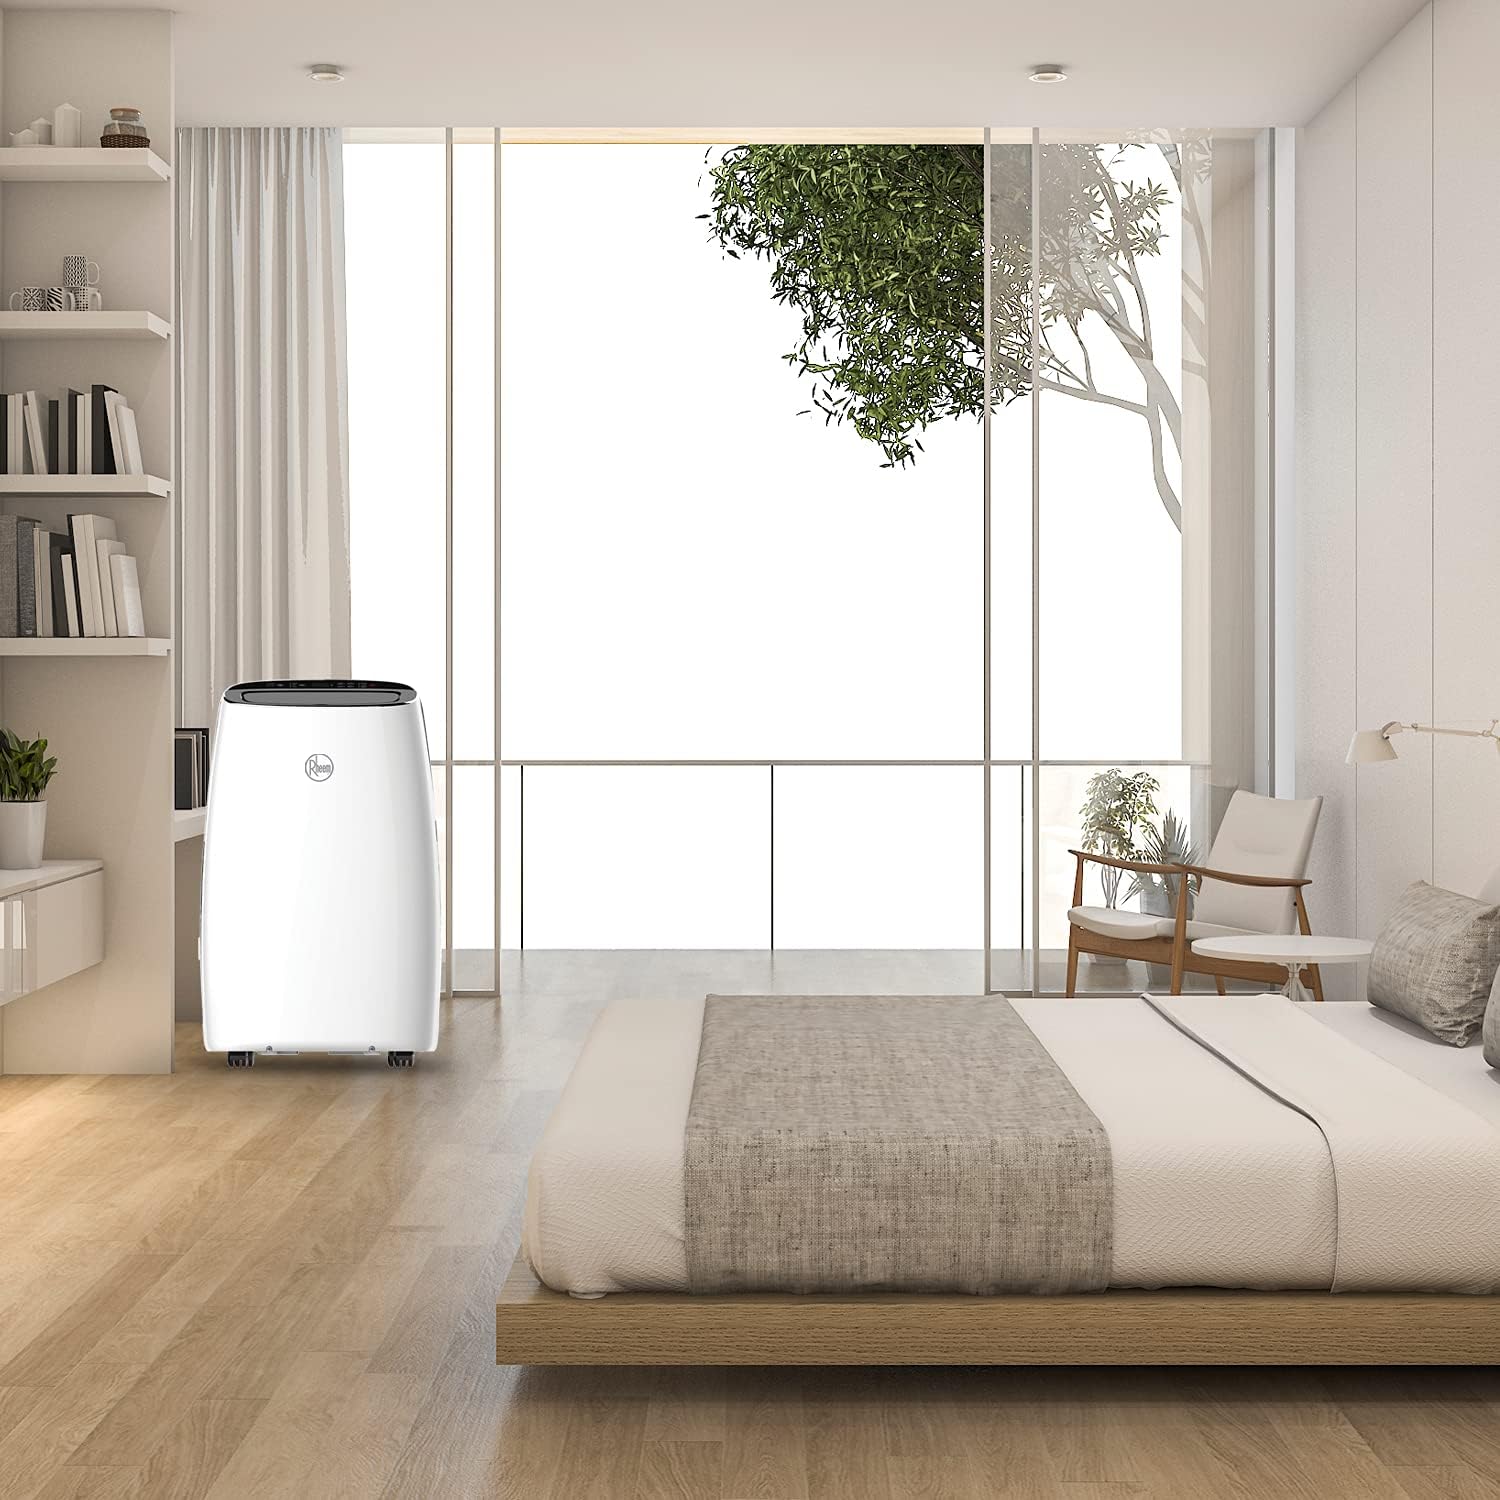
Figure 4.1: The Rheem Portable Air Conditioner RPAI-12H1 positioned in a bedroom. This image demonstrates a typical placement scenario, showing the unit near a window for exhaust.
4.3 Exhaust Hose and Window Kit Installation
- Attach the exhaust hose connector to the exhaust outlet on the back of the unit.
- Extend the exhaust hose and attach the window kit adapter to the other end.
- Adjust the window kit to fit your window opening and secure it.
- Insert the window kit adapter into the opening of the window kit, ensuring a tight seal to prevent air leakage.

Figure 4.2: Dimensions of the Rheem Portable Air Conditioner RPAI-12H1. The diagram shows the unit's height (79.5 cm), width (48 cm), and depth (40 cm), which are important for placement and window kit compatibility.
4.4 Power Connection
Plug the power cord into a standard 115 Volt, grounded electrical outlet. Do not use extension cords or power strips.
5. Operating Instructions
The RPAI-12H1 can be operated using the control panel on the unit or the wireless digital remote control.
5.1 Control Panel and Remote Control
The control panel features buttons for Power, Mode, Fan Speed, Temperature Adjustment, Timer, and Swing. The wireless remote control duplicates these functions for convenient operation.
5.2 Operating Modes
- Cooling Mode: Select 'Cool' mode and set your desired temperature. The unit will cool the room to the set temperature.
- Heating Mode: Select 'Heat' mode and set your desired temperature. The unit will heat the room to the set temperature.
- Fan Mode: Select 'Fan' mode for air circulation without cooling or heating. Adjust fan speed as desired.
- Dehumidifier Mode: Select 'Dry' or 'Dehumidify' mode to remove excess moisture from the air.
5.3 Additional Features
- Auto Swing: Activate the Auto Swing function for uniform air distribution throughout the room.
- Programmable On/Off: Use the timer function to set specific times for the unit to turn on or off automatically.
- Self-Diagnosis System: The unit is equipped with a self-diagnosis system that can detect and display error codes on the digital display, aiding in troubleshooting.
- All-Quiet Technology: Designed with isolated components to minimize vibrations and reduce operational noise.
6. Maintenance
Regular maintenance ensures the longevity and efficiency of your air conditioner.
6.1 Air Filter Cleaning
The unit features a washable filter. It is recommended to clean the air filter every two weeks, or more frequently depending on usage and air quality.
- Unplug the unit from the power outlet.
- Remove the air filter from its housing (refer to the diagram in your full manual for exact location).
- Wash the filter with lukewarm water and a mild detergent. Rinse thoroughly.
- Allow the filter to air dry completely before reinstalling it. Do not expose to direct sunlight.
6.2 Drainage
In dehumidifier mode or high humidity conditions, the unit will collect condensed water. The unit may have an auto-evaporation system, but manual drainage might be required. Refer to your full manual for specific drainage instructions, including continuous drainage options.
6.3 Exterior Cleaning
Wipe the exterior of the unit with a soft, damp cloth. Do not use harsh chemicals or abrasive cleaners.
6.4 Auto-Cleaning System
The unit includes an auto-cleaning system designed to prevent odors and the growth of harmful microorganisms. This system operates automatically to maintain internal cleanliness.
7. Troubleshooting
Before contacting customer support, please refer to the following common issues and solutions:
| Problem | Possible Cause | Solution |
|---|---|---|
| Unit does not turn on | No power, power cord unplugged, circuit breaker tripped | Check power connection, reset circuit breaker. |
| Unit not cooling/heating effectively | Dirty air filter, blocked air intake/exhaust, room too large, window kit not sealed | Clean air filter, ensure clear airflow, check window kit seal, ensure room size is within unit capacity. |
| Unusual noise or vibration | Unit not on a level surface, foreign object inside | Place unit on a level surface. If noise persists, contact support. |
| Water leakage | Drain plug not properly secured, drainage hose blocked (if applicable) | Check drain plug. Clear any blockages in the drainage hose. |
| Error code displayed | Internal system fault detected by self-diagnosis | Note the error code and consult the full manual or contact customer support. |
8. Specifications
| Feature | Specification |
|---|---|
| Model Name | RPAI-12H1 |
| Dimensions (H x W x D) | 79.5 cm x 48 cm x 40 cm |
| Weight | 38 kg |
| Cooling Power | 12000 British Thermal Units (BTU) |
| Voltage | 115 Volts |
| Power Source | Electric with cable |
| Special Features | Dehumidifier, Auto Swing, Self-Diagnosis, Auto-Cleaning, Programmable On/Off, All-Quiet Technology |
| Material | Steel and Aluminum |
| Form Factor | Portable |
9. Warranty and Support
The Rheem Portable Air Conditioner RPAI-12H1 comes with a limited warranty. Please refer to the warranty card included with your product for specific terms and conditions.
For technical assistance, troubleshooting beyond this manual, or warranty claims, please contact Rheem customer support. Contact information can typically be found on the Rheem official website or on your product's packaging.


