1. Introduction
The Everest HDC-385 is a versatile external docking station designed to provide easy access to 2.5-inch and 3.5-inch IDE and SATA hard drives via a USB 2.0 connection. It also integrates a multi-format card reader, making it a comprehensive solution for data management and transfer. This manual provides instructions for setting up, operating, and maintaining your device.
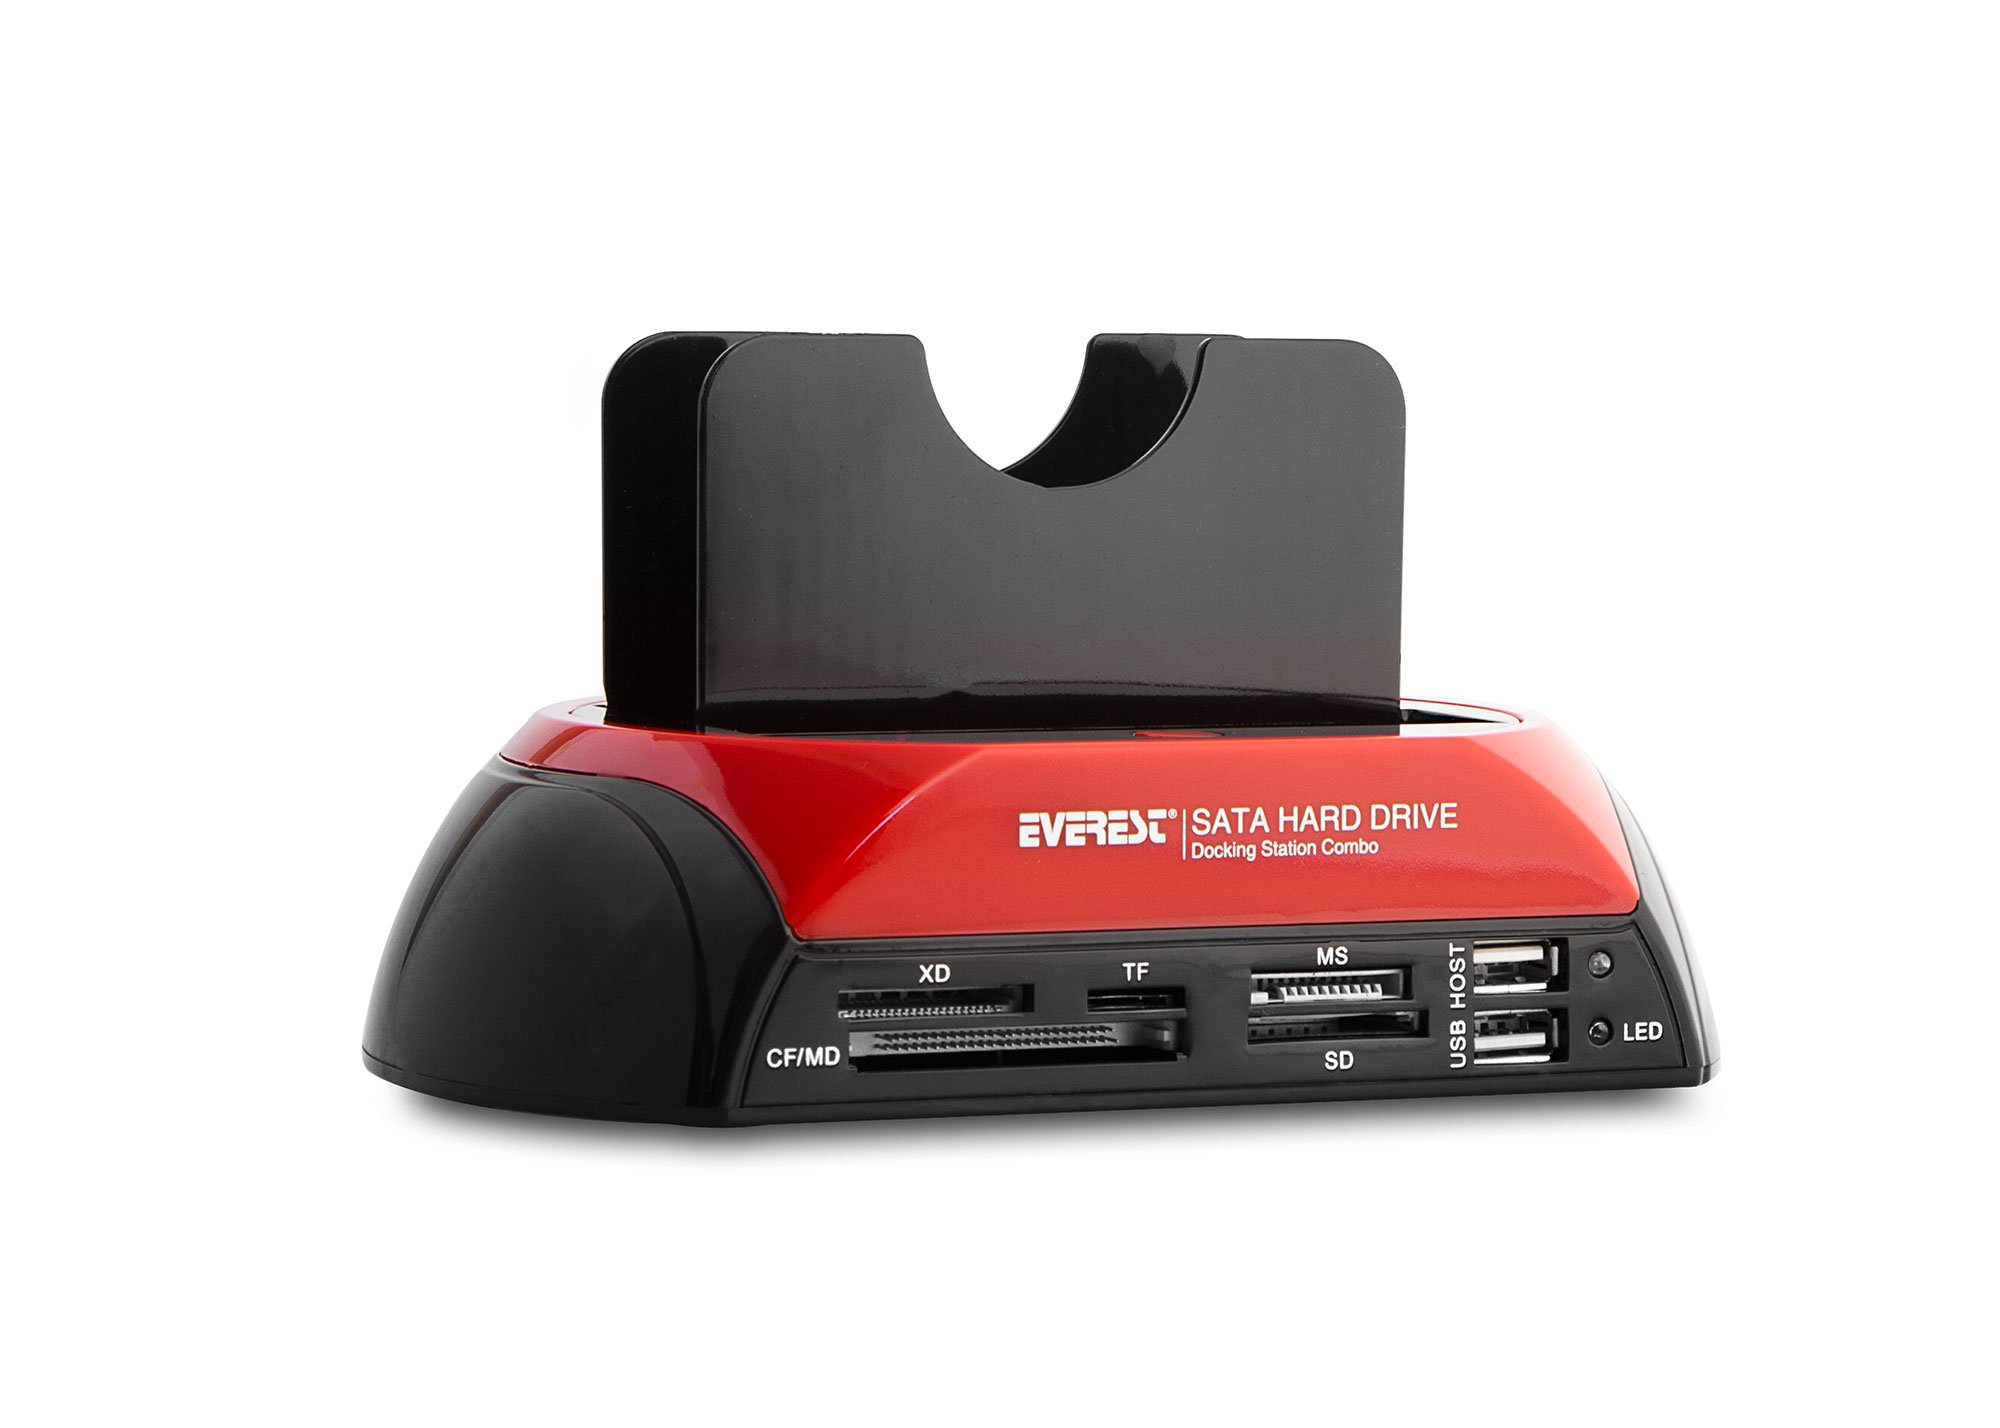
Image 1.1: Everest HDC-385 Docking Station with hard drives.
2. Package Contents
Please check the package for the following items:
- Everest HDC-385 Docking Station
- Power Adapter (12V 3A)
- Mini USB to USB 2.0 Cable
- User Manual (this document)
- Mini Driver/Software CD (may contain backup software)

Image 2.1: Included accessories: Power Adapter and Mini USB Cable.
3. Product Features
- Universal Compatibility: Supports 2.5-inch and 3.5-inch IDE and SATA hard drives.
- High-Speed Connectivity: USB 2.0 interface for data transfer.
- Multi-Format Card Reader: Integrated slots for SD, TF (MicroSD), MS, XD, and CF/MD cards.
- Plug-and-Play: Driver-free operation for most operating systems (Windows 10, Mac OS).
- One-Button Backup: Features a button for quick backup functionality (requires specific software installation).
- LED Indicators: For power and activity status.

Image 3.1: Front panel with card reader slots and USB ports.
4. Setup Guide
- Connect Power: Insert the power adapter cable into the DC 12V port on the back of the docking station. Plug the power adapter into a wall outlet.
- Connect to Computer: Connect the Mini USB end of the provided USB cable to the docking station and the standard USB-A end to an available USB port on your computer.
- Prepare Hard Drive:
- For SATA Hard Drives (2.5" or 3.5"): Align the SATA data and power connectors on the hard drive with the corresponding slot in the docking station. Gently push the drive down until it is firmly seated.
- For IDE Hard Drives (2.5" or 3.5"): Locate the IDE pin connector and the 4-pin power connector on the hard drive. On the underside of the docking station, there is an adjustment knob for the IDE power input. Adjust this knob (left or right) to align with your specific IDE hard drive's power pins. Carefully align the IDE pins of the hard drive with the docking station's connector and gently push down. Do not force the drive, as this can bend the pins. Ensure proper alignment before applying pressure.
- Power On: After the hard drive is securely inserted, flip the ON/OFF switch on the back of the docking station to the 'ON' position. The LED indicator will illuminate.
- Driver Installation (if necessary): The device is generally plug-and-play for Windows 10 and Mac OS. If prompted, allow your operating system to install necessary drivers. For the one-button backup function, install the software from the included mini CD or download it from the manufacturer's website.

Image 4.1: Hard drive insertion slots for SATA and IDE drives.
5. Operating Instructions
5.1 Accessing Hard Drives
Once the docking station is powered on and connected to your computer, the inserted hard drive should appear as a removable disk in 'My Computer' (Windows) or 'Finder' (Mac OS). You can then access, transfer, and manage files as you would with any other external storage device.
5.2 Using the Card Reader
Insert your memory card (SD, TF, MS, XD, CF/MD) into the appropriate slot on the front of the docking station. The card will appear as a separate removable disk on your computer, allowing you to read and write data.
5.3 One-Button Backup Function
If you have installed the dedicated backup software, you can use the one-button backup feature. Please note that this software typically backs up user-defined folders and may not include operating system files or program directories.
5.4 Safe Removal
Always safely eject the hard drive or memory card from your operating system before physically removing it from the docking station or powering off the device. This prevents data corruption.
6. Maintenance
- Keep the docking station clean and free from dust. Use a soft, dry cloth for cleaning.
- Avoid exposing the device to liquids, excessive humidity, or extreme temperatures.
- Store the device in a cool, dry place when not in use.
- Ensure proper ventilation around the device during operation.
7. Troubleshooting
- Device Not Recognized:
- Ensure the power adapter is securely connected and the docking station is powered on.
- Verify the USB cable is properly connected to both the docking station and your computer. Try a different USB port on your computer.
- Check if the hard drive is correctly seated in its slot.
- If using an IDE drive, ensure the power pin adjustment knob is correctly set.
- Restart your computer.
- Data Transfer Issues / Disconnections:
- A faulty Mini USB cable can cause intermittent connections. Try using a different Mini USB to USB 2.0 cable if available.
- Ensure the hard drive is not overheating.
- Hard Drive Not Appearing:
- For new hard drives, they may need to be initialized and formatted in Disk Management (Windows) or Disk Utility (Mac OS) before they can be used.
- Check the hard drive's health.
- Windows 11 Compatibility:
- While the device is generally compatible with Windows 10 and Mac OS, some users have reported compatibility issues with Windows 11. Ensure your operating system is fully updated, and check the manufacturer's website for any specific Windows 11 drivers or compatibility notes.
8. Specifications
| Feature | Specification |
|---|---|
| Model | HDC-385 |
| Hardware Interface | USB 2.0 |
| Compatible Hard Drives | 2.5" and 3.5" IDE, 2.5" and 3.5" SATA |
| Card Reader Slots | SD, TF (MicroSD), MS, XD, CF/MD |
| Compatible Devices | Desktop & Laptop |
| Power Input | 12V 3A (via included adapter) |
| Product Dimensions | 19 x 11.7 x 11 cm |
| Item Weight | 0.6 Kilograms |
| Color | Black/Red |
9. Warranty and Support
For warranty information and technical support, please refer to the documentation provided with your purchase or contact the Everest customer support directly. Keep your purchase receipt for warranty claims.


