1. Important Safety Instructions
Please read all instructions carefully before using the appliance. Keep this manual for future reference.
- Ensure the voltage indicated on the appliance corresponds to your local mains voltage before connecting.
- Do not immerse the motor unit, cord, or plug in water or any other liquid.
- This appliance is not intended for use by persons (including children) with reduced physical, sensory or mental capabilities, or lack of experience and knowledge, unless they have been given supervision or instruction concerning use of the appliance by a person responsible for their safety.
- Children should be supervised to ensure that they do not play with the appliance.
- Unplug from the outlet when not in use, before putting on or taking off parts, and before cleaning.
- Avoid contact with moving parts.
- Do not operate any appliance with a damaged cord or plug, or after the appliance malfunctions or has been damaged in any manner.
- The use of attachments not recommended or sold by the manufacturer may cause fire, electric shock, or injury.
- Do not use outdoors.
- Do not let the cord hang over the edge of a table or counter, or touch hot surfaces.
- Always ensure the appliance is properly assembled before operation.
2. Product Overview
The Girmi SR5400 Electric Citrus Juicer is designed for efficient extraction of juice from various citrus fruits. It features a durable stainless steel body and a powerful 60W motor.

Figure 2.1: Assembled Girmi SR5400 Electric Citrus Juicer.
Components:
- Motor Unit: The base of the juicer containing the 60W motor.
- Juice Container: Collects the extracted juice, with a capacity of 150 ml.
- Pulp Filter Grid: Separates pulp from the juice.
- Small Juicing Cone: For smaller citrus fruits like lemons and limes.
- Large Juicing Cone: For larger citrus fruits like oranges and grapefruits.
- Dust Cover: Protects the cones when not in use.
- Anti-drip Spout: Allows for direct pouring or temporary juice retention.

Figure 2.2: All removable parts of the juicer for easy cleaning and assembly.
3. Setup
Before first use, wash all removable parts (juice container, filter grid, juicing cones, dust cover) in warm soapy water, rinse thoroughly, and dry. The parts are also dishwasher safe.
- Place the motor unit on a stable, flat, and dry surface.
- Place the juice container onto the motor unit, ensuring it is seated correctly.
- Insert the pulp filter grid into the juice container.
- Select the appropriate juicing cone (small for lemons/limes, large for oranges/grapefruits) and place it onto the shaft in the center of the filter grid.
- Ensure the anti-drip spout is in the desired position (open for direct pouring, closed for temporary storage).
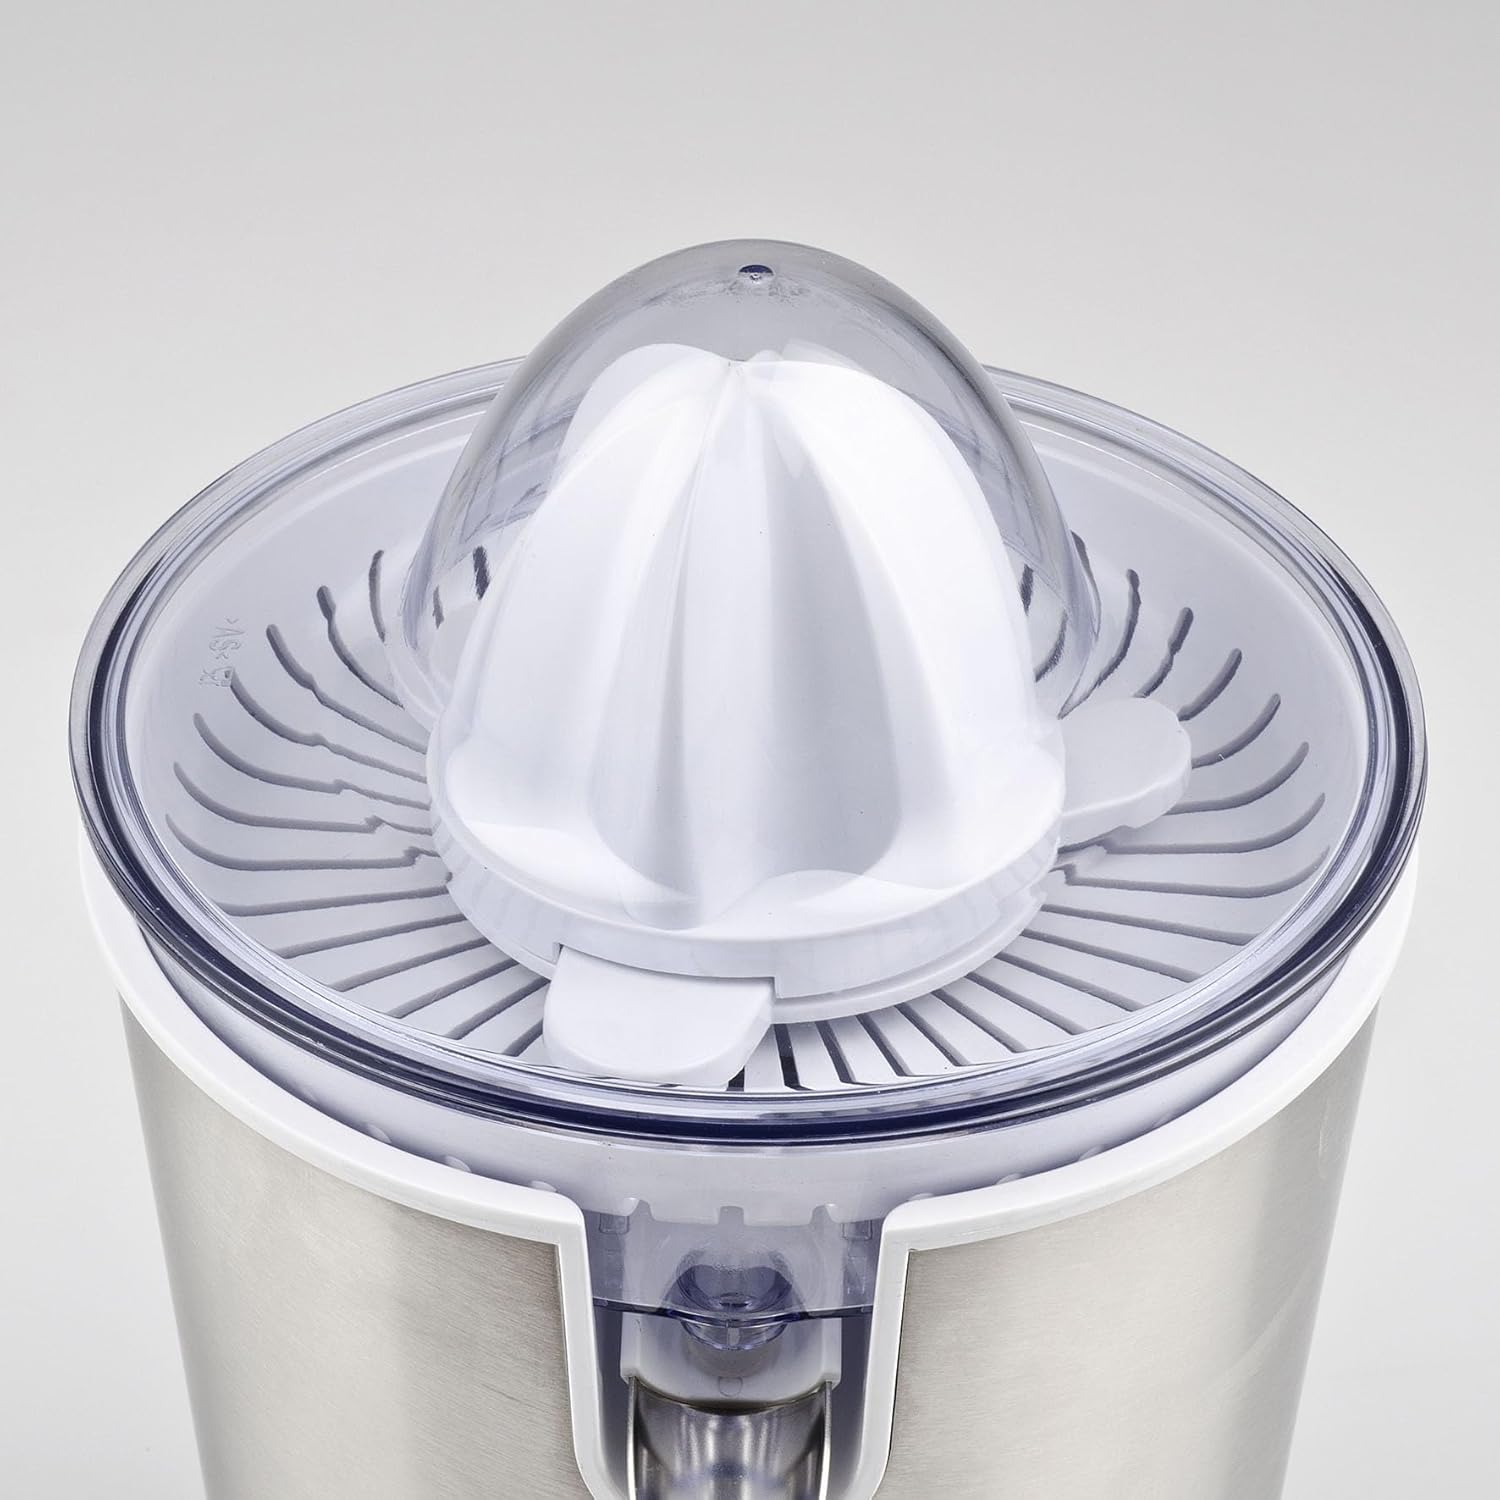
Figure 3.1: Juicer assembled with the large cone in place.

Figure 3.2: Detail of the anti-drip spout.
4. Operating Instructions
The Girmi SR5400 features an automatic start/stop function and a double cone rotation direction for maximum juice extraction.
- Plug the power cord into a suitable electrical outlet.
- Cut the citrus fruit (lemon, orange, grapefruit, etc.) in half.
- Place one half of the fruit onto the juicing cone.
- Press down firmly on the fruit. The motor will automatically start rotating. The juicer will alternate rotation directions to ensure efficient juice extraction.
- Continue pressing until all juice is extracted from the fruit half. Release pressure, and the motor will stop.
- Repeat with remaining fruit halves.
- When the juice container is full (up to 150 ml), or you have finished juicing, you can either open the anti-drip spout to pour the juice directly into a glass or keep it closed for temporary storage.
- Unplug the appliance from the power outlet after use.
Note: The filter grid effectively separates pulp, but some fine pulp may pass through, which is normal for fresh juice.
5. Cleaning and Maintenance
Regular cleaning ensures optimal performance and extends the life of your juicer. Always unplug the appliance before cleaning.
- Unplug the juicer from the power outlet.
- Remove the dust cover (if used), juicing cone, pulp filter grid, and juice container from the motor unit.
- Wash all removable parts in warm, soapy water using a soft brush or sponge. Rinse thoroughly.
- Alternatively, all removable parts are dishwasher safe. Place them on the top rack of your dishwasher.
- Wipe the motor unit with a damp cloth. Never immerse the motor unit in water or any other liquid.
- Dry all parts completely before reassembling or storing the juicer.
For stubborn pulp residue on the filter, use a small brush to dislodge it under running water.
6. Troubleshooting
| Problem | Possible Cause | Solution |
|---|---|---|
| Juicer does not start. | Not plugged in; insufficient pressure on fruit; power outage. | Ensure plug is securely in outlet; apply firm, consistent pressure on the fruit; check household power supply. |
| Poor juice extraction. | Insufficient pressure; incorrect cone size for fruit; fruit too hard/cold. | Apply more pressure; use the correct cone size; allow fruit to reach room temperature for easier juicing. |
| Motor stops during operation. | Overheating due to prolonged use; too much pressure. | Allow the juicer to cool down for 15-20 minutes. Reduce pressure when juicing. |
| Juice leaks from the spout. | Spout is open or not properly closed. | Ensure the anti-drip spout is fully closed if you intend to retain juice in the container. |
7. Specifications
- Model: SR5400
- Brand: Girmi
- Power: 60 W
- Voltage: 230 V
- Material: Stainless Steel body
- Color: Steel/White
- Capacity: 150 ml (juice container)
- Dimensions (L x W x H): Approximately 15 x 20 x 25 cm
- Weight: 1.22 kg
- Special Features: Dual juicing cones, Auto-reverse rotation, Anti-drip spout, Dishwasher-safe removable parts.
8. Warranty and Support
For warranty information, technical support, or service inquiries, please refer to the warranty card included with your product or contact Girmi customer service. Keep your purchase receipt as proof of purchase.
For more information, visit the official Girmi website: www.girmi.it


