
Introduction
This manual provides comprehensive instructions for the installation, operation, maintenance, and troubleshooting of your home improvement direct Passage Door Lever, model HL-DL01-1piece-BKPS. Please read this manual thoroughly before installation and use to ensure proper function and longevity of the product.
This passage door lever is designed for interior doors where a locking mechanism is not required, such as hallways, closets, or connecting rooms. It features a durable zinc alloy construction with a matte black finish, suitable for both left-handed and right-handed door orientations.
Package Contents
Verify that all components are present before beginning installation.

Image Description: An overhead view of all components included in the package. This includes two door levers (A and B), a latch mechanism (C), two plastic spacers (D), an installation instruction sheet (E), a strike plate (F), a dust box (G), and various screws (H).
- A & B: Door Levers (Interior and Exterior)
- C: Latch Mechanism
- D: Plastic Spacers (2)
- E: Installation Instruction Sheet
- F: Strike Plate
- G: Dust Box
- H: Mounting Screws (various sizes)
Specifications
| Feature | Detail |
|---|---|
| Model Number | HL-DL01-1piece-BKPS |
| Material | Zinc Alloy (Levers), Brass (Internal components) |
| Finish | Matte Black (Electroplating) |
| Door Thickness Compatibility | 1-3/8" to 1-3/4" (35mm - 45mm) |
| Adjustable Latch Backset | 2-3/8" (60mm) or 2-3/4" (70mm) |
| Hand Orientation | Reversible (Ambidextrous) |
| Lock Type | Passage (Non-locking) |
| Item Weight | Approximately 2.16 pounds |
| UPC | 715624240342 |
Setup and Installation
Follow these steps for proper installation. A screwdriver is the only tool required.
1. Prepare the Door
Ensure your door has standard bore holes. This lever fits door thicknesses from 1-3/8" to 1-3/4" (35mm-45mm).

Image Description: A diagram illustrating the standard door dimensions required for installation, including bore hole diameter, backset, and door thickness. Key measurements are highlighted: 1-3/8" to 1-3/4" for door thickness and adjustable latch backset of 2-3/8" or 2-3/4".
2. Adjust the Latch Backset (if necessary)
The latch mechanism (C) is adjustable for either a 2-3/8" (60mm) or 2-3/4" (70mm) backset. To adjust, twist the latch housing until it extends or retracts to the desired length.

Image Description: A close-up image of two latch mechanisms, one set to 60mm (2-3/8") backset and the other to 70mm (2-3/4") backset, demonstrating the adjustable feature.
3. Install the Latch Mechanism
- Insert the latch mechanism (C) into the edge bore hole of the door.
- Ensure the latch bolt faces the correct direction (slanted edge towards the door frame).
- Secure the latch plate with two small screws (from H).
4. Install the Exterior Lever
- Align the spindle of the exterior lever (A) with the square hole in the latch mechanism.
- Push the exterior lever assembly firmly against the door.
5. Install the Interior Lever
- Align the interior lever (B) with the exterior lever, ensuring the mounting posts pass through the door.
- Secure the interior lever to the exterior lever using the longer mounting screws (from H). Tighten securely but do not overtighten.
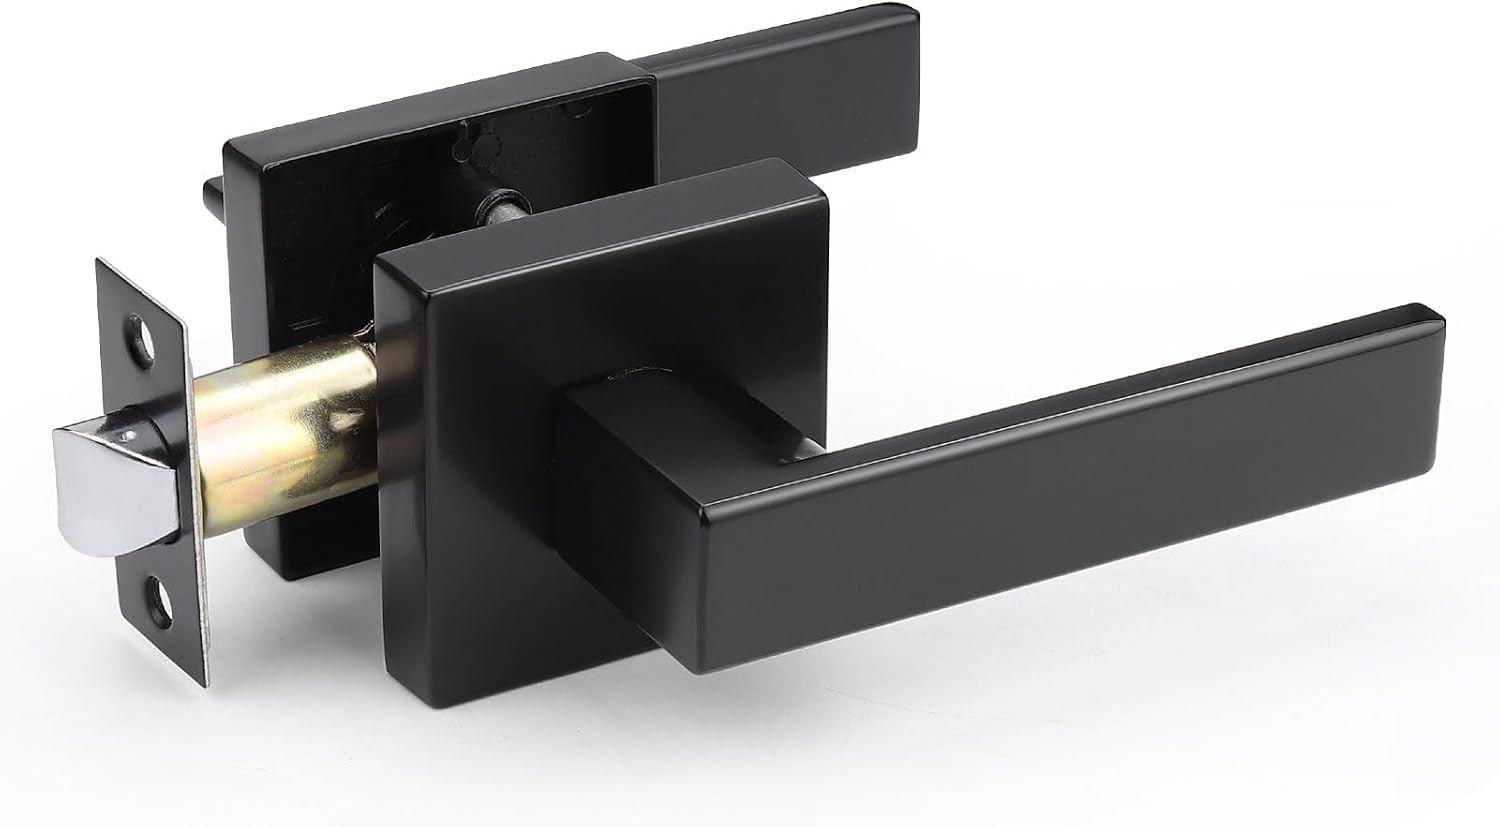
Image Description: A fully assembled passage door lever, showcasing the exterior and interior components connected through the latch mechanism, ready for installation on a door.
6. Install the Strike Plate and Dust Box
- Install the dust box (G) into the door frame bore hole.
- Place the strike plate (F) over the dust box and secure it with two small screws (from H).
Test the lever operation to ensure smooth movement and proper latching.
Operating Instructions
This passage door lever is designed for simple, non-locking operation.

Image Description: A split image displaying both the interior and exterior views of the passage door lever installed on a door. The levers are shown in their neutral position, indicating a non-locking function suitable for hallways or closets.
- To open the door, simply push down on the lever handle. The latch bolt will retract, allowing the door to open.
- To close the door, push the door shut. The slanted edge of the latch bolt will retract as it meets the strike plate and then extend into the strike plate hole, securing the door.
- This lever does not have a locking mechanism and is intended for passage doors only.
Maintenance
Regular maintenance ensures the longevity and smooth operation of your door lever.
- Cleaning: Wipe the lever and plates with a soft, damp cloth. Avoid abrasive cleaners, solvents, or harsh chemicals, as these can damage the matte black finish.
- Lubrication: If the lever action becomes stiff over time, apply a small amount of silicone-based lubricant to the latch bolt and the internal mechanism. Do not use oil-based lubricants, as they can attract dust and debris.
- Tightening Screws: Periodically check and tighten all mounting screws to ensure the lever remains securely attached to the door.
Troubleshooting
| Problem | Possible Cause | Solution |
|---|---|---|
| Lever is stiff or hard to turn. | Lack of lubrication; debris in mechanism. | Apply silicone lubricant to the latch bolt and internal components. Clean any visible debris. |
| Door does not latch properly. | Strike plate misalignment; latch bolt not fully extending. | Check alignment of the strike plate with the latch bolt. Adjust strike plate position if necessary. Ensure screws are tight. |
| Lever is loose on the door. | Mounting screws are loose. | Tighten the mounting screws that connect the interior and exterior levers. |
| Lever does not retract latch bolt. | Spindle not properly engaged; internal mechanism issue. | Disassemble and reassemble the levers, ensuring the spindle is correctly inserted into the latch mechanism. If problem persists, contact support. |
Warranty and Support
home improvement direct products are manufactured to high-quality standards. For warranty information or technical support, please refer to the contact details provided with your purchase or visit the official home improvement direct website.
Please retain your proof of purchase for warranty claims.