
ckpsms #5011L-C
Instruction Manual
CKPSMS Brand - #5011L-C +001947.70.00 11 PCS Presser feet ATTACHMENTS
Model: #5011L-C
Introduction
This manual provides essential information for the proper use, installation, and maintenance of the CKPSMS Brand 11-piece Presser Feet Attachment set. This set is designed to enhance the functionality of compatible BERNINA Old Style sewing machines, offering a variety of presser feet and adapters for diverse sewing tasks.

Figure 1: CKPSMS 11-piece Presser Feet Attachment set, showing the complete package.
Product Components
The CKPSMS #5011L-C set includes a comprehensive collection of presser feet and adapters to expand your sewing capabilities. The package contains 12 items in total, including 9 essential snap-on presser feet, a Low Shank Adapter, an OLD Style System adapter, and a Quilting Guide.

Figure 2: All components of the presser feet set laid out, including various feet, adapters, and the quilting guide.
Package Content List:
- Straight Stitch Foot
- Sliding Buttonhole Foot
- Zipper Foot
- Overcast Foot
- Three Thread Cording Foot
- 1/8'' Rolled Hem (Hemming) Foot
- Button Sew On Foot
- Blindhem Foot
- Zigzag Foot
- Low Shank Snap-matic Shank
- OLD Style System adapter
- Quilt Guide
Compatibility
This presser feet set is specifically designed to be compatible with/replacement for BERNINA brand Old Style machine models. Please verify your machine model against the list below to ensure proper fit and function.
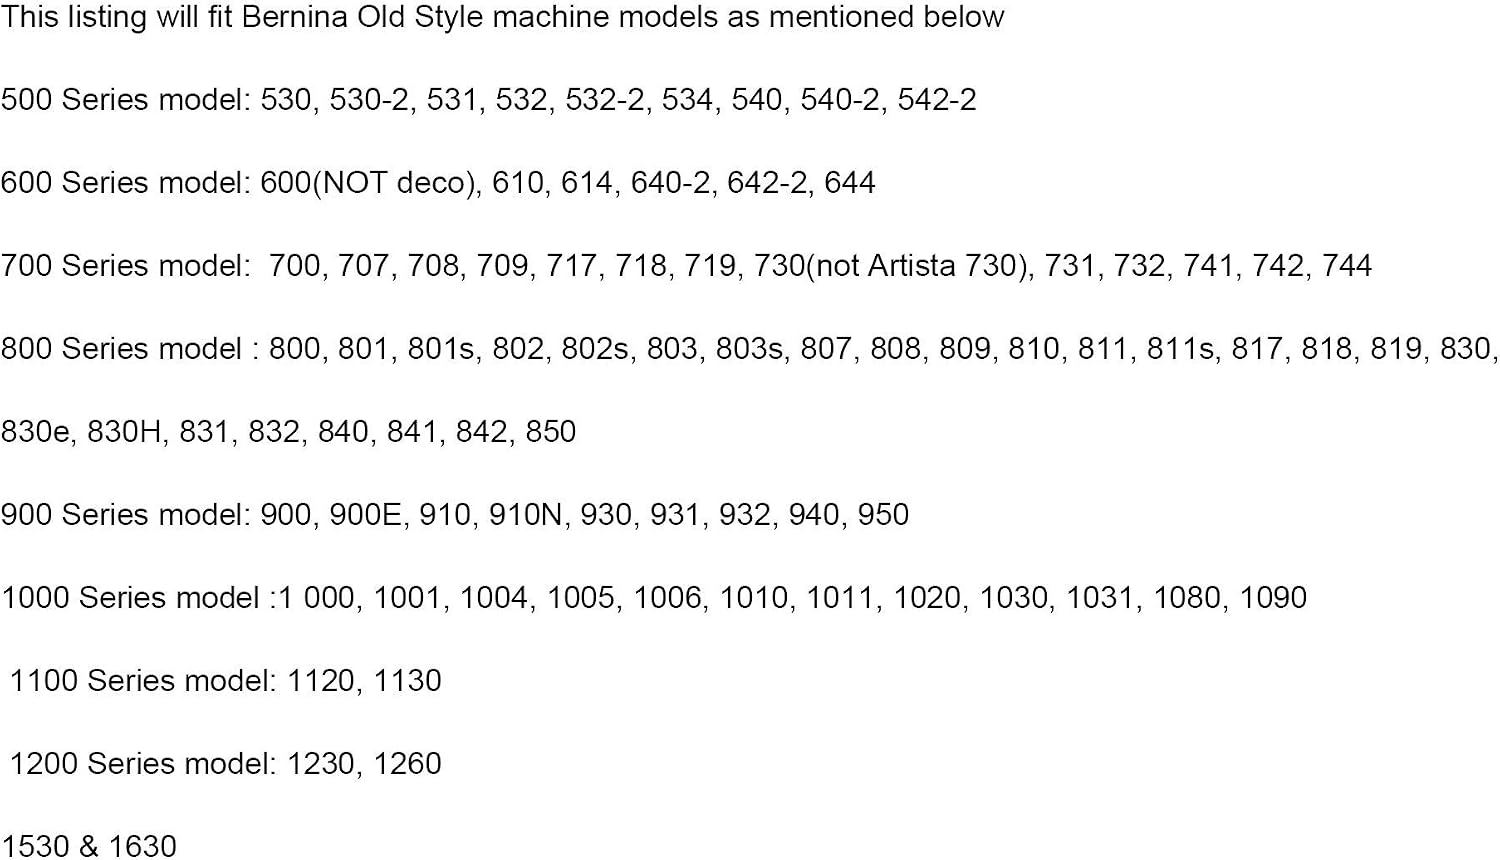
Figure 3: Visual representation of compatible Bernina Old Style machine models.
Compatible BERNINA Old Style Machine Models:
- 500 Series: 530, 530-2, 531, 532, 532-2, 534, 540, 540-2, 542-2
- 600 Series: 600 (NOT deco), 610, 614, 640-2, 642-2, 644
- 700 Series: 700, 707, 708, 709, 717, 718, 719, 730 (not Artista 730), 731, 732, 741, 742, 744
- 800 Series: 800, 801, 801s, 802, 802s, 803, 803s, 807, 808, 809, 810, 811, 811s, 817, 818, 819, 830, 830e, 830H, 831, 832, 840, 841, 842, 850
- 900 Series: 900, 900E, 910, 910N, 930, 931, 932, 940, 950
- 1000 Series: 1000, 1001, 1004, 1005, 1006, 1010, 1011, 1020, 1030, 1031, 1080, 1090
- 1100 Series: 1120, 1130
- 1200 Series: 1230, 1260
- Other Models: 1530, 1630
Setup and Installation
To install the presser feet, you will first need to attach the appropriate adapter to your sewing machine. The set includes a Low Shank Snap-matic Shank and an OLD Style System adapter. Once the correct adapter is in place, the various snap-on presser feet can be easily attached and detached.
General Installation Steps:
- Power Off: Always ensure your sewing machine is turned off and unplugged before changing any parts.
- Remove Old Foot/Shank: If a presser foot or shank is currently attached, raise the presser foot lever and unscrew or unclip the existing component.
- Attach Adapter: Depending on your machine's configuration, attach either the Low Shank Snap-matic Shank or the OLD Style System adapter to the presser foot bar. Secure it firmly with the screw.
- Attach Presser Foot: Align the desired snap-on presser foot with the adapter's pin and lower the presser foot lever until it snaps into place.
- Verify Clearance: Before sewing, manually turn the handwheel towards you to ensure the needle clears the foot and does not strike any part of it. Adjust if necessary.

Figure 4: Various presser feet and adapters, illustrating the components involved in setup.
Operating Instructions for Each Foot
Each presser foot in this set is designed for specific sewing applications. Understanding their functions will help you achieve professional results.
1. Zigzag Foot:
General purpose foot commonly used for zigzag and straight stitches. The wide needle hole makes this foot compatible with a variety of stitches, including applique, decorative, and more.
2. Straight Stitch Foot:
The small needle hole of this foot prevents lightweight fabric from "buckling" and causing puckering or skipped stitches. It is also ideal for very narrow seams.
3. 1/8'' Rolled Hem (Hemming) Foot:
Feed your fabric through the small funnel located on the front of the foot. The funnel turns the fabric under while the needle stitches it down to create a perfect narrow hem.
4. Overcast Foot:
This foot mimics a serged/overlock effect, preventing raw edges from fraying by wrapping thread around the edges.
5. Blindhem Foot:
This foot is required to sew a Blindhem quickly and easily.
6. Zipper Foot:
This foot can be used for any zipper type. This foot allows you to sew as close to the zipper as possible without accidentally nicking the zipper teeth. Also great for sewing cording and piping.
7. Sliding Buttonhole Foot:
This foot ensures all your buttonholes and drawstring holes are perfectly stitched and even. Adjust to fit your button size.
8. Quilt Guide:
This time-saving tool is used to quilt perfectly parallel lines. Instead of drawing each line, simply draw one and continue to line the quilting guide up after each quilted line.
9. Button Sew On Foot:
This foot is designed to hold buttons securely in place while your machine stitches them on, ensuring a neat and strong attachment.
10. Three Thread Cording Foot:
This foot is used for attaching decorative cords or piping, allowing for precise placement and stitching.
Maintenance and Care
Proper care of your presser feet attachments will ensure their longevity and optimal performance.
- Cleaning: After use, wipe down presser feet with a soft, dry cloth to remove any lint or fabric residue. For stubborn dirt, a slightly damp cloth can be used, followed by thorough drying.
- Storage: Store presser feet in a dry, dust-free environment, preferably in their original packaging or a dedicated storage case, to prevent rust and damage.
- Inspection: Periodically inspect presser feet for any signs of wear, bending, or damage. Replace any damaged parts to prevent issues with your sewing machine or fabric.
- Avoid Harsh Chemicals: Do not use abrasive cleaners or harsh chemicals, as these can damage the finish or material of the presser feet.
Troubleshooting
If you encounter issues while using the presser feet, consider the following common solutions:
- Needle Hitting Foot: Ensure the correct presser foot is installed for the stitch type selected. Manually turn the handwheel to check needle clearance before starting to sew. If the needle strikes the foot, re-check installation or ensure the foot is compatible with your machine's needle position settings.
- Fabric Not Feeding Properly: Check that the presser foot is securely attached and that the feed dogs are engaged. Ensure the fabric is positioned correctly under the foot.
- Skipped Stitches or Puckering: This can often be resolved by using the appropriate presser foot for the fabric type and stitch, ensuring proper tension, and using a sharp, correct-sized needle. The Straight Stitch Foot is particularly useful for preventing puckering on delicate fabrics.
- Foot Feels Loose: Re-tighten the screw securing the adapter to the presser foot bar. Ensure the snap-on foot is fully engaged with the adapter's pin.
Specifications
| Attribute | Detail |
|---|---|
| Part Number | #5011L-C +001947.70.00 |
| Material | Plastic and/or Metal |
| Quantity | 1 Set (12 PCS) |
| Package Dimensions | 7.32 x 5.79 x 0.83 inches |
| Item Weight | 3.52 ounces |
| Manufacturer | KUNPENG (Brand: CKPSMS) |
Safety Guidelines
Adhere to the following safety guidelines when handling and using sewing machine parts and accessories:

Figure 5: Visual guide for product safety when handling sewing machine parts.
- Needle Plate: Always use the correct needle plate for your sewing machine model. Do not use a damaged or bent needle plate. When changing the needle plate, make sure the sewing machine is turned off and unplugged.
- Bobbin Case: Always use the correct bobbin case for your sewing machine model. Do not use a damaged or bent bobbin case. When changing the bobbin case, make sure the sewing machine is turned off and unplugged.
- Presser Foot: Always use the correct presser foot for your sewing machine model. Do not use a damaged or bent presser foot. When changing the presser foot, make sure the sewing machine is turned off and unplugged.
- Foot Pedal, Auto Bobbin Winder and Other Products:
- Do not use the product when your hands are wet.
- If the power cord is damaged, stop using the product immediately and replace it with a new one.
- Always disconnect the power supply before repairing the product.
- Do not connect the product to a power source with a voltage that does not match.
- Looper, Thread Cutter, Blades and Any Other Products which are Sharp or Incisive:
- Take sufficient safety precautions to prevent injury to your fingers.
- Before disassembling or assembling, understand the correct method and make sure to install it in the designated position.
- Keep it in a place where children cannot touch it.
- Store it in a sturdy packaging box and take measures to prevent rust and corrosion.
- Fabric Cleaner:
- Do not spray towards the body, face, or hands of a person.
- Keep out of reach of children.
- Do not use upside down.
- Do not connect to a power source with a voltage that does not match the product.
- Do not modify the power cord or auxiliary tools of this product by yourself.
Warranty and Support
For warranty information, product support, or to inquire about replacement parts, please contact the manufacturer directly. Details are typically provided with your purchase documentation or on the manufacturer's official website.
Manufacturer: KUNPENG (CKPSMS)
For further assistance, refer to the official CKPSMS store or contact their customer service.
Ask a question about this manual
Ask about setup, troubleshooting, compatibility, parts, safety, or missing instructions. Manuals+ will review the question and use this page’s manual context to help answer it.