
Important Safety Instructions
Always observe basic safety precautions when using this power tool to reduce the risk of fire, electric shock, and personal injury.
- Work Area Safety: Keep your work area clean and well-lit. Cluttered or dark areas invite accidents. Do not operate power tools in explosive atmospheres, such as in the presence of flammable liquids, gases, or dust.
- Electrical Safety: Avoid body contact with earthed or grounded surfaces such as pipes, radiators, ranges, and refrigerators. There is an increased risk of electric shock if your body is earthed or grounded.
- Personal Safety: Always wear eye protection. Use hearing protection when operating the tool for extended periods. Wear a dust mask if working in dusty conditions. Dress properly. Do not wear loose clothing or jewelry. Keep your hair, clothing, and gloves away from moving parts.
- Tool Use and Care: Do not force the power tool. Use the correct power tool for your application. The correct power tool will do the job better and safer at the rate for which it was designed. Disconnect the battery pack from the power tool before making any adjustments, changing accessories, or storing power tools.
- Battery Pack Use and Care: Recharge only with the charger specified by the manufacturer. A charger that is suitable for one type of battery pack may create a risk of fire when used with another battery pack. Use power tools only with specifically designated battery packs.
Product Overview
The STANLEY FMCD900B-XJ is a powerful 18V BRUSHLESS SDS-Plus hammer drill designed for efficient drilling and chiseling in various materials. This section identifies the main components of your tool.

Figure 1: The STANLEY FMCD900B-XJ SDS-Plus 18V BRUSHLESS Hammer Drill. This image shows the overall design of the hammer drill, highlighting its ergonomic handle and compact form factor.
Key Components:
- SDS-Plus Chuck: For quick and secure bit changes.
- Mode Selector: Allows switching between drilling, hammer drilling, and chiseling modes.
- Auxiliary Handle: Provides additional control and stability during operation.
- Depth Rod: For precise drilling depth control.
- Trigger Switch: Activates the tool.
- Battery Port: For inserting the 18V STANLEY FATMAX battery (sold separately).
- LED Work Light: Illuminates the work area.
Setup
1. Battery Installation and Removal
This tool requires an 18V STANLEY FATMAX battery (not included). Ensure the battery is fully charged before use.
- To Install: Align the battery pack with the battery port on the tool. Slide the battery pack into the tool until it clicks securely into place.
- To Remove: Press the battery release button (usually located on the battery pack) and slide the battery pack out of the tool.

Figure 2: Checking the battery charge level. The image shows a finger pressing the battery indicator button, illuminating three green LED bars, indicating a good charge.
2. SDS-Plus Bit Installation and Removal
The SDS-Plus chuck allows for quick and tool-free bit changes.
- To Install: Pull back the chuck collar and insert the SDS-Plus bit into the chuck. Rotate the bit slightly until it engages with the locking mechanism. Release the chuck collar. Pull on the bit to ensure it is securely locked. Note: SDS-Plus bits have a slight play when correctly installed; this is normal.
- To Remove: Pull back the chuck collar firmly and pull the bit out of the chuck.

Figure 3: Installing an SDS-Plus bit. The image shows a hand holding an SDS-Plus chisel bit, ready to be inserted into the tool's chuck, demonstrating the quick-change mechanism.
3. Adjusting the Auxiliary Handle and Depth Rod
- Auxiliary Handle: Loosen the auxiliary handle by rotating it counter-clockwise. Adjust it to a comfortable and secure position, then tighten by rotating clockwise.
- Depth Rod: Insert the depth rod into the hole on the auxiliary handle. Adjust the rod to the desired drilling depth. The tip of the bit should extend beyond the end of the depth rod by the desired drilling depth.
Operating Instructions
1. Selecting Operating Mode
The FMCD900B-XJ offers three operating modes: Rotary Drilling, Hammer Drilling, and Chiseling.

Figure 4: Adjusting the mode selector. The image shows a hand rotating the black mode selector dial on the side of the tool, indicating the selection of an operating mode.
- Rotary Drilling (Drill Icon): For drilling in wood, metal, plastics, and other materials that do not require hammer action.
- Hammer Drilling (Hammer and Drill Icon): For drilling in concrete, masonry, and stone. This mode combines rotation with hammering action.
- Chiseling (Chisel Icon): For light chiseling, chipping, or demolition work in masonry. The bit rotates freely for positioning, but locks during operation.
To change modes, rotate the mode selector dial to the desired icon. Ensure the tool is switched off before changing modes.
2. General Operation
- Starting the Tool: Grip the tool firmly with both hands. Press the trigger switch to start the tool. The LED work light will illuminate the work area.
- Stopping the Tool: Release the trigger switch to stop the tool.
- Drilling: Apply steady, even pressure. Do not force the tool. Allow the tool to do the work.
- Chiseling: Position the chisel bit at the desired angle. Apply light pressure and allow the hammer action to break the material.
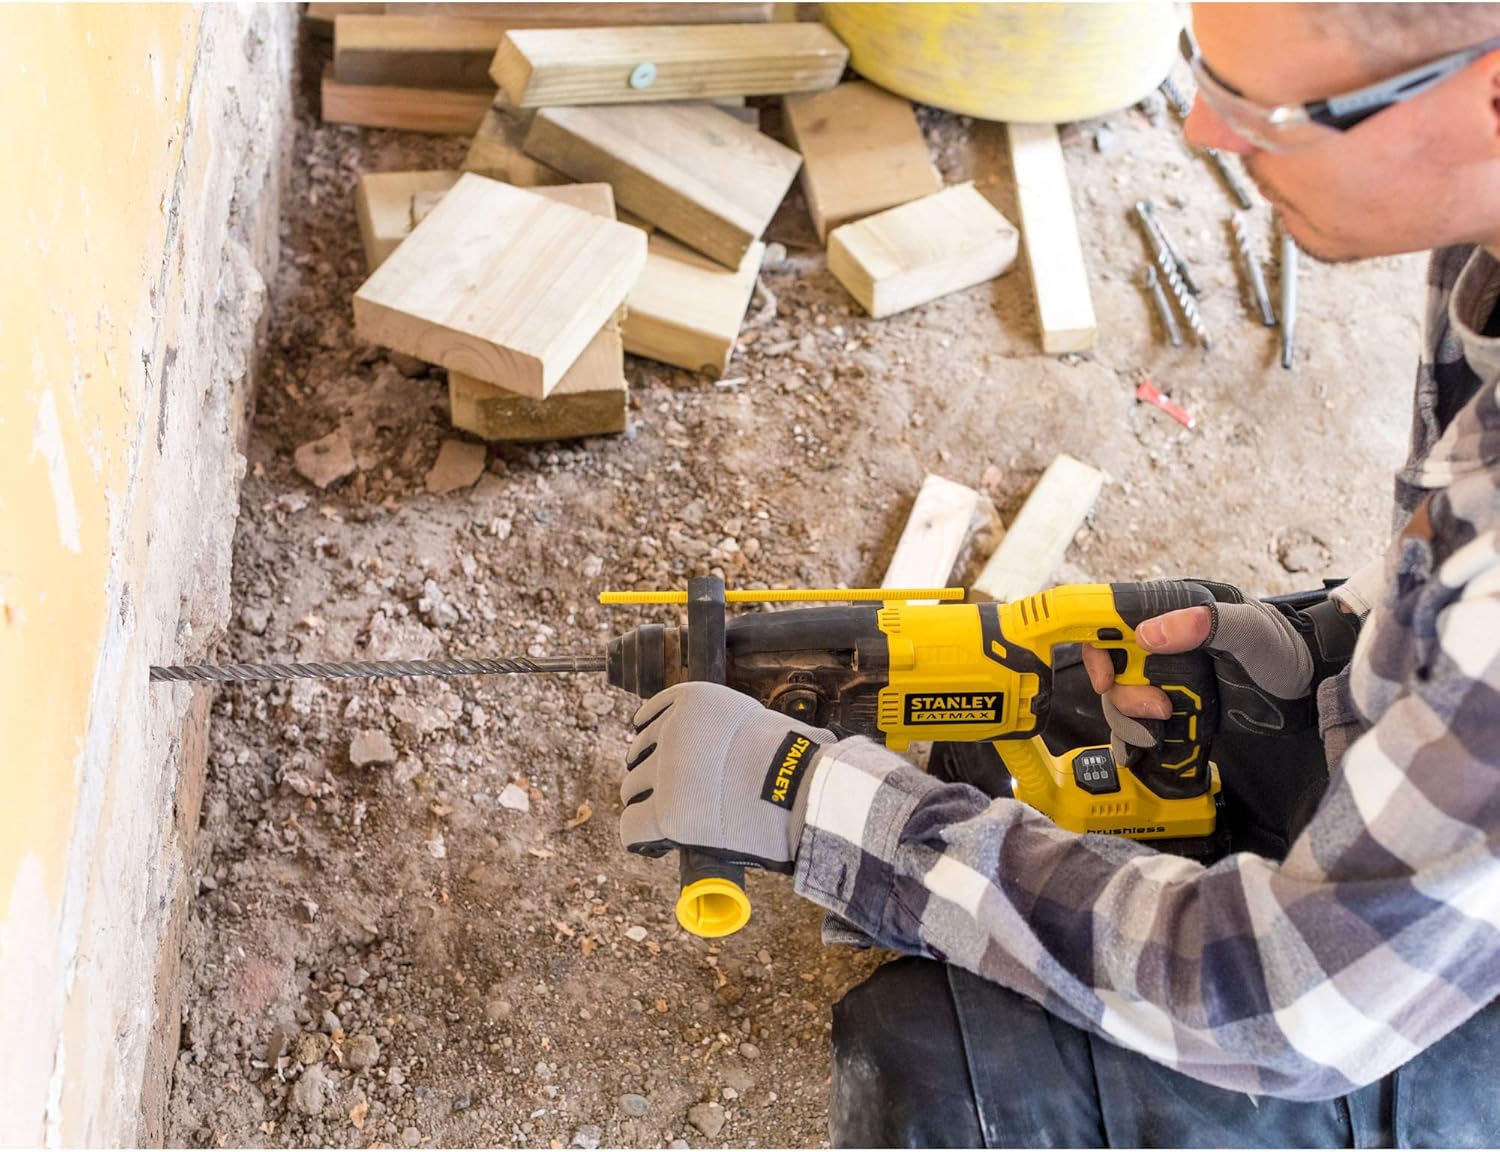
Figure 5: Drilling operation. A user is shown wearing safety glasses and ear protection, operating the hammer drill to create a hole in a brick wall, demonstrating proper handling and safety.

Figure 6: Chiseling operation. A user is shown wearing safety glasses and ear protection, using the hammer drill with a chisel bit to remove material from a brick wall, illustrating the tool's chiseling capability.
Maintenance
Regular maintenance ensures optimal performance and extends the life of your tool.
- Cleaning: Keep the ventilation slots clean to prevent overheating. Use a soft brush or dry cloth to remove dust and debris. Do not use water or chemical cleaners.
- Lubrication: The SDS-Plus chuck mechanism benefits from occasional lubrication. Apply a small amount of SDS grease to the shank of the drill bits before insertion to reduce wear.
- Storage: Store the tool and battery pack in a cool, dry place, away from direct sunlight and moisture. Ensure the battery is removed from the tool before storage.
- Inspection: Periodically inspect the tool for any damage, loose screws, or worn parts. If any damage is found, have it repaired by an authorized service center before further use.
Troubleshooting
| Problem | Possible Cause | Solution |
|---|---|---|
| Tool does not start. | Battery not inserted correctly or discharged. | Ensure battery is fully inserted. Charge the battery pack. |
| Reduced performance or overheating. | Ventilation slots blocked. Tool overloaded. | Clean ventilation slots. Reduce pressure on the tool. Allow tool to cool down. |
| Bit not locking into chuck. | Chuck collar not pulled back sufficiently. Bit shank dirty or damaged. | Pull chuck collar back fully. Clean or replace bit. |
| Excessive vibration. | Worn or damaged bit. Incorrect mode selected. | Replace bit. Ensure correct mode is selected for the application. |
Specifications
| Feature | Detail |
|---|---|
| Model Number | FMCD900B-XJ |
| Brand | STANLEY |
| Power Source | Battery Powered |
| Voltage | 18 Volts |
| Drill Type | Hammer Drill |
| Chuck Type | SDS-Plus |
| Motor Type | Brushless |
| Item Weight | 2.2 Kilograms (4.84 pounds) |
| Product Dimensions | 15.55 x 3.74 x 4.13 inches |
| Batteries Included | No (Tool Only) |
| Battery Cell Type | Lithium |
Warranty and Support
STANLEY provides a warranty for this product against defects in materials and workmanship. For detailed warranty information, please refer to the warranty card included with your purchase or visit the official STANLEY website.
For technical support, service, or to order replacement parts, please contact STANLEY customer service through their official channels. Keep your proof of purchase for warranty claims.