
Browning BTC-5HDX
Browning Strike Force Extreme 16 MP Trail Camera User Manual
Model: BTC-5HDX
1. Introduction
This manual provides comprehensive instructions for the setup, operation, and maintenance of your Browning Strike Force Extreme 16 MP Trail Camera. Designed for high-performance outdoor monitoring, this camera captures high-quality images and videos with advanced features like rapid trigger speed and night vision capabilities. Please read this manual thoroughly to ensure optimal performance and longevity of your device.
2. Product Features
- 16 MP Images: Captures high-resolution still photographs.
- HD Videos with Sound: Records 1280 x 720 HD video clips with adjustable lengths (5 seconds to 2 minutes).
- Infrared LED Illumination: Provides clear night vision capabilities.
- 100 ft. Flash Range: Ensures wide illumination for night captures.
- Adjustable 80 ft. Detection Range: Customizable detection area for optimal monitoring.
- Fast Trigger Speed: Features an adjustable trigger speed of 0.4 – 0.7 seconds.
- Quick Recovery Time: Boasts a rapid 0.6-second recovery time between pictures.
- SDXC Memory Card Support: Compatible with up to 512GB SDXC memory cards (not included).
- Battery Meter: Functions with both Alkaline or Lithium batteries.
- Compact Design: Measures 4.5" x 3.25" x 2.5" for discreet placement.
- Timelapse Plus Mode: Combines timelapse photography with IR triggered images.
- Long Battery Life: Operates efficiently on 6 AA batteries (not included).
- Multi Shot & Rapid Fire: Captures up to 8 multi-shot or rapid-fire images.
- SD Card Management: Offers options for managing storage space on the SD card.
- Smart IR Video: Continues recording video during the day when motion is detected.
- External Power Jack: Includes a 12-volt external power jack.
- Connectivity: Equipped with TV Out and USB Port.
- Camo Finish: Blends seamlessly into outdoor environments.
- Picture Info Bar: Displays Time, Date, Temperature, Moon Phase, and Camera ID on images.
- Programmable Picture Delay: Adjustable delay from 1 second to 60 minutes.
- Software Compatibility: Works with Browning Buck Watch Timelapse Viewer Software.
- Tripod Socket: Features a 1/4" -20 tripod socket for versatile mounting.
3. Package Contents
- Browning Strike Force Extreme 16 MP Trail Camera
- Camera Strap
4. Setup
4.1 Battery Installation
Open the camera housing. Insert 6 AA batteries (not included) into the battery compartment, ensuring correct polarity as indicated inside the compartment.
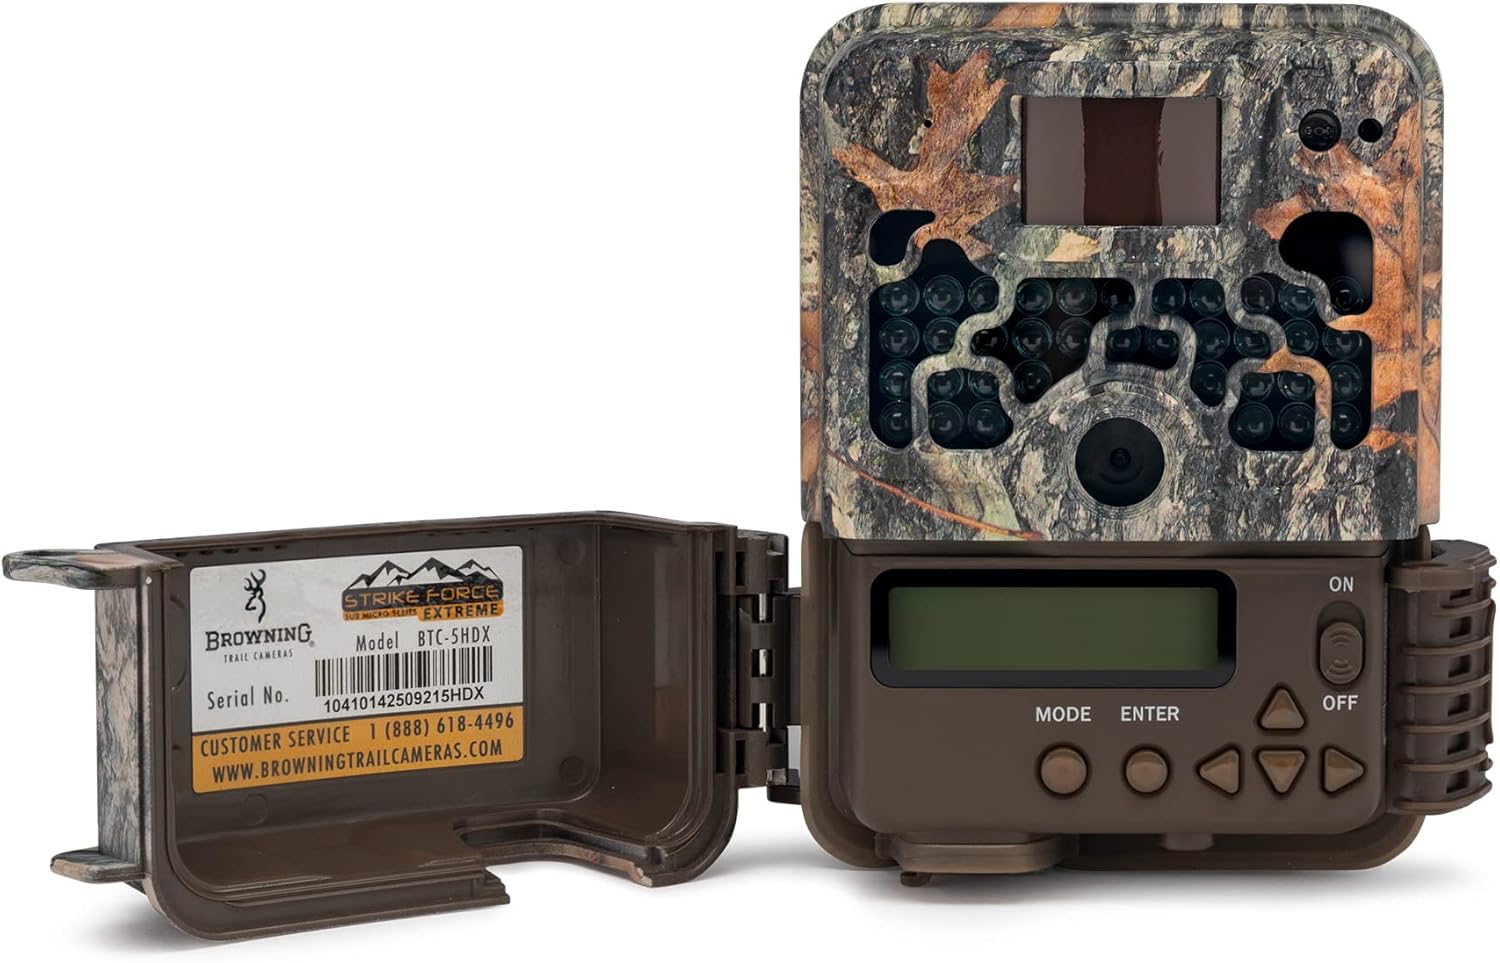
Figure 4.1: Open camera showing battery compartment and controls.
4.2 SD Card Insertion
Insert an SDXC memory card (up to 512GB, not included) into the designated slot until it clicks into place. Ensure the card is inserted with the correct orientation.
4.3 Powering On
Slide the power switch to the "ON" position. The camera will perform a self-test and the display will illuminate.

Figure 4.2: Front view of the camera.
4.4 Initial Settings
Upon first power-on or after a battery change, use the control buttons (MODE, ENTER, and arrow keys) to set the current date, time, and other basic parameters as prompted on the display. Refer to the on-screen menu for navigation.
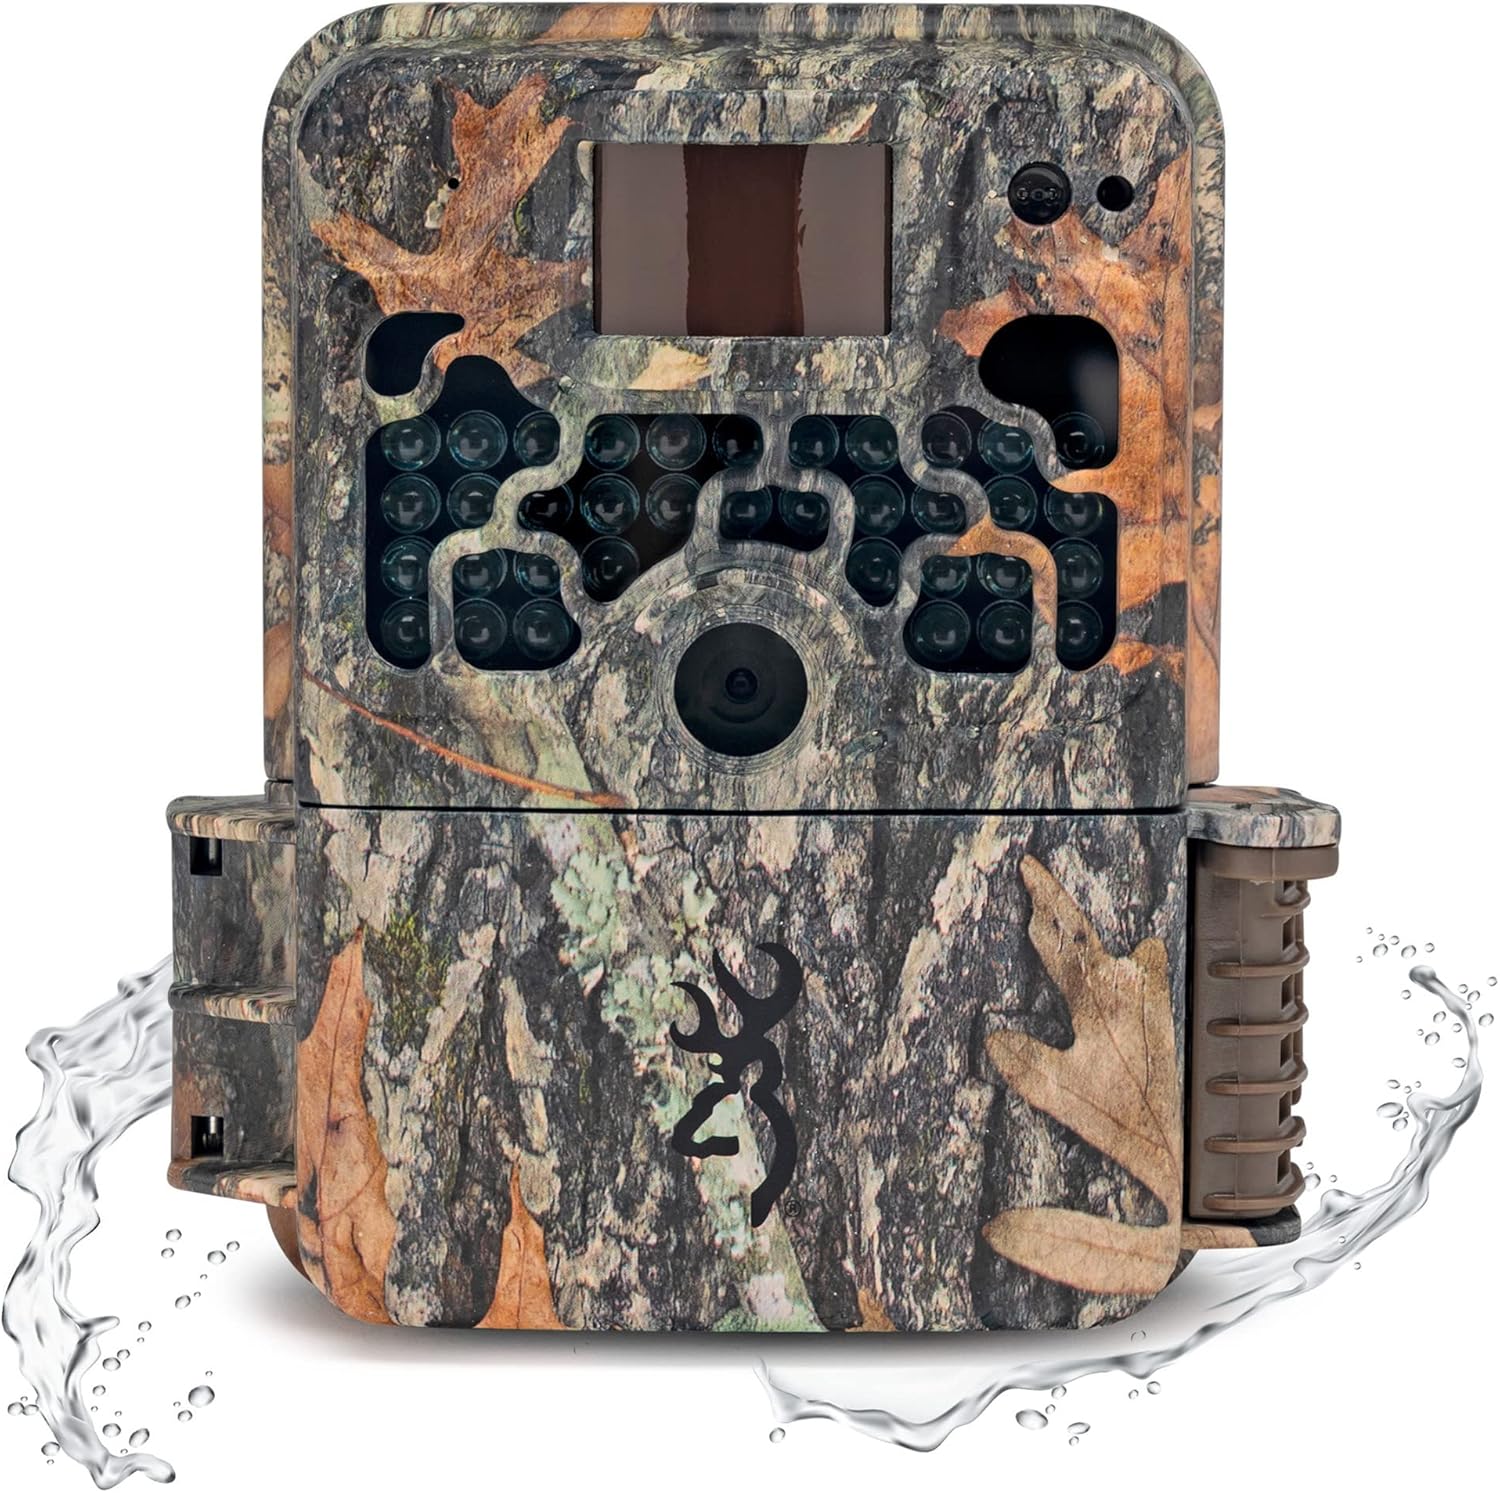
Figure 4.3: Browning Strike Force Extreme camera.
5. Operating Instructions
5.1 Mode Selection
Use the "MODE" button on the control panel to cycle through the available operating modes: Picture (for still images), Video (for video recording), and Timelapse Plus (for time-lapse sequences with IR triggered images).
5.2 Adjusting Settings
Navigate through the camera's menu using the arrow buttons. Press "ENTER" to select an option or confirm a setting. You can adjust parameters such as trigger speed, detection range, picture delay, video length, and more to suit your specific monitoring needs.
5.3 Smart IR Video
The Smart IR Video feature allows the camera to continue recording video as long as game is present during daylight hours, maximizing your capture opportunities.
5.4 SD Card Management
Utilize the SD card management feature to either overwrite older files when the card is full (loop recording) or stop recording when the card reaches its capacity. This setting can be found in the camera's menu.
5.5 Picture Information Bar
Captured images will include an information bar displaying essential data such as Time, Date, Temperature, Moon Phase, and Camera ID. This helps in organizing and analyzing your captured media.
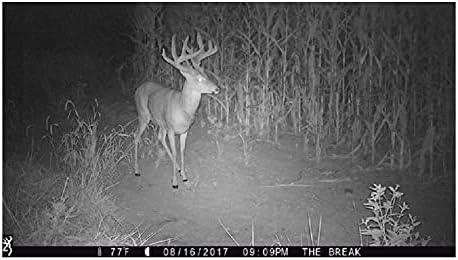
Figure 5.1: Example night vision image captured by the camera.
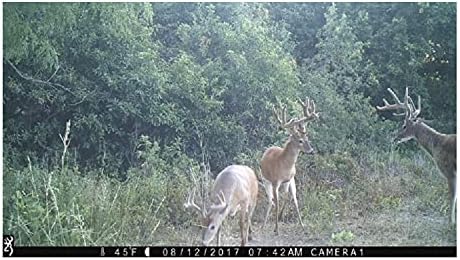
Figure 5.2: Example daytime image captured by the camera.
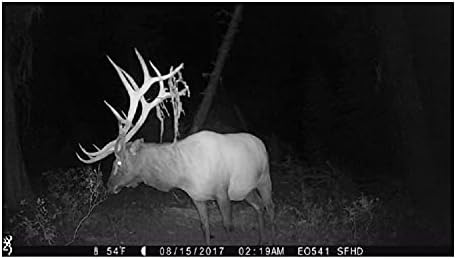
Figure 5.3: Another example night vision image captured by the camera.
6. Maintenance
6.1 Cleaning
Gently wipe the camera lens, IR LEDs, and housing with a soft, dry cloth to remove dirt, dust, or moisture. Avoid using abrasive cleaners or solvents, as they may damage the camera's finish or components.
6.2 Battery Replacement
Replace batteries when the battery meter on the display indicates low power. Using fresh batteries ensures continuous operation and optimal performance, especially for night vision and video recording.
6.3 SD Card Care
Periodically format your SD card (after backing up any important data) to maintain optimal performance and prevent data corruption. Store the camera in a cool, dry place when not in use, and ensure the battery compartment is securely closed to prevent moisture ingress.
7. Troubleshooting
7.1 Camera Not Powering On
- Check battery orientation and ensure batteries are fully charged or new.
- Ensure the power switch is fully in the "ON" position.
- Verify that the battery compartment is clean and free of corrosion.
7.2 Poor Image/Video Quality
- Gently clean the camera lens and IR LEDs with a soft cloth.
- Ensure flash range and detection range settings are appropriate for the environment and subject distance.
- Check for obstructions in front of the lens or IR LEDs.
7.3 No Detection
- Adjust the detection range setting in the camera menu.
- Ensure the camera is positioned correctly, free from obstructions like branches or tall grass that might trigger false detections or block the sensor.
- Verify that the camera is not facing direct sunlight or strong heat sources, which can interfere with the PIR sensor.
7.4 SD Card Errors
- Reformat the SD card using the camera's menu option (this will erase all data).
- Try a different, high-quality SDXC memory card.
- Ensure the card is fully inserted into the slot.
8. Specifications
| Feature | Specification |
|---|---|
| Model Name | BTC-5HDX |
| Image Resolution | 16 MP |
| Video Capture Resolution | 720p |
| Flash Range | 100 ft. |
| Detection Range | 80 ft. (user adjustable) |
| Trigger Speed | 0.4 – 0.7 seconds (adjustable) |
| Recovery Time | 0.6 seconds |
| Memory Card Support | Up to 512GB SDXC (not included) |
| Power Source | 6 AA batteries (not included), 12V External Power Jack |
| Compact Case Size | 4.5" x 3.25" x 2.5" |
| Included Components | Camera strap |
| Item Weight | 454 g |
| Material | Metal |
| Color | Camouflage |
| Special Feature | Motion Sensor |
| Usage | Hunting |
| Connectivity Technology | Wireless |
| Indoor/Outdoor Usage | Outdoor |
9. Warranty and Support
This product is manufactured by Browning Trail Cameras. For customer service inquiries or technical support, please contact Browning Trail Cameras directly. You may reach them at (888) 618-4496. Refer to the product packaging or the official Browning Trail Cameras website for detailed warranty information and the most current support resources.
Related documentsBTC-5HDX


Ask a question about this manual
Ask about setup, troubleshooting, compatibility, parts, safety, or missing instructions. Manuals+ will review the question and use this page’s manual context to help answer it.