
Motorola Solutions RMV2080
Motorola Solutions RMV2080 Two-Way Radio Instruction Manual
Model: RMV2080
For Business and Professional Users
1. Introduction
This manual provides detailed instructions for the proper setup, operation, and maintenance of your Motorola Solutions RMV2080 Two-Way Radio 6-Pack with Multi-Charger. Designed for robust business and professional use, these radios offer reliable communication in various demanding environments. Please read this manual thoroughly before using your radios to ensure optimal performance and safety.
2. Important Safety Information
Legal Disclaimer: This product is intended for use only by business or other professional users — not for consumers.
Always adhere to local regulations and guidelines regarding two-way radio usage. Ensure proper handling of batteries and charging equipment to prevent hazards.
3. What's in the Box
Your Motorola Solutions RMV2080 6-Pack includes the following components:
- Six (6) Motorola RMV2080 Two-Way Radios
- One (1) Multi-Unit Charger
- Six (6) 15-hour Lithium-Ion Battery Packs
- Six (6) Swivel Belt Holsters
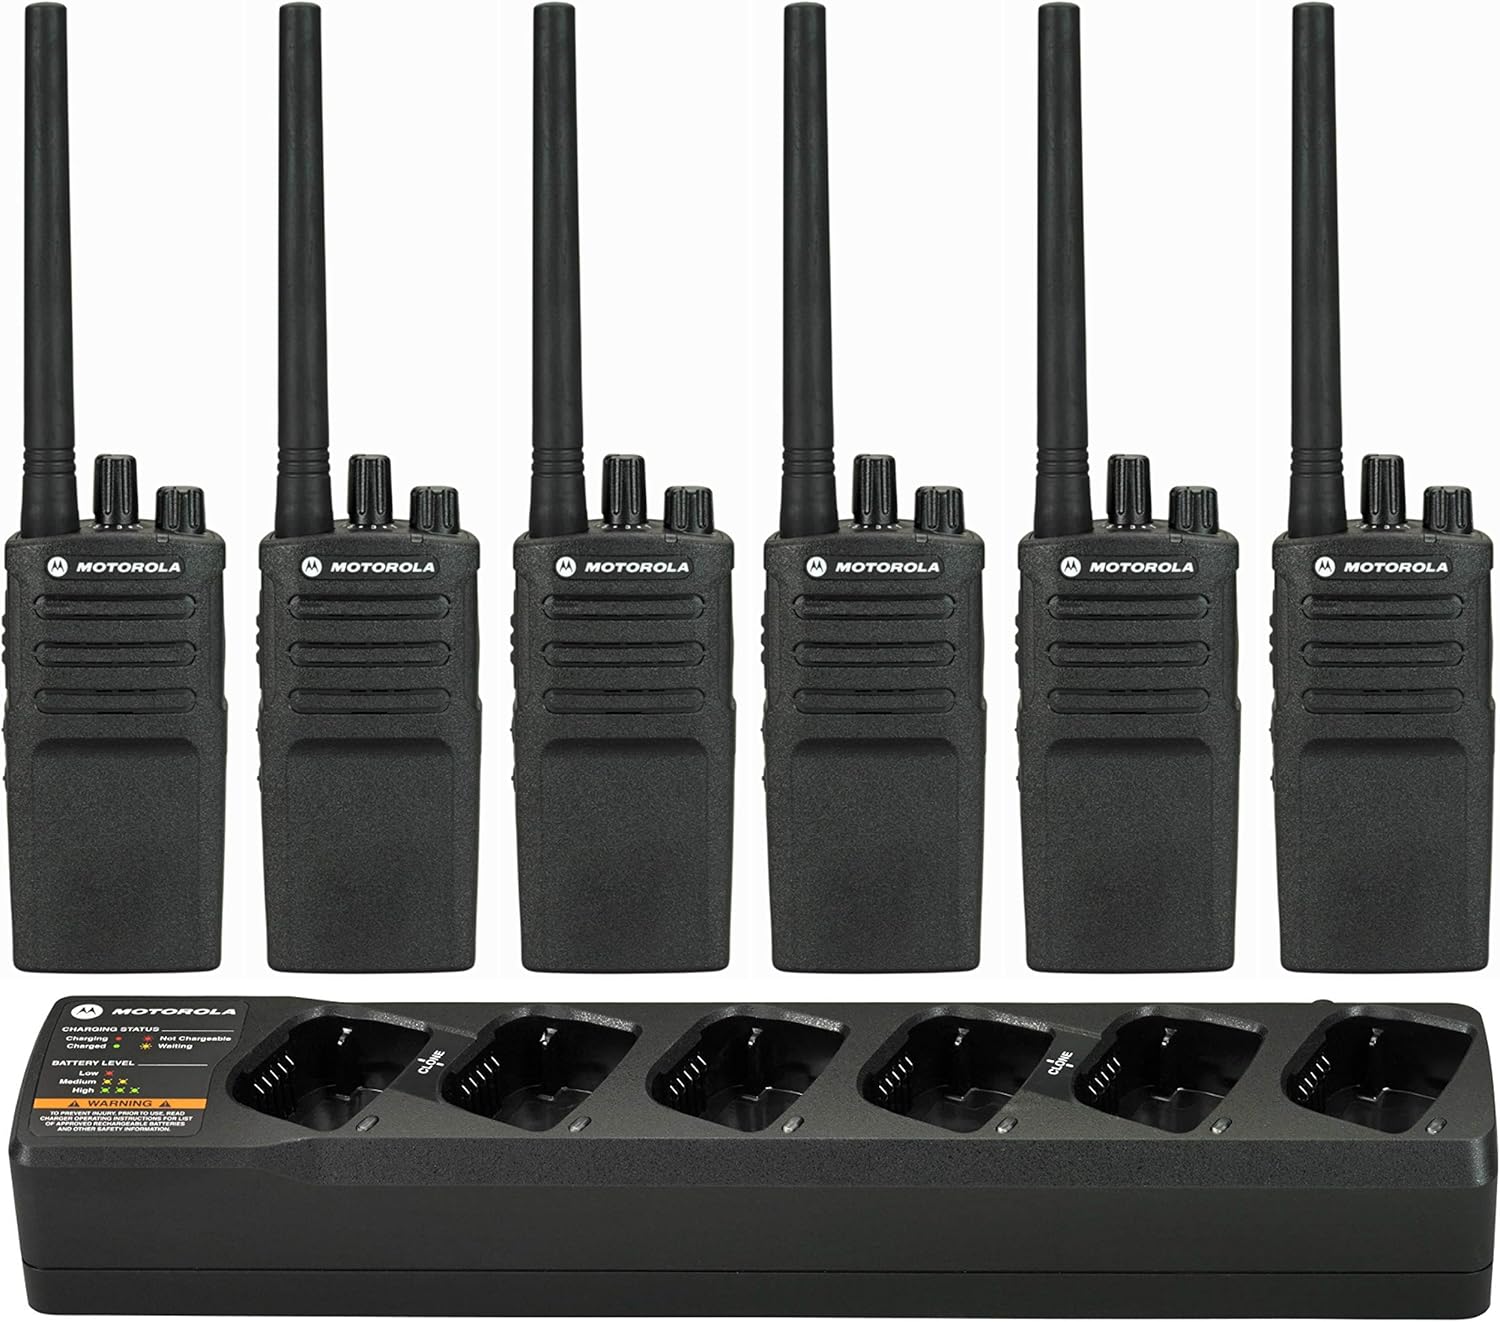
Image: Complete package of six Motorola RMV2080 radios and the multi-unit charger.
4. Product Overview
Familiarize yourself with the key components of your RMV2080 radio:

Front View: Shows the speaker, microphone, and Motorola logo.

Side View (PTT): Features the large Push-to-Talk (PTT) button.

Side View (Programmable Buttons): Two smaller programmable buttons for various functions.

Top View: Displays the antenna, channel selector knob, and combined volume/power knob.
5. Setup
5.1. Battery Installation
- Align the battery pack with the battery compartment on the back of the radio.
- Slide the battery pack into place until it clicks securely.
- Ensure the battery release latch is fully engaged.
5.2. Charging the Battery
Use the provided Multi-Unit Charger to charge your radio batteries:
- Connect the multi-unit charger to a power outlet.
- Place the radio (with battery installed) into an available slot on the charger.
- The charging indicator light on the radio or charger will illuminate to show charging status. A full charge typically takes approximately 3-4 hours.
5.3. Attaching the Swivel Belt Holster
The swivel belt holster allows for convenient carrying:
- Slide the radio into the holster until it is securely seated.
- Attach the holster to your belt or clothing. The swivel mechanism allows for comfortable positioning.
6. Operating Instructions
6.1. Powering On/Off and Volume Control
Rotate the On/Off/Volume knob clockwise to power on the radio. Continue rotating to increase the volume. Rotate counter-clockwise to decrease volume and power off.
6.2. Channel Selection
Use the Channel Selector knob on top of the radio to choose your desired communication channel. The RMV2080 supports 8 channels.
6.3. Push-to-Talk (PTT) Button
To transmit, press and hold the large PTT button on the side of the radio. Speak clearly into the microphone. Release the PTT button to listen.
6.4. Voice Announcement Feature
The RMV2080 features voice announcements. When you power on the radio, it will announce the battery level and the current channel. This allows for quick status checks without needing a display.
6.5. Channel Alias Feature
The channel alias feature allows you to assign custom names (aliases) to your channels, such as "Security" or "Stock Room". This helps users quickly identify who they are communicating with on a specific channel.
6.6. Voice Prompts for Programming
Even without a display, the radio can be programmed using voice prompts. Follow the voice instructions to change frequency, code, or enable auto-scan, ensuring your radio is correctly configured for your needs.
6.7. NOAA Weather Alerts
For enhanced safety, the RMV2080 includes a dedicated NOAA Weather Alert channel (available in US models with a channel selector knob). This feature allows you to monitor weather conditions and receive automatic notifications for unexpected weather events, helping to keep your workplace and employees safe.
Video: An overview of Motorola Solutions RM Series Business Radios, highlighting features like voice announcement, channel alias, voice prompts for programming, and NOAA weather alerts.
7. Maintenance
7.1. Cleaning
Wipe the radio and charger with a soft, damp cloth. Do not use harsh chemicals or abrasive cleaners. Ensure all ports are dry before charging.
7.2. Battery Care
To maximize battery life, avoid overcharging or completely draining the battery. Store batteries in a cool, dry place when not in use. Replace batteries when their performance significantly degrades.
8. Troubleshooting
- No Power: Ensure the battery is fully charged and correctly installed. Check if the On/Off/Volume knob is turned on.
- No Audio/Poor Audio: Adjust the volume. Ensure you are on the correct channel. Check for obstructions to the speaker/microphone.
- Cannot Transmit/Receive: Verify you are on the same channel as the other party. Ensure the PTT button is fully pressed when transmitting. Check for strong interference or being out of range.
- Short Battery Life: Ensure the battery is fully charged. Battery life can be affected by frequent transmissions or extreme temperatures. Consider replacing old batteries.
9. Specifications
| Feature | Specification |
|---|---|
| Item Weight | 10.01 pounds (total package) |
| Product Dimensions (single radio) | 1.6 x 2.2 x 4.5 inches |
| Item Model Number | RMV2080 |
| Brand | Motorola Solutions |
| Color | Black |
| Number of Channels | 8 |
| Special Feature | Rechargeable |
| Frequency Range | 150.8-163 MHz (VHF) |
| Talking Range Maximum | 0.5 Mile (typical, varies by terrain) |
| Water Resistance Level | Water Resistant |
10. Warranty and Support
Motorola Solutions products are designed for durability and reliability. For specific warranty information, please refer to the warranty card included with your product or visit the official Motorola Solutions website. For technical support, service, or to purchase accessories, please contact Motorola Solutions customer service or your authorized dealer.
You can find more information and support at the Motorola Solutions Store on Amazon.
Related documentsRMV2080


Ask a question about this manual
Ask about setup, troubleshooting, compatibility, parts, safety, or missing instructions. Manuals+ will review the question and use this page’s manual context to help answer it.