
1. Product Overview
This manual provides instructions for the installation, operation, and maintenance of the HD Switch 20 AMP Upgrade Blade Clutch PTO Switch, Model 500016. This switch is designed for enhanced durability and performance in various Dixie Chopper mower models.
- 20 Amp Rating: Engineered to handle higher current loads, reducing premature failure common with lower-rated switches.
- Extreme Durability: Tested for 100,000 cycles, offering a significantly longer lifespan compared to standard factory switches.
- Proven Reliability: Outperforms many aftermarket replacements in head-to-head testing.
- IP53 Weatherproof Protection: Certified to withstand dust and moisture, tested for 72 hours of salt spray.
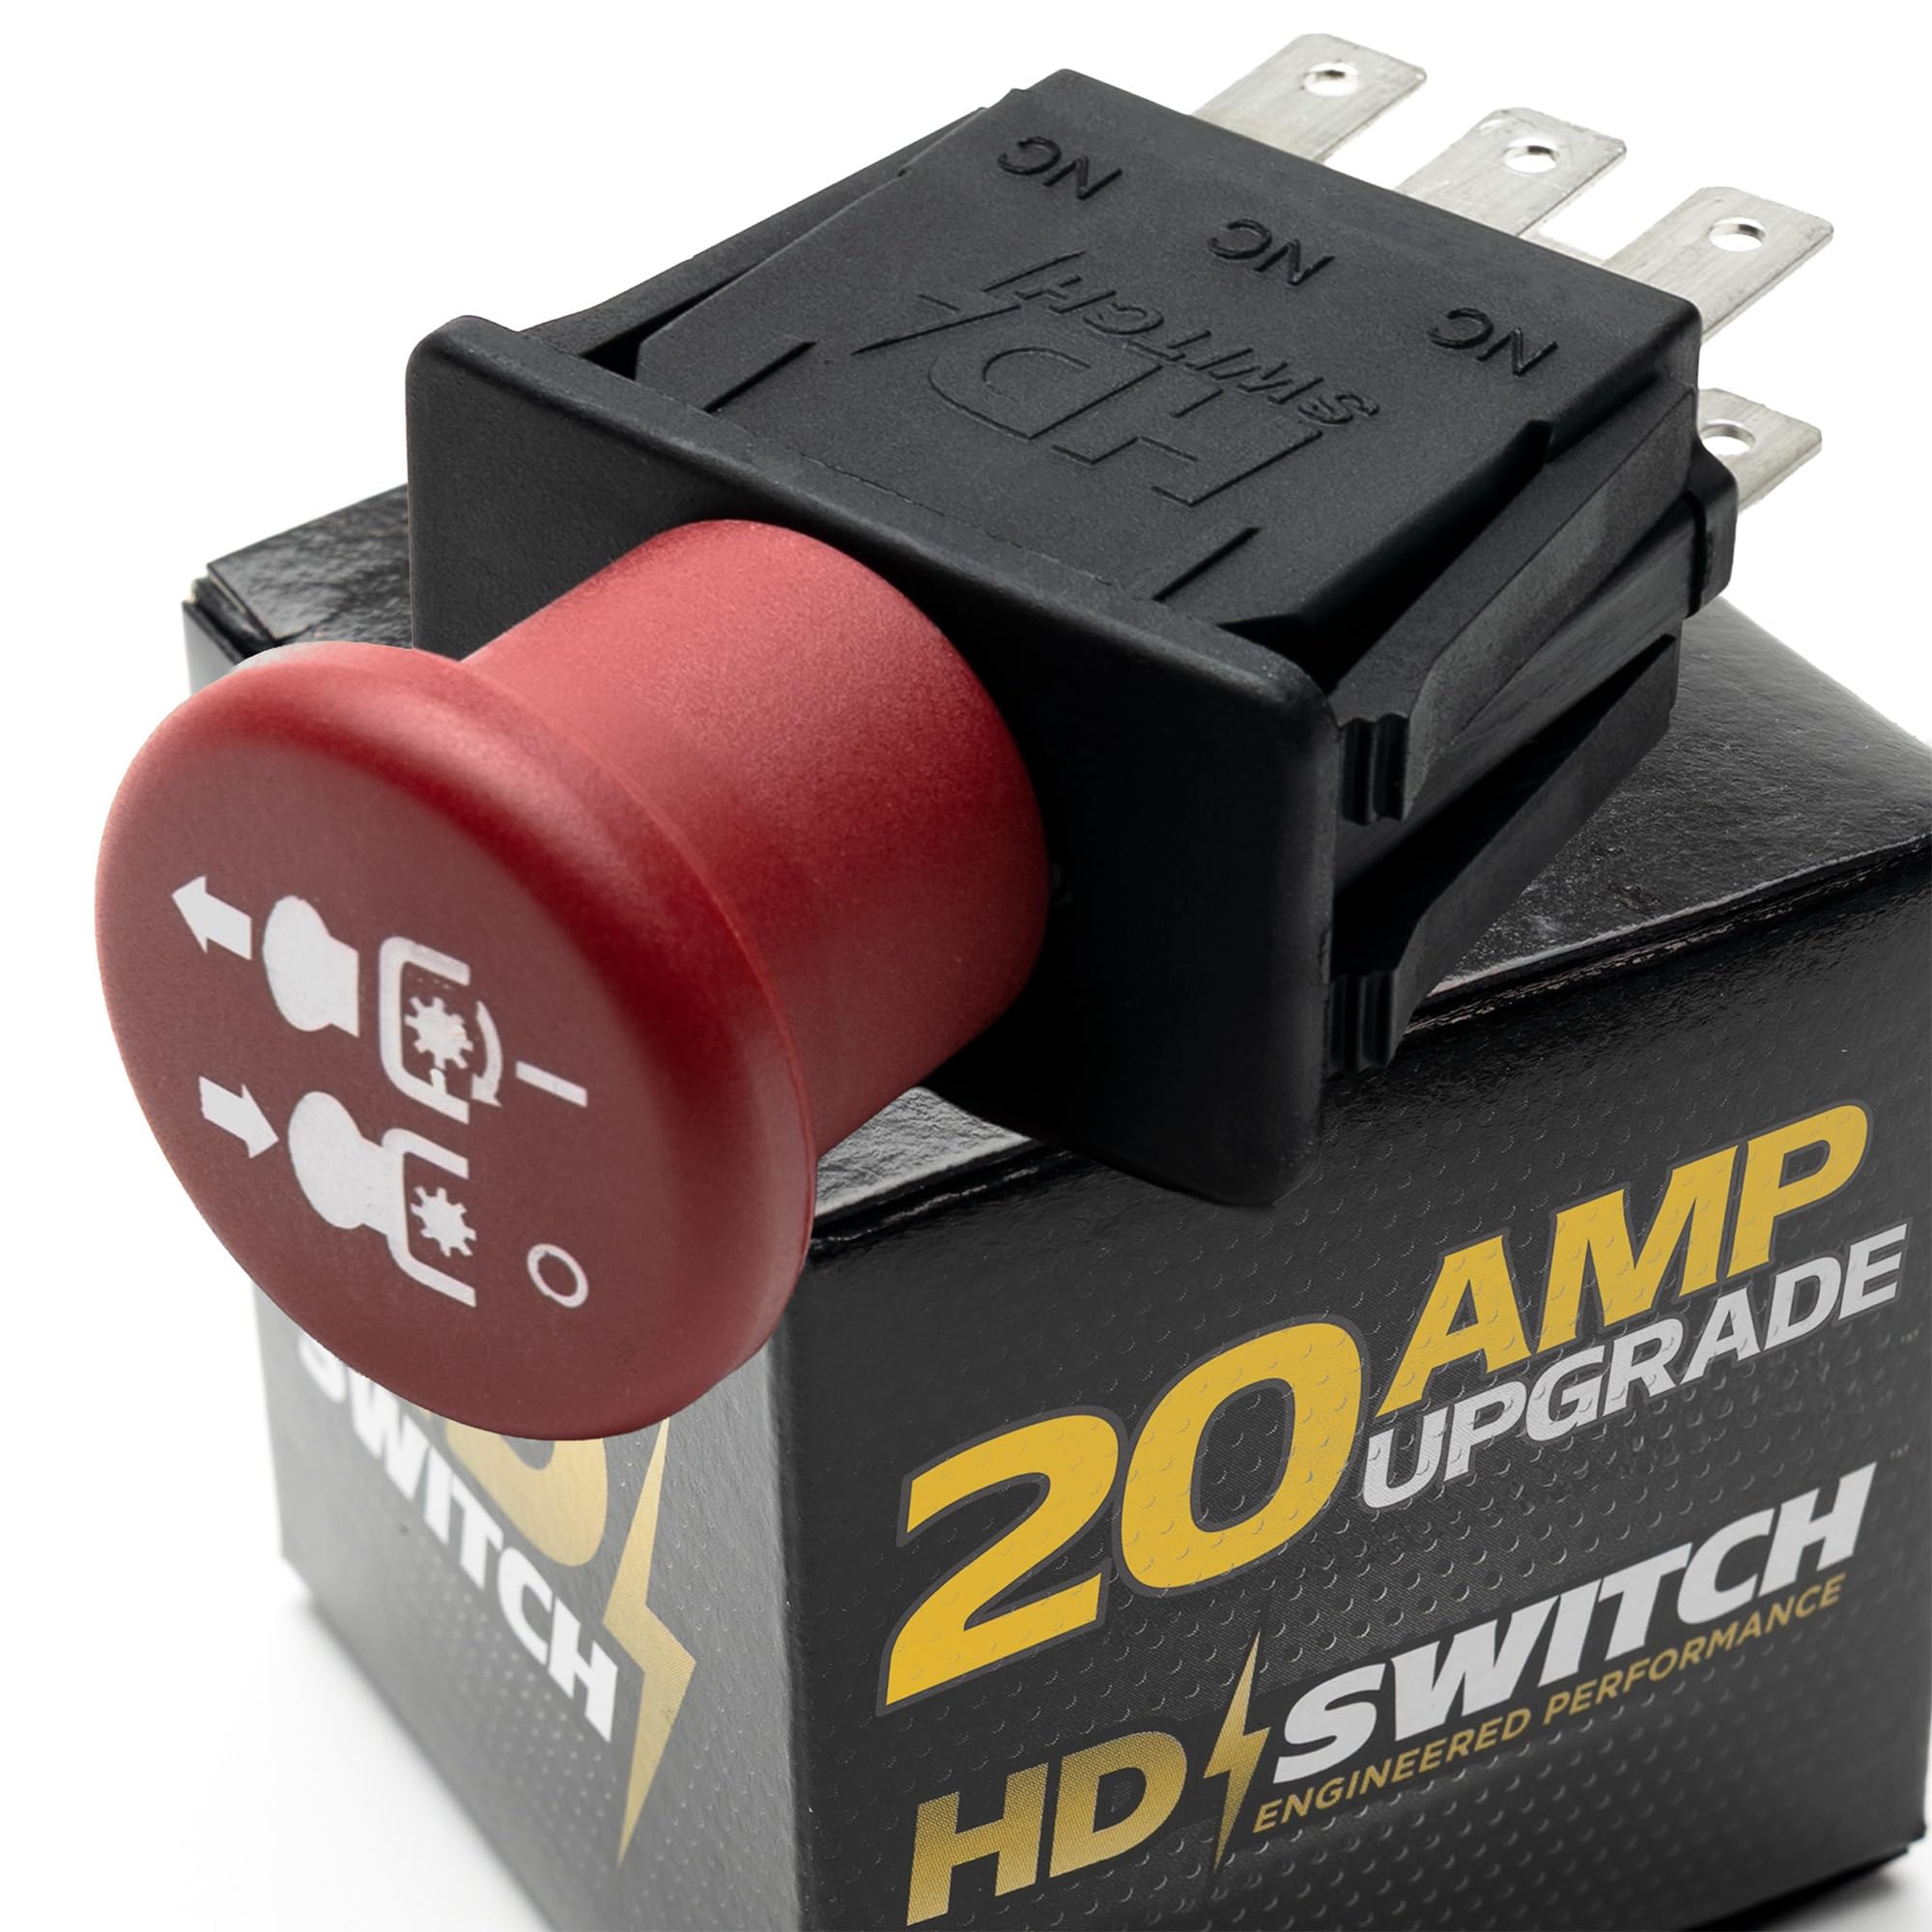
Image 1.1: The HD Switch 20 AMP Upgrade Blade Clutch PTO Switch, highlighting its robust design and 20 AMP upgrade feature.
2. Safety Information
Always prioritize safety during installation and operation. Failure to follow safety guidelines can result in injury or damage to equipment.
- Disconnect the battery before performing any electrical work.
- Ensure the mower is turned off and the parking brake is engaged.
- Wear appropriate personal protective equipment (PPE), such as gloves and eye protection.
- If unsure about any step, consult a qualified technician.
3. Setup and Installation
This section outlines the general steps for replacing a PTO switch. Specific mower models may have slight variations.
- Preparation: Ensure the mower is off, the key is removed, and the battery is disconnected. Locate the existing PTO switch, typically on the control panel.
- Remove Old Switch: Carefully disconnect the wiring harness from the old switch. Note the orientation of the wires if not color-coded or clearly marked. Some switches may have a retaining nut or clips that need to be removed.
- Install New Switch: Insert the new HD Switch PTO switch into the panel opening. Ensure it seats correctly. Secure it with any retaining nuts or clips that were removed.
- Connect Wiring: Reconnect the wiring harness to the new switch. Verify that all connections are secure and correctly oriented. The HD Switch features blade terminals for a secure connection.
- Test Functionality: Reconnect the battery. Turn the ignition key to the "ON" position (do not start the engine yet). Engage and disengage the PTO switch to ensure it clicks and feels responsive. Start the engine and test the PTO engagement in a safe, open area.

Image 3.1: The HD Switch PTO switch showing its blade terminals for electrical connection.
4. Operating Instructions
The PTO (Power Take-Off) switch controls the engagement and disengagement of the mower's cutting blades or other attachments.
- Engaging the PTO: To engage the PTO, pull the switch knob outwards. You should hear a distinct click, and the blades or attachment will begin to operate. Ensure the engine is running at the recommended RPM for PTO engagement.
- Disengaging the PTO: To disengage the PTO, push the switch knob inwards. The blades or attachment will stop operating.
- Always ensure the area around the mower is clear before engaging the PTO.
5. Maintenance
The HD Switch PTO switch is designed for minimal maintenance due to its robust construction and IP53 weatherproof rating.
- Periodic Inspection: Periodically inspect the switch and its wiring for any signs of wear, corrosion, or damage. Ensure the connections remain tight.
- Cleaning: Clean the exterior of the switch with a damp cloth if it becomes dirty. Avoid using harsh chemicals or abrasive cleaners. The IP53 rating ensures protection against dust and spraying water.
- Durability: The switch is tested to 100,000 cycles, indicating a long operational life under normal conditions.

Image 5.1: Illustration of the IP53 weatherproof protection, indicating resistance to dust and water spray.
6. Troubleshooting
If you encounter issues with your PTO switch, consider the following troubleshooting steps:
- PTO Not Engaging:
- Check all wiring connections to ensure they are secure and free from corrosion.
- Verify that the mower's safety interlocks (e.g., seat switch, parking brake) are correctly engaged.
- Inspect the PTO clutch itself for any visible damage or wear.
- Ensure the engine RPM is sufficient for PTO engagement.
- Intermittent Operation:
- Loose wiring connections can cause intermittent operation. Re-check all terminals.
- Internal wear in the switch, though unlikely with this upgraded model, could be a factor if the switch is old.
- Switch Feels Loose or Sticky:
- Ensure the switch is properly seated and secured in the control panel.
- Clean any debris around the switch mechanism.
If these steps do not resolve the issue, it is recommended to consult a qualified service technician.
7. Specifications
| Feature | Specification |
|---|---|
| Brand | HD Switch |
| Model | 500016 |
| Current Rating | 20 Amps (Upgrade) |
| Operation Mode | Manual |
| Contact Type | Normally Open |
| Connector Type | 2 Pin |
| Switch Type | Dixie Switch |
| Terminal Type | Blade |
| Material | Iron (Housing), Copper (Contacts) |
| Circuit Type | 1-way |
| Mounting Type | Panel Mount |
| Actuator Type | Blade (Push/Pull Knob) |
| International Protection Rating | IP53 (Dust Protected, Spraying Water Protected) |
8. Warranty and Support
HD Switch products are designed for durability and performance. For specific warranty information, please refer to the product packaging or the official HD Switch website. For support, contact HD Switch directly through their official channels.
Return Policy: This product is subject to a 30-day refund/replacement policy from the date of purchase.