
EVERSECU ES-XVR-MINI4
EVERSECU ES-XVR-MINI4 4-Channel Mini Hybrid DVR/NVR User Manual
Model: ES-XVR-MINI4 | Brand: EVERSECU
1. Introduction
This manual provides detailed instructions for the installation, operation, and maintenance of your EVERSECU ES-XVR-MINI4 4-Channel Mini Hybrid DVR/NVR. This device supports various camera types including 1080P AHD/HD-TVI/HD-CVI/CVBS and IP cameras, offering comprehensive surveillance capabilities with real-time recording and remote viewing options. Please read this manual thoroughly before using the product to ensure proper setup and functionality.
2. Safety Information
- Ensure the power supply matches the device's requirements (DC 5V). Using an incorrect power adapter may damage the unit.
- Do not expose the device to water, moisture, or extreme temperatures.
- Avoid placing the device in direct sunlight or near heat sources.
- Do not open the device casing. Refer all servicing to qualified personnel.
- Handle storage devices (HDD/SD card) with care to prevent data loss.
- Ensure proper ventilation around the device to prevent overheating.
3. Product Overview
3.1 Key Features
- Miniature DVR supporting 1080P 2.0Mp AHD/HD-TVI/HD-CVI cameras, CVBS analog cameras, and IP cameras.
- Full 1080N real-time recording for all 4 channels.
- Email notifications and mobile push alerts upon motion detection.
- Free XMEYE Apps for live view and playback on smartphones (Wi-Fi/2G/3G/4G networks).
- Equipped with eSATA-USB port for mobile HDD recording.
- Supports up to 128GB SD Card for backup.
3.2 Package Contents

Figure 3.2.1: Included accessories with the DVR unit.
- 1 x 4-Channel DVR Unit
- 1 x 5V Power Adapter
- 1 x USB Mouse
- 1 x Power Cable
- 1 x VGA to 4-Channel BNC Cable
3.3 Device Layout

Figure 3.3.1: Front view of the DVR unit, highlighting the TF (MicroSD) slot, power button, and eSATA+USB port.

Figure 3.3.2: Rear panel connections including A/V IN, HDMI, RJ45 (Ethernet), USB, DC 5V power input, and the external BNC connector for video input/output.
The DVR features a compact design with essential ports for connectivity and storage. The front panel includes a TF (MicroSD) card slot, a power button, and an eSATA+USB port for external storage. The rear panel provides A/V IN, HDMI, RJ45 (Ethernet), additional USB ports, and the DC 5V power input. The external BNC connector cable simplifies camera connections.
4. Setup
4.1 Storage Installation
The DVR supports both MicroSD cards (up to 128GB) and external eSATA HDDs for recording. A hard disk is not included and must be installed for recording and playback.
- MicroSD Card: Insert a compatible MicroSD card into the TF slot on the front panel. Ensure it is inserted correctly until it clicks into place.
- External eSATA HDD: Connect an eSATA hard drive to the eSATA+USB port on the front panel. The system may automatically format the drive upon connection. Ensure any important data is backed up before connecting.
Note: The DVR may automatically format any connected storage device. Back up all data before connecting a new storage device.
4.2 Camera Connections

Figure 4.2.1: DVR with BNC cable connected for camera inputs.
Connect your AHD/HD-TVI/HD-CVI/CVBS analog cameras to the "Video In" ports on the external BNC connector cable. The DVR supports up to 4 channels. For IP cameras, connect the DVR to your network via the RJ45 Ethernet port.
4.3 Monitor and Network Connections
- Monitor: Connect a monitor to the DVR using an HDMI cable or the VGA output on the external BNC cable.
- Network: Connect an Ethernet cable from your router/switch to the RJ45 port on the DVR for network access and remote viewing.
- Power: Connect the 5V power adapter to the DC 5V port on the DVR and plug it into a power outlet.
Note: If you encounter "Output format not supported" on your monitor, try connecting via the BNC V-out port using a BNC to RCA/VGA adapter to access display settings.
5. Operating Instructions
5.1 System Interface and Navigation
Once powered on, the DVR will display the live camera feeds on the connected monitor. Use the included USB mouse to navigate the on-screen menu. The interface allows access to settings, recording options, playback, and network configurations.
5.2 Recording

Figure 5.2.1: Multifunction capabilities of the DVR.
The DVR supports full 1080N real-time recording across all 4 channels. Recording modes typically include continuous, scheduled, and motion-triggered recording. Configure these settings through the system menu.
5.3 Motion Detection and Alerts
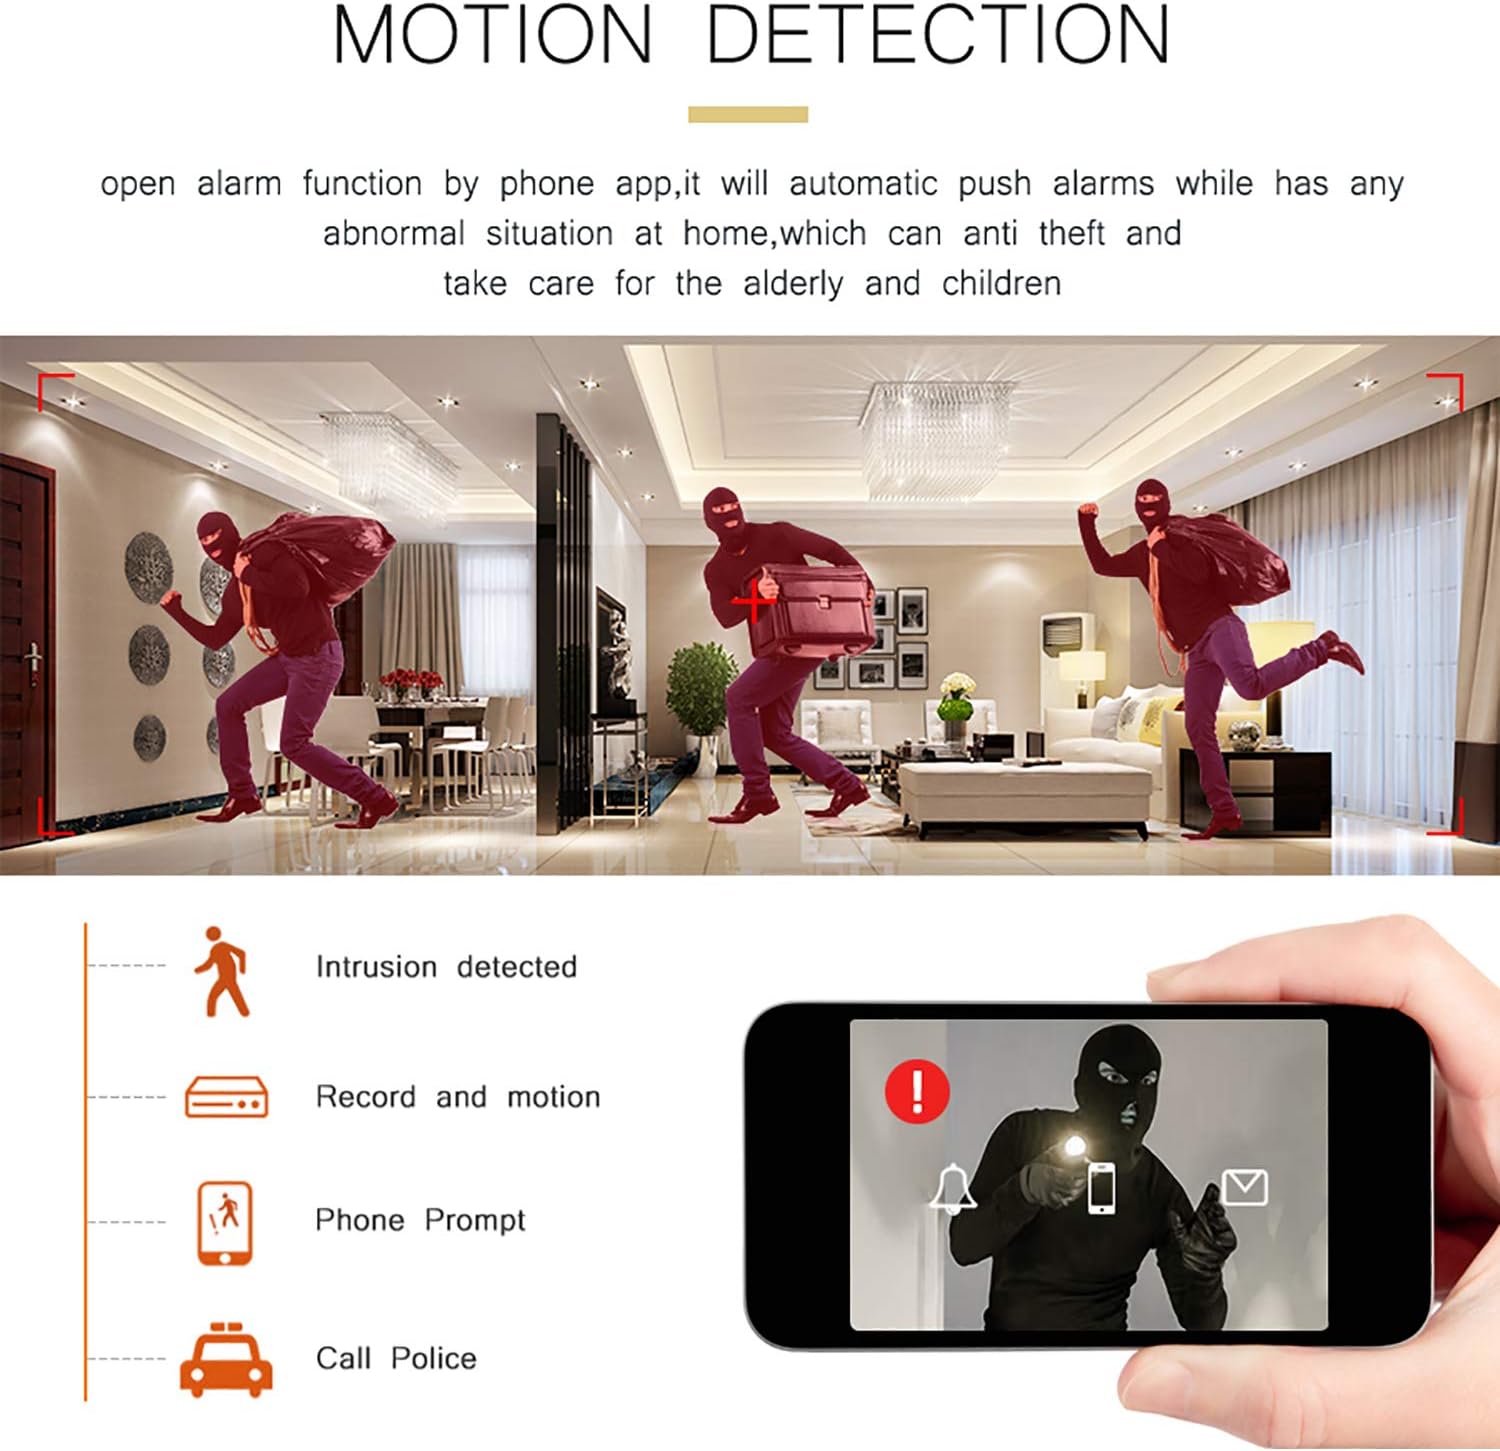
Figure 5.3.1: Motion detection functionality and alert process.
Enable the motion detection function in the system settings. When motion is detected, the DVR can trigger email notifications and mobile push alerts to your smartphone. This feature helps in monitoring and security.
5.4 Playback

Figure 5.4.1: Smart playback timeline for reviewing recorded incidents efficiently.
Access the playback menu to review recorded footage. The smart playback feature allows you to quickly locate incident videos, saving time during review.
5.5 Remote Viewing
Download the free XMEYE app on your smartphone or use the provided PC software for remote live viewing and playback. Ensure the DVR is connected to the internet. Follow the app's instructions to add your device using its unique ID or QR code.
6. Maintenance
- Cleaning: Use a soft, dry cloth to clean the exterior of the DVR. Do not use liquid cleaners or aerosols.
- Firmware Updates: Check the EVERSECU official website for available firmware updates. Regularly updating the firmware can improve performance and add new features.
- Data Backup: Periodically back up important recordings from your storage device to an external drive or cloud storage to prevent data loss.
- Ventilation: Ensure the DVR has adequate airflow to prevent overheating, which can affect its lifespan and performance.
7. Troubleshooting
7.1 No Video Output on Monitor
- Check Cables: Ensure HDMI or VGA cables are securely connected to both the DVR and the monitor.
- Monitor Input: Verify the monitor is set to the correct input source (HDMI/VGA).
- Output Format: If you see "Output format not supported," try connecting a BNC to RCA/VGA adapter to the "V-out" port on the external BNC cable to access the DVR's display settings and adjust the output resolution.
7.2 Recording Issues
- Storage Device: Ensure a MicroSD card or eSATA HDD is properly installed and recognized by the DVR.
- Formatting: If a new storage device is installed, it may need to be formatted through the DVR's system menu. Be aware that formatting will erase all data.
- Capacity: Check if the storage device has sufficient free space.
7.3 Remote View Not Working
- Network Connection: Verify the DVR is connected to the internet via the RJ45 port and has a valid IP address.
- App Configuration: Ensure the XMEYE app or PC software is correctly configured with the DVR's device ID.
- Firewall/Router Settings: Check your network's firewall or router settings to ensure they are not blocking the DVR's access to the internet or the remote viewing service.
7.4 Device Overheating
- Ventilation: Ensure the DVR is placed in a well-ventilated area, away from direct heat sources. Do not obstruct any vents.
- Operating Environment: Avoid operating the device in excessively hot environments.
8. Specifications
| Feature | Detail |
|---|---|
| Model Number | ES-XVR-MINI4 |
| Brand | EVERSECU |
| Connectivity Technology | HDMI, USB |
| Compatible Devices | Camera, Personal Computers, Smartphone |
| Memory Storage Capacity | 128 GB (MicroSD) |
| Hard Disk Size (External) | Up to 6 TB (eSATA) |
| Wattage | 10 watts |
| Number of Channels | 4 |
| Media Format Digital Video | HDD, SD Card, TF Card |
| Audio Input | RCA |
| Total USB Ports | 2 (plus 1 eSATA+USB combo) |
| Video Input | BNC, USB (for IP cameras via network) |
| UPC | 788988028895 |
9. Warranty and Support
For warranty information and technical support, please refer to the official EVERSECU website or contact their customer service. Keep your purchase receipt for warranty claims.
Ask a question about this manual
Ask about setup, troubleshooting, compatibility, parts, safety, or missing instructions. Manuals+ will review the question and use this page’s manual context to help answer it.