
Introduction
This manual provides detailed instructions for the installation, operation, maintenance, and troubleshooting of your ALEKO Motorized RV Awning. Please read this manual thoroughly before use to ensure safe and efficient operation of your awning. This awning is designed to provide shade and UV protection for your RV, camper, trailer, motorhome, or 5th wheel.
Important Safety Information
WARNING: Always ensure the awning is properly anchored and secured before use. Keep children and pets away from the moving parts. Do not operate the awning in high winds or severe weather conditions. Regularly inspect the awning for any damage or wear and tear, and follow the manufacturer's guidelines for maintenance and storage.
Package Contents
Verify that all components are present before beginning installation:
- (1) Awning Frame [10 ft W x 8 ft L]
- (1) Awning Fabric [9.2 ft W x 8 ft L]
- (1) Handle Crank
- (1) Screw Box
- (1) Roller Center Support
- (1) Motor
- (1) Remote
- (1) Fabric Cord
- (2) Manuals
Setup and Installation
The ALEKO Motorized RV Awning is designed for DIY assembly. Detailed video and written instructions are provided by ALEKO customer support for ease of assembly. Ensure you have all necessary tools and follow local regulations for RV accessory installation.
Measuring Your Awning
Accurate measurement is crucial for proper installation. Measure your awning from the left-side arm to the right-side arm to determine the correct width.

Figure 1: Awning Measurement Guide. This diagram illustrates how to correctly measure the width of your RV awning from the left arm to the right arm.
Awning Fabric Features
The awning features a high-quality vinyl fabric that is waterproof and UV-resistant (rated UPF 50+), ensuring optimal protection and insulation. The fabric is crafted from 16 oz. vinyl material with a 1000 Denier high-strength polyester base.
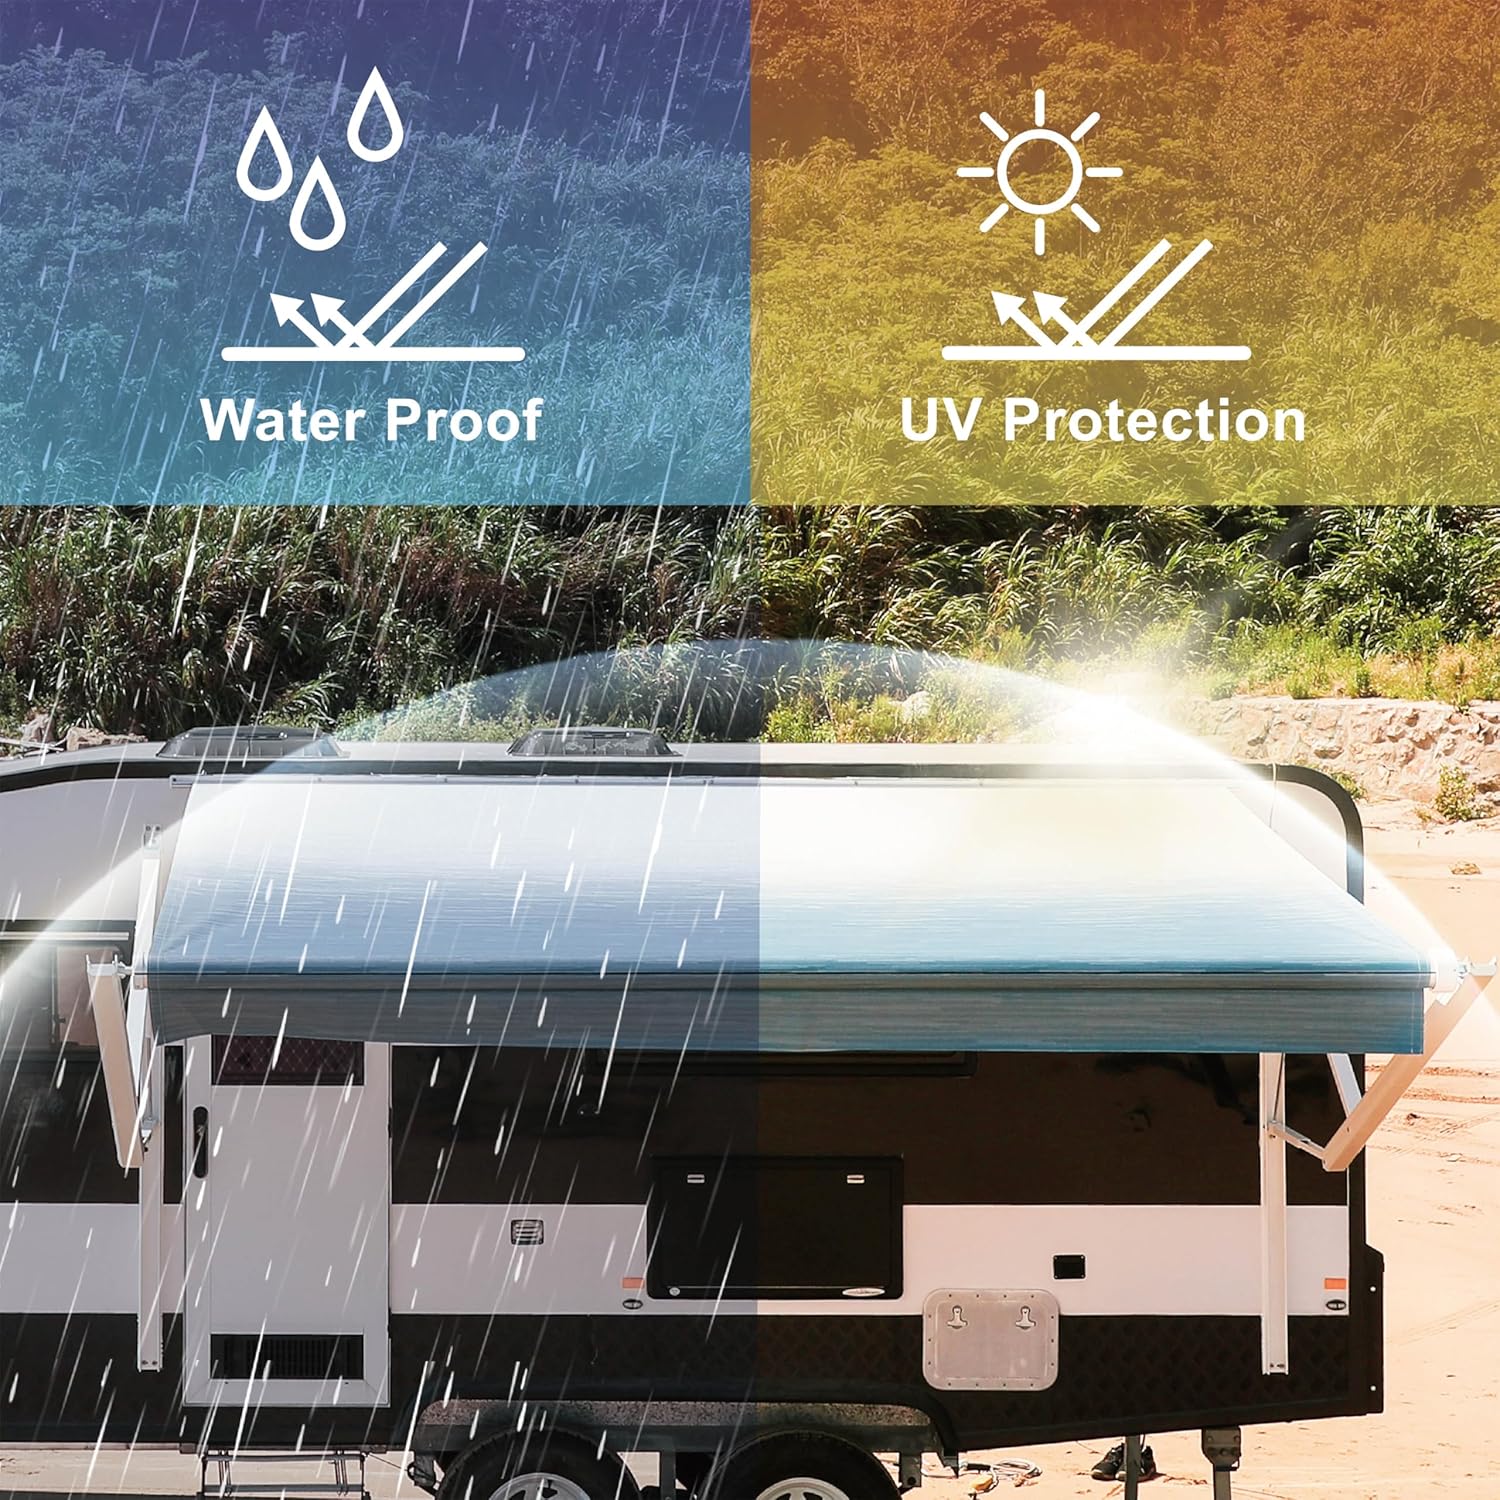
Figure 2: Fabric Protection Features. This image highlights the waterproof and UV protection capabilities of the awning's vinyl fabric.
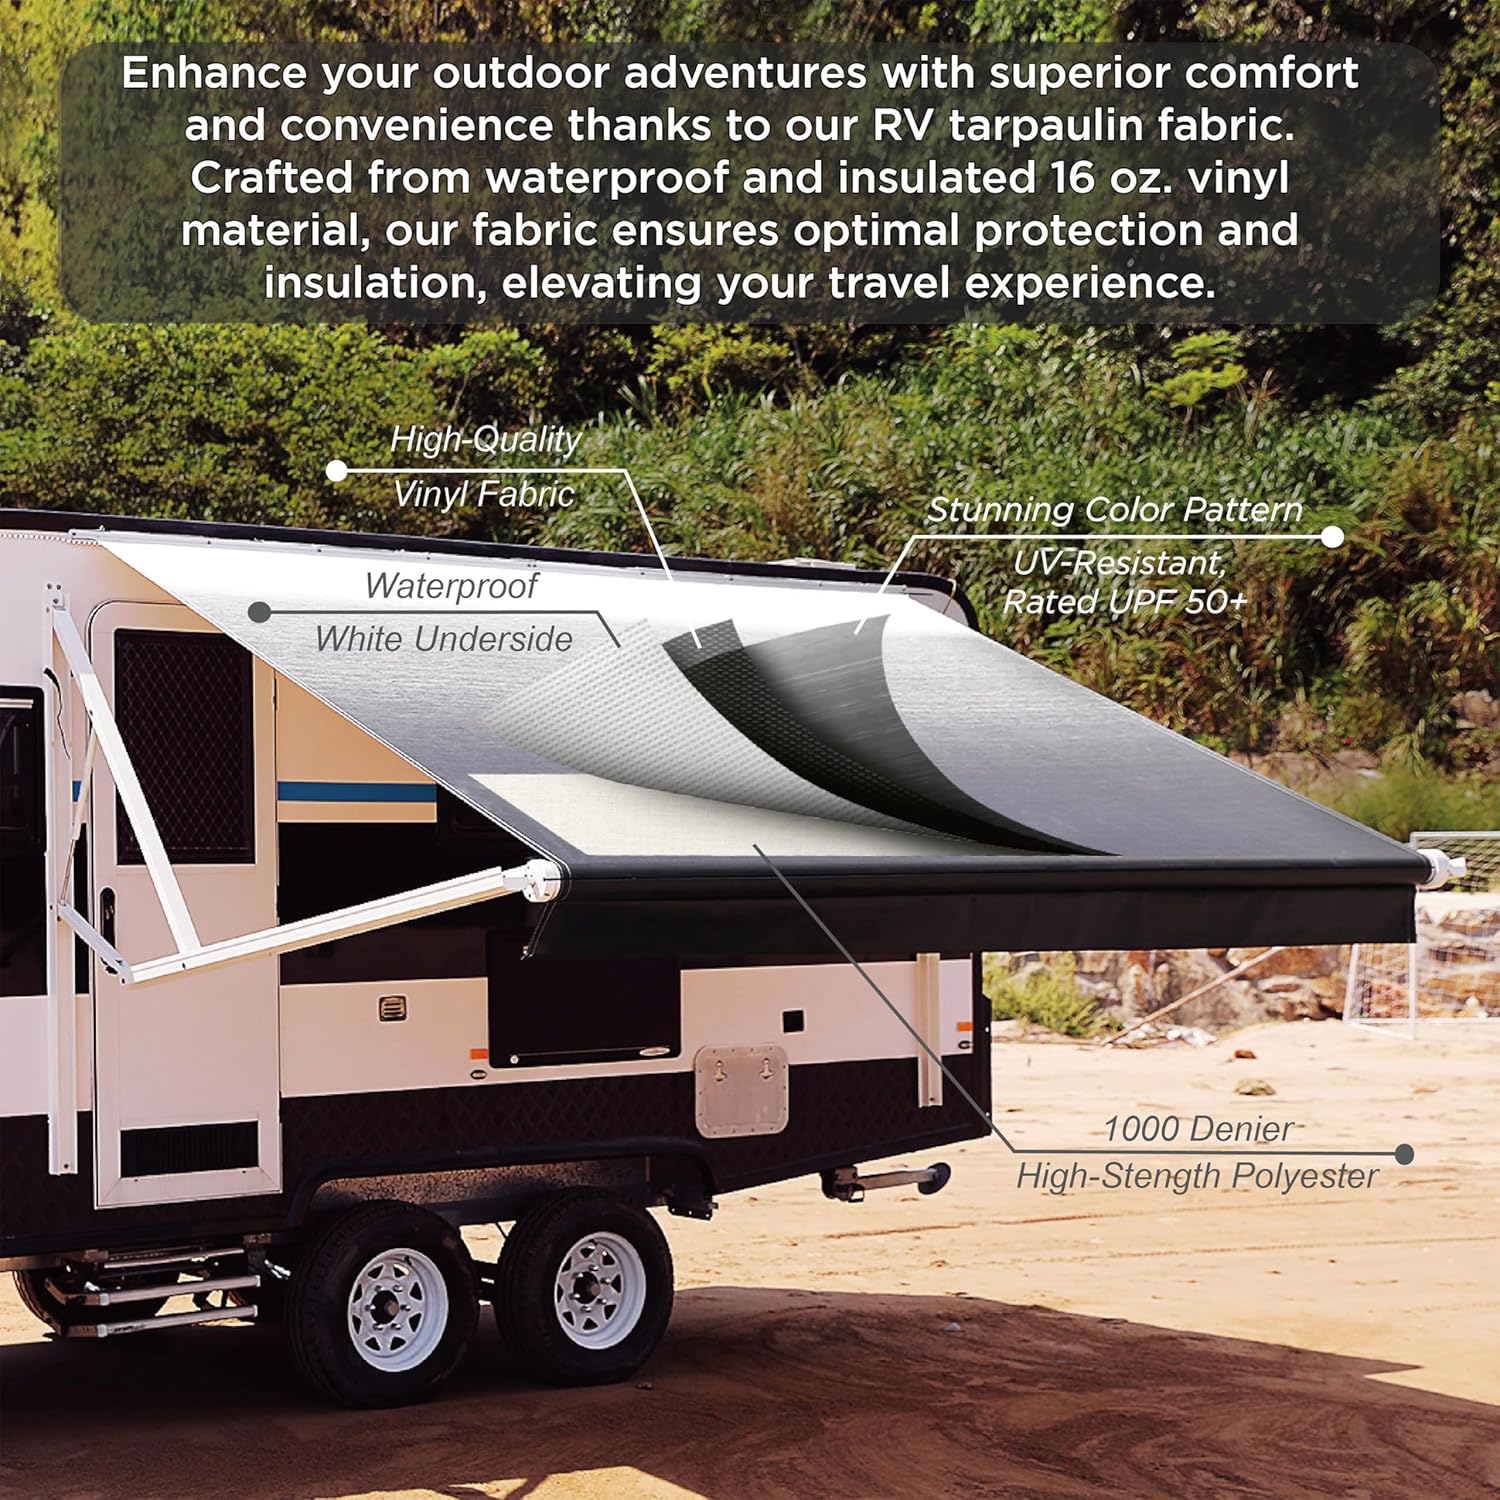
Figure 3: Awning Fabric Construction. A cross-section diagram detailing the high-quality vinyl fabric with a white underside and 1000 Denier high-strength polyester.
Operation
Motorized Control
The awning features an automatic electric motor for convenient extension and retraction. Use the provided remote control or wall switch to operate the awning. The awning can open or close in less than a minute.
Manual Control
In the event of a power outage or motor malfunction, a manual hand crank is included to operate the awning. Insert the hand crank into the designated port and turn to extend or retract the awning.

Figure 4: Motorized and Manual Control Options. This image displays the wall-mounted switch for motorized operation and the location for manual crank insertion.
Adjustable Awning Pitch
The awning's pitch can be adjusted between 65° and 80° by twisting a knob. This allows you to optimize shade coverage and prevent water pooling during light rain.

Figure 5: Adjustable Pitch and Strong Frame. This diagram shows how to adjust the awning's angle and highlights the gas spring rod for stable operation.
Remote Control Programming
Follow these steps to program your remote control for the awning's tubular motor:
- Slide the back cover off the remote to access the battery compartment and the P2 button.
- Insert the 27A 12V battery with the positive (+) side facing the bottom of the remote.
- Unplug the awning motor from its power outlet, wait 10 seconds, then plug it back in.
- For Right-Facing Motor: Push the P2 button twice. Immediately turn the remote over and push the top button twice, then push the bottom button once to engage the awning.
- For Left-Facing Motor: Push the P2 button twice. Immediately turn the remote over and push the bottom button twice, then push the bottom button a third time to engage the awning.
- Replace the battery cover once programming is complete.
Video 1: ALEKO Awning Remote Programming. This video demonstrates the steps to program the remote control for your ALEKO motorized awning.
Maintenance
Regular maintenance will extend the life of your awning. Keep the fabric clean by gently washing with mild soap and water, then rinsing thoroughly. Ensure the frame and moving parts are free from debris. Periodically check all fasteners and connections for tightness. Do not use harsh chemicals or abrasive cleaners on the fabric or frame.
Always retract the awning during high winds, heavy rain, or snowfall to prevent damage. Store the awning in a retracted position when not in use for extended periods.
Troubleshooting
- Awning does not extend/retract: Check if the motor is plugged in and receiving power. Ensure the remote control battery is functional and the remote is properly programmed (refer to the "Remote Control Programming" section).
- Awning makes unusual noises: Inspect the frame and fabric for any obstructions or damage. Ensure all moving parts are clean and lubricated if necessary.
- Awning sags or is uneven: Check the mounting brackets and ensure they are securely fastened. Verify that the adjustable pitch is set correctly.
If you encounter issues not covered here, please contact ALEKO customer support for assistance.
Specifications
| Feature | Detail |
|---|---|
| Model | RVAWM10X8BLK11 |
| Size | 10 x 8 ft |
| Fabric Material | 100% PVC Polyvinyl Chloride |
| Color | Black Fade |
| Projection Distance | 96 Inches |
| Operation Mode | Motorized (with Manual Crank option) |
| Required Assembly | Yes |
| UPC | 655222805782 |
Warranty and Support
Your ALEKO Motorized RV Awning comes with a One-Year Manufacturer Warranty. This warranty covers defects in materials and workmanship under normal use.
For warranty claims, technical support, or assistance with assembly, please contact ALEKO customer service. Customer service is available Monday through Friday to assist with multi-package delivery, measurement, installation, and technical support needs.
Refer to the official ALEKO website for contact information and further support resources.

