
Western Digital WDBNCE5000PNC-WRSN
WD Blue 500GB 3D NAND SATA III 2.5" Internal SSD User Manual
Model: WDBNCE5000PNC-WRSN | Brand: Western Digital
1. Introduction
The WD Blue 500GB 3D NAND SATA III 2.5" Internal SSD is designed to meet the high-performance computing needs of users, offering enhanced reliability and speed. Utilizing 3D NAND technology, this SSD provides significant improvements in capacity and reduces cell-to-cell interference for increased data integrity. It is engineered with no moving parts, providing robust protection against data loss from accidental bumps or drops, and boasts a high Mean Time To Failure (MTTF) and Terabytes Written (TBW) rating for long-term durability.
What's in the Box
- WD Blue 500GB 3D NAND SATA III 2.5" Internal Solid State Drive
2. Key Features
The WD Blue 3D NAND SATA SSD offers a range of features designed for optimal performance and reliability:
- High Capacity: 500 GB storage capacity, suitable for operating systems, applications, and large files.
- Enhanced Reliability: Utilizes 3D NAND technology to reduce cell-to-cell interference, improving data integrity and drive longevity.
- Superior Performance: Achieves sequential read speeds up to 560 MB/s and sequential write speeds up to 530 MB/s, accelerating system boot-ups and application loading.
- Durable Design: With no moving parts, the SSD is more resistant to shock and vibration compared to traditional hard drives, protecting your data.
- Broad Compatibility: Verified for compatibility with a wide range of desktop and laptop computers through extensive testing at the WD Functional Integrity Testing Lab (F.I.T. Lab).

Figure 2.1: The WD Blue 500GB 3D NAND SATA III 2.5" Internal SSD.

Figure 2.2: Illustration of productivity-boosting read speeds up to 560MB/s.
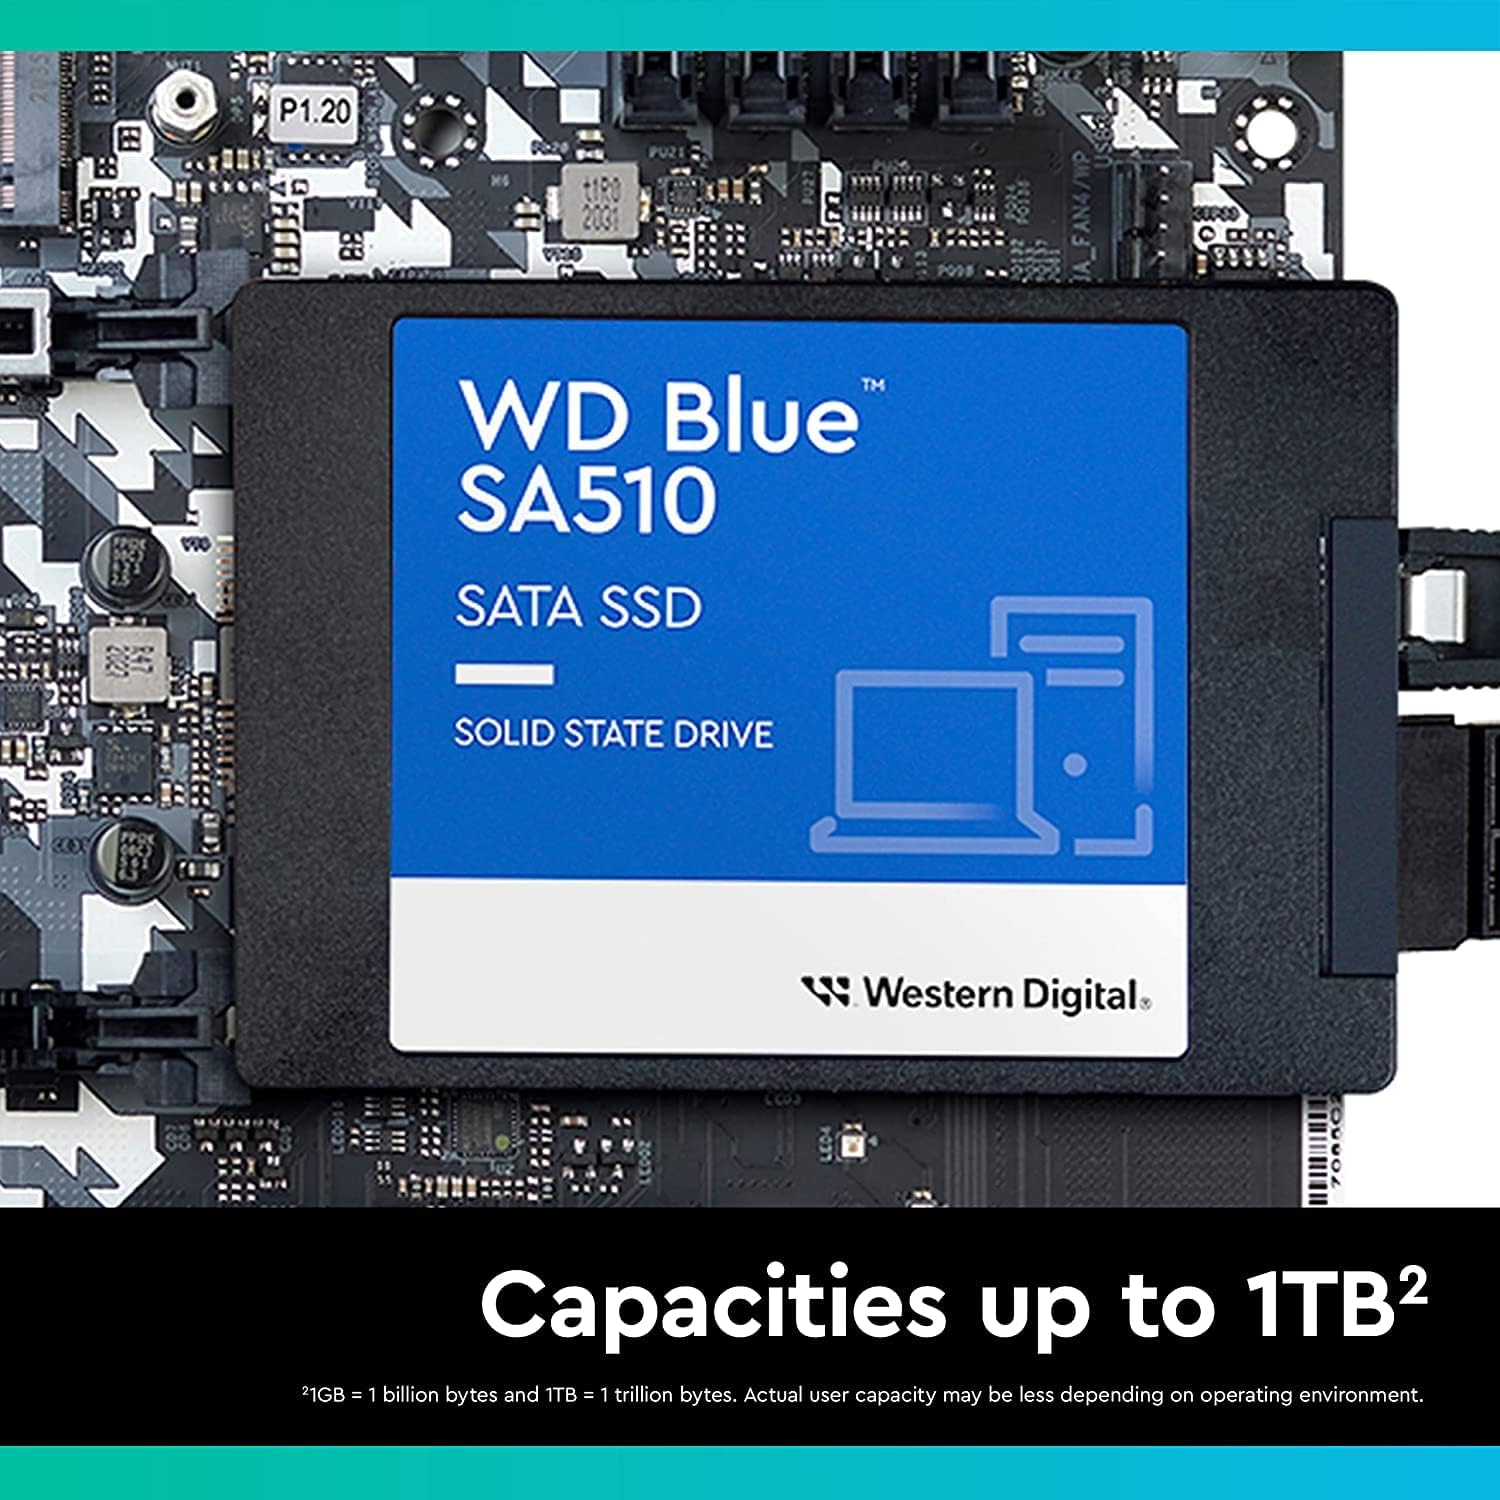
Figure 2.3: The WD Blue 3D NAND SSD is available in various capacities, including 500GB.
3. Setup and Installation
This section outlines the general steps for installing your WD Blue 2.5" SATA SSD into a desktop or laptop computer. Always refer to your computer's specific manual for detailed instructions on opening the chassis and accessing drive bays.
3.1 Before You Begin
- Backup Data: If you are replacing an existing drive, ensure all important data is backed up.
- Gather Tools: You may need a Phillips head screwdriver, an anti-static wrist strap, and a SATA data cable (if not already present in your system).
- Power Off: Completely shut down your computer and disconnect it from the power source.
- Ground Yourself: Touch a metal part of your computer chassis to discharge any static electricity.
3.2 Desktop Installation
- Open your computer case.
- Locate an available 2.5-inch drive bay. If your case only has 3.5-inch bays, you may need a 2.5-inch to 3.5-inch adapter bracket (not included).
- Slide the SSD into the drive bay and secure it with screws.
- Connect a SATA data cable from the SSD to an available SATA port on your motherboard.
- Connect a SATA power cable from your power supply unit (PSU) to the SSD.
- Close your computer case and reconnect power.
3.3 Laptop Installation
- Open the laptop's drive bay cover (location varies by model).
- Remove the existing 2.5-inch drive (if any) by unscrewing it and sliding it out.
- Carefully slide the WD Blue SSD into the drive bay, ensuring it connects firmly to the SATA connector.
- Secure the SSD with screws if applicable.
- Replace the drive bay cover.
3.4 Initializing the SSD (First Use)
After physical installation, the SSD needs to be initialized and formatted by your operating system before it can be used.
- Windows: Open Disk Management (right-click Start button > Disk Management). Locate the new SSD, right-click it, and select 'Initialize Disk'. Choose MBR (Master Boot Record) or GPT (GUID Partition Table) based on your system requirements (GPT is recommended for modern systems and drives larger than 2TB). Then, right-click the unallocated space and select 'New Simple Volume' to format it.
- macOS: Open Disk Utility (Applications > Utilities > Disk Utility). Select the new SSD from the sidebar, click 'Erase', choose a format (e.g., APFS or Mac OS Extended (Journaled)), and click 'Erase'.
4. Operating Your SSD
Once installed and initialized, your WD Blue SSD operates like any other storage drive. For optimal performance and management, Western Digital provides the WD SSD Dashboard software.
4.1 Using the WD SSD Dashboard
The WD SSD Dashboard is a free software application that helps users maintain the peak performance of their WD SSDs. It provides a user-friendly graphical interface for monitoring the drive's health, performance, and firmware updates.
- Download: Download the latest version of the WD SSD Dashboard from the official Western Digital support website.
- Installation: Follow the on-screen instructions to install the software.
- Features: The dashboard allows you to view drive information, monitor S.M.A.R.T. attributes, check drive health, perform TRIM optimization, and update firmware.

Figure 4.1: Overview of the Western Digital SSD Dashboard interface.
5. Maintenance
Regular maintenance helps ensure the longevity and optimal performance of your WD Blue SSD.
5.1 Firmware Updates
Periodically check for firmware updates using the WD SSD Dashboard. Firmware updates can improve performance, enhance compatibility, and fix bugs. Always follow the instructions provided by the software carefully during a firmware update.
5.2 TRIM Optimization
TRIM is a command that helps an operating system tell an SSD which data blocks are no longer in use and can be wiped. This helps the SSD's garbage collection process and maintains performance over time. Ensure TRIM is enabled in your operating system (it is usually enabled by default for SSDs in modern OS versions). The WD SSD Dashboard can also help manage TRIM.
5.3 Monitoring Drive Health
Use the WD SSD Dashboard to monitor the drive's health status and S.M.A.R.T. (Self-Monitoring, Analysis and Reporting Technology) attributes. This can provide early warnings of potential issues, allowing you to back up data before a failure occurs.
6. Troubleshooting
This section addresses common issues you might encounter with your WD Blue SSD.
6.1 Drive Not Detected
- Check Connections: Ensure the SATA data and power cables are securely connected to both the SSD and the motherboard/PSU.
- BIOS/UEFI Settings: Verify that the SATA port the SSD is connected to is enabled in your system's BIOS/UEFI settings. Ensure the SATA mode is set to AHCI for optimal SSD performance.
- Disk Management/Disk Utility: For new drives, ensure it has been initialized and formatted as described in Section 3.4.
- Try Another Port/Cable: Test the SSD with a different SATA data cable, power cable, or motherboard SATA port.
6.2 Slow Performance
- TRIM Enabled: Ensure TRIM is enabled for your operating system.
- SATA Mode: Confirm your motherboard's SATA controller is set to AHCI mode in BIOS/UEFI.
- Driver Updates: Ensure your motherboard's SATA controller drivers are up to date.
- Over-provisioning: While not strictly necessary for all users, setting aside a small percentage of the drive for over-provisioning can help maintain performance over time. This can be managed via the WD SSD Dashboard.
- Drive Fullness: SSD performance can degrade when the drive is nearly full. Try to keep at least 10-15% of the drive capacity free.
6.3 Operating System Not Booting from SSD
- Boot Order: Check your BIOS/UEFI settings to ensure the SSD is set as the primary boot device.
- OS Installation: Verify that an operating system has been correctly installed on the SSD.
- Migration Tool: If you cloned your OS, ensure the cloning process was successful and the new drive is bootable.
For further assistance, refer to the Western Digital support website or contact their customer service.
7. Specifications
| Feature | Specification |
|---|---|
| Model Number | WDBNCE5000PNC-WRSN |
| Capacity | 500 GB |
| Form Factor | 2.5 Inch |
| Interface | SATA III (6 Gb/s) |
| Sequential Read Speed (Up To) | 560 MB/s |
| Sequential Write Speed (Up To) | 530 MB/s |
| NAND Type | 3D NAND |
| MTTF (Mean Time To Failure) | 1.75 Million Hours |
| TBW (Terabytes Written) | Up to 600 TBW |
| Dimensions (LxWxH) | 4.5 x 3 x 0.6 inches |
| Weight | 0.247 ounces |
| Compatible Devices | Personal Computer (PC, Laptop) |
8. Warranty and Support
Western Digital products are manufactured to the highest standards of quality and reliability. Your WD Blue 500GB 3D NAND SATA III 2.5" Internal SSD comes with a limited warranty. Please refer to the official Western Digital website for the most current warranty terms and conditions applicable to your region.
For technical support, product registration, and additional resources, please visit the official Western Digital support website:
You can also find FAQs, troubleshooting guides, and software downloads (like the WD SSD Dashboard) on their support portal.
Related documentsWDBNCE5000PNC-WRSN


Ask a question about this manual
Ask about setup, troubleshooting, compatibility, parts, safety, or missing instructions. Manuals+ will review the question and use this page’s manual context to help answer it.