
1. Introduction
This manual provides essential instructions for the safe and efficient installation, operation, and maintenance of your Schütte 79836 RIO Kitchen Faucet. Please read this manual thoroughly before installation and retain it for future reference.
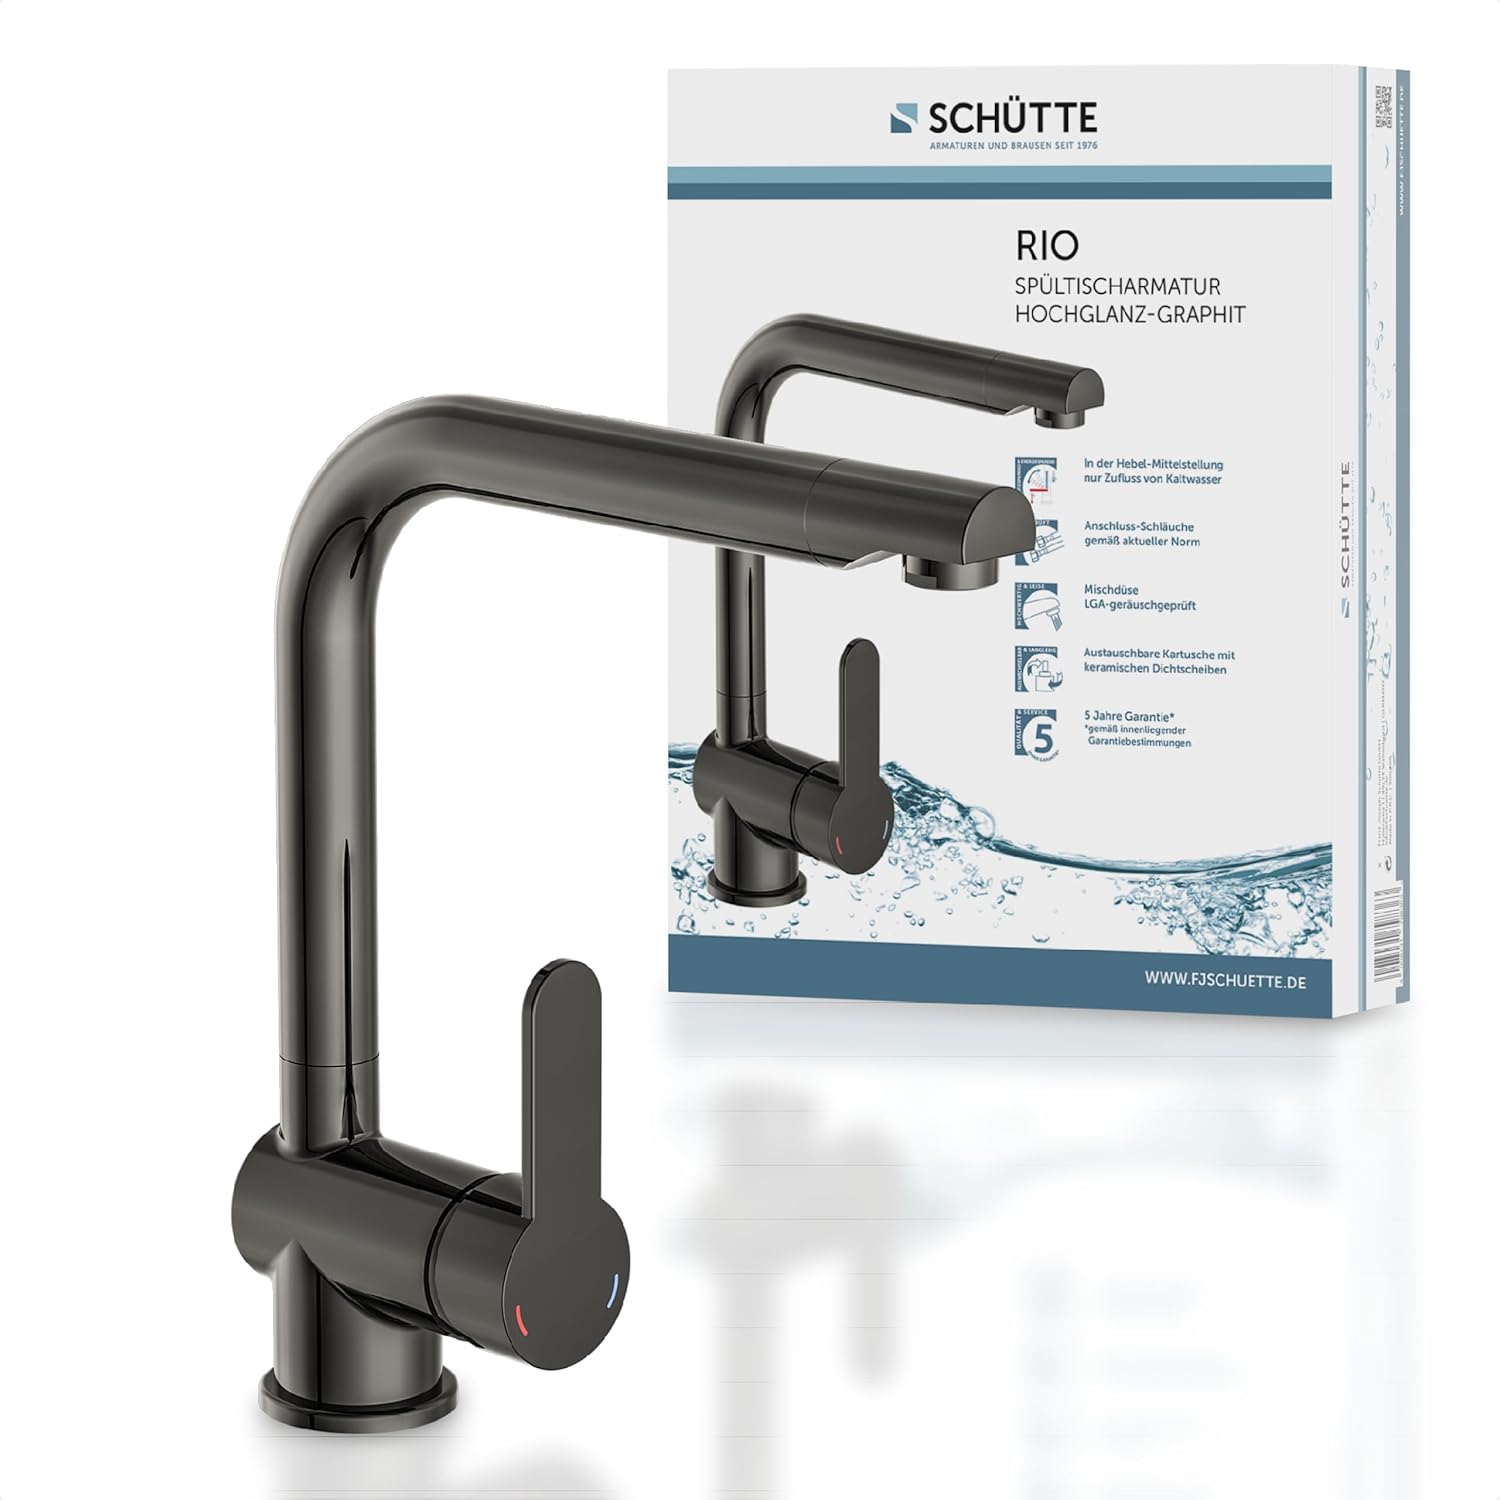
Image 1.1: Schütte RIO Kitchen Faucet (Model 79836) in Graphite Glossy finish, shown with its product packaging.
2. Safety Instructions
- Ensure water supply is turned off before beginning installation.
- Use appropriate tools and protective equipment during installation.
- If you are unsure about any step, consult a qualified plumber.
- Do not use abrasive cleaners or harsh chemicals on the faucet's finish.
- Check all connections for leaks after installation.
3. Package Contents
Verify that all components are present before starting installation:
- 1x RIO Kitchen Faucet with high swivel spout
- 2x Flexible connection hoses (DVGW certified, 350 mm)
- 1x Central connector for mounting
- 1x Mounting hardware set
- 1x Instruction manual (German, refer to this English version for details)
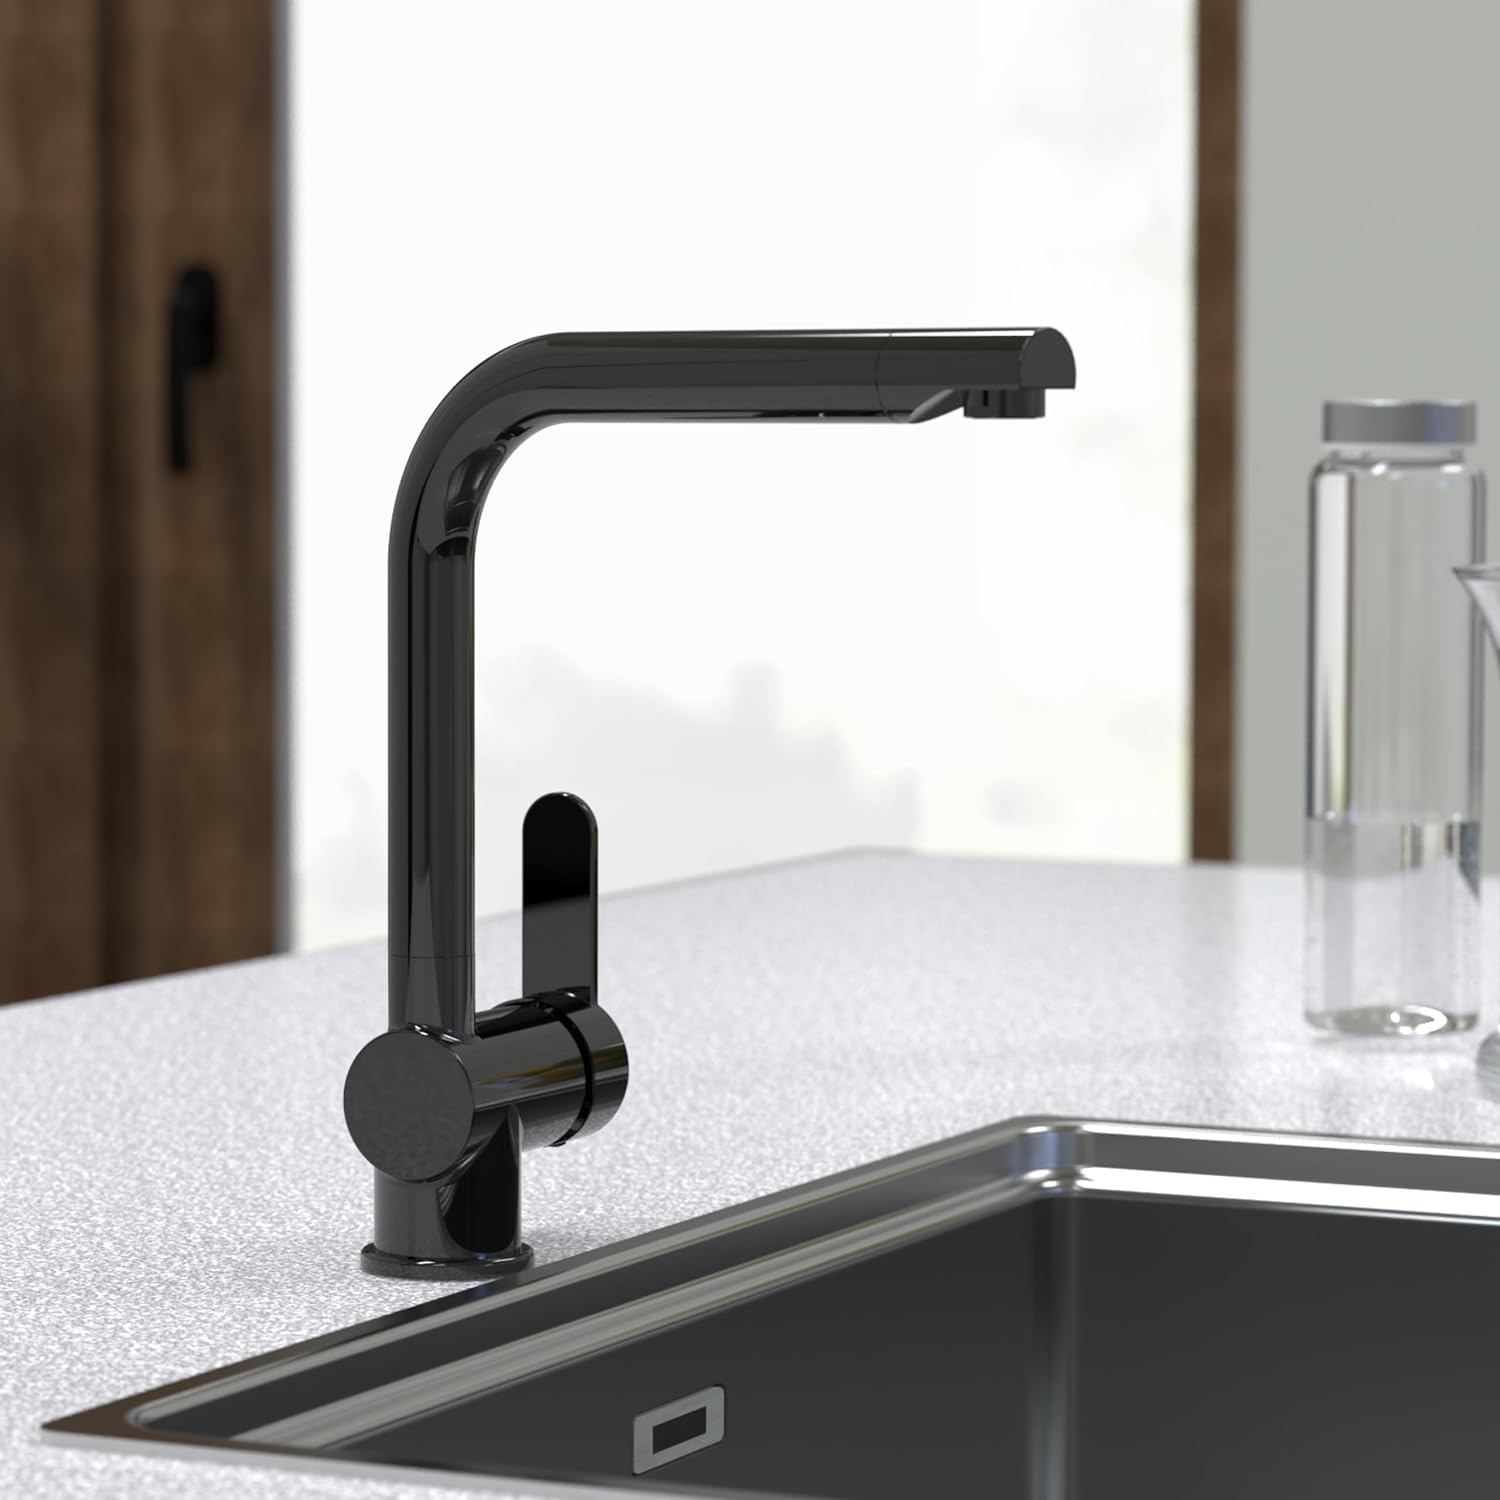
Image 3.1: All components included in the package for the Schütte RIO Kitchen Faucet.
4. Specifications
| Manufacturer | F.J. Schütte |
| Model Number | 79836 |
| Color | Graphite Glossy |
| Material | Brass, Stainless Steel |
| Dimensions (L x W x H) | 27.3 x 11 x 29.8 cm |
| Weight | 1.59 Kilograms |
| Installation Method | Single-hole |
| Number of Handles | 1 |
| Spout Height | 32 Centimeters |
| Maximum Pressure | 5 Bars |
| Special Feature | 360° Swivel Spout |

Image 4.1: Dimensional drawing of the Schütte RIO Kitchen Faucet, showing key measurements.
5. Setup and Installation
Follow these steps for proper installation:
- Prepare the Sink: Ensure the mounting hole in your sink or countertop is clean and has a diameter between 35-50 mm.
- Install the Faucet: Insert the faucet body into the mounting hole.
- Secure the Faucet: From underneath the sink, attach the central connector and mounting hardware. Tighten securely to prevent movement.
- Connect Water Hoses: Attach the two flexible connection hoses to the corresponding hot and cold water lines. Ensure a tight, leak-free connection.
- Test for Leaks: Slowly turn on the main water supply and check all connections for any signs of leakage.

Image 5.1: Illustration demonstrating the straightforward installation process for the faucet, suitable for hole diameters of 35-50 mm.
6. Operating Instructions
The Schütte RIO Kitchen Faucet features a single-lever design for easy control of water flow and temperature.
- Water Flow: Lift the lever upwards to increase water flow. Push it downwards to decrease or stop the flow.
- Temperature Control: Move the lever to the left for hot water and to the right for cold water.
- Cold Start Function: When the lever is in the central position, only cold water flows initially. This energy-saving feature helps prevent unnecessary hot water consumption.
- Swivel Spout: The high spout can swivel 360°, providing flexibility for various tasks, such as filling large pots or cleaning double sinks.

Image 6.1: Visual representation of the energy-saving cold-start function, where the central lever position delivers cold water.
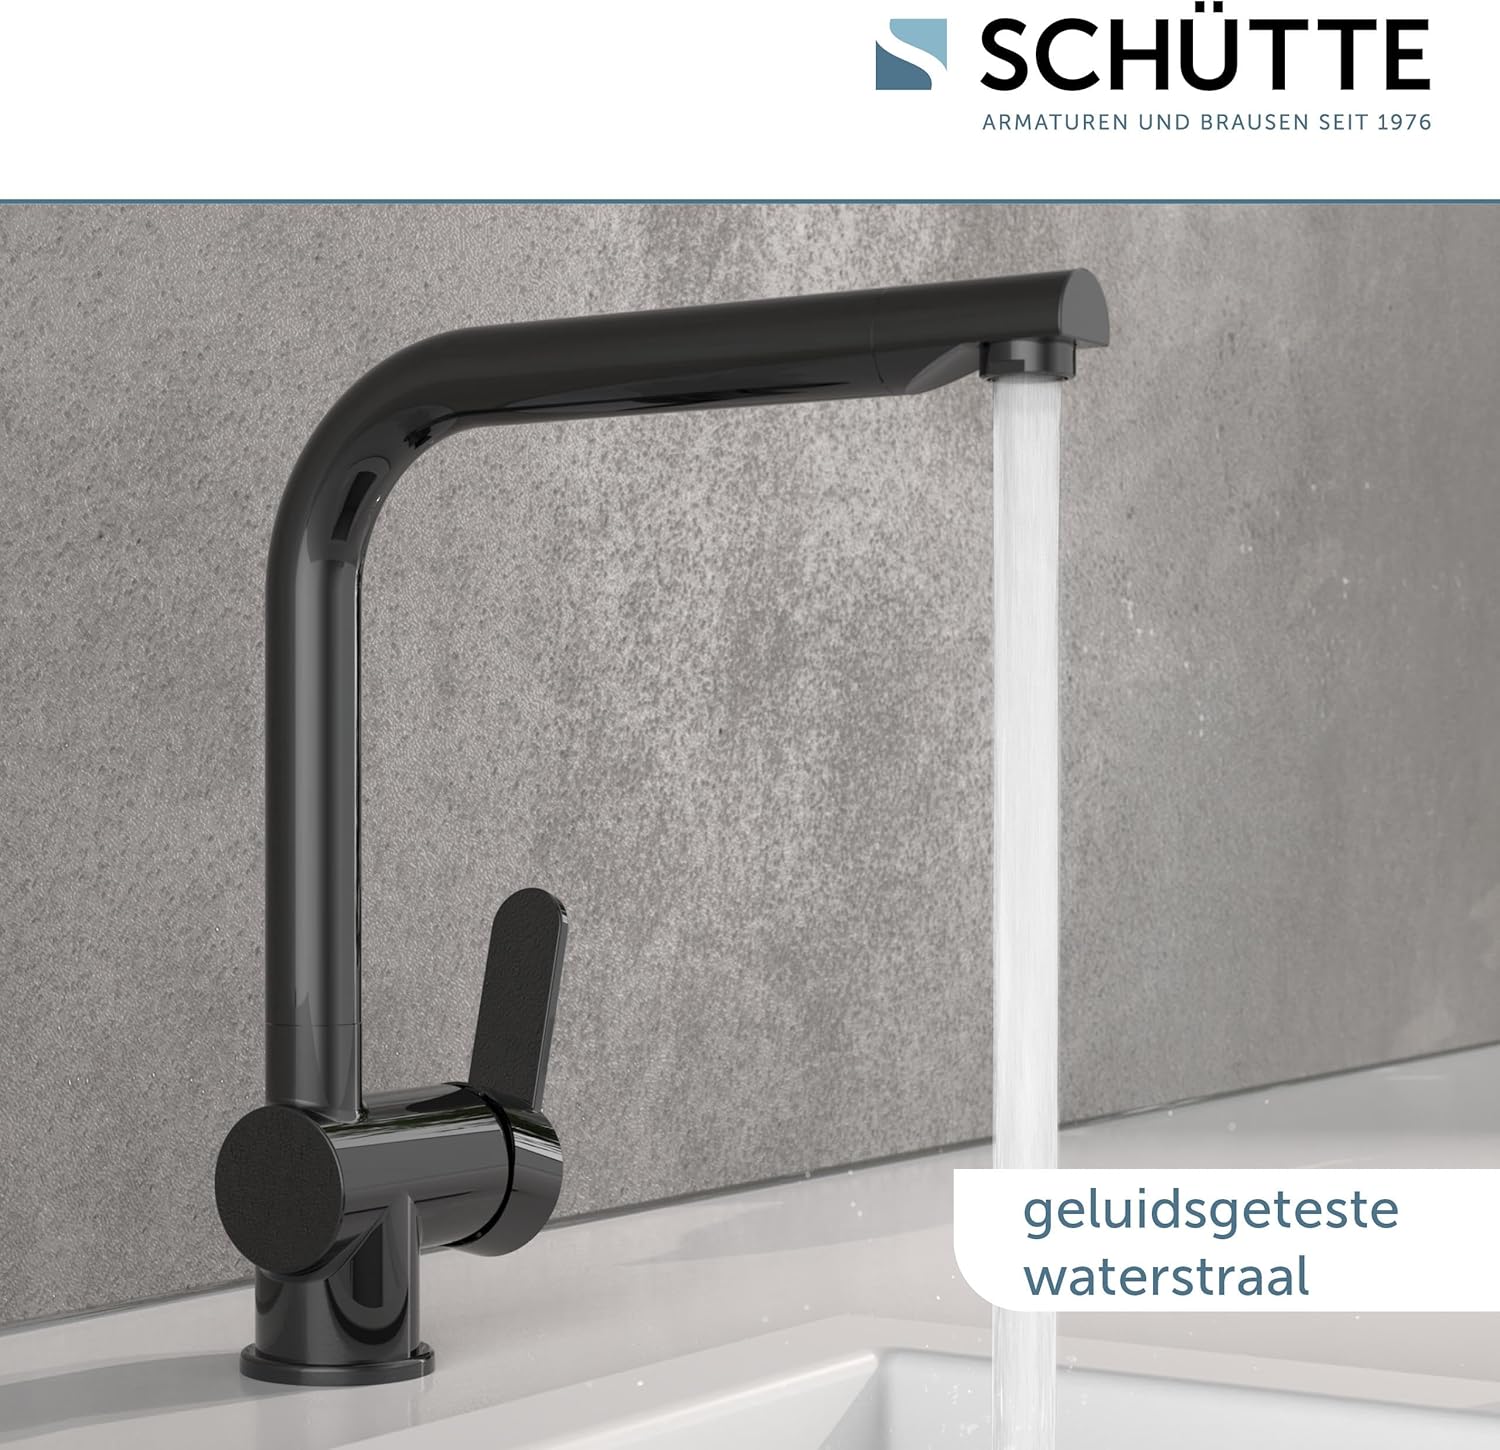
Image 6.2: The faucet in operation, demonstrating a quiet water stream.
7. Maintenance and Cleaning
To ensure the longevity and appearance of your faucet, follow these maintenance guidelines:
- Regular Cleaning: Clean the faucet regularly with a soft cloth and mild soap.
- Avoid Harsh Cleaners: Do not use abrasive sponges, scouring agents, or cleaners containing alcohol, acids, or solvents, as these can damage the finish.
- Aerator Maintenance: Periodically unscrew and clean the aerator (at the tip of the spout) to remove any mineral deposits that may affect water flow.
- Cartridge Replacement: In case of persistent drips or issues with temperature control, the ceramic cartridge may need replacement. Schütte provides replacement cartridges.
8. Troubleshooting
| Problem | Possible Cause | Solution |
|---|---|---|
| Low water flow | Clogged aerator; partially closed shut-off valve | Clean or replace aerator; ensure shut-off valves are fully open. |
| Water dripping from spout | Worn cartridge | Replace the ceramic cartridge. |
| Leakage at connections | Loose connections; damaged seals | Tighten connections; check and replace seals if necessary. |
| No hot/cold water | Water supply turned off; blocked supply line | Check hot/cold water supply valves; inspect supply lines for kinks or blockages. |
9. Warranty and Support
Schütte offers a 5-year manufacturer's warranty on this product, subject to internal conditions. For any questions, suggestions, or support needs, please contact Schütte directly.
Contact Information:
- Phone: +49 (0) 5407-81529-0 – 3
- Website: www.fjschuette.de


