1. Introduction
The BRESSER Temeo Life Weather Station provides essential weather information for your home. This wireless system includes a main display unit and an outdoor sensor, offering real-time data on indoor and outdoor temperatures, humidity, and a 12-24 hour weather trend forecast. It also features a DCF 77 time signal for accurate time and date, along with mould, frost, and heat warning functions.
Please read this manual carefully before operating the device to ensure proper use and to maximize its functionality.
2. Package Contents
Verify that all items are present in your package:
- BRESSER Temeo Life Colour Weather Station (Main Unit)
- Wireless Outdoor Sensor
- Power Adapter for Main Unit
- Instruction Manual (this document)
3. Product Overview
3.1 Main Display Unit
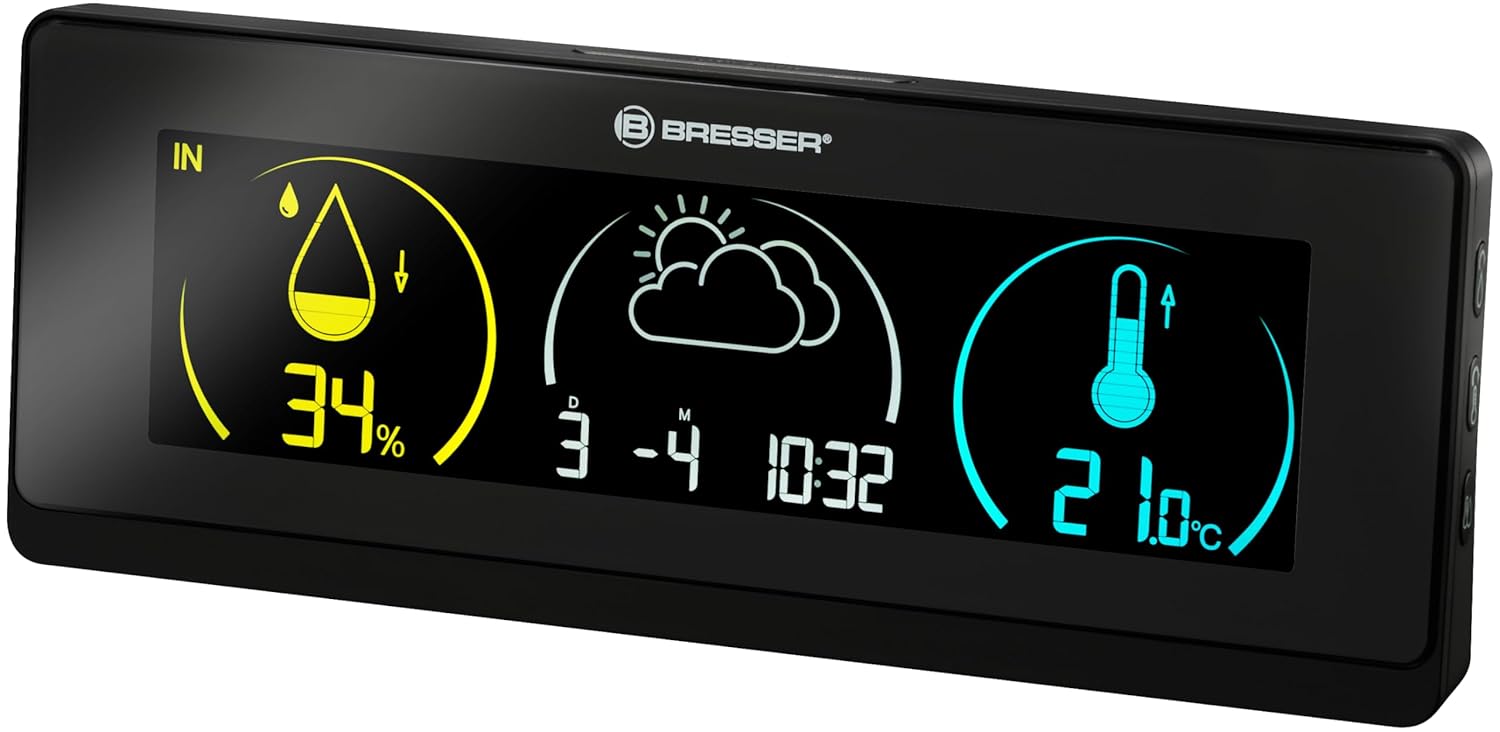
The main unit features a large, clear colour display that shows all relevant weather data, time, and warnings. It is powered by the included power adapter.
3.2 Wireless Outdoor Sensor

The compact outdoor sensor measures external temperature and humidity. It transmits data wirelessly to the main unit. The sensor requires 2x AA batteries (not included).

The back of the outdoor sensor includes the battery compartment and a channel selection switch, which must match the main unit for proper communication.
4. Setup
4.1 Powering the Main Unit
- Connect the included power adapter to the main unit's power input port.
- Plug the power adapter into a standard electrical outlet. The display will illuminate.
4.2 Installing Batteries in the Outdoor Sensor
- Open the battery compartment on the back of the outdoor sensor.
- Insert 2x AA batteries (not included), observing the correct polarity (+/-).
- Close the battery compartment securely.
4.3 Initial Synchronization and DCF Signal Reception
After powering both units, the main unit will automatically attempt to connect with the outdoor sensor and receive the DCF 77 time signal. This process may take a few minutes.
- Ensure the outdoor sensor is within range of the main unit (typically up to 30 meters in open air).
- Place the main unit away from large metal objects or electronic devices that may interfere with the DCF signal.
- Once synchronized, the outdoor temperature and humidity will appear on the main display, and the time and date will be automatically set.
4.4 Outdoor Sensor Placement
For accurate readings, place the outdoor sensor in a shaded, dry location, protected from direct sunlight and precipitation. Avoid placing it near heat sources or reflective surfaces.
5. Operation
5.1 Display Information
The colour display provides the following information at a glance:
- Indoor Humidity: Percentage of relative humidity inside.
- Indoor Temperature: Current temperature inside.
- Outdoor Humidity: Percentage of relative humidity from the outdoor sensor.
- Outdoor Temperature: Current temperature from the outdoor sensor.
- Weather Trend: Graphical representation of the weather forecast for the next 12-24 hours.
- Time and Date: Automatically updated via DCF 77 signal.
- Day of the Week: Can be displayed at the touch of a button.
5.2 Mould Alarm
The weather station features a mould alarm that triggers when indoor humidity levels are excessively high, indicating a potential risk for mould growth. Refer to the specific settings section in the full manual for adjustment options.
5.3 Frost and Heat Warnings
The device provides warnings for frost (low temperatures) and excessive heat (high temperatures) to help you monitor outdoor conditions. These thresholds are typically pre-set but may be adjustable.
5.4 Display Colour Customization
The main unit's display allows you to choose from 256 different background colours to suit your preference or environment.

Example of the display with a customized background color.
6. Maintenance
6.1 Cleaning
Wipe the main unit and outdoor sensor with a soft, damp cloth. Do not use abrasive cleaners or solvents, as these may damage the surfaces or electronic components.
6.2 Battery Replacement (Outdoor Sensor)
When the battery indicator on the main unit shows low battery for the outdoor sensor, replace the 2x AA batteries. Ensure correct polarity during replacement.
7. Troubleshooting
- No Outdoor Temperature Display:
Ensure the outdoor sensor has fresh batteries and is within range. Check that the channel selection switch on the sensor matches the setting on the main unit. Re-synchronize by removing and reinserting batteries in both units, starting with the outdoor sensor. - Inaccurate Readings:
Verify the outdoor sensor's placement. It should be in a shaded, well-ventilated area, away from direct sunlight, rain, and heat sources. - Time/Date Not Updating (DCF Signal):
Relocate the main unit to a position with better reception, away from electronic interference. The DCF signal is strongest at night. Manual time setting may be an option if automatic reception is consistently poor. - Display Not Working:
Check the power adapter connection to the main unit and the electrical outlet. Ensure the outlet is functional.
8. Specifications
| Feature | Specification |
|---|---|
| Model Number | 7008001CM3000 |
| Product Dimensions (Main Unit) | 83 x 220 x 39 mm (approx. 3.27 x 8.66 x 1.54 inches) |
| Item Weight | 0.29 Kilograms (approx. 10.23 ounces) |
| Power Source (Main Unit) | AC Power Adapter (included) |
| Power Source (Outdoor Sensor) | 2 x AA Batteries (not included) |
| Material | Plastic |
| Wireless Frequency | 433 MHz (for sensor communication) |
9. Warranty and Support
For warranty information, technical support, or service inquiries, please refer to the warranty card included with your product or visit the official BRESSER website. Keep your purchase receipt as proof of purchase.
For further assistance, you may contact BRESSER customer service directly.


