1. Introduction
The JJC TM-J2 Digital Timer Remote Shutter Cord is a versatile accessory designed for Olympus cameras, offering advanced control over your camera's shutter functions. This device features a self-timer, interval timer, long-exposure timer, and exposure-count setting capabilities, making it ideal for time-lapse photography, long exposures, and continuous shooting. It connects to your camera via a 2.9-foot (90cm) cord, providing a reliable wired connection.
2. Product Overview
2.1 Remote Controller Components

Figure 1: Diagram of the Multi-Function Timer Remote Controller. This image shows the front face of the remote with labels for the LED Display Screen, Count Down Indicator Lamp, Shutter Release Button with LOCK Function, LED/LOCK Button, START/STOP Button, Cursor Control Button, and SET Button.
- LED Display Screen: Shows current settings and status.
- Count Down Indicator Lamp: Illuminates during countdown.
- Shutter Release Button (with LOCK Function): Press halfway to focus, fully to shoot. Slide forward to lock for bulb mode.
- LED/LOCK Button: Activates backlight for the LCD screen and locks the remote to prevent accidental operation.
- START/STOP Button: Initiates or halts timer functions.
- Cursor Control Button: Navigates through menu options and adjusts values.
- SET Button: Confirms selections and enters setting modes.
2.2 LCD Display Screen Details

Figure 2: Diagram of the LED Display Screen. This image provides a detailed view of the remote's LCD, labeling the Selection Cursor, Time Display, Lock Display, Plan Start Display, Speaker Display, Shutter Release Display, and Shots Number Display.
- Selection Cursor: Indicates the currently selected parameter for adjustment.
- Time Display: Shows delay, exposure, or interval times.
- Lock Display: Indicates when the remote's buttons are locked.
- Plan Start Display: Shows the status of a programmed shooting plan.
- Speaker Display: Indicates if the audible beep is active.
- Shutter Release Display: Shows shutter activation status.
- Shots Number Display: Displays the number of shots remaining or taken in a sequence.
3. Setup
3.1 Battery Installation
- Locate the battery compartment on the back of the remote control.
- Open the compartment cover.
- Insert one AAA battery, ensuring correct polarity (+/-).
- Close the battery compartment cover securely.
Note: The remote can function as a basic shutter release without batteries, but timer functions and the LCD backlight require battery power.
3.2 Connecting to Camera
- Ensure your camera is powered off.
- Locate the remote control terminal on your Olympus camera. This is typically a small port, often covered by a rubber flap.
- Connect the cord from the JJC TM-J2 remote into the camera's remote control terminal. Ensure a firm connection.
- Power on your camera.

Figure 3: Remote connected to an Olympus camera (side view). This image illustrates the physical connection of the remote control cord to the camera's remote port.

Figure 4: Remote connected to an Olympus camera (top view). This image provides an overhead view of the remote connected to an Olympus camera, demonstrating the cable routing.
4. Operating Instructions
4.1 Basic Shutter Release
To use the TM-J2 as a simple shutter release cable:
- Ensure the remote is connected to the camera.
- Press the Shutter Release Button halfway down to focus.
- Press the Shutter Release Button fully down to take a picture.
- For bulb mode (long exposure), press the Shutter Release Button fully down and slide it forward to lock. Slide it backward to release the shutter.
4.2 Timer Functions
The TM-J2 offers four primary timer functions: Delay (DE), Long Exposure (BU), Interval (INT), and Number of Shots (N). These can be set from 1 second up to 99 hours, 59 minutes, and 59 seconds.
- Turn on the remote using the ON/OFF switch on the side.
- Use the Cursor Control Button (up/down/left/right arrows) to navigate between the DE, BU, INT, and N settings on the LCD.
- Press the SET Button to enter the setting mode for the selected parameter.
- Use the Cursor Control Button to adjust the hours, minutes, and seconds.
- Press SET again to confirm each value and move to the next.
- For 'N' (Number of Shots), you can set it from 1 to 399, or to 'unlimited' for continuous shooting until stopped.
- Once all desired parameters are set, press the START/STOP Button to begin the timed sequence.
- To stop a running sequence, press the START/STOP Button again.
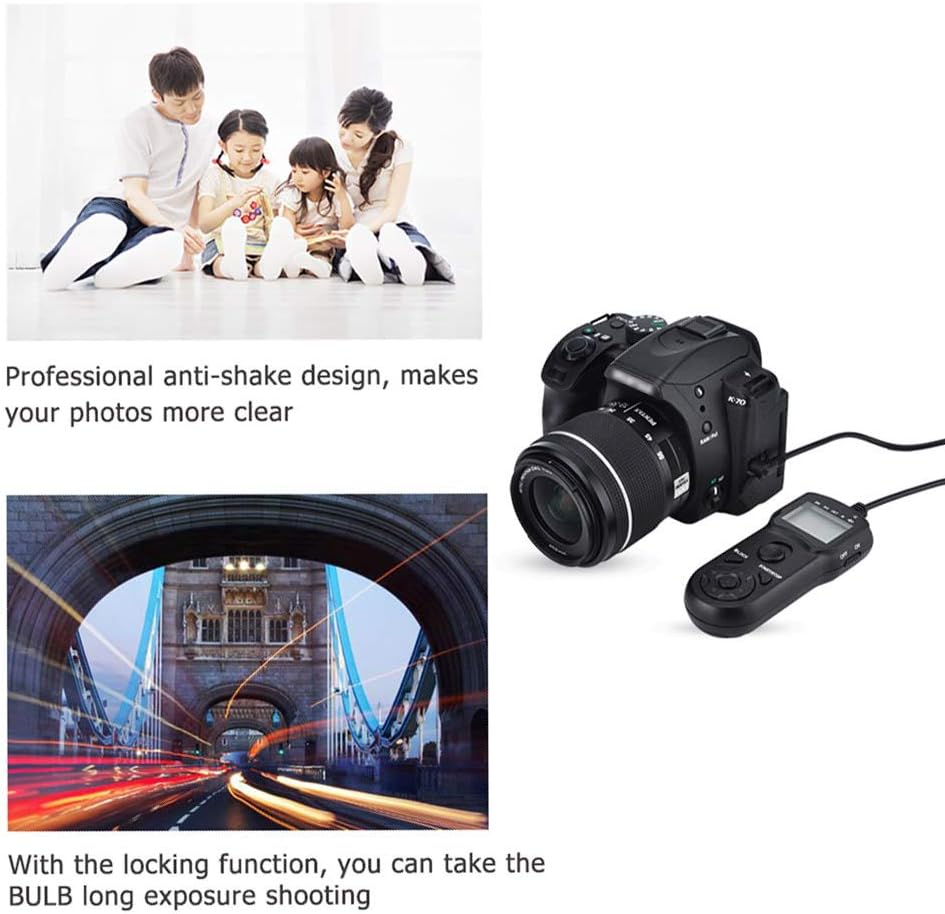
Figure 5: Examples of photography using the remote. This image demonstrates how the remote's anti-shake design contributes to clearer photos and its locking function enables long exposure (bulb) shooting.

Figure 6: Further examples of photography using the remote. This image highlights the timing interval shooting for capturing moments over time and continuous shooting for fluent action sequences.
4.3 LCD Backlight
To illuminate the LCD display for better visibility in low-light conditions:
- Press the LED/LOCK Button briefly. The backlight will turn on for a few seconds.
4.4 LOCK Function
To prevent accidental changes to settings or unintended shutter releases during a timed sequence:
- Press and hold the LED/LOCK Button until the 'Lock Display' icon appears on the LCD.
- To unlock, press and hold the LED/LOCK Button again until the 'Lock Display' icon disappears.
4.5 Power Off
To conserve battery life when not in use:
- Slide the ON/OFF switch on the side of the remote to the OFF position.
5. Maintenance
- Keep the remote control clean and dry. Use a soft, dry cloth to wipe the surface. Do not use abrasive cleaners or solvents.
- Avoid exposing the remote to extreme temperatures, humidity, or direct sunlight.
- If the remote will not be used for an extended period, remove the AAA battery to prevent leakage.
- Handle the connection cord carefully to prevent damage to the wires or connectors.
6. Troubleshooting
- Remote not responding: Check if the battery is correctly installed and has sufficient charge. Ensure the remote is switched ON. Verify the cable is securely connected to the camera.
- LCD display is blank: Replace the AAA battery. If the issue persists, ensure the remote is switched ON.
- Shutter not releasing: Ensure the camera is powered on and in a shooting mode (e.g., not in playback mode). Check camera settings for remote control compatibility. Ensure the remote's Shutter Release Button is pressed fully.
- Timed functions not starting: Ensure all timer parameters (DE, BU, INT, N) are set correctly and the START/STOP button has been pressed. Check if the remote is in LOCK mode.
7. Specifications
| Model Name | TM-J2 |
| Brand | JJC |
| Connectivity Technology | Wired |
| Cable Length | 2.9 feet (90 cm) |
| Timer Settings | Delay, Long Exposure, Interval, Number of Shots |
| Time Range | 1 second to 99 hours, 59 minutes, 59 seconds |
| Number of Shots | 1 to 399, or unlimited |
| Display | Backlit LCD |
| Power Source | 1 x AAA Battery |
| Dimensions (approx.) | 105mm (Length) x 45mm (Width) |
| Weight (approx.) | 4.96 ounces |

Figure 7: Dimensions of the JJC TM-J2 Remote Control. This image provides a visual representation of the remote's physical size and cable length.
8. Camera Compatibility
The JJC TM-J2 Digital Timer Remote Shutter Cord is compatible with the following Olympus camera models, replacing the Olympus RM-CB2:
- Olympus OM System OM-1
- Olympus OM System OM-5
- Olympus OM-D E-M5 Mark III
- Olympus E-M1 Mark III
- Olympus E-M1 Mark II
- Olympus OM-D E-M1x
9. Warranty and Support
For warranty information or technical support, please refer to the official JJC website or contact your retailer. Keep your purchase receipt as proof of purchase for any warranty claims.


