1. Introduction
This manual provides detailed instructions for the safe installation, operation, and maintenance of your Lindby Tyron 6-Point Ceiling Lamp. Please read this manual thoroughly before installation and retain it for future reference. This ceiling lamp is designed for indoor use in various rooms such as living rooms, dining rooms, and hallways, providing a modern lighting solution.
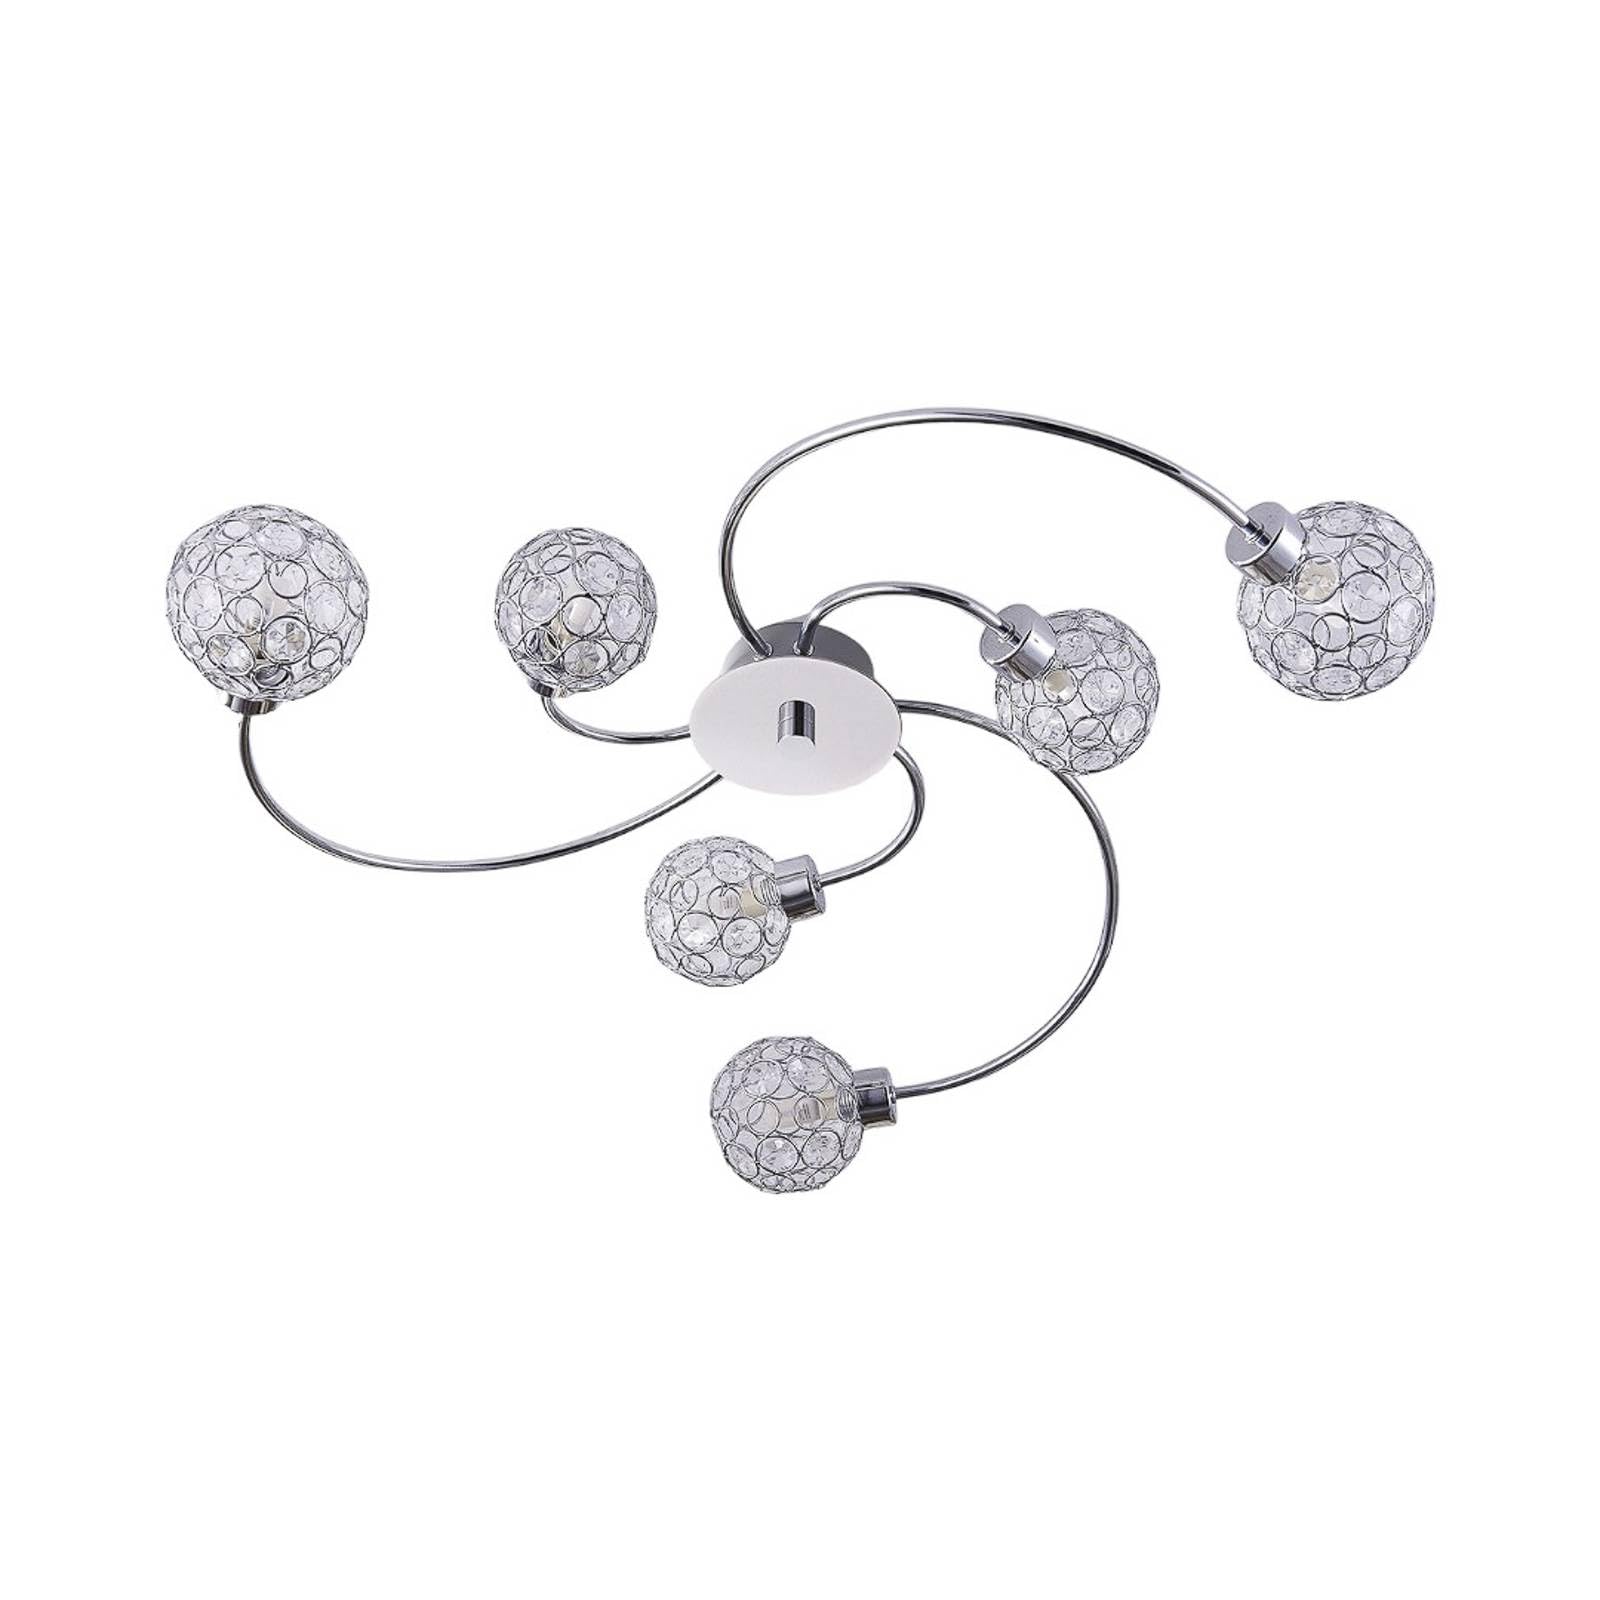
Figure 1: Lindby Tyron 6-Point Ceiling Lamp (Model: Tyron)
2. Safety Instructions
WARNING: Electrical installation must be performed by a qualified electrician in accordance with all local and national electrical codes. Failure to do so may result in electric shock, fire, or serious injury.
- Always disconnect power at the main circuit breaker before installing, servicing, or cleaning the fixture.
- Do not connect this fixture to an ungrounded electrical system.
- Ensure all electrical connections are secure and correct.
- Do not exceed the maximum wattage specified for the light bulbs.
- This fixture is designed for indoor use only (IP20 rating). Do not expose to moisture or use in damp locations.
- Keep flammable materials away from the light fixture.
- Allow the lamp to cool completely before replacing bulbs or cleaning.
- If you are unsure about any part of the installation, consult a qualified electrician.
3. Package Contents
Carefully unpack the box and ensure all components are present and undamaged. If any parts are missing or damaged, do not attempt to assemble or install the product. Contact customer support for assistance.
- Lindby Tyron 6-Point Ceiling Lamp fixture (1 unit)
- Mounting hardware (screws, wall anchors)
- Instruction Manual
Note: G9 light bulbs are not included and must be purchased separately.
4. Setup & Installation
Before beginning installation, ensure the power supply is turned off at the circuit breaker.
- Prepare the Mounting Surface: Ensure the ceiling surface is clean, dry, and capable of supporting the weight of the fixture.
- Attach the Mounting Bracket: Secure the mounting bracket to the ceiling junction box using the provided screws. If no junction box is present, use appropriate wall anchors for your ceiling type.
- Make Electrical Connections:
- Connect the live wire (usually brown or black) from the ceiling to the live wire of the fixture.
- Connect the neutral wire (usually blue or white) from the ceiling to the neutral wire of the fixture.
- Connect the ground wire (usually green/yellow or bare copper) from the ceiling to the ground wire of the fixture.
- Use appropriate wire connectors to secure all connections.
- Secure the Fixture: Carefully push the fixture base onto the mounting bracket, aligning the screw holes. Secure the fixture to the bracket using the provided screws.
- Install G9 Bulbs: Insert 6 G9 bulbs (max 5W LED each) into the sockets. Ensure bulbs are fully seated.
- Restore Power: Once installation is complete and all connections are secure, restore power at the main circuit breaker.

Figure 2: Ceiling mount plate detail.

Figure 3: Electrical connections inside the fixture base.

Figure 4: G9 bulb installation within a light sphere.
5. Operating Instructions
The Lindby Tyron ceiling lamp is operated via a standard wall switch. It features dimmable functionality if connected to a compatible dimmer switch and used with dimmable G9 LED bulbs.
- Turning On/Off: Use the wall switch connected to the fixture to turn the light on or off.
- Dimming (Optional): If a compatible dimmer switch is installed, adjust the dimmer to control the light intensity. Ensure that the G9 bulbs used are explicitly rated as dimmable.
6. Maintenance
Regular maintenance ensures the longevity and optimal performance of your lamp.
- Cleaning:
- Always turn off the power and allow the fixture to cool before cleaning.
- Wipe the fixture with a soft, dry, or slightly damp cloth.
- Do not use abrasive cleaners, solvents, or polishes as they may damage the finish.
- Bulb Replacement:
- Turn off the power at the circuit breaker and allow the bulbs to cool.
- Carefully remove the old G9 bulb by pulling it straight out.
- Insert a new G9 bulb (max 5W LED) by pushing it straight into the socket.
- Ensure the new bulb is securely seated before restoring power.
7. Troubleshooting
| Problem | Possible Cause | Solution |
|---|---|---|
| Light does not turn on. |
|
|
| Light flickers. |
|
|
| Dimming does not work. |
|
|
If the problem persists after attempting these solutions, consult a qualified electrician or contact customer support.
8. Specifications
- Model Name: Tyron
- Brand: Lindby
- Product Type: Ceiling Lamp
- Number of Lights: 6
- Bulb Base: G9
- Max Wattage per Bulb: 5W LED (Bulbs not included)
- Voltage: 230 Volts
- Light Color: Warm White (dependent on bulb)
- Luminous Flux (Max): 2400 Lumens (total, with 6x 5W LED bulbs)
- Material: Metal, Glass
- Color: Chrome
- Dimensions (L x W x H): 65 cm x 65 cm x 12.5 cm
- Item Weight: 1.4 kg
- Protection Class: I
- IP Rating: IP20 (Indoor use only)
- Special Features: Dimmable (with compatible dimmer and bulbs)
- Control Method: Wall Switch / Dimmer Switch
- Mounting Type: Ceiling Mount
- Manufacturer Part Number: 9620805
- GTIN: 04251096516746
9. Warranty & Support
For warranty information, please refer to the terms and conditions provided at the point of purchase or contact your retailer. Lindby products typically come with a standard manufacturer's warranty covering defects in materials and workmanship.
If you have any questions, require technical assistance, or need to report a problem with your Lindby Tyron ceiling lamp, please contact the seller directly via their Amazon seller profile or refer to the contact information provided with your purchase documentation.
Seller: LampyPL
Return Policy: 30 days (refund/replacement)