
Introduction
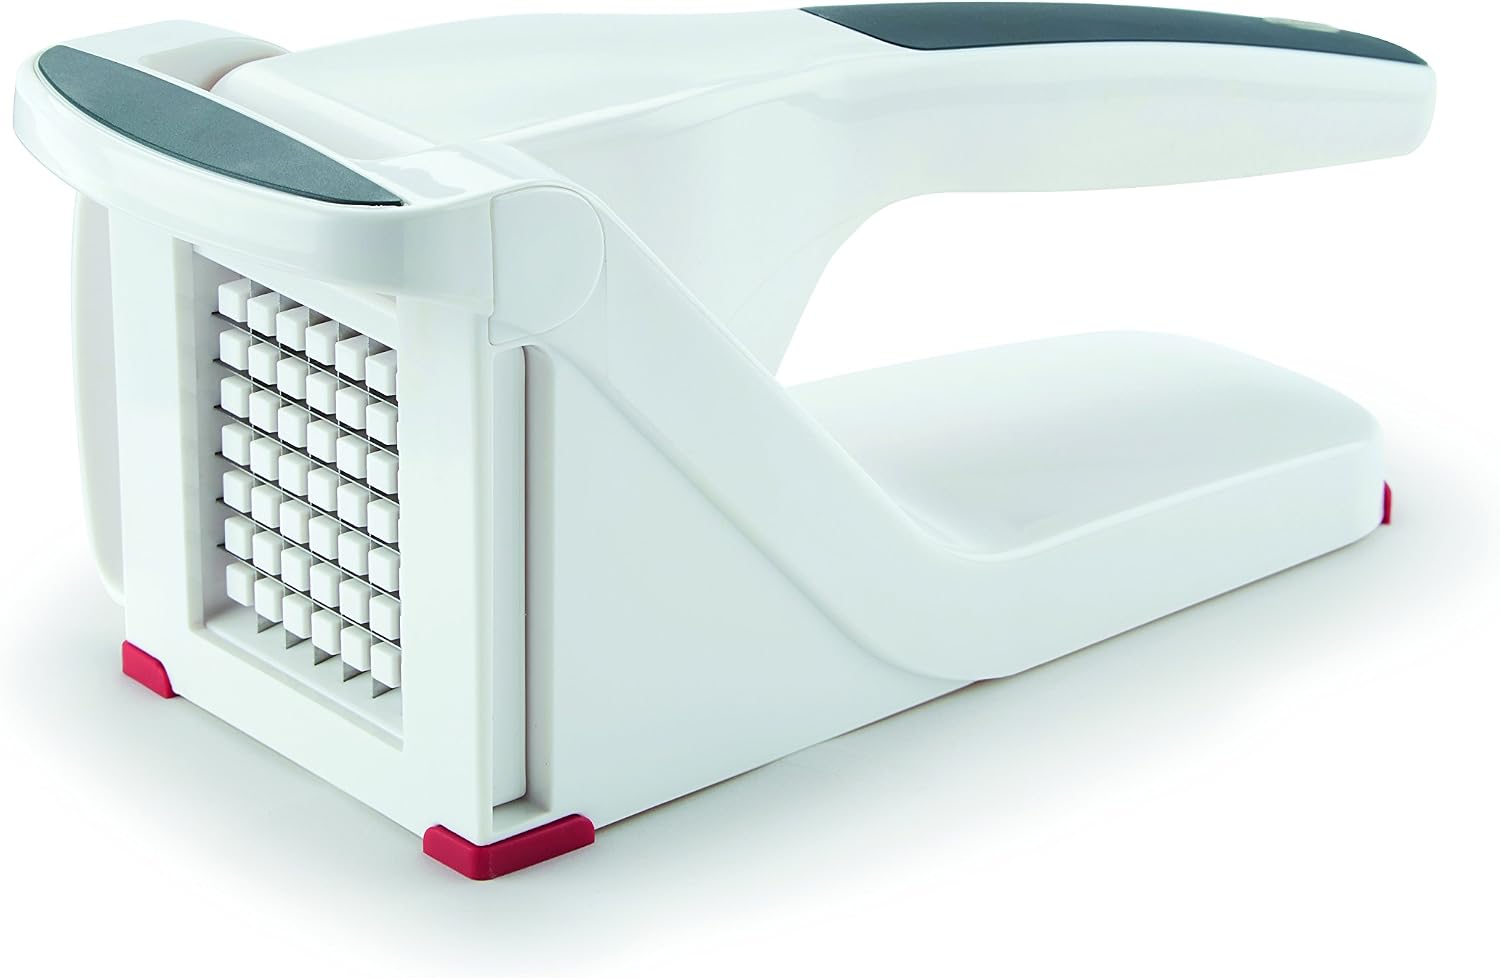
Thank you for choosing the Zyliss E910025 Potato and Vegetable Chipper. This manual provides essential information for the safe and efficient use, maintenance, and care of your new kitchen tool. Please read these instructions thoroughly before first use and retain them for future reference.
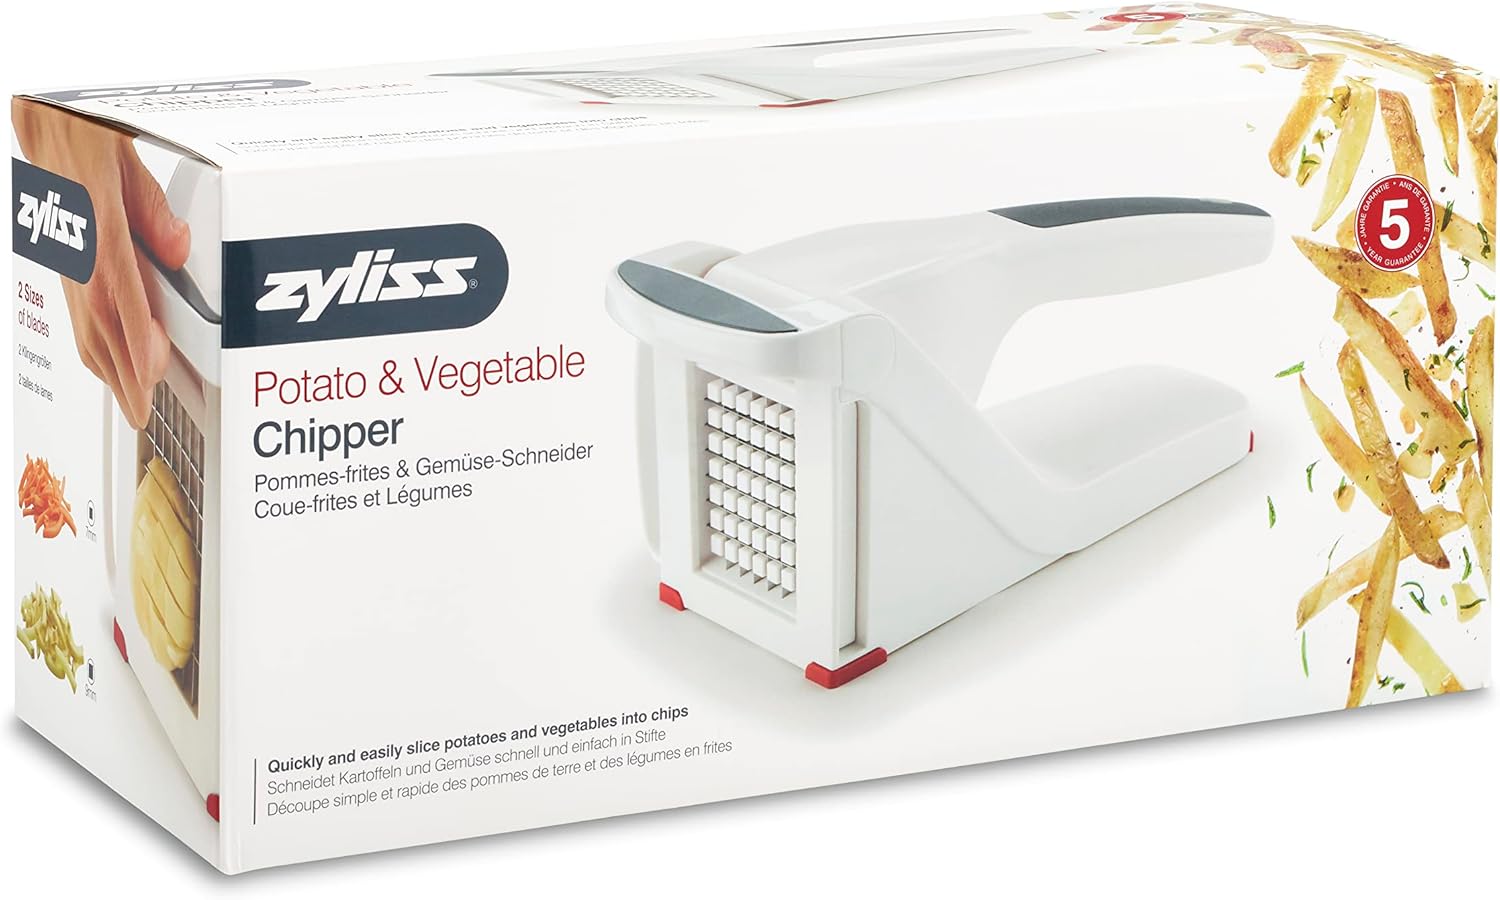
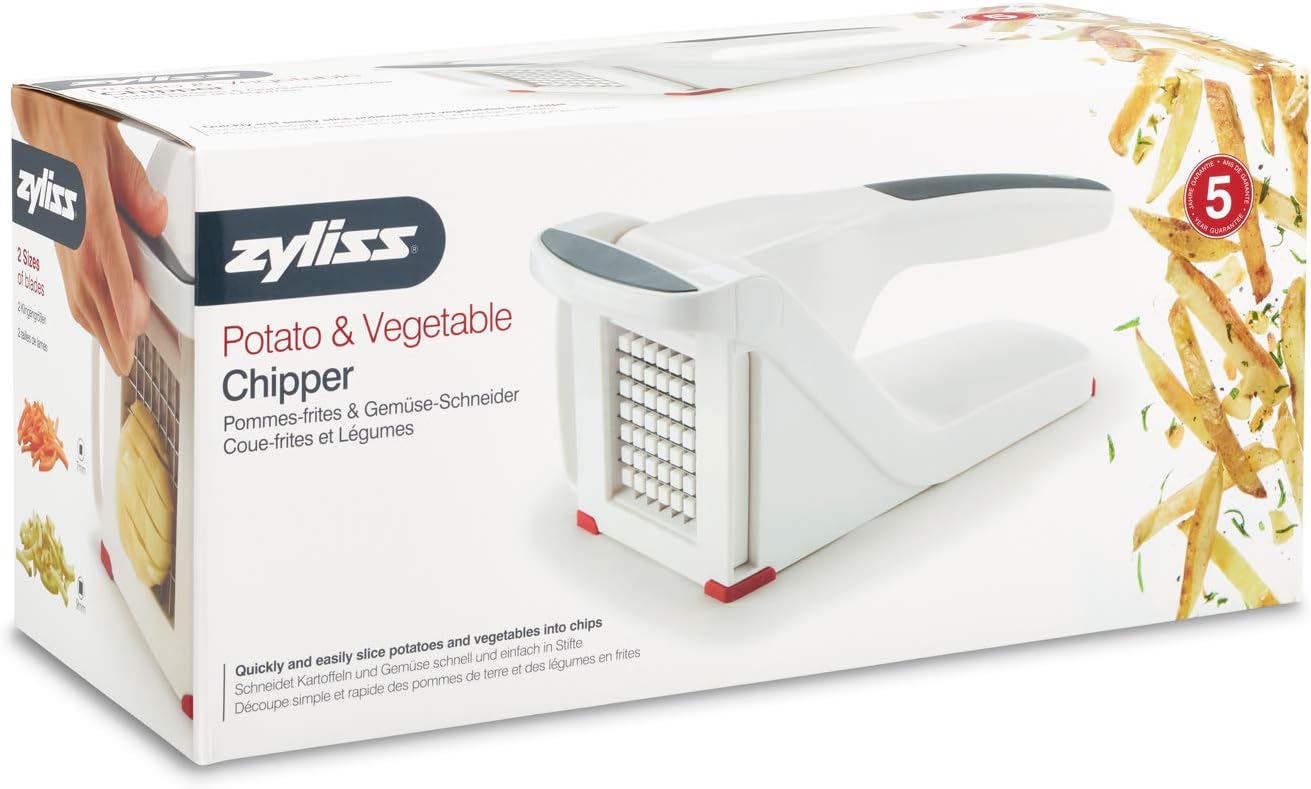
The Zyliss Potato and Vegetable Chipper in its retail packaging.
Safety Information
- Sharp Blades: The cutting blades are very sharp. Handle with extreme care to prevent injury. Always hold blades by their plastic frame.
- Keep Away from Children: Store the chipper and its components out of reach of children.
- Stable Surface: Always use the chipper on a stable, flat, and non-slip surface. The non-slip rubber feet are designed for this purpose.
- Proper Use: Only use for intended purpose of chipping potatoes and other dense vegetables. Do not attempt to chip frozen or excessively hard items.
- Inspect Before Use: Before each use, inspect the chipper and blades for any damage. Do not use if any part is broken or damaged.
Parts Overview
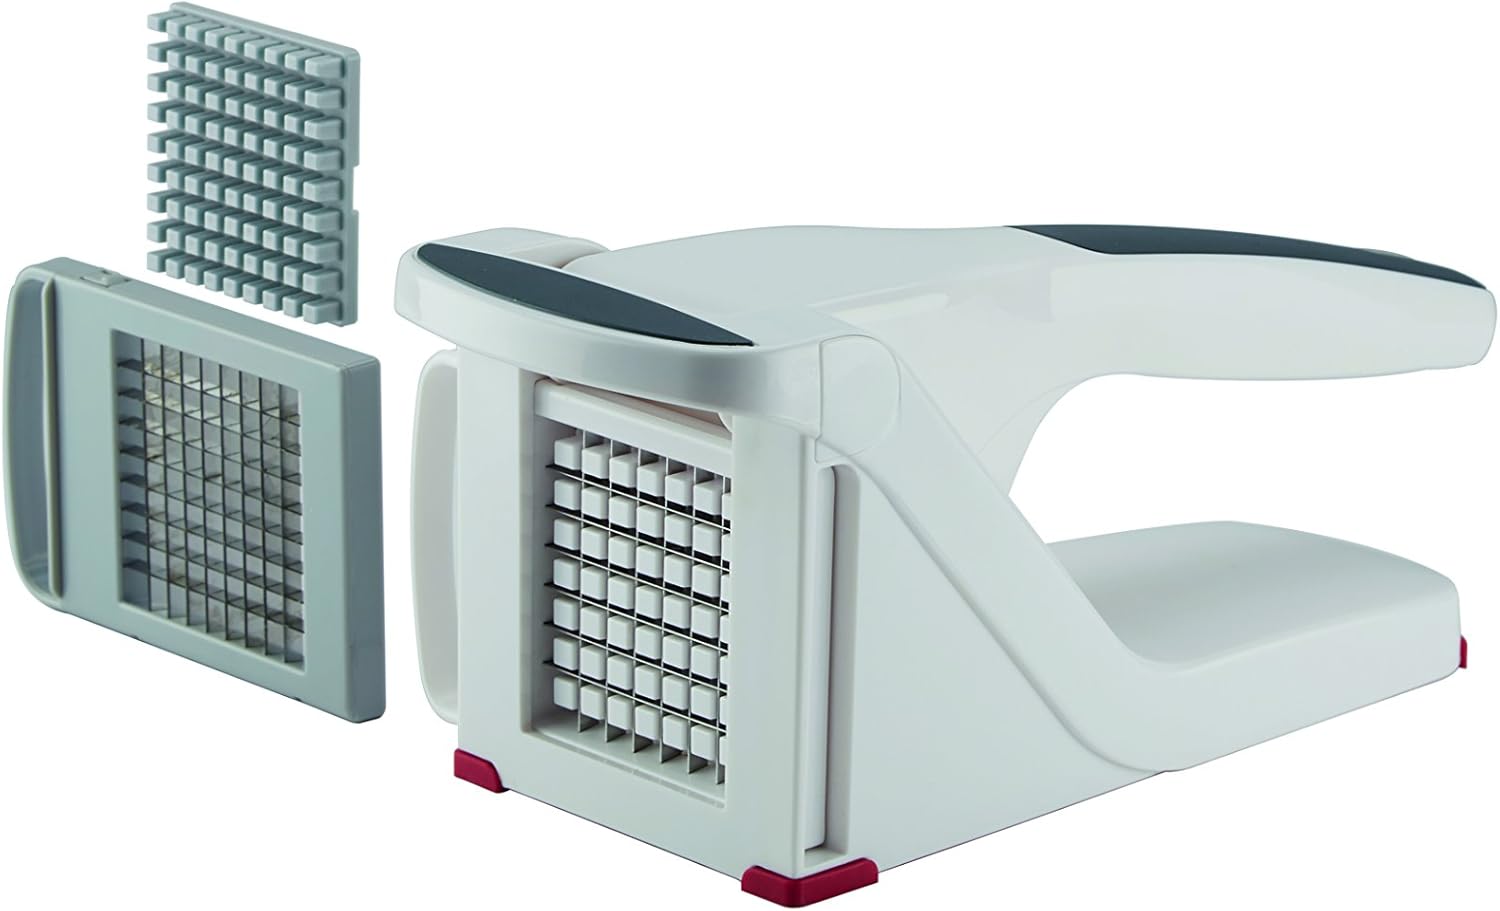
The Zyliss Potato and Vegetable Chipper consists of the main body, a pusher handle, and two interchangeable stainless steel cutting blades.
The Zyliss Chipper shown with its two interchangeable stainless steel blades (7mm and 9mm) detached from the main unit.
- Main Body: The base unit that holds the vegetable and the cutting blade.
- Pusher Handle: The lever used to push the vegetable through the blade. Features an extended non-slip grip.
- 7mm Blade: For thinner chips.
- 9mm Blade: For thicker chips.
Setup and Blade Installation
- Choose Blade: Select either the 7mm or 9mm stainless steel cutting blade based on your desired chip thickness.
- Install Blade: Carefully slide the chosen blade into the designated slot on the main body of the chipper until it clicks securely into place. Ensure it is fully seated and stable.
- Position Chipper: Place the chipper on a clean, dry, and stable countertop. The non-slip rubber feet will help secure it during use.
Operating Instructions
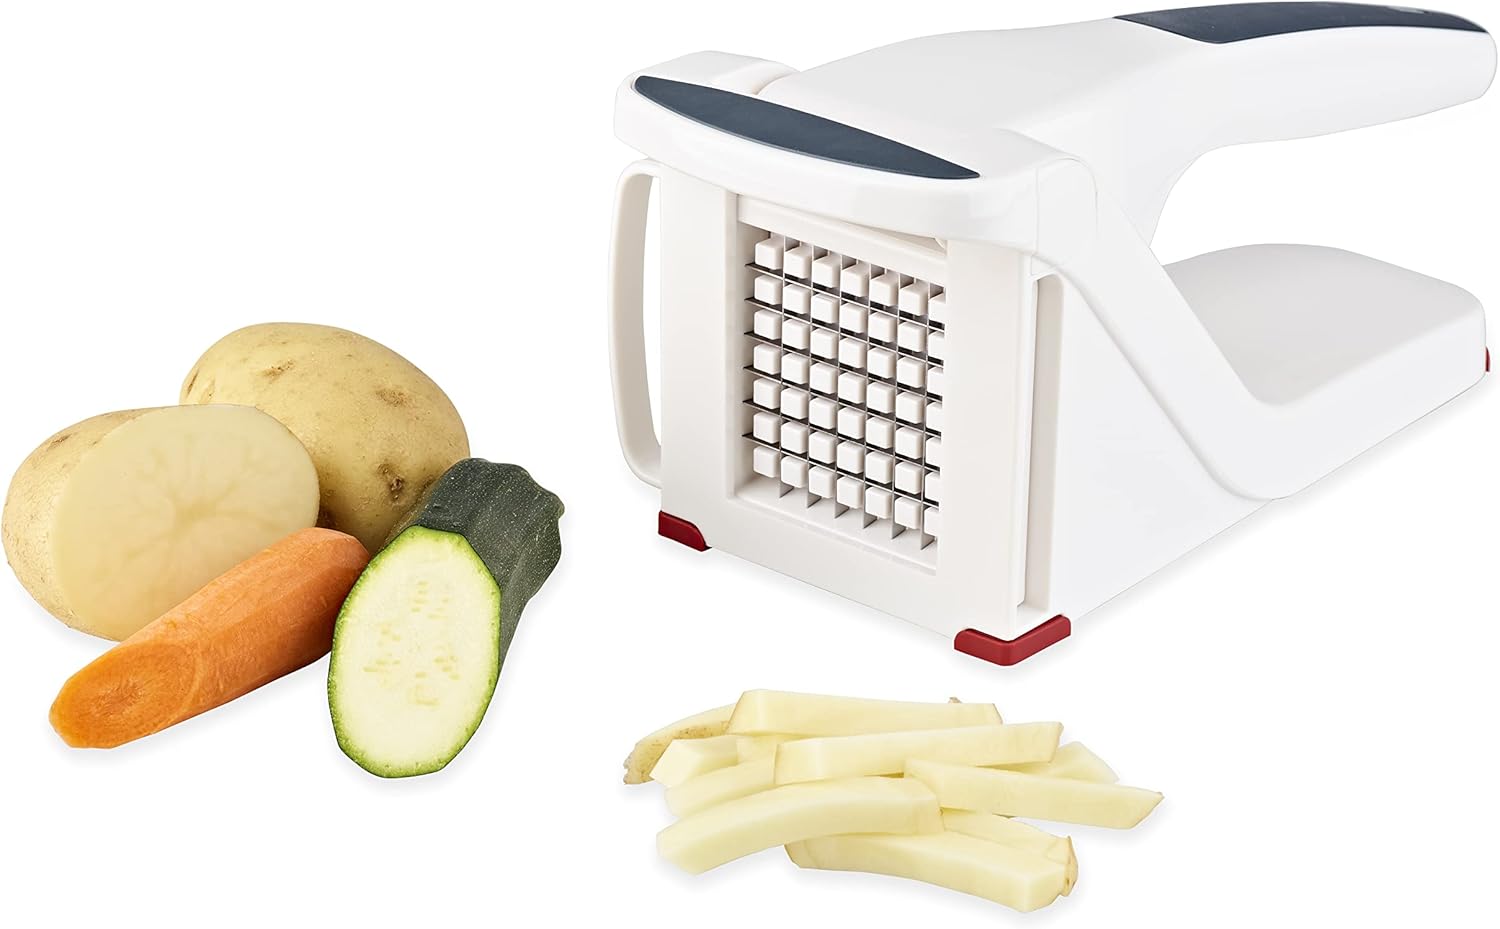
The Zyliss Chipper is designed for efficient cutting of potatoes, carrots, courgettes, and similar vegetables.
- Prepare Vegetable: Wash and peel your chosen vegetable (e.g., potato). For best results and to reduce effort, ensure the vegetable is not excessively large. If a potato is too long, cut it in half. If it is too wide, trim the sides to fit within the chipper's opening.
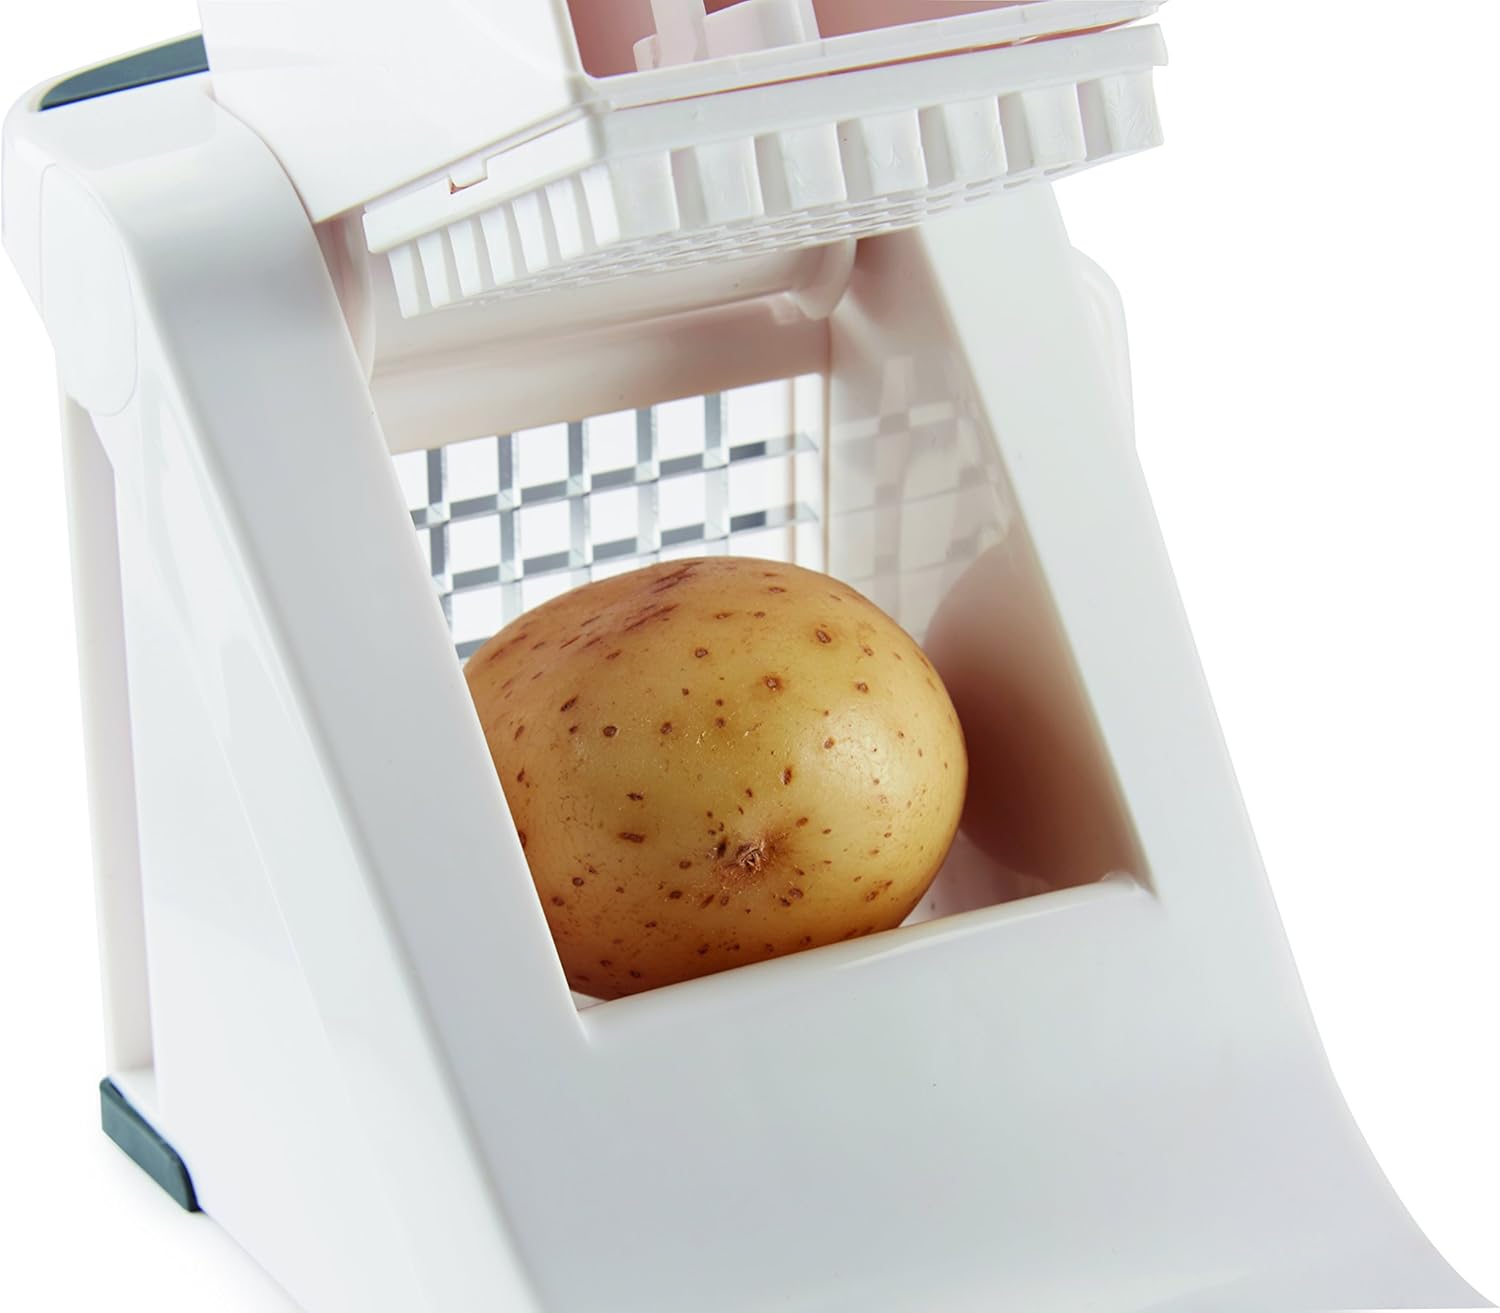
- Place Vegetable: Position the vegetable firmly against the installed blade, ensuring it is centered and aligned for a straight cut.
- Engage Pusher: Bring the pusher handle down over the vegetable.
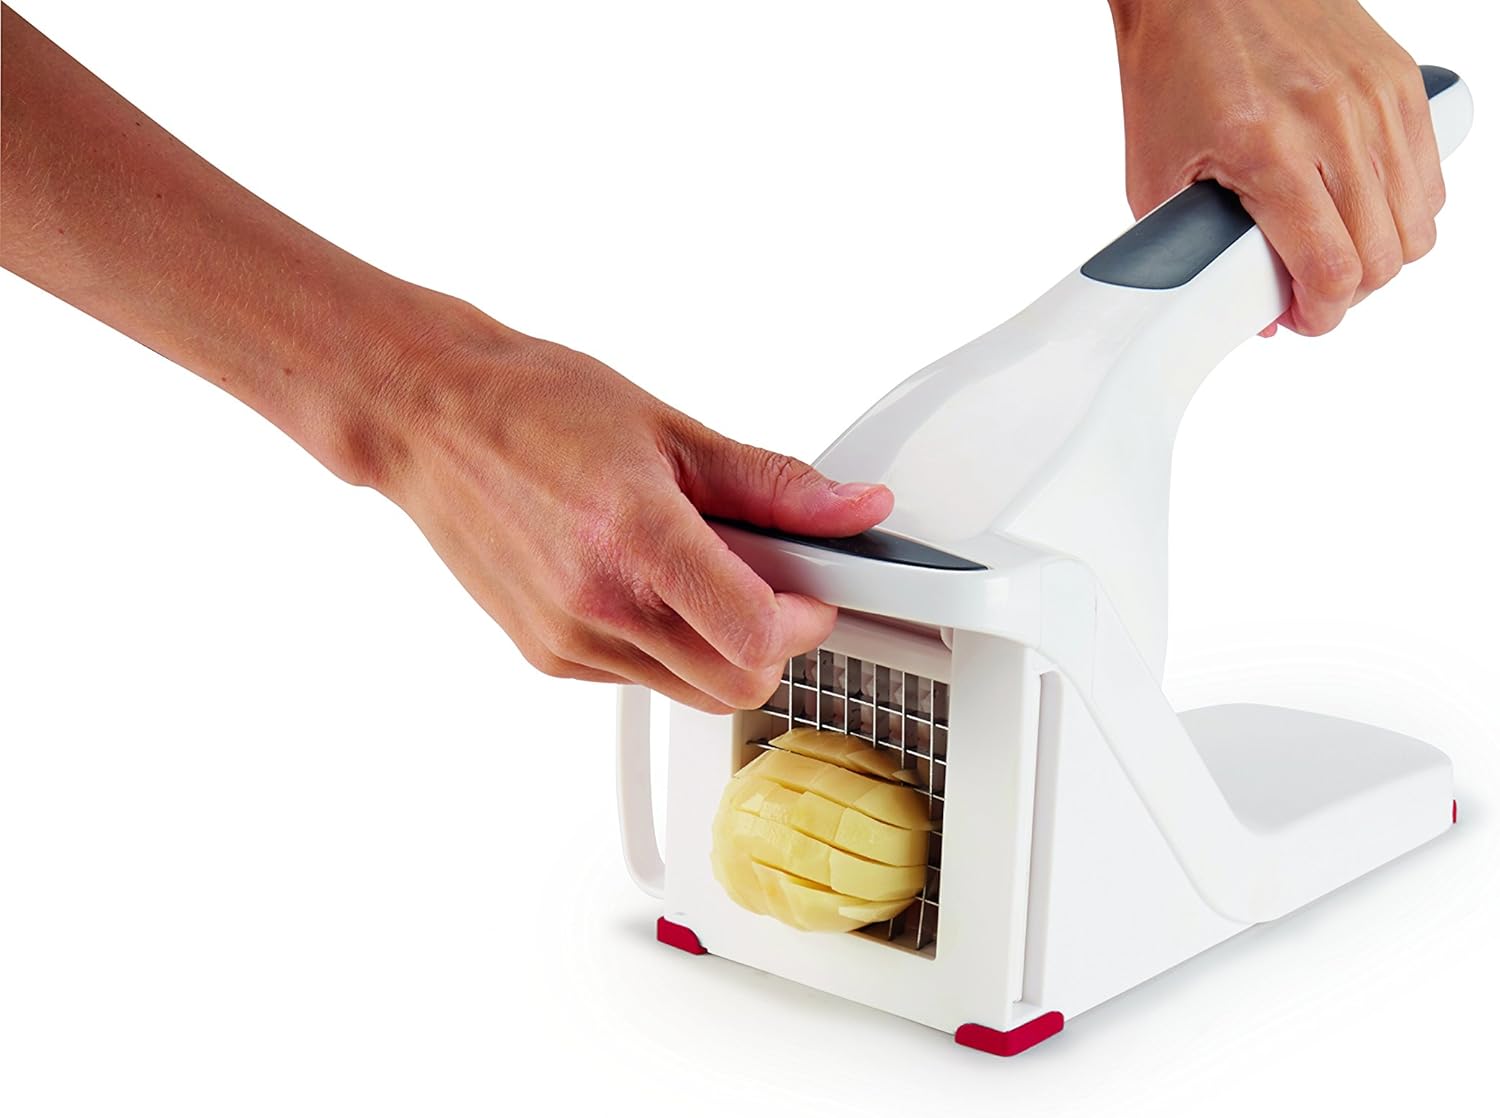
- Apply Pressure: With one hand holding the chipper body for stability, use the other hand to firmly and steadily push the handle downwards. The vegetable will be forced through the blade, creating uniform chips.
- Collect Chips: The cut chips will fall out from the bottom of the chipper.
A potato correctly positioned within the Zyliss Chipper, ready for chipping.
Demonstration of hands operating the Zyliss Chipper, pushing the handle down to cut vegetables.
A pile of freshly cut potato chips, demonstrating the output of the Zyliss Chipper.
An assortment of raw vegetables (potato, carrot, zucchini) alongside a pile of uniform chips, illustrating the chipper's versatility.
Care and Cleaning
Proper cleaning and care will extend the life of your Zyliss Chipper.
- Dishwasher Safe: The Zyliss Potato and Vegetable Chipper is dishwasher safe. Place all components on the top rack for cleaning.
- Hand Washing: For hand washing, disassemble the chipper by removing the blade. Wash all parts with warm, soapy water. Use a brush to carefully clean around the blades. Rinse thoroughly and dry immediately.
- Drying: Ensure all parts are completely dry before reassembling or storing to prevent water spots or corrosion, especially on the stainless steel blades.
- Storage: The chipper can be stored on its end to save space. Store blades safely when not in use.
Troubleshooting
- Difficulty Pushing Vegetable Through:
- Ensure the vegetable is not too large for the cutting area. Trim larger vegetables to fit.
- Make sure the vegetable is aligned straight with the blade. An awkward angle can increase resistance.
- Do not attempt to chip excessively hard or frozen vegetables.
- Apply firm, steady pressure rather than sudden force.
- Chips are Uneven:
- Ensure the vegetable is placed squarely against the blade before pushing.
- Verify the blade is fully seated and secure in its slot.
- Blades Seem Dull:
- Over time, blades may show signs of wear. While Zyliss blades are durable, consistent use on very hard vegetables can affect sharpness.
- Ensure blades are clean and free of debris, which can impede cutting performance.
Specifications
| Brand | Zyliss |
| Model Number | E910025 |
| Product Dimensions | 12.6"L x 5.51"W x 5.51"H |
| Material | Plastic / Stainless Steel |
| Color | White |
| Special Feature | Non-slip base and handle |
| Recommended Use | Vegetable chipping |
| Care Instructions | Dishwasher Safe |
| Blade Material | Stainless Steel |
| Item Weight | 0.68 Kilograms |
| Operation Mode | Manual |
Warranty and Customer Support
The Zyliss E910025 Potato and Vegetable Chipper comes with a 5-year guarantee, ensuring quality and durability. For warranty claims, product support, or inquiries, please refer to the contact information provided on the Zyliss official website or your purchase documentation.
Please retain your proof of purchase for warranty validation.