
Introduction
This manual provides essential instructions for the safe installation, operation, and maintenance of your ELEGANT Axel Collection 10-Light Chandelier. Please read all instructions carefully before beginning installation and retain this manual for future reference. This chandelier features a postmodern design with ten light sockets, a black finish, and brass accents, suitable for various indoor settings.

Figure 1: ELEGANT Axel Collection 10-Light Chandelier (LD8003D28)
Safety Information
WARNING: To reduce the risk of fire, electric shock, or personal injury, always turn off the main power supply at the circuit breaker or fuse box before installation, servicing, or cleaning the fixture. All electrical connections must be in accordance with local codes, ordinances, or the National Electric Code (NEC). Consult a qualified electrician if you are unfamiliar with electrical wiring.
- Do not install this fixture in wet or damp locations. It is designed for indoor use only.
- Ensure the mounting surface can support the weight of the fixture.
- Use only the specified bulb type and wattage to avoid overheating.
- Do not connect the fixture to an ungrounded electrical system.
- Proposition 65 Warning: This product may contain chemicals known to the State of California to cause cancer and birth defects or other reproductive harm. Wash hands after handling.
Package Contents
Verify that all components are present before beginning installation:
- Living District Axel 10-Light Transitional Metal Chandelier in Black and Brass (Main Fixture)
- Mounting Hardware (Canopy, mounting bracket, screws, wire nuts)
- Extension Rods (4-foot rod included, adjustable for hanging height)
Specifications
| Brand | ELEGANT |
| Model Number | LD8003D28 |
| Dimensions (L x W x H) | 27.2" x 27.2" x 32.5" |
| Minimum Hanging Height | 46" |
| Maximum Hanging Height | 86" |
| Weight | 8.2 lbs |
| Material | Metal |
| Finish | Black and Brass |
| Number of Lights | 10 |
| Bulb Base | E26 (Medium) |
| Max Wattage per Bulb | 60W |
| Total Max Wattage | 600W |
| Voltage | 110V - 125V |
| Light Direction | All Around |
| Assembly Required | No (Minor assembly for arms and hanging) |
Setup and Installation
Tools Required (Not Included): Phillips screwdriver, flathead screwdriver, wire strippers, electrical tape, safety glasses, ladder.
- Turn Off Power: Locate the circuit breaker or fuse box and turn off the power supply to the junction box where you will install the fixture.
- Prepare Mounting: Attach the mounting bracket to the junction box using the provided screws. Ensure it is securely fastened.
- Assemble Fixture Arms: The chandelier features multiple arms that connect to a central hub. Carefully attach each arm to the central hub, ensuring they are securely tightened. The arms can be adjusted to achieve your desired aesthetic.
- Adjust Hanging Height: Determine the desired hanging height. The fixture includes extension rods (a 4-foot rod is provided) that can be combined or shortened to achieve the desired drop. Thread the fixture wires through the chosen rods and the canopy.
- Wiring Connections: Carefully connect the fixture's wires to the corresponding wires in the junction box using wire nuts. Connect the black wire (live) from the fixture to the black wire from the junction box. Connect the white wire (neutral) from the fixture to the white wire from the junction box. Connect the green or bare copper wire (ground) from the fixture to the ground wire from the junction box. Ensure all connections are secure and insulated with electrical tape if necessary.
- Mount Canopy: Carefully push the canopy up to the ceiling, covering the junction box and mounting bracket. Secure it in place with the provided screws or nuts.
- Install Bulbs: Screw E26 base bulbs (not included) into each of the 10 sockets. Do not exceed the maximum wattage of 60W per bulb.
- Restore Power: Once installation is complete, turn the power back on at the circuit breaker. Test the fixture to ensure it functions correctly.
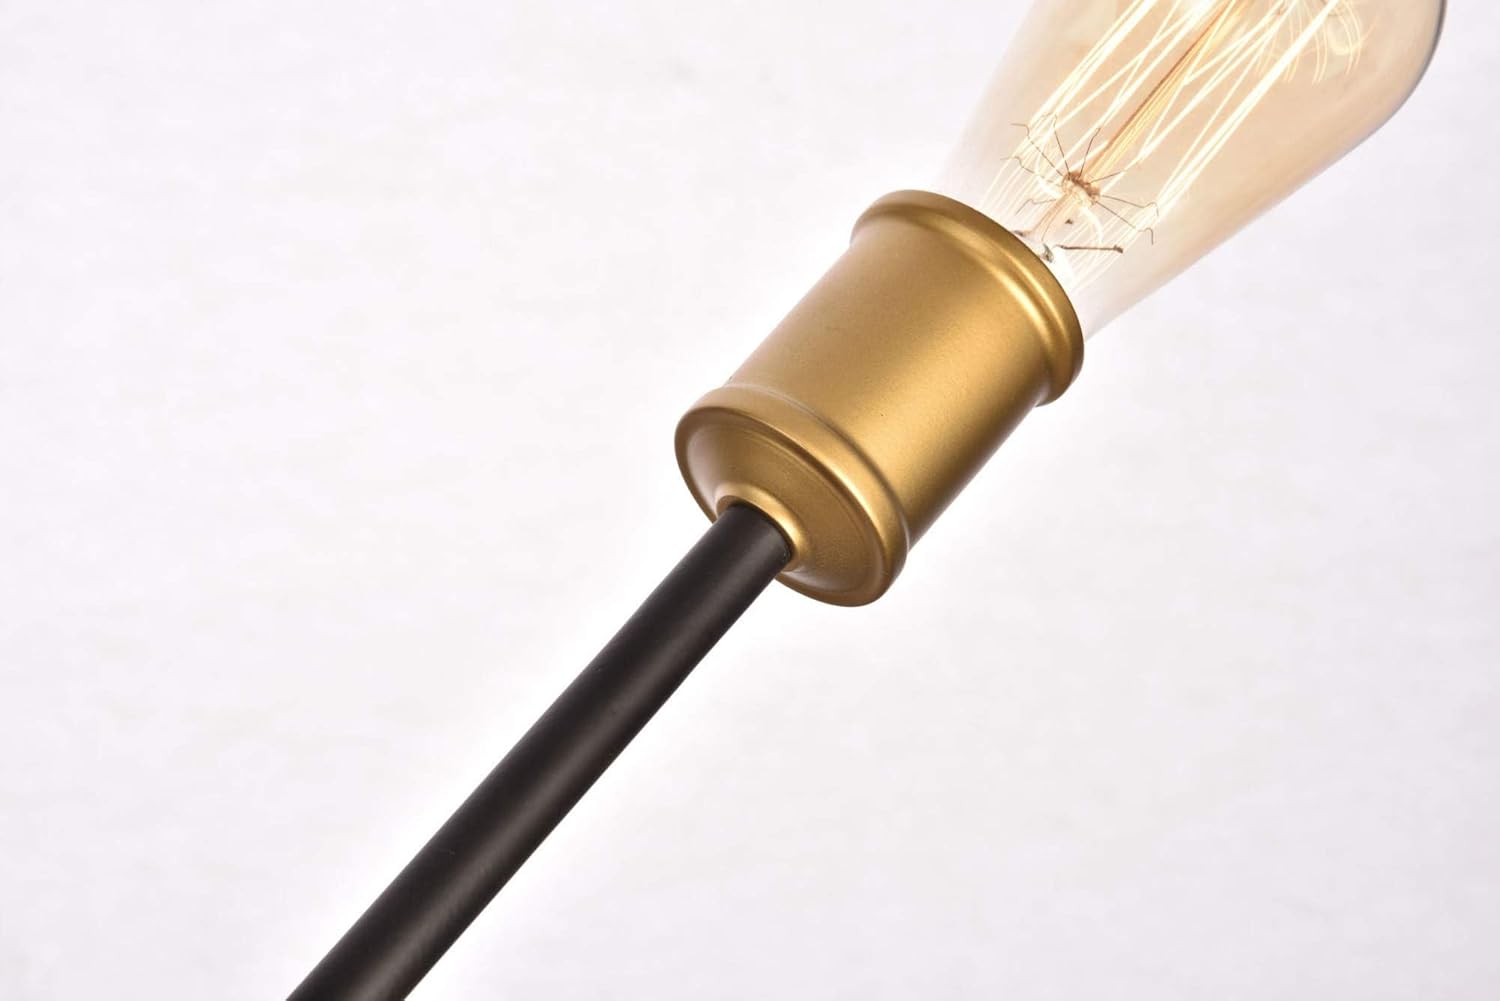
Figure 2: Central Hub Connection Point
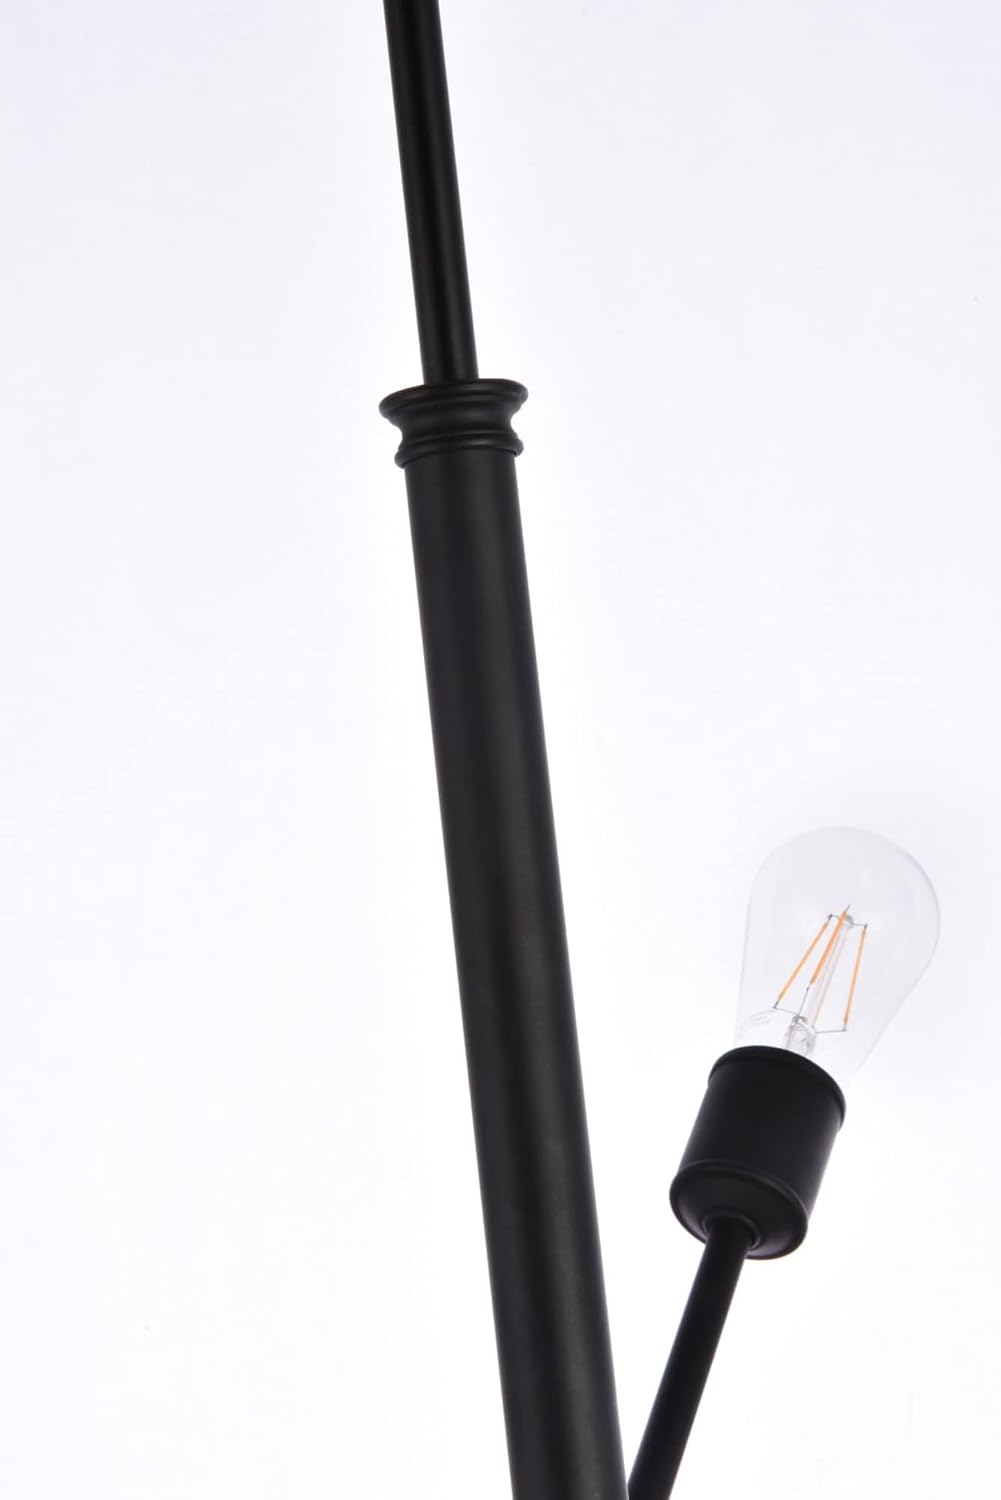
Figure 3: Chandelier Downrod Detail
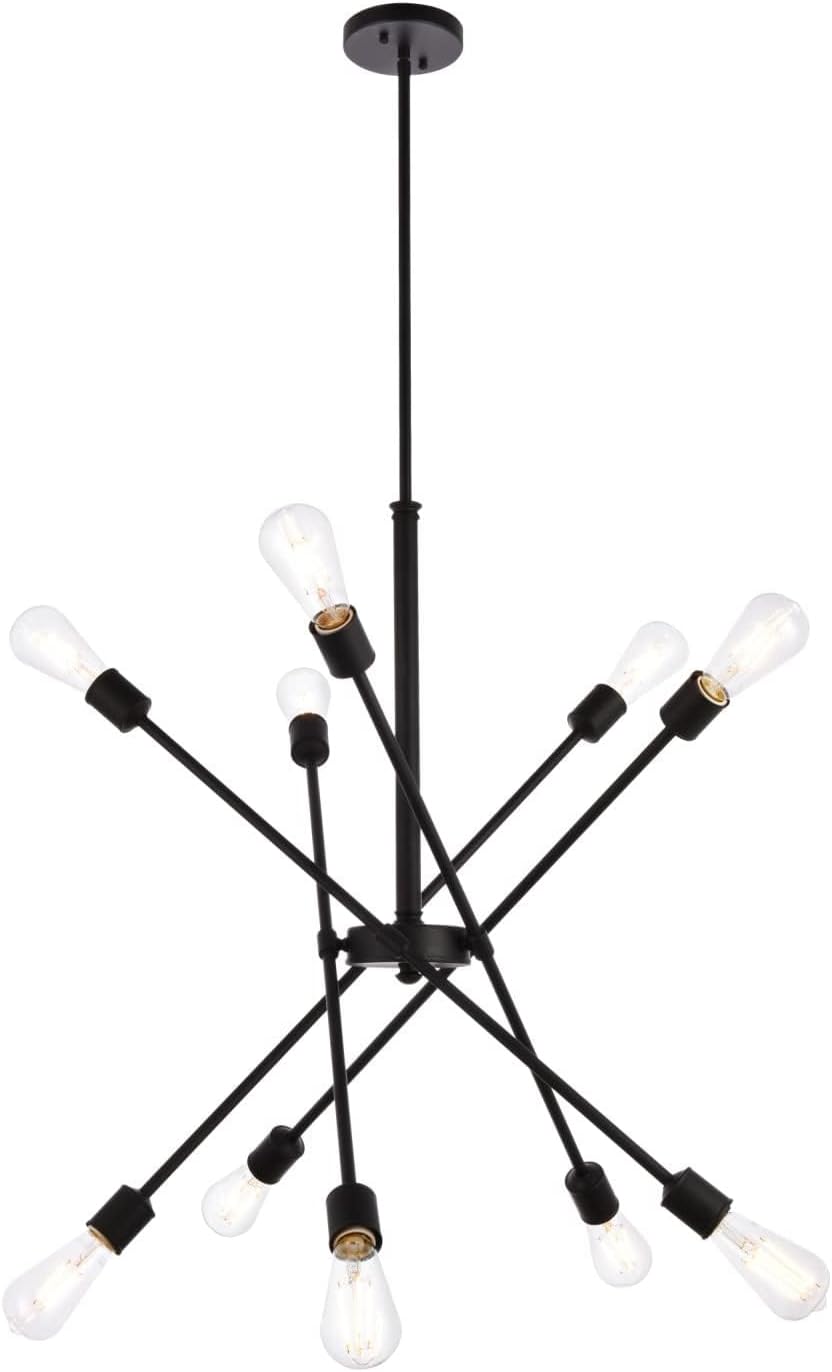
Figure 4: Bulb Socket Detail
Operation
The ELEGANT Axel Collection Chandelier operates via a standard wall switch (not included). Ensure appropriate E26 base bulbs are installed. The fixture is designed for 110V-125V electrical systems. For optimal performance and energy efficiency, consider using LED bulbs with an E26 base.
Maintenance
- Cleaning: To clean the fixture, ensure the power is turned off. Use a soft, dry cloth to wipe down the metal surfaces. Do not use abrasive cleaners or solvents, as they may damage the finish.
- Bulb Replacement: Always turn off the power before replacing bulbs. Allow bulbs to cool completely before touching them. Unscrew the old bulb and screw in a new E26 base bulb, ensuring it does not exceed 60W.
- Inspection: Periodically inspect the wiring and connections for any signs of wear or damage. If any issues are found, consult a qualified electrician.
Troubleshooting
| Problem | Possible Cause | Solution |
|---|---|---|
| Fixture does not light up. | No power supply; loose wiring; faulty bulb. | Check circuit breaker/fuse. Ensure all wire connections are secure. Replace bulbs. |
| Lights flicker. | Loose bulb; loose wiring; incompatible dimmer switch. | Tighten bulbs. Check wiring connections. Ensure dimmer switch is compatible with LED bulbs if used. |
| Fixture hums. | Incompatible dimmer switch; loose components. | Replace dimmer switch with a compatible one. Ensure all fixture components are tightened. |
Warranty and Support
This ELEGANT Lighting fixture comes with a 1-year limited manufacturer's warranty. This warranty covers defects in materials and workmanship under normal use. It does not cover damage resulting from improper installation, accidents, misuse, or unauthorized repairs.
For warranty claims or technical support, please contact ELEGANT Lighting customer service. Keep your purchase receipt as proof of purchase.


