
1. Introduction
This manual provides comprehensive instructions for the safe and efficient installation, operation, and maintenance of your Schulte Complete Shower Cabin. This model features a 120 x 90 x 204 cm rectangular design with a left-opening sliding door, an integrated shower tray, and wall panels. It is designed for ease of assembly without the need for drilling or silicone, thanks to its clip-on system.
Please read all instructions carefully before beginning installation and retain this manual for future reference.

Figure 1: Overview of the Schulte Complete Shower Cabin.
2. Setup & Installation
The Schulte Complete Shower Cabin is designed for straightforward assembly. It is recommended that two people perform the installation. The estimated assembly time is approximately 20 minutes.
2.1 Preparation
- Ensure the installation area is clean, level, and has adequate drainage connections.
- Unpack all components and verify against the packing list.
- Gather necessary tools (e.g., screwdriver, spirit level).
2.2 Shower Tray Placement
Position the shower tray in the desired location. Use a spirit level to ensure it is perfectly horizontal. Adjust the height of the feet as needed to achieve a level surface.

Figure 2: Diagram illustrating shower tray positioning and adjustment.
Connect the flexible drain hose to the shower tray's drainage system. Ensure a secure and watertight connection.
2.3 Faucet and Shower Column Assembly
Assemble the faucet and shower column components as per the detailed instructions provided in the product manual. This typically involves connecting the mixer, shower head, and hose. The system is designed for easy assembly without drilling.

Figure 3: Assembling the shower column and faucet.
Install the glass shelf onto the shower column. Secure it by screwing it into place.

Figure 4: Attaching the glass shelf to the shower column.
2.4 Wall Panel and Frame Assembly
Begin by attaching the pre-mounted wall panels to the shower tray. Ensure they are securely clipped into place. The clip-on system provides stability without the need for additional fasteners.
Next, install the side elements and the upper profile. Ensure all connections are locked securely. The interlocking design ensures a stable and watertight structure.
2.5 Sliding Door Installation
Install the rollers and handle onto the sliding door panel. Carefully position the door into the upper and lower tracks. Adjust the door using a screwdriver to ensure a smooth slide and a tight, hermetic seal when closed.
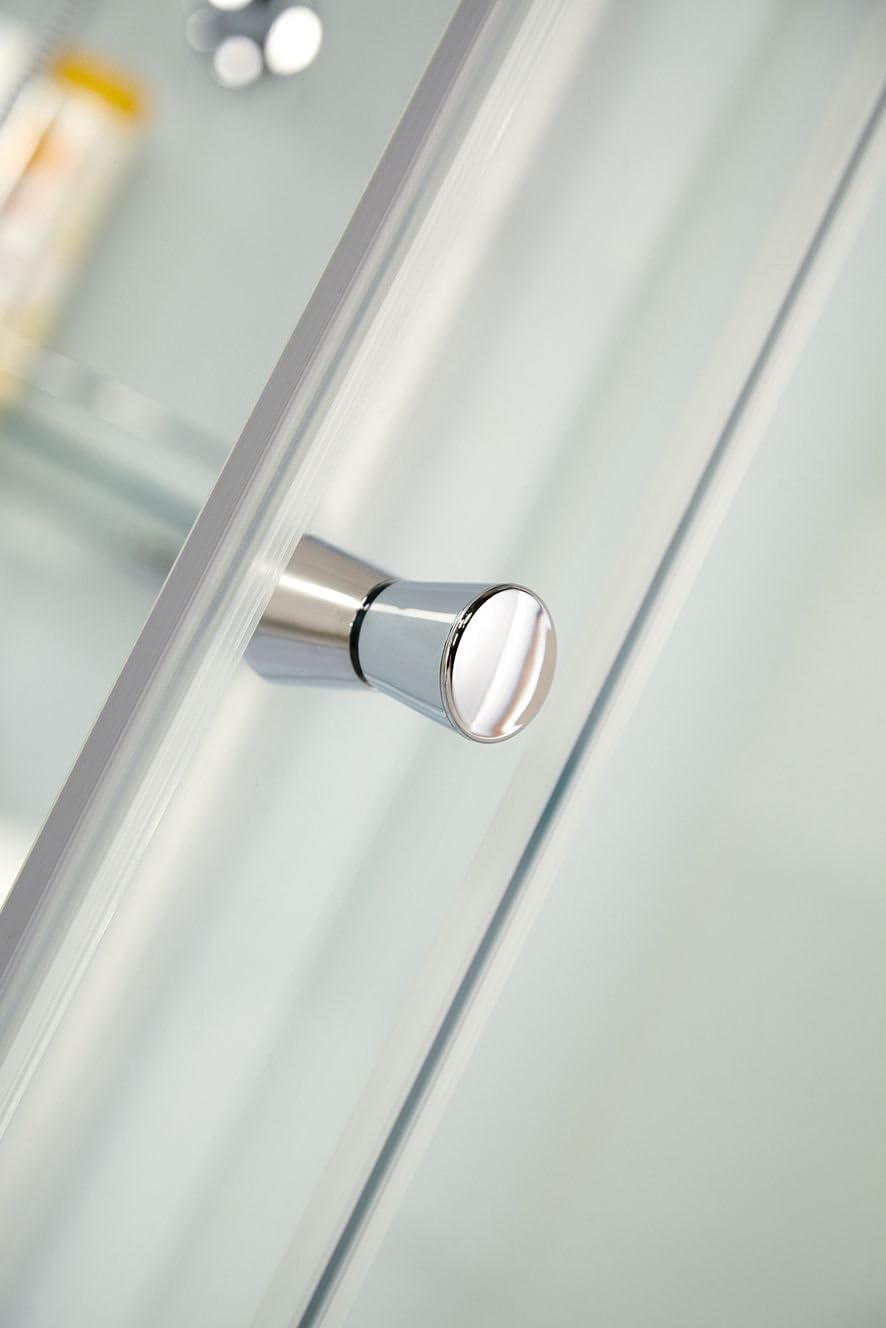
Figure 5: Installing the shower door handle.
Apply the sealing gaskets along the edges of the door and fixed panels to prevent water leakage.
2.6 Final Steps
Insert the safety pins into the designated holes to further secure the structure. Once all components are assembled, push the complete shower cabin into its final position and connect it to the water supply lines.
2.7 Installation Video Guide
For a visual guide on the installation process, please refer to the official Schulte installation video below:
Video 1: Schulte Complete Shower Cabin Assembly Guide. This video demonstrates the step-by-step process for assembling the shower cabin, including tray placement, panel assembly, and door installation.
3. Operation
Operating your Schulte Complete Shower Cabin is straightforward.
3.1 Sliding Door
The shower cabin features a smooth-gliding left-opening sliding door. To open, gently slide the door along its track using the handle. To close, slide it back until it meets the fixed panel and forms a seal.
3.2 Water Control
Use the mechanical mixer to control the water temperature and flow. Turn the handle to adjust the temperature from cold to hot. The diverter allows you to switch between the overhead shower and the hand shower.

Figure 6: Detail of the shower head and water control mixer.
4. Maintenance
Regular cleaning and maintenance will ensure the longevity and optimal performance of your shower cabin.
4.1 Cleaning Glass Surfaces
- Clean glass panels regularly with a soft cloth and a non-abrasive glass cleaner.
- For stubborn water spots or limescale, use a mild vinegar solution or a specialized limescale remover, then rinse thoroughly with water.
- Avoid using abrasive sponges, harsh chemicals, or scouring powders, as these can scratch the glass or damage the surface finish.
4.2 Cleaning Profiles and Metal Parts
- Wipe aluminum profiles and chrome-plated parts with a soft, damp cloth.
- Use a mild, pH-neutral cleaner if necessary, and always rinse thoroughly.
- Do not use abrasive cleaners or steel wool, which can damage the finish.
4.3 Shower Tray and Drainage
- Clean the shower tray with a non-abrasive bathroom cleaner.
- Regularly check and clean the drain to prevent blockages and ensure proper water flow. Remove any hair or debris from the drain cover.
4.4 Seals and Rollers
- Inspect door seals periodically for wear and tear. Replace them if they become damaged or lose their sealing effectiveness.
- Keep the door rollers and tracks clean to ensure smooth operation. Lubricate with a silicone-based spray if needed.
5. Troubleshooting
This section addresses common issues you might encounter with your shower cabin.
5.1 Water Leakage
- Check Seals: Ensure all sealing gaskets around the door and fixed panels are properly installed and not damaged. Replace worn seals.
- Drain Connection: Verify that the drain hose connection to the shower tray is tight and properly sealed.
- Tray Level: Confirm the shower tray is perfectly level. An uneven tray can cause water to pool or leak.
5.2 Door Not Sliding Smoothly
- Clean Tracks: Remove any dirt, soap scum, or debris from the door tracks.
- Inspect Rollers: Check if the rollers are clean and undamaged. Lubricate them with a silicone spray if they are stiff.
- Adjust Door: Re-adjust the door alignment using the adjustment screws on the rollers if necessary.
5.3 Low Water Pressure
- Check Water Supply: Ensure the main water supply valves are fully open.
- Clean Shower Head: Limescale buildup can restrict water flow. Clean the nozzles of the shower head.
- Inspect Hoses: Check for any kinks or blockages in the water supply hoses.
6. Specifications
| Brand | Schulte |
| Model Number | 4060991009914 |
| Dimensions (L x W x H) | 120 x 90 x 204 cm |
| Item Weight | 113.6 Kilograms |
| Material | Glass |
| Glass Thickness | 5 Millimeters |
| Color | Alu-silver |
| Finish Type | Alu-silver |
| Door Style | Modern, Left Opening |
| Number of Panels | 3 |
| Assembly Required | Yes |
| Included Components | 1 shower cabin, 1 shower tray with integrated apron, 1 drainage system, 2 wall panels, 1 glass shower column with hand shower, mechanical mixer and glass shelf, 1 mounting kit and accessories, assembly instructions. |
7. Warranty
The Schulte Complete Shower Cabin comes with a manufacturer's product warranty of 5 years. Please retain your proof of purchase for warranty claims. For detailed warranty terms and conditions, refer to the documentation included with your product or contact Schulte customer service.
8. Customer Support
Should you require assistance with installation, operation, or encounter any issues not covered in this manual, please contact Schulte customer support. You can find contact information on the official Schulte website or through your retailer.
For more information about Schulte products, visit: Schulte Home Store
