
Bell+Howell 1895
Bell+Howell Power Remote PODS User Manual
Model: 1895
1. Product Overview
The Bell+Howell Power Remote PODS are versatile, super bright, high-performance LED lights designed for convenient, wireless illumination. These mini LED lights are ideal for adding light to any area without the need for electrical wiring or outlets. They are perfect for improving visibility in dark spaces and can be used both indoors and outdoors.
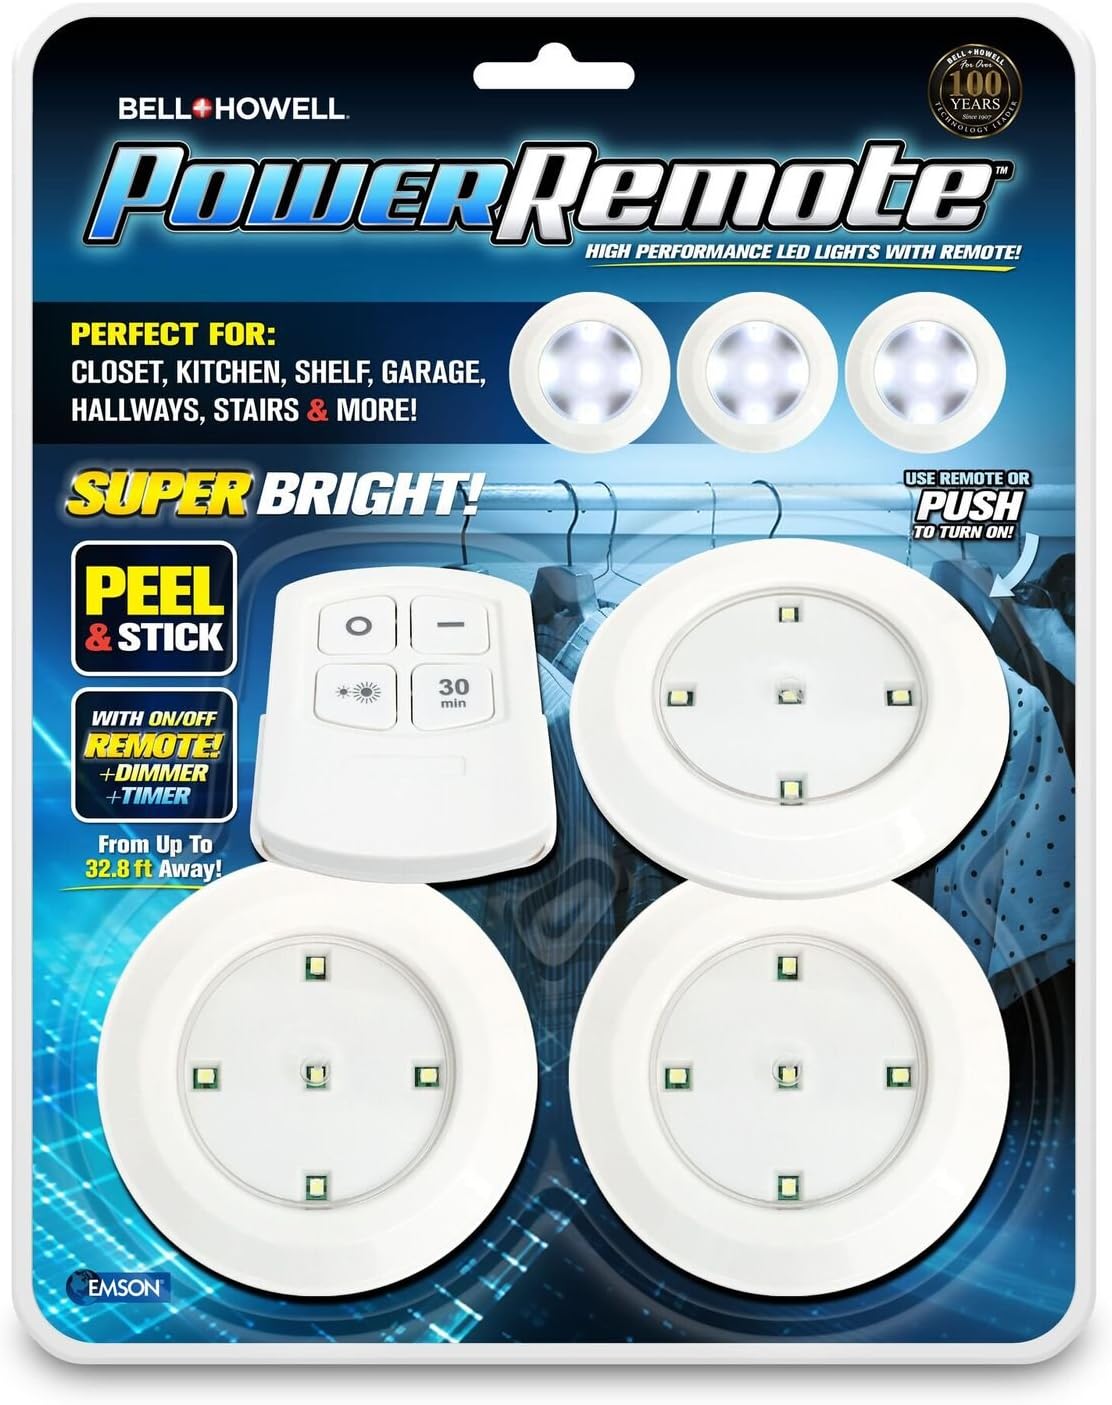
Figure 1.1: Bell+Howell Power Remote PODS product packaging, illustrating the three LED lights and the included remote control.
2. Key Features
- Completely Wireless: Operates on batteries, providing light even during power outages.
- Remote Control Included: Allows for convenient on/off control from a distance. Lights can also be turned on/off by pressing them directly.
- Easy Installation: Features a peel-and-stick adhesive backing for quick and simple mounting on most flat surfaces.
- Versatile Use: Suitable for various indoor and outdoor locations such as closets, kitchens, shelves, garages, hallways, and stairs.
- Two Lighting Modes & Timer: Offers super bright and dim lighting options. Includes a 30-minute timer function.
3. Package Contents
The Bell+Howell Power Remote PODS package includes:
- 3 x Mini LED Lights
- 1 x Remote Control
Note: AAA batteries for the LED lights and the remote control are not included and must be purchased separately.
4. Specifications
| Specification | Detail |
|---|---|
| Model Number | 1895 |
| Power Source | Battery-powered (3x AAA batteries per light, not included) |
| Bulb Type | LED |
| Wattage | 7 watts |
| Voltage | 120 Volts |
| Material | Plastic |
| Color | White |
| Dimensions | Approximately 4 x 4 x 4 inches (per light) |
| Item Weight | Approximately 8 ounces (total package) |
| Mounting Type | Side-mount (adhesive) |
| Switch Style | Push button / Remote control |
| Usage | Indoor use only (as per product specifications, despite description mentioning outdoor use) |
5. Installation Guide
5.1 Inserting Batteries
- Locate the battery compartment on the back of each LED light pod.
- Open the compartment cover.
- Insert three (3) AAA batteries into each light pod, ensuring correct polarity (+/-).
- Close the battery compartment cover securely.
- For the remote control, open its battery compartment and insert the required batteries (typically 2x AAA, though not specified, common for remotes). Ensure correct polarity.
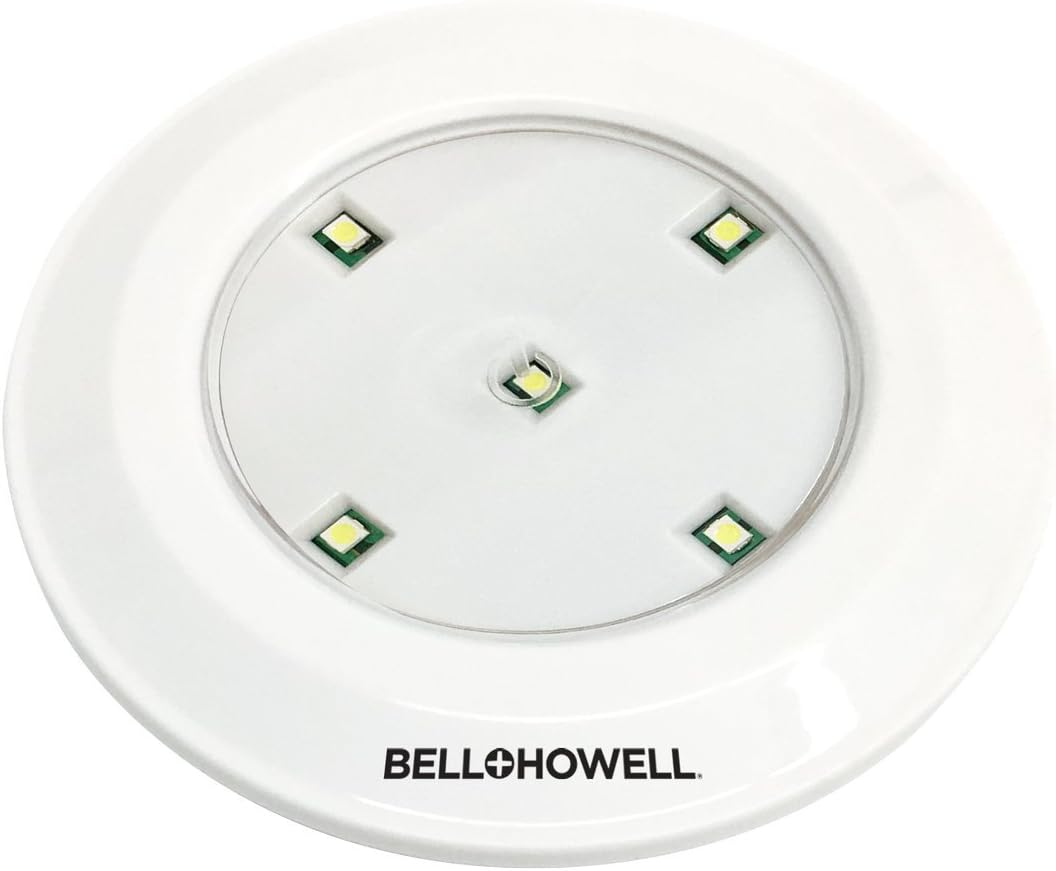
Figure 5.1: An unlit LED light pod, ready for battery insertion and mounting.
5.2 Mounting the Lights
- Choose a clean, dry, and flat surface for mounting. Ensure the surface is free of dust, grease, or moisture.
- Peel off the protective backing from the adhesive tape located on the back of each LED light pod.
- Firmly press the light pod onto the desired surface for at least 30 seconds to ensure strong adhesion.
- Repeat for all light pods.
6. Operating Instructions
The Bell+Howell Power Remote PODS can be operated using the included remote control or by pressing the light pods directly.
6.1 Using the Remote Control

Figure 6.1: The remote control for the Power Remote PODS.
- Power On/Off: Press the O button to turn the lights on or off.
- Dim Mode: Press the - button to switch the lights to a dimmer setting.
- Super Bright Mode: Press the sun icon button to switch the lights to the super bright setting.
- 30-Minute Timer: Press the 30 min button to activate a 30-minute timer, after which the lights will automatically turn off.

Figure 6.2: An illuminated LED light pod.
6.2 Manual Operation
You can also turn the lights on or off by gently pressing the center of each light pod.
7. Maintenance
7.1 Battery Replacement
When the lights begin to dim or stop functioning, it is time to replace the batteries. Follow the steps in Section 5.1 to replace the AAA batteries in each light pod and the remote control. Always use fresh batteries and dispose of old batteries responsibly according to local regulations.
7.2 Cleaning
To clean the light pods, gently wipe them with a soft, dry cloth. Do not use abrasive cleaners or immerse the units in water.
8. Troubleshooting
- Lights not turning on:
- Check if batteries are inserted correctly with proper polarity.
- Replace old batteries with new ones.
- Ensure the remote control has working batteries and is pointed towards the lights within range.
- Remote control not working:
- Verify batteries in the remote are fresh and correctly inserted.
- Ensure there are no obstructions between the remote and the lights.
- Confirm you are within the effective range of the remote (up to 32.8 ft).
- Lights are dim:
- Replace batteries in the light pods.
- Ensure the light mode is set to 'Super Bright' using the remote.
- Lights not sticking to surface:
- Ensure the surface is clean, dry, and smooth before application.
- Apply firm pressure for at least 30 seconds during installation.
- For rough or uneven surfaces, consider alternative mounting methods (not included).
9. Warranty Information
This product comes with a 1-year warranty from the date of purchase. Please retain your proof of purchase for warranty claims. The warranty covers manufacturing defects under normal use. It does not cover damage caused by misuse, accidents, unauthorized modifications, or normal wear and tear.
10. Customer Support
For further assistance, technical support, or warranty inquiries, please refer to the contact information provided on the product packaging or visit the official Bell+Howell website. When contacting support, please have your product model number (1895) and purchase details ready.
You can also visit the Bell+Howell Store on Amazon for more information: Bell+Howell Store
Ask a question about this manual
Ask about setup, troubleshooting, compatibility, parts, safety, or missing instructions. Manuals+ will review the question and use this page’s manual context to help answer it.