
1. Product Overview
The Forney Easy Weld 251 Plasma Cutter is a compact and efficient tool designed for cutting various metals. This 20 Amp plasma cutter operates on 120-Volt input power and is capable of clean cuts up to 1/4 inch of mild steel, with a sever capacity of up to 3/8 inch. Its portable design makes it suitable for a range of applications from auto body work to farm and ranch repairs, HVAC, plumbing, and general DIY projects. The machine features drag torch technology, allowing the cutting tip to remain in contact with the material for improved control and precision.

Image: Front view of the Forney Easy Weld 251 Plasma Cutter with its torch and ground clamp.
2. What's in the Box
Upon unboxing your Forney Easy Weld 251 Plasma Cutter, you will find the following components:
- Forney Easy Weld 251 Plasma Cutter unit
- Plasma torch
- 15 to 20 Amp plug adapter
- Ground cable and clamp
- Operating manual
- Quick start guide
- Additional set of consumables

Image: Rear view of the plasma cutter, highlighting the air inlet connection.

Image: Front view of the plasma cutter, showing the torch and ground clamp connections.

Image: Close-up of the included 15 to 20 Amp plug adapter.
3. Setup Instructions
Follow these steps to set up your plasma cutter for operation:
- Power Connection: Connect the plasma cutter to a standard 120-Volt household power outlet. Use the provided 15 to 20 Amp plug adapter if necessary.
- Air Compressor Connection: Attach an air line from your air compressor to the plasma cutter's air inlet. For optimal cutting performance, ensure the air is as clean and dry as possible, and maintain a pressure between 60 and 90 PSI.
- Ground Clamp: Securely attach the ground clamp to the workpiece or a clean, bare metal section of your work surface. A good ground connection is crucial for effective cutting performance.
Video: This video demonstrates the unboxing and initial setup steps for the Forney Easy Weld 251 Plasma Cutter, including power and air connections.

Image: A hand connecting the power plug to a standard electrical outlet.
4. Operating the Plasma Cutter
The Forney Easy Weld 251 Plasma Cutter is designed for straightforward operation:
- Output Current Adjustment: The output current knob is the primary adjustment on the machine. Rotate this knob to fine-tune your cutting arc to match the thickness of the material you are cutting.
- Starting a Cut: When you pull the trigger on the plasma torch, air will flow for a few seconds to purge the air line. After this brief purge, the arc will fire up, initiating the cutting process.
- Drag Torch Technology: This plasma cutter utilizes drag torch technology. This feature allows you to keep the cutting tip in direct contact with the material you are cutting, providing stability and ease of use.
- Post-Cut Air Flow: After completing a cut and releasing the trigger, air will continue to flow for a few seconds. This post-flow air cools the cutting tip, which helps to extend its lifespan.

Image: A person wearing protective gear, actively cutting metal with the plasma torch.
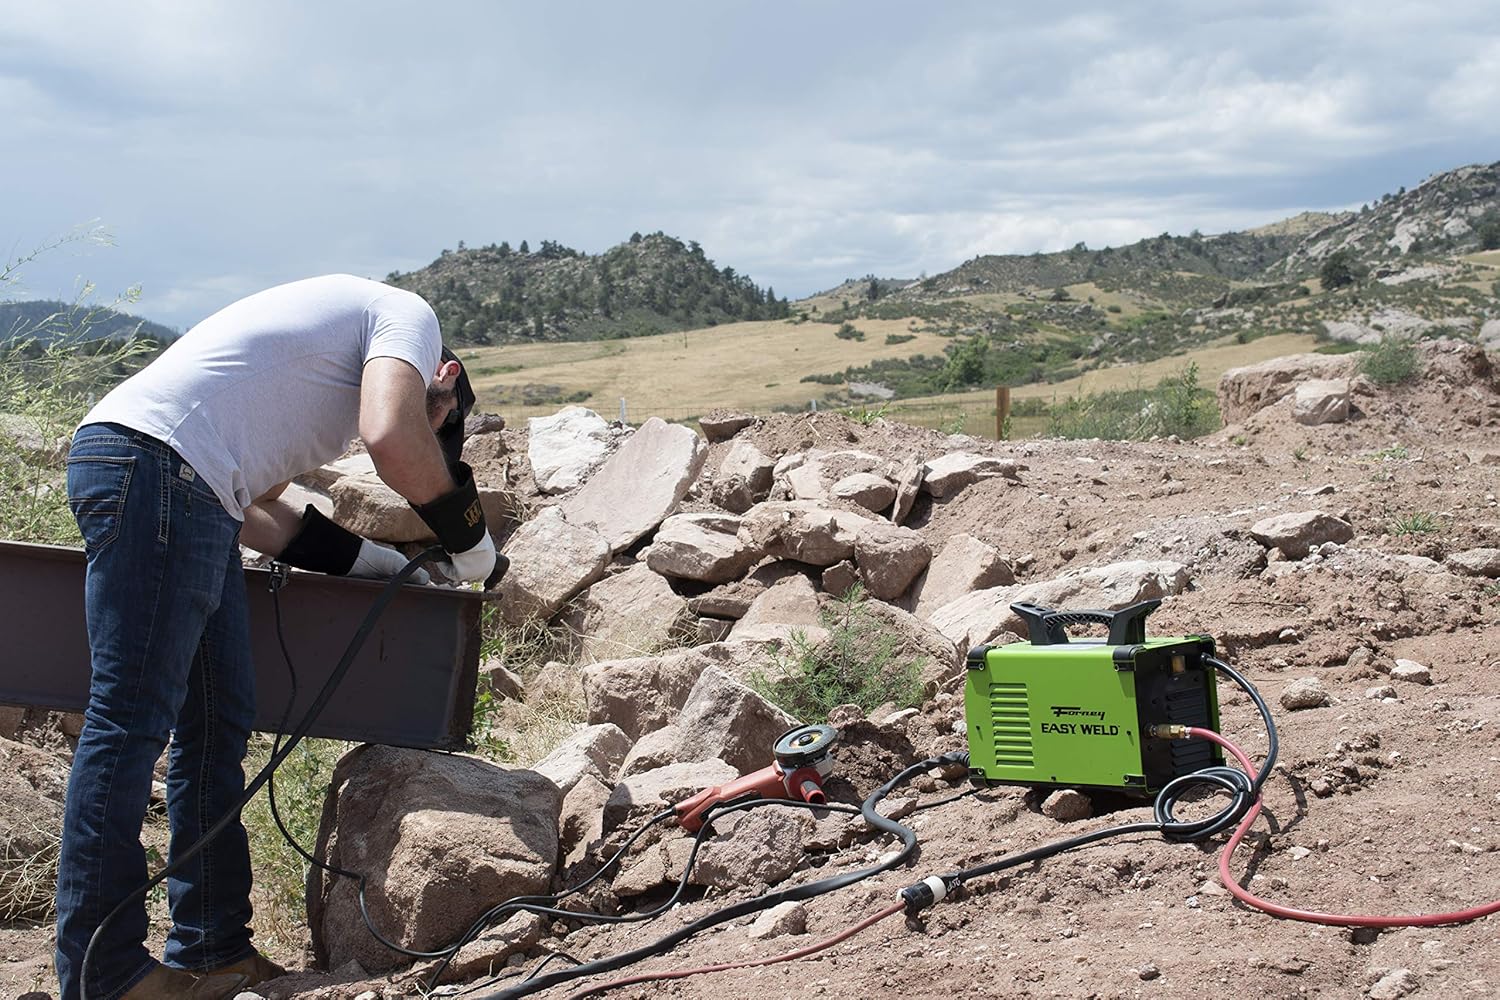
Image: The plasma cutter being used outdoors to cut a large metal beam.
5. Maintenance
To ensure the longevity and optimal performance of your Forney Easy Weld 251 Plasma Cutter, regular maintenance is recommended:
- Air Quality: Always use clean and dry compressed air. Moisture and contaminants in the air supply can negatively impact cutting performance and damage internal components. Consider using an air filter/dryer if your compressor does not provide sufficiently dry air.
- Consumables: Periodically inspect and replace worn-out consumables (electrodes, nozzles, shield cups) to maintain cut quality and efficiency. Refer to the operating manual for specific replacement guidelines.
- General Cleaning: Keep the machine and torch clean from dust and debris. Ensure ventilation openings are clear to prevent overheating.
6. Troubleshooting
Should you encounter any issues with your plasma cutter, please consult the comprehensive operating manual provided with your unit. The manual contains detailed troubleshooting steps, tips, and tricks to help resolve common problems and optimize your cutting experience.
7. Specifications
| Manufacturer | Easy Weld |
| Part Number | 251 |
| Item Model Number | 251 |
| Product Dimensions | 38.43 x 20.65 x 30.48 cm |
| Item Weight | 9.58 kg |
| Size | 20 Amp |
| Colour | Green |
| Material | Plastic |
| Power Source | AC/DC |
| Voltage | 120 Volts |
| Cuts Mild Steel | Up to 1/4 inch (clean cut) |
| Saves Mild Steel | Up to 3/8 inch (sever cut) |
8. Warranty and Support
The Forney Easy Weld 251 Plasma Cutter comes with a 12-month warranty. For any product-related inquiries, technical assistance, or warranty claims, please contact Forney Industries Customer Service. Many users have reported excellent customer service and support from Forney, including direct assistance from technical groups and engineers for troubleshooting and repairs.
Refer to the contact information provided in your product manual or visit the official Forney Industries website for the most up-to-date support details.


