
1. Introduction
This manual provides detailed instructions for the installation, operation, and maintenance of your GREENCYCLE Door and Window Alarm. This device is designed to enhance security and provide alerts for various applications, including home entry, child safety, and appliance monitoring. Please read this manual thoroughly before use to ensure proper functionality and safety.
2. Safety Information
- Keep the device away from water and high humidity environments.
- Do not attempt to disassemble or repair the device yourself. Refer to qualified personnel for service.
- Ensure proper battery installation to avoid damage or malfunction.
- The alarm produces a loud sound (up to 110 dB). Avoid prolonged exposure to prevent hearing discomfort.
- This device is an alert system and should not be considered a substitute for comprehensive security measures.
3. Package Contents
Verify that all items are present in your package:
- GREENCYCLE Door and Window Alarm Main Unit (x2)
- Magnetic Sensor (x2)
- LR44 Batteries (pre-installed or included separately)
- Adhesive Tapes
- Instruction Manual (this document)
4. Product Overview
The GREENCYCLE Door and Window Alarm consists of two main components: the alarm unit and the magnetic sensor. When these two parts are separated, the alarm is triggered based on the selected mode.

Image: The main alarm unit and its corresponding magnetic sensor, both in white.
5. Setup and Installation
5.1. Battery Installation
The alarm unit uses LR44 batteries. If not pre-installed, open the battery compartment on the back of the main unit and insert the batteries according to the polarity markings. Close the compartment securely.
5.2. Mounting
No wiring or screws are required for installation. The alarm units are mounted using the included double-sided adhesive tape.
- Clean the surface where the alarm will be mounted to ensure good adhesion.
- Peel off the protective backing from the adhesive tape on both the main alarm unit and the magnetic sensor.
- Attach the main alarm unit to the door or window frame.
- Attach the magnetic sensor to the door or window itself, aligning it with the main unit.
- Important: Ensure the gap between the main alarm unit and the magnetic sensor is within 0.39 inches (1 cm) when the door or window is closed. A larger gap may prevent proper detection.

Image: Visual guide demonstrating the simple, adhesive-based installation process for the alarm and sensor.

Image: A diagram illustrating the critical 0.39-inch (1 cm) maximum gap requirement between the alarm unit and the magnetic sensor for activation.
6. Operating Modes
The GREENCYCLE Door and Window Alarm features four distinct operating modes:
- General Magnetic Alarm (110 dB): Triggers a loud alarm when the door or window opens. The alarm stops when the door or window is closed.
- Constant Alarm (110 dB): Triggers a loud alarm that continues for at least 10 seconds, even if the door or window is closed immediately after opening.
- Closing Reminder Alarm (0-110 dB): Emits a 'Di-Di' sound at increasing volume if the door or window is left open, reminding you to close it.
- Doorbell Mode (100 dB): Emits a 'ding-dong' sound when the door or window opens, functioning as an entry chime.

Image: A visual summary of the four alarm modes and their applications, such as security and child monitoring.
6.1. General Magnetic Alarm Mode
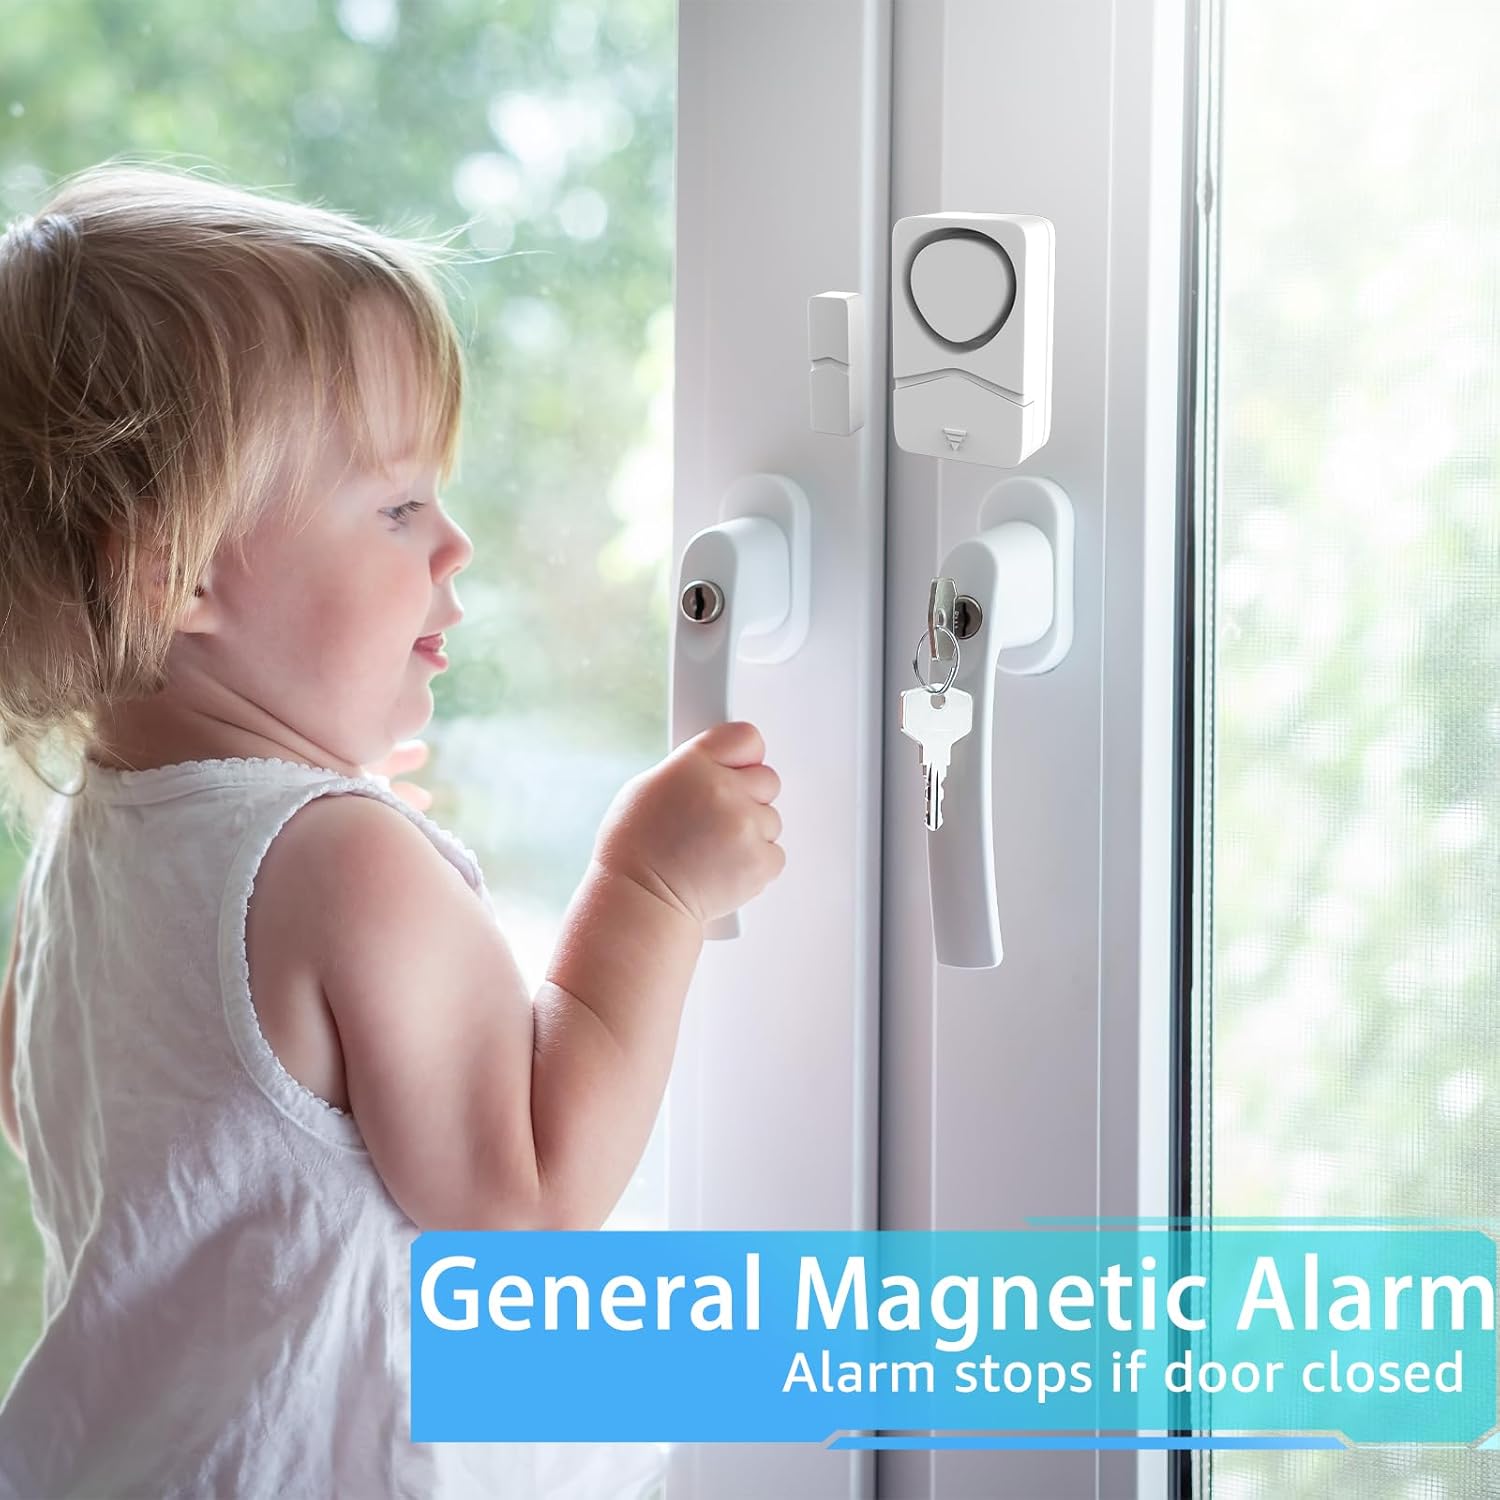
Image: A child near a window equipped with the alarm, illustrating how the General Magnetic Alarm activates upon opening and deactivates upon closing.
6.2. Constant Alarm Mode

Image: A scenario depicting an intruder, highlighting the Constant Alarm mode's continuous 10-second alert even after the door is closed.
6.3. Closing Reminder Alarm Mode

Image: A person opening a refrigerator, showing the Closing Reminder Mode in action, which alerts if the door remains open.
6.4. Doorbell Mode

Image: A person entering a business, illustrating the Doorbell Mode which provides a 'ding-dong' sound upon entry.
7. Changing Modes
To change between the four operating modes, follow these steps carefully. The timing of the switch toggles is crucial for successful mode changes.
- Ensure the main alarm unit and the magnetic sensor are together (closed position).
- Turn the alarm ON. You will hear a "Di-Di" sound, indicating Normal Alarm Mode.
- To switch to the next mode, immediately toggle the ON/OFF switch within 3 seconds after the last beep.
The sequence of toggles determines the mode:
- Normal Alarm Mode: Turn ON. (Initial state, "Di-Di" sound)
- Constant Alarm Mode: From Normal Alarm Mode, toggle the switch 1 time. You will hear "Di...".
- Closing Reminder Mode: From Constant Alarm Mode, toggle the switch 2 times immediately. You will hear a "beep beep beep" sound.
- Doorbell Mode: From Closing Reminder Mode, toggle the switch 3 times immediately. You will hear a "ding-dong" sound.
If the setting fails, you may need to start the process again from the beginning.
Video: A demonstration of how to correctly change between the different alarm modes by toggling the ON/OFF switch.
8. Low Battery Alert
The alarm system is designed for low power consumption, extending battery life. When the battery level is low, the device will provide an audible alert:
- Upon initial detection of low battery, it will sound "Du..." for 0.5 seconds.
- Subsequently, it will sound "Du...Du" twice every 30 minutes during normal operation until the batteries are replaced.
Replace the LR44 batteries promptly when you hear the low battery alert to ensure continuous protection.
9. Maintenance
- Cleaning: Wipe the alarm unit and magnetic sensor with a soft, dry cloth. Do not use abrasive cleaners or solvents.
- Battery Replacement: Replace all LR44 batteries at the same time when the low battery alert sounds. Ensure correct polarity.
- Adhesive Check: Periodically check the adhesive tape to ensure the units are securely attached. Reapply or replace tape if necessary.
10. Troubleshooting
| Problem | Possible Cause | Solution |
|---|---|---|
| Alarm does not sound when door/window opens. | 1. Incorrect installation gap. 2. Batteries are dead or incorrectly installed. 3. Device is OFF. | 1. Ensure gap between units is < 0.39 inches (1 cm). 2. Replace batteries and check polarity. 3. Turn the device ON. |
| Alarm sounds continuously or unexpectedly. | 1. Units are not properly aligned or secured. 2. Constant Alarm Mode is selected. | 1. Realign and re-secure units. Ensure no movement. 2. Change to desired operating mode (refer to Section 7). |
| Difficulty changing modes. | Incorrect timing of switch toggles. | Follow the mode changing instructions precisely, ensuring toggles are within 3 seconds of the previous beep. |
| Adhesive tape not holding. | Surface not clean or too rough. | Clean the surface thoroughly before applying. Use new, stronger adhesive tape if needed. |
11. Specifications
| Feature | Detail |
|---|---|
| Model Number | KS-SF19 |
| Brand | GREENCYCLE |
| Alarm Volume | Up to 110 dB |
| Power Source | Battery Powered (LR44) |
| Installation Type | Self-Adhesive |
| Connectivity Technology | Wireless |
| Max. Sensor Gap | 0.39 inches (1 cm) |
| Dimensions (Main Unit) | 2.24 x 1.18 x 0.39 inches |
| Item Weight | 0.08 Kilograms (approx. 2.89 ounces) |
| Control Method | Toggle Switch |
12. Warranty and Support
For warranty information or technical support, please refer to the product packaging or contact GREENCYCLE customer service directly. Contact details are typically available on the manufacturer's official website or through your point of purchase.
