
Introduction
This manual provides detailed instructions for the installation, operation, and maintenance of your RBROHANT Wall Mount Matte Black Bathroom Faucet, Model BF6002B. Please read this manual thoroughly before beginning installation or use to ensure proper function and longevity of your product. Keep this manual for future reference.
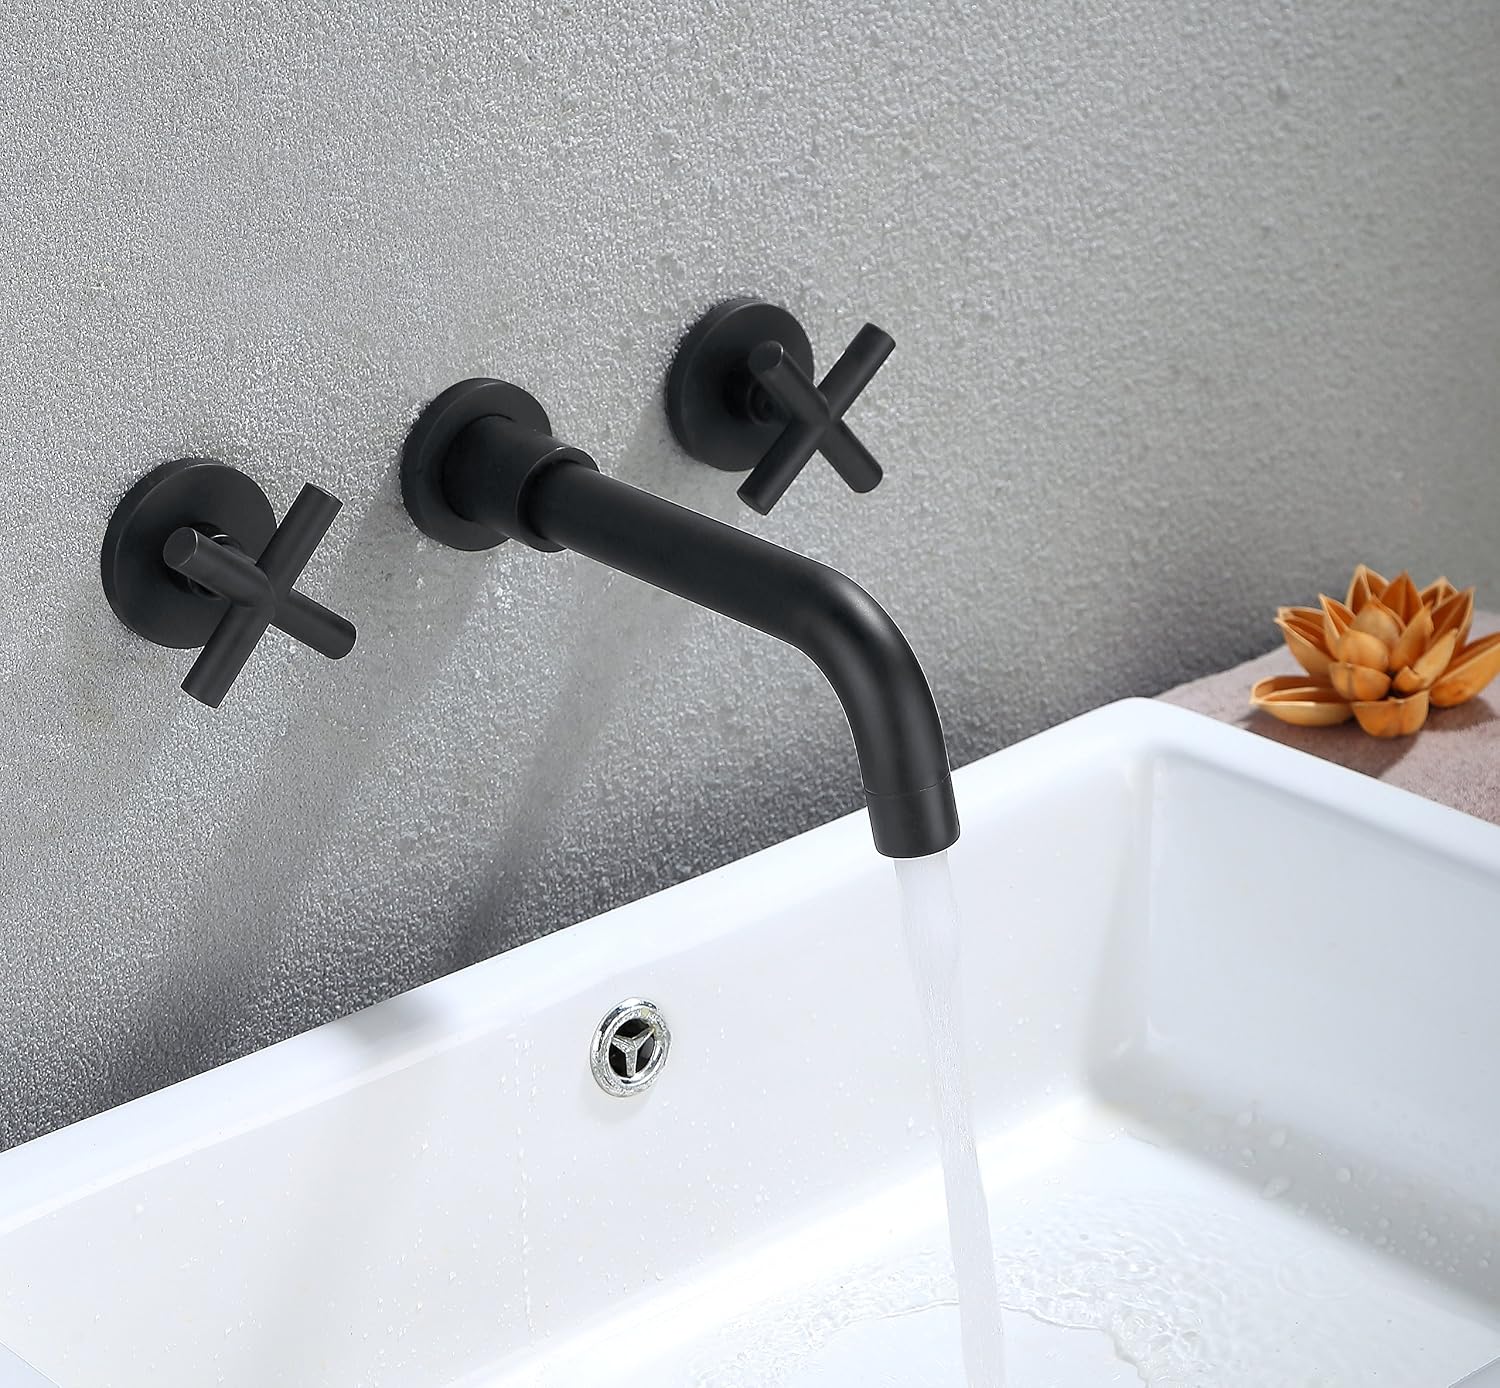
Figure 1: RBROHANT Wall Mount Matte Black Bathroom Faucet, Model BF6002B, installed.
Safety Information
Always observe the following safety precautions during installation and use:
- Turn off the main water supply before beginning any installation or repair work.
- Wear appropriate personal protective equipment, such as safety glasses and gloves.
- Ensure all connections are secure to prevent leaks. Do not overtighten.
- If you are unsure about any part of the installation process, consult a qualified plumber.
- Keep small parts away from children to prevent choking hazards.
Package Contents
Verify that all components are present and undamaged before proceeding with installation. The package should include:
- Faucet Spout (Matte Black)
- Two Cross Handles (Matte Black)
- Rough-in Valve Assembly (Brass)
- Decorative Escutcheons/Plates
- Mounting Hardware (Screws, Anchors)
- Hex Wrench
- Instruction Manual

Figure 2: Included components of the RBROHANT Wall Mount Faucet.

Figure 3: Faucet spout, handles, and rough-in valve assembly.
Specifications
| Feature | Detail |
|---|---|
| Brand | RBROHANT |
| Model Name | BF6002B |
| Mounting Type | Wall Mount |
| Finish Type | Matte Black |
| Material | Copper (Brass) |
| Number of Handles | 2 (Cross Handle Style) |
| Spout Reach | 7.68 Inches (195mm) |
| Flow Rate | 1.5 Gallons Per Minute (GPM) |
| Valve Type | Ceramic Valve |
| Hole Count | 3 |
| Item Weight | 4.19 Pounds |

Figure 4: Installation specifications and dimensions.
Installation Instructions
Follow these steps for proper installation of your wall-mounted faucet:
- Prepare the Wall: Ensure the wall is properly prepared for a 3-hole wall-mount installation. The rough-in valve requires specific spacing for the hot, cold, and spout connections. Refer to Figure 4 for detailed dimensions.
- Install the Rough-in Valve: Secure the brass rough-in valve assembly within the wall according to standard plumbing practices. Ensure it is level and at the correct depth for the finished wall surface. The rough-in valve is included with the faucet.
- Connect Water Lines: Connect the hot and cold water supply lines to the corresponding inlets on the rough-in valve. Ensure all connections are watertight.
- Install Faucet Spout: Once the wall is finished, insert the faucet spout into its designated opening in the rough-in valve. Secure it with the provided hardware.
- Install Handles: Attach the two cross handles to their respective valve stems. Ensure they are aligned correctly and tighten the set screws with the hex wrench.
- Test for Leaks: Slowly turn on the main water supply and check all connections for leaks. Operate both hot and cold handles to ensure proper water flow and temperature control.

Figure 5: Simplified installation overview.

Figure 6: Internal ceramic valve mechanism.
Operation
Your RBROHANT Wall Mount Faucet features two cross handles for precise control over water flow and temperature.
- Water Flow: Turn the handles counter-clockwise to increase water flow and clockwise to decrease or shut off.
- Temperature Control: The left handle controls hot water, and the right handle controls cold water. Adjust both handles to achieve your desired water temperature.
- Spout Rotation: The faucet spout is designed to rotate 360 degrees, allowing for flexible positioning over your sink.

Figure 7: Cross handle for water control.

Figure 8: 360-degree rotating spout for convenience.
Maintenance
Proper care and maintenance will ensure the lasting beauty and performance of your faucet.
- Cleaning: Clean the faucet regularly with a soft cloth and mild soap. Avoid abrasive cleaners, harsh chemicals, or scouring pads, as these can damage the matte black finish.
- Aerator Maintenance: Periodically unscrew the aerator from the spout and clean any mineral deposits or debris. This helps maintain optimal water flow.
- Leak Checks: Regularly inspect connections for any signs of leaks. Tighten connections if necessary, but do not overtighten.
Troubleshooting
| Problem | Possible Cause | Solution |
|---|---|---|
| Low Water Flow | Clogged aerator; partially closed shut-off valve; flow restrictor. | Clean or replace aerator. Ensure shut-off valves are fully open. Check for and remove any flow restrictors if applicable and permitted by local codes. |
| Leaks from Faucet Base or Handles | Loose connections; worn O-rings or gaskets; faulty cartridge. | Check and tighten all connections. Replace O-rings or gaskets. If problem persists, the ceramic cartridge may need replacement. |
| Water Temperature Issues | Improper adjustment of hot/cold supply; faulty cartridge. | Ensure hot and cold water supplies are connected correctly and fully open. If issues persist, the ceramic cartridge may be faulty. |
Warranty and Support
RBROHANT provides a lifetime warranty for this product, covering manufacturing defects. For any quality problems (non-artificial damage), please contact us. We aim to reply within 24 hours.
- Manufacturer: RBROHANT
- Manufacturer Contact Information: Foshan Rbrohant Import And Export Co., Ltd.
- Warranty Type: Lifetime

Figure 9: RBROHANT Brand Logo.

Figure 10: RBROHANT Company Logo.

