
Important Safety Instructions
Please read and understand all safety instructions before using this product. Keep these instructions for future reference.
- Do not expose this product to dripping or splashing water.
- Do not place objects filled with liquids, such as vases, on the product.
- Ensure proper ventilation. Do not block any ventilation openings.
- Only use attachments/accessories specified by the manufacturer.
- Unplug this product during lightning storms or when unused for long periods.
- Refer all servicing to qualified service personnel.
Package Contents
- Capello Sleep Easy Digital Alarm Clock (CR15)
- AC Power Adapter
- User Manual
Product Overview
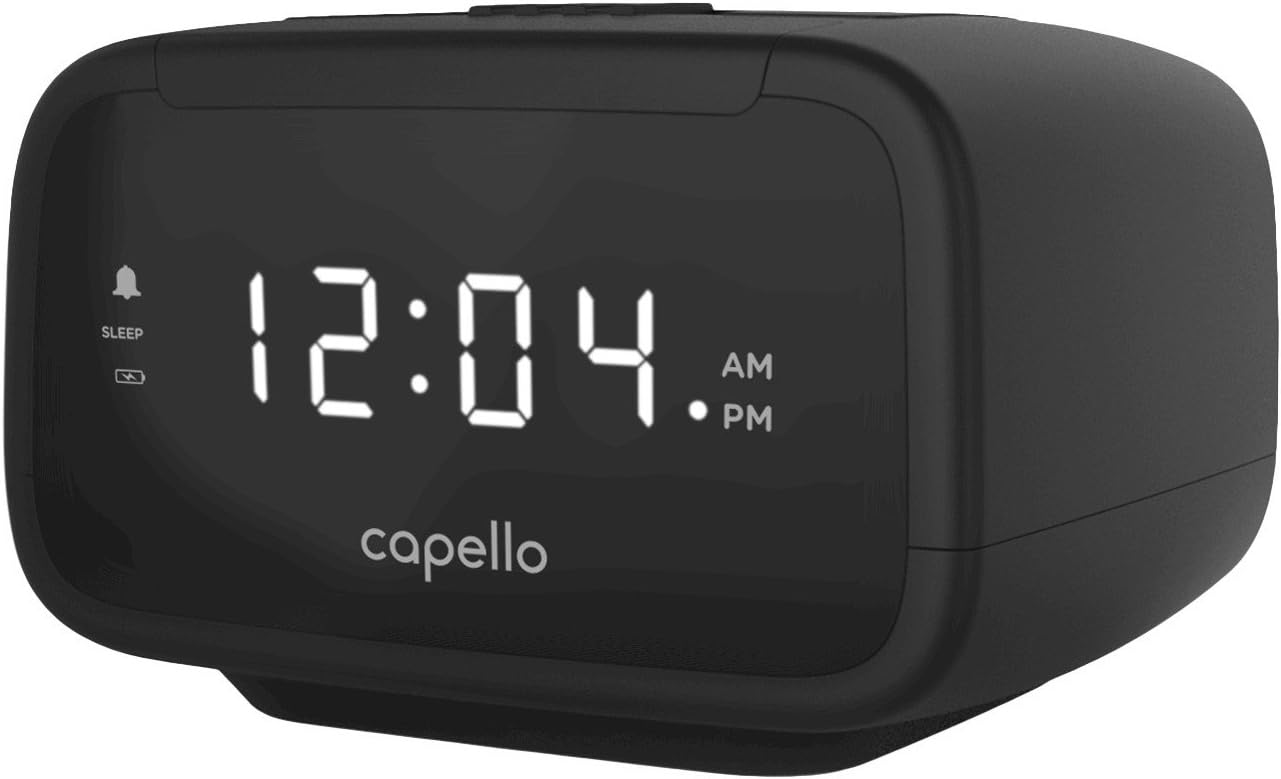
This image displays the front of the Capello Sleep Easy Digital Alarm Clock. It features a large, clear digital time display in white LED, showing '12:04 AM'. To the left of the display, small icons for sleep and a bell (alarm) are visible. Below the display, the 'capello' brand logo is centered. The clock has a sleek black finish with rounded edges.
Controls and Features:
- Large LED Display: Shows time, AM/PM indicator, and alarm status.
- Time Set Button: Used to set the current time.
- Alarm 1/2 Buttons: Used to set and activate two independent alarms.
- Radio/Sleep Button: Toggles between radio mode and activates sleep timer.
- Snooze/Dimmer Button: Temporarily silences the alarm and adjusts display brightness.
- Volume +/- Buttons: Adjusts radio volume.
- Tuning +/- Buttons: Tunes AM/FM radio frequencies.
- AM/FM Switch: Selects radio band.
- Battery Compartment: For backup batteries (not included).
Setup
1. Power Connection
- Plug the AC power adapter into the DC IN jack on the back of the clock.
- Plug the other end of the adapter into a standard wall outlet. The display will light up.
2. Battery Backup (Optional)
For temporary power outages, install 2 x AAA batteries (not included) into the battery compartment on the bottom of the unit. This will maintain time and alarm settings during a power interruption, but the display will not be lit.
3. Setting the Time
- Press and hold the TIME SET button until the hour digits begin to flash.
- Press the HOUR button repeatedly to adjust the hour. Observe the AM/PM indicator.
- Press the MINUTE button repeatedly to adjust the minute.
- Press the TIME SET button again to confirm and exit time setting mode.
Operating Instructions
Setting the Alarm
This clock features two independent alarms (Alarm 1 and Alarm 2).
- Press and hold the ALARM 1 or ALARM 2 button until the hour digits flash.
- Press the HOUR button to set the desired alarm hour (observe AM/PM).
- Press the MINUTE button to set the desired alarm minute.
- Press the ALARM 1 or ALARM 2 button again to confirm the time.
- Press the ALARM 1 or ALARM 2 button repeatedly to cycle through alarm modes: Buzzer, Radio, or Off. The corresponding alarm icon will appear on the display when active.
Radio Operation
- Press the RADIO/SLEEP button to turn on the radio.
- Slide the AM/FM switch on the back of the unit to select the desired band.
- Press the TUNING +/- buttons to manually tune to a station. Press and hold to auto-scan for the next clear station.
- Use the VOLUME +/- buttons to adjust the listening volume.
- To turn off the radio, press the RADIO/SLEEP button again.
Snooze Function
When the alarm sounds, press the SNOOZE/DIMMER button to temporarily silence the alarm for approximately 9 minutes. The alarm will sound again after the snooze period ends.
Display Brightness
Press the SNOOZE/DIMMER button (when the alarm is not sounding) to cycle through different display brightness levels (High, Medium, Low, Off).
Sleep Timer
- While the radio is playing, press the RADIO/SLEEP button repeatedly to set the sleep timer duration (e.g., 90, 60, 30, 15 minutes, or Off).
- The radio will automatically turn off after the selected time.
Maintenance
Cleaning
To clean the clock, use a soft, dry cloth. Do not use abrasive cleaners, waxes, or solvents as they may damage the finish. Ensure the unit is unplugged before cleaning.
Storage
If you plan to store the clock for an extended period, unplug it from the power outlet and remove any backup batteries. Store it in a cool, dry place away from direct sunlight and extreme temperatures.
Troubleshooting
| Problem | Possible Cause | Solution |
|---|---|---|
| Clock display is blank. | No power. | Ensure the AC adapter is securely plugged into the clock and a working wall outlet. |
| Alarm does not sound. | Alarm not set or set to 'Off'. | Verify alarm time and ensure alarm mode is set to 'Buzzer' or 'Radio'. Check alarm volume for radio alarm. |
| Poor radio reception. | Antenna not extended or interference. | Fully extend the FM wire antenna. For AM, rotate the unit for best reception. Move away from other electronic devices. |
| Time/Alarm settings lost after power outage. | No backup batteries or batteries drained. | Install fresh AAA backup batteries. |
Specifications
| Feature | Detail |
|---|---|
| Brand | Capello |
| Model Number | CR15 (8541846849) |
| Display Type | Digital LED |
| Power Source | Corded Electric |
| Functions | Alarm, Built-In Speaker, AM/FM Radio |
| Dimensions (L x W x H) | 20.32 x 0.03 x 5.08 cm |
| Weight | 340 g |
| Color | Black |
Warranty and Support
For warranty information or technical support, please refer to the warranty card included with your product or visit the official Capello website. Do not attempt to repair this product yourself.


