
Scheppach MTP560
Scheppach MTP560 Gasoline Tiller User Manual
Model: MTP560 | Brand: Scheppach
1. Introduction
This user manual provides important information for the safe and efficient operation, maintenance, and troubleshooting of your Scheppach MTP560 Gasoline Tiller. Please read this manual thoroughly before operating the machine to ensure proper use and to prevent injury or damage.
The Scheppach MTP560 is an agile and lightweight motor hoe designed for loosening soil and preparing for sowing. It is suitable for small to medium-sized areas and facilitates the incorporation of shredded material, humus fertilizer, or peat efficiently and ergonomically.

Image 1.1: Overview of the Scheppach MTP560 Gasoline Tiller.
2. Safety Instructions
Always observe the following safety precautions to reduce the risk of injury or damage:
- Read and understand all instructions before operating the tiller.
- Wear appropriate personal protective equipment (PPE), including safety glasses, gloves, and sturdy footwear.
- Ensure the work area is clear of obstacles, stones, and other debris.
- Do not operate the tiller in wet conditions or on excessively steep slopes.
- Keep bystanders, especially children and pets, away from the operating area.
- Turn off the engine and disconnect the spark plug before performing any maintenance or adjustments.
- Refuel in a well-ventilated area with the engine off and cool. Avoid spilling fuel.
- Store the tiller in a secure, dry place, out of reach of children.
3. Components Overview
Familiarize yourself with the main components of your Scheppach MTP560 tiller:
- Engine: 4-stroke gasoline engine providing power for the tilling blades.
- Handlebars: Ergonomically designed for comfortable operation and control.
- Tilling Blades (Hackmesser): Steel blades for loosening and cultivating soil.
- Transport Wheel: Foldable wheel for easy movement of the tiller.
- Depth Adjustment Bar: Used to control the tilling depth and speed.
- Protective Cover: Shields existing plants from the tilling blades.

Image 3.1: Foldable Transport Wheel for easy maneuverability.

Image 3.2: Protective cover to shield plants during operation.
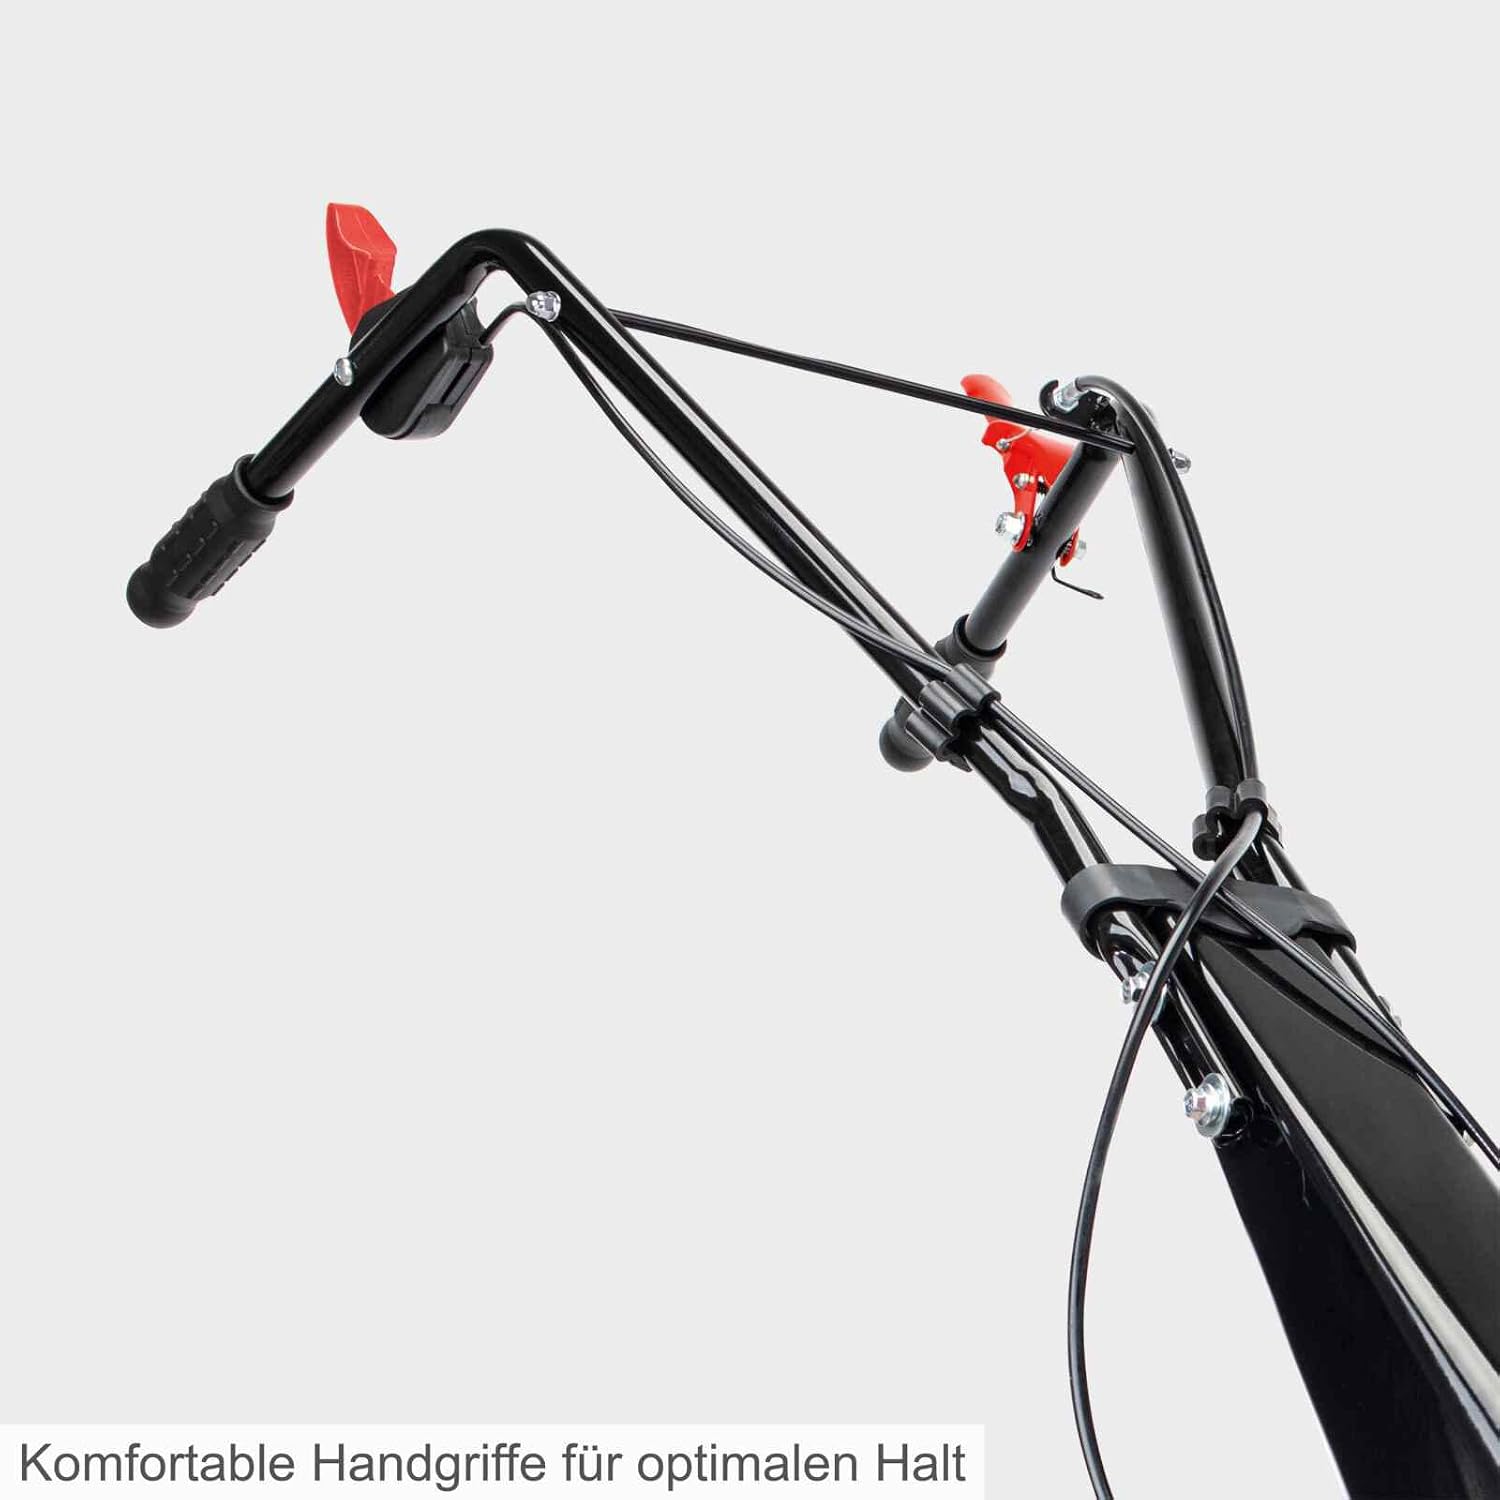
Image 3.3: Comfortable handles for optimal grip and control.

Image 3.4: The depth adjustment mechanism allows setting working depth, direction, and speed. Lowering the bar brakes the tiller and increases working depth. Raising it increases speed and reduces working depth.
4. Setup and Assembly
The Scheppach MTP560 comes partially assembled. Follow these steps for final assembly and initial setup:
- Unpacking: Carefully remove all components from the packaging. Verify that all parts listed in the "What's in the Box" section are present.
- Handlebar Assembly: Attach the handlebars to the main unit using the provided bolts and nuts. Ensure they are securely fastened and adjusted to a comfortable height for ergonomic operation.
- Transport Wheel Installation: Install the foldable transport wheel as shown in the diagram. This wheel aids in moving the tiller to and from the work area.
- Protective Cover Attachment: Secure the protective cover over the tilling blades. This cover is crucial for safety and to prevent damage to nearby plants.
- Fluid Levels:
- Engine Oil: Fill the engine with the recommended type and amount of engine oil. Refer to the engine manual for specific oil requirements.
- Fuel: Fill the fuel tank with fresh, unleaded gasoline. Do not overfill.
- Pre-Operation Check: Before starting, ensure all connections are tight, the blades are clear, and the depth adjustment bar is correctly positioned.
5. Operating Instructions
Follow these steps for safe and effective operation of your tiller:
- Starting the Engine:
- Ensure the fuel valve is open and the choke is set to the "START" position (if applicable).
- Pull the starter cord firmly until the engine starts.
- Once started, gradually move the choke to the "RUN" position.
- Adjusting Working Depth: Use the depth adjustment bar to control how deep the blades penetrate the soil. Lowering the bar increases depth and slows the tiller; raising it decreases depth and increases speed.
- Tilling:
- Engage the tilling blades.
- Guide the tiller forward at a steady pace. The forward gear assists in moving the device.
- Overlap passes slightly to ensure even cultivation.
- Applications: The MTP560 is suitable for:
- Soil loosening
- Weed removal
- Seedbed preparation
- Incorporating fertilizer or compost

Image 5.1: Visual guide to common applications for the Scheppach MTP560 tiller.
- Stopping the Engine: Move the throttle to the "STOP" position or press the engine kill switch.

Image 5.2: Proper operation of the Scheppach MTP560 tiller in a garden setting.
6. Maintenance
Regular maintenance ensures the longevity and optimal performance of your tiller:
- After Each Use:
- Clean soil and debris from the tilling blades and protective cover.
- Inspect blades for damage or wear.
- Wipe down the exterior of the machine.
- Engine Oil Check: Check the engine oil level before each use and top up if necessary. Change oil according to the engine manufacturer's recommendations (typically after the first 5 hours, then every 25-50 hours).
- Air Filter: Clean or replace the air filter regularly, especially when operating in dusty conditions.
- Spark Plug: Inspect and clean the spark plug periodically. Replace if worn or fouled.
- Fuel System: Drain the fuel tank and carburetor if storing the tiller for an extended period (over 30 days) to prevent fuel degradation.
- Storage: Store the tiller in a clean, dry, and well-ventilated area, away from direct sunlight and extreme temperatures.
7. Troubleshooting
This section addresses common issues you might encounter with your Scheppach MTP560 tiller:
| Problem | Possible Cause | Solution |
|---|---|---|
| Engine does not start | No fuel; old fuel; spark plug issues; choke not set correctly. | Check fuel level; use fresh fuel; inspect/clean/replace spark plug; adjust choke. |
| Loss of power during operation | Clogged air filter; incorrect engine oil level; dull blades. | Clean/replace air filter; check/adjust oil level; sharpen/replace blades. |
| Excessive vibration | Debris wrapped around blades; loose components; bent shaft. | Clear debris from blades; tighten all fasteners; contact service if shaft is bent. |
| Tiller not cultivating effectively | Blades worn or dull; incorrect working depth. | Sharpen or replace blades; adjust depth adjustment bar. |
If you encounter issues not listed here or if solutions do not resolve the problem, please contact Scheppach customer support.
8. Specifications
Technical specifications for the Scheppach MTP560 Gasoline Tiller:
| Feature | Detail |
|---|---|
| Model | MTP560 |
| Engine Type | 4-Stroke Gasoline Engine |
| Engine Displacement | 150 cm³ |
| Power Output | 2.7 kW (3.7 PS) |
| Max. Working Width | 36 - 56 cm |
| Max. Working Depth | 26 cm |
| Tiller Blade Diameter | 260 mm |
| Product Dimensions (L x W x H) | 139 x 60.5 x 113 cm |
| Weight | 38 kg |
| Material | Alloyed Steel |
| Part Number | 5912306903 |

Image 8.1: Diagram illustrating key specifications like working width, depth, engine type, and blade diameter.
9. Warranty and Support
Scheppach products are manufactured with high-quality materials and undergo strict quality control. For information regarding warranty coverage, terms, and conditions, please refer to the warranty card included with your product or visit the official Scheppach website.
For technical assistance, spare parts, or service inquiries, please contact Scheppach customer support. When contacting support, please have your model number (MTP560) and serial number ready.
Scheppach Official Website: www.scheppach.com
Contact Information: Refer to the contact section on the official website for regional support details.
Related documentsMTP560


Ask a question about this manual
Ask about setup, troubleshooting, compatibility, parts, safety, or missing instructions. Manuals+ will review the question and use this page’s manual context to help answer it.