
1. Introduction
This manual provides detailed instructions for the installation, operation, and maintenance of your DS18 CANDY-X2B Class D 2-Channel Amplifier. Please read this manual thoroughly before attempting installation or operation to ensure proper use and to prevent damage to the unit or your vehicle's audio system. Keep this manual for future reference.
2. Safety Information
- Always disconnect the vehicle's battery negative terminal before starting any electrical work.
- Ensure all wiring is properly routed and secured to prevent pinching or damage.
- Use appropriate gauge wiring for power, ground, and speaker connections as specified in the installation section.
- Install the amplifier in a location that allows for adequate ventilation to prevent overheating.
- Avoid installing the amplifier in areas exposed to moisture or excessive vibration.
- If you are unsure about any part of the installation process, consult a professional car audio installer.
3. Package Contents
Verify that all items are present in the package:
- DS18 CANDY-X2B Amplifier
- Mounting Hardware (screws, washers)
- Wiring Harness (for high-level input)
- Hex Keys (for terminal screws)
- Instruction Manual (this document)
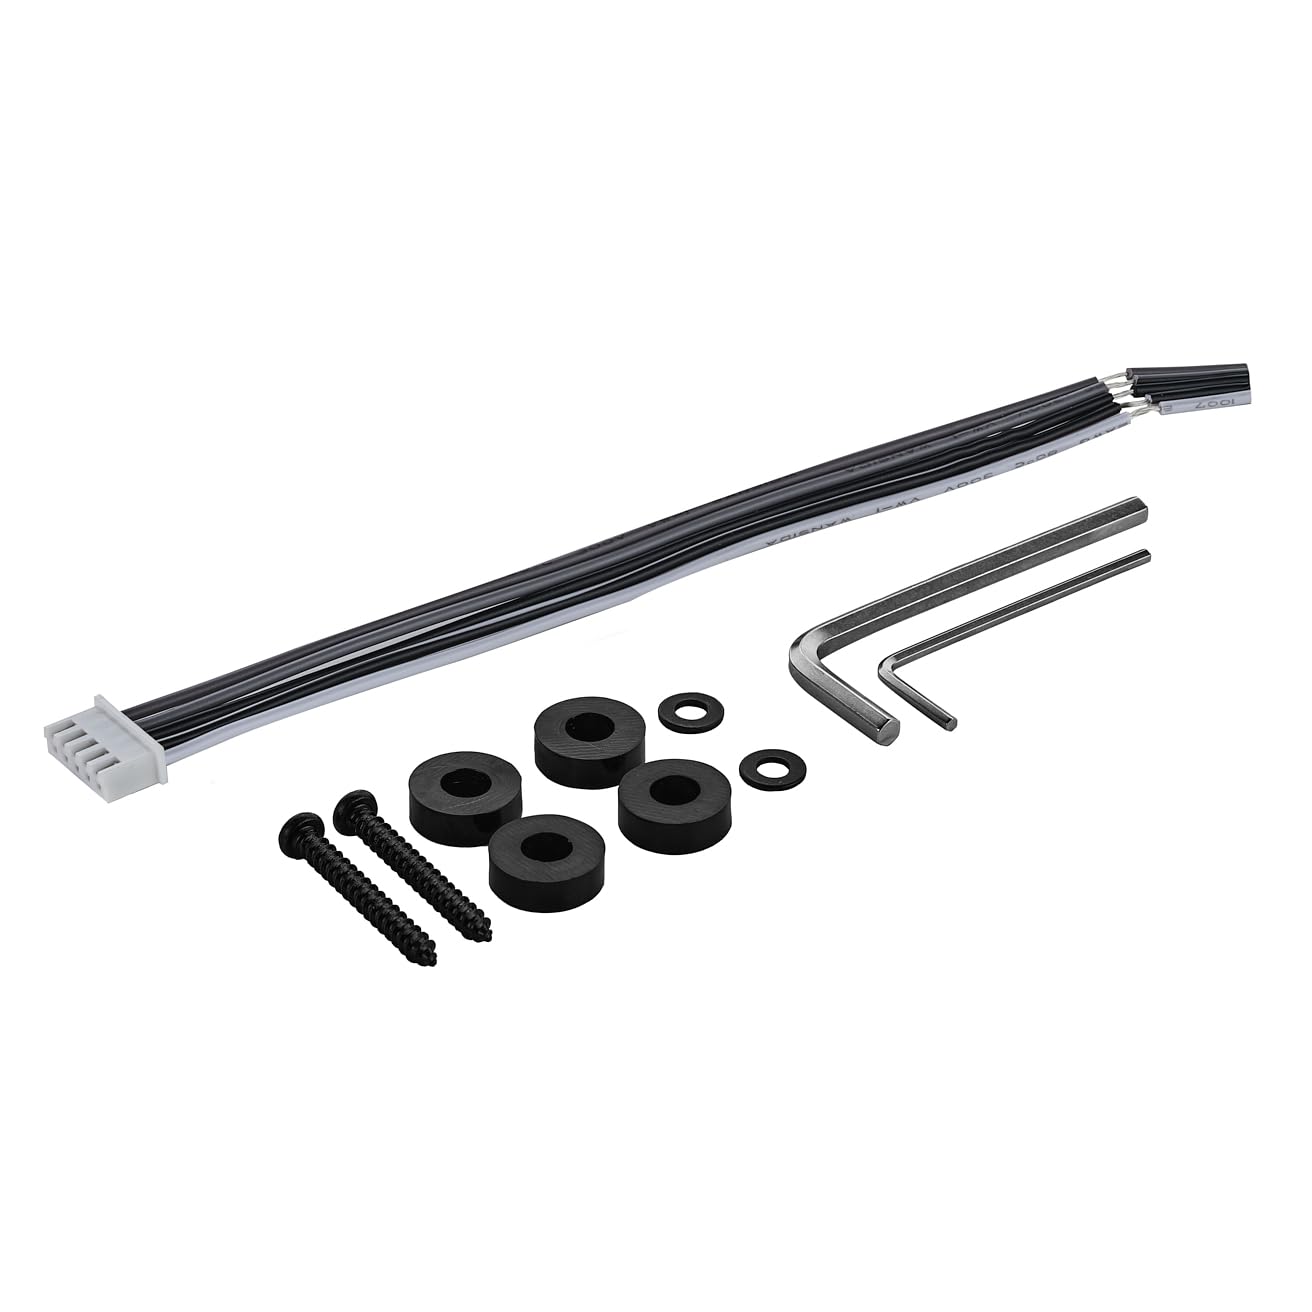
Image: Included accessories for the DS18 CANDY-X2B amplifier, showing the wiring harness, mounting screws, and hex keys.
4. Product Overview
The DS18 CANDY-X2B is a compact Class D 2-channel amplifier designed to deliver significant power output in a small footprint. Its efficient design allows for installation in tight spaces while providing ample power for your car audio system.
Key Features:
- Compact Mini Design: Measuring approximately 7.18" x 5" x 1.77", this amplifier can be installed in various locations within your vehicle.
- High Power Output: Delivers up to 800 Watts Max power at 1-Ohm, with RMS ratings of 2x120W at 4-Ohm, 2x200W at 2-Ohm, and 350W at 4-Ohm Bridge.
- Wide Application Range: Supports speaker impedances from 2 to 8 ohms, offering flexibility for various speaker configurations.
- Power Efficient: Class D topology ensures high efficiency, drawing minimal power from the vehicle's battery while maximizing output.
- OEM-Ready: Features high-level inputs for seamless integration with factory audio systems.
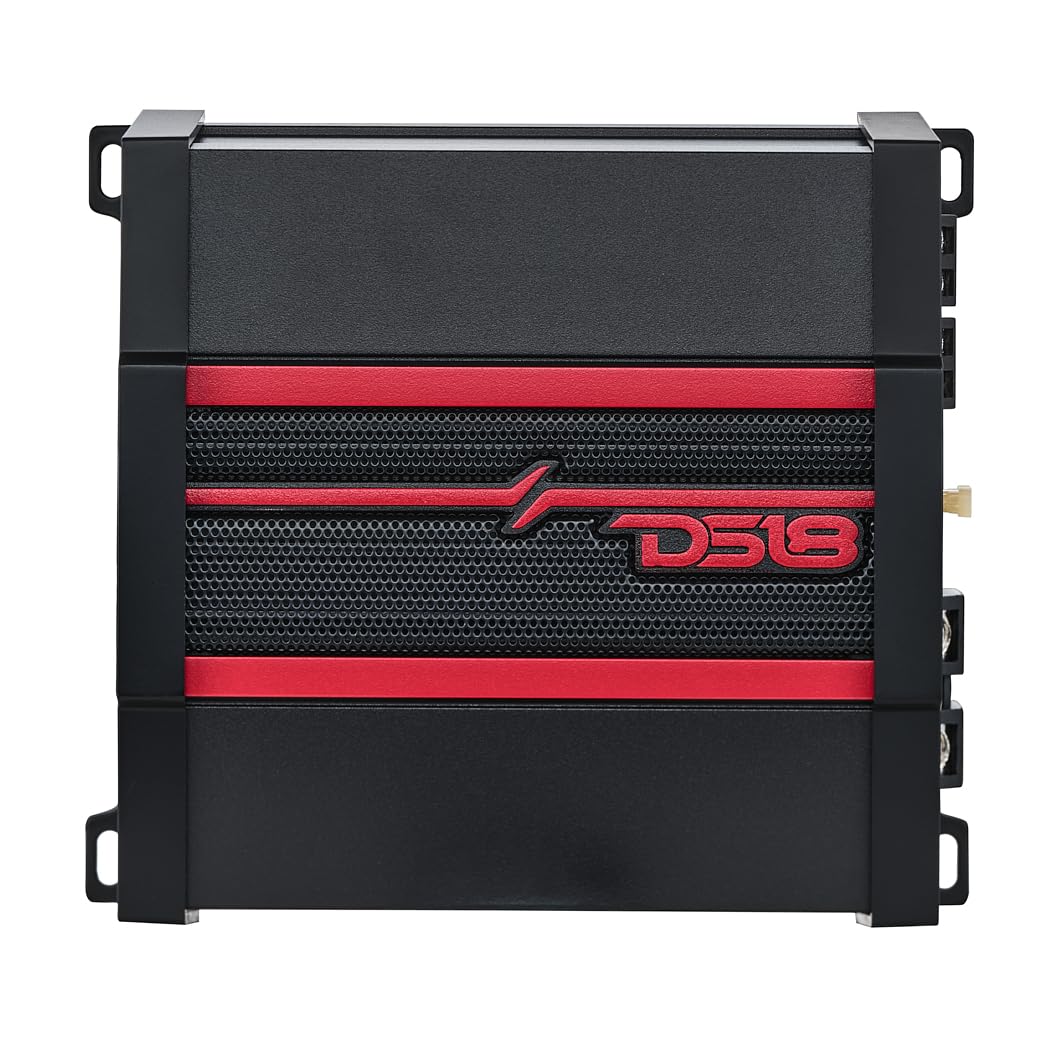
Image: The DS18 CANDY-X2B amplifier, showcasing its compact form factor and key power specifications.
5. Setup and Installation
Proper installation is crucial for optimal performance and longevity of your amplifier. Follow these steps carefully.
5.1 Mounting Location
Choose a mounting location that is dry, well-ventilated, and protected from direct sunlight or excessive heat. Ensure there is enough space around the amplifier for air circulation. The compact size of the CANDY-X2B allows for flexible placement options.
5.2 Wiring Connections
Refer to the diagrams below for proper wiring of power, ground, remote, input, and speaker outputs.
Power and Ground Connections:
- GND (Ground): Connect this terminal to a clean, unpainted metal surface of the vehicle chassis. Ensure a solid connection for optimal performance and safety.
- REM (Remote Turn-On): Connect this to the remote output of your head unit. This signal turns the amplifier on and off with your audio system.
- +12V (Power): Connect this terminal directly to the positive terminal of your vehicle's battery. An inline fuse (not supplied, typically 25A for this model) should be installed within 18 inches of the battery.
Speaker Output Connections:
Connect your speakers to the LEFT and RIGHT speaker output terminals. For bridged mode operation, refer to the diagram and connect to the designated BRIDGE terminals. Ensure correct polarity (+ to + and - to -).

Image: Rear panel connections of the DS18 CANDY-X2B amplifier, detailing the power, ground, remote, fuse, and speaker output terminals.
Input Connections:
The CANDY-X2B supports both Low-Level (RCA) and High-Level inputs.
- Low-Level Input (RCA): Connect RCA cables from your head unit's pre-amp outputs to the amplifier's INPUT L and R RCA jacks.
- High-Level Input: If your head unit does not have RCA outputs, use the supplied high-level input harness. Connect the speaker wires from your head unit to the corresponding wires on the harness, then plug the harness into the amplifier's HIGH INPUT port.

Image: Front panel connections and controls of the DS18 CANDY-X2B amplifier, illustrating low-level RCA inputs, high-level input, and various audio adjustment knobs.
6. Operating Instructions
Once the amplifier is installed, adjust the settings for optimal audio performance.
6.1 Control Panel Overview
The front panel of the CANDY-X2B features several controls for fine-tuning your audio output:
- BASS BOOST: Adjusts the bass level enhancement (0dB to +12dB). Use sparingly to avoid distortion.
- FREQ (Frequency): Selects the crossover frequency for the Low Pass Filter (LPF) or High Pass Filter (HPF).
- X-OVER (Crossover Switch): Selects between FULL (full range), LPF (Low Pass Filter), or HPF (High Pass Filter) modes.
- GAIN: Matches the amplifier's input sensitivity to the output level of your head unit. Start with the gain at minimum and slowly increase until desired volume is achieved without distortion.

Image: Detailed view of the amplifier's control panel, highlighting the Bass Boost, Frequency, Crossover, and Gain adjustment knobs.
6.2 Initial Setup and Tuning
- Set all amplifier controls (Gain, Bass Boost) to their minimum positions.
- Set your head unit's volume to about 75% of its maximum.
- Slowly increase the amplifier's GAIN control until you hear slight distortion, then back off slightly.
- Adjust the X-OVER switch and FREQ knob according to your speaker type:
- For full-range speakers, set X-OVER to FULL.
- For subwoofers, set X-OVER to LPF and adjust FREQ to the desired low-pass cutoff (e.g., 80Hz-120Hz).
- For component speakers or tweeters, set X-OVER to HPF and adjust FREQ to the desired high-pass cutoff (e.g., 80Hz-120Hz).
- Use the BASS BOOST control sparingly to enhance bass if desired, ensuring no distortion occurs.
7. Maintenance
The DS18 CANDY-X2B amplifier requires minimal maintenance to ensure long-term performance.
- Cleaning: Periodically wipe the amplifier's exterior with a soft, dry cloth. Do not use harsh chemicals or abrasive cleaners.
- Connections: Regularly check all power, ground, remote, and speaker connections to ensure they are secure and free from corrosion. Loose connections can lead to poor performance or damage.
- Ventilation: Ensure that the amplifier's cooling fins are free from dust and debris to maintain proper heat dissipation.
8. Troubleshooting
If you experience problems with your amplifier, refer to the following troubleshooting guide before contacting support.
| Problem | Possible Cause | Solution |
|---|---|---|
| No Power / Amplifier does not turn on | Blown fuse Loose power or ground connection No remote turn-on signal | Check and replace fuse (use correct rating) Verify all power and ground connections are secure Check remote wire connection and head unit output |
| No Sound Output | Loose input or speaker connections Gain set too low Head unit volume too low Crossover settings incorrect | Check all RCA/high-level inputs and speaker wire connections Increase gain slowly Increase head unit volume Adjust X-OVER and FREQ settings |
| Distorted Sound | Gain set too high Speaker impedance too low Poor ground connection | Reduce gain setting Ensure speakers match amplifier's impedance rating Verify ground connection is solid and clean |
| Amplifier Overheats | Insufficient ventilation Speaker impedance too low Extended high-volume operation | Relocate amplifier or improve airflow Check speaker impedance Reduce volume or allow amplifier to cool |
9. Specifications
Detailed technical specifications for the DS18 CANDY-X2B Amplifier:
| Feature | Specification |
|---|---|
| Model Number | CANDY-X2B |
| Number of Channels | 2 |
| Amplifier Class | Class D |
| Output Power (Max) | 800 Watts |
| RMS Wattage @ 4 Ohm | 2 x 120W |
| RMS Wattage @ 2 Ohm | 2 x 200W |
| RMS Wattage @ 4 Ohm Bridge | 350W |
| Minimum Impedance | 2 Ohm Stereo / 4 Ohm Bridge |
| Frequency Response | 20Hz - 20KHz |
| Signal to Noise Ratio | 70dB |
| Voltage | 14.4 Volts (DC) |
| Operating Temperature | Up to 158 Degrees Fahrenheit |
| Dimensions (L x W x H) | 7.18 x 5 x 1.77 inches |
| Item Weight | 3 pounds |
| Material | Metal |
| Certification | FCC |
10. Warranty Information
DS18 products are designed and manufactured to the highest quality standards. For specific warranty terms and conditions, please refer to the warranty card included with your product or visit the official DS18 website. Keep your purchase receipt as proof of purchase for any warranty claims.
11. Support
If you require further assistance or have questions not covered in this manual, please contact DS18 customer support through their official website or the contact information provided with your product. You can also visit the DS18 Store on Amazon for additional product information and resources.


