
Introduction
The DieHard 71219 6/12V 2A Shelf Smart Battery Charger and Maintainer is designed to precisely charge and monitor your vehicle's battery using a microprocessor-controlled, fully automatic, 5-stage charging process. It includes built-in safety features to alert you to reversed clamps and prevent overcharging, ensuring optimal battery health and longevity. This versatile unit comes with 50A clamps, a 12V accessory plug, and a permanent ring connector for various applications.
Key Features
- Microprocessor controlled, fully automatic, 5-stage charging process for precise charging and monitoring batteries.
- LED indicator will flash if clamps are reversed and charger will not operate, enhancing safety.
- Features battery maintaining to prevent overcharging; charging will resume if battery becomes discharged.
- Versatile quick-connect harness with 50A clamps, 12V accessory plug, or permanent ring connectors.
- Quick connect harness installs fast for hard-to-reach motorcycle batteries.
What's Included
Your DieHard 71219 package should contain the following items:
- DieHard battery charger
- Permanent ring adapter
- 12V accessory plug
- Clamp adapter
- Owner's manual

DieHard 71219 6/12V Shelf Smart Battery Charger and 2A Maintainer with clamps attached.

Contents of the DieHard 71219 package, including the charger, permanent ring adapter, 12V accessory plug, and clamp adapter.
Setup Guide
Before connecting the charger, ensure your vehicle's ignition is off and all accessories are unplugged. Always connect the charger to the battery first, then plug the charger into an AC outlet.
Connecting to a Battery:
- Choose Your Connector: The DieHard 71219 comes with three types of connectors: 50A clamps, a 12V accessory plug, and permanent ring connectors. Select the one most suitable for your application.
- For Clamp Connection: Connect the red (positive) clamp to the positive (+) battery terminal and the black (negative) clamp to the negative (-) battery terminal. Ensure a secure connection.
- For Permanent Ring Connector: Attach the red ring terminal to the positive (+) battery post and the black ring terminal to the negative (-) battery post. This is ideal for hard-to-reach batteries or long-term maintenance.
- For 12V Accessory Plug: Insert the 12V accessory plug into your vehicle's 12V power outlet. Note that some vehicles may require the ignition to be on for the 12V outlet to be active.
- Safety Check: The charger features an LED indicator that will flash if the clamps are reversed. If this occurs, immediately disconnect the charger from the AC outlet and then correct the connections before proceeding.
- Power On: Once connected correctly to the battery, plug the charger's AC cord into a standard 120V AC electrical wall outlet.
Operating Instructions
The DieHard 71219 operates automatically once connected and powered. It employs a 5-stage charging process to optimize battery charging and maintenance.
Charging Process:
- Stage 1 (Desulfation): If a sulfated battery is detected, the charger will apply a high-frequency pulse charge to break down lead sulfate crystals.
- Stage 2 (Soft Start): A gentle charge is applied to protect the battery if it is deeply discharged.
- Stage 3 (Bulk Charge): The charger delivers maximum current until the battery reaches approximately 80% capacity. The 'Charging' LED will illuminate.
- Stage 4 (Absorption): The voltage is held constant while the current gradually decreases, bringing the battery to 100% charge.
- Stage 5 (Float/Maintenance): Once fully charged, the charger switches to a maintenance mode, providing a small, constant voltage to keep the battery at full charge without overcharging. The 'Charged' LED will illuminate. If the battery voltage drops, the charger will automatically re-enter the charging cycle.
LED Indicators:
- Clamps Reversed: Flashing LED indicates incorrect polarity connection. Disconnect and correct.
- Charging: Solid LED indicates the battery is currently being charged.
- Charged: Solid LED indicates the battery is fully charged and is now in maintenance mode.

Close-up view of the DieHard 71219 charger's indicator lights for clamps reversed, charging, and charged status.
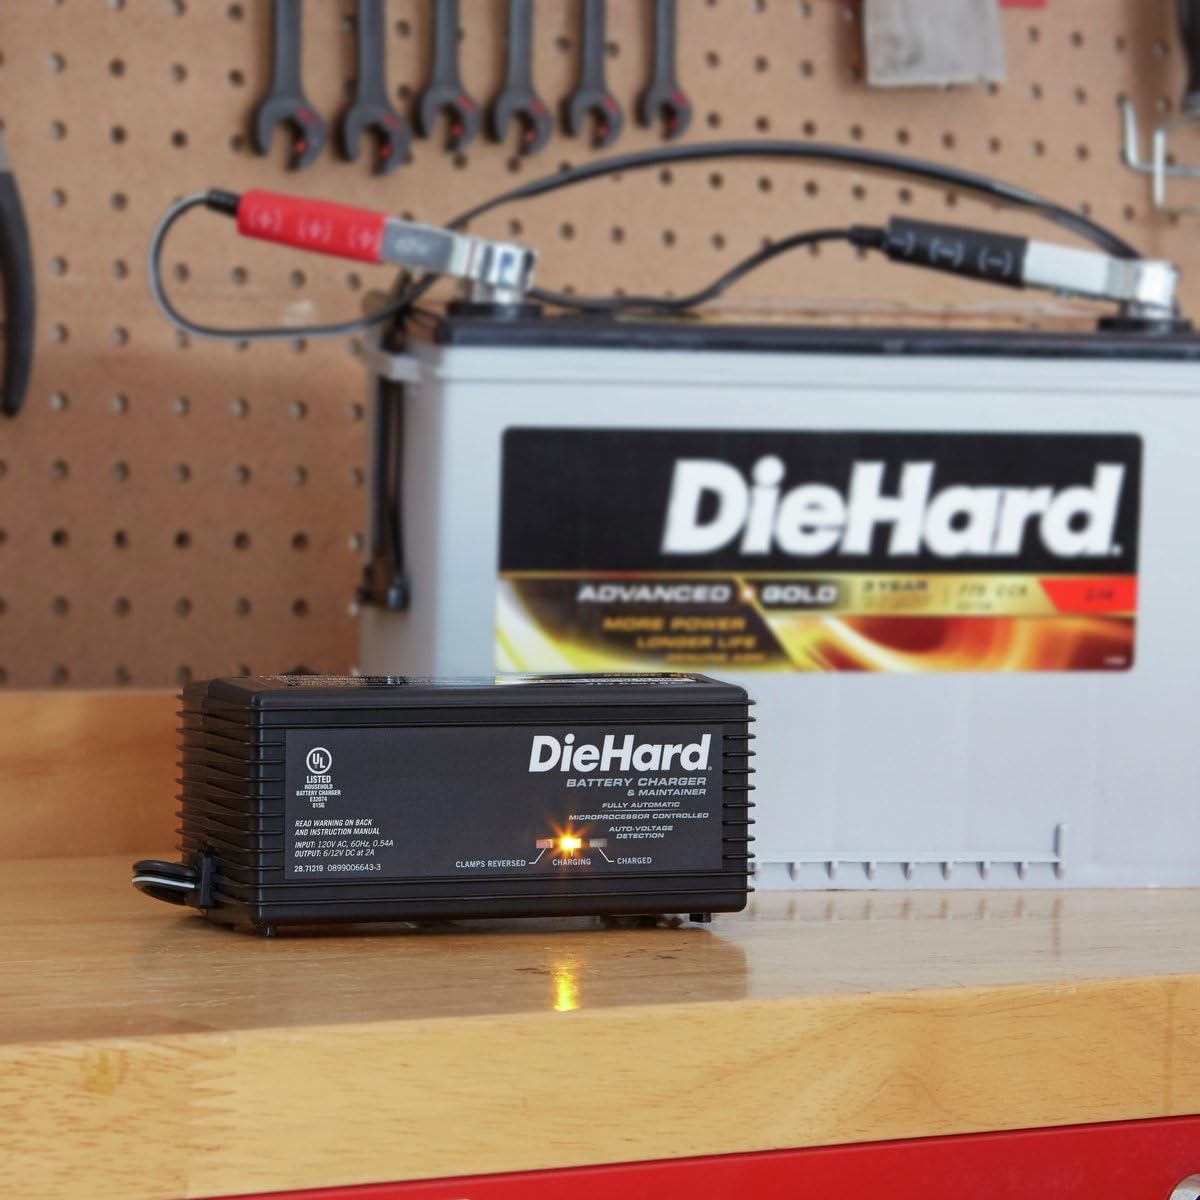
DieHard 71219 charger connected to a car battery, showing the charging process in action.

DieHard 71219 charger connected to a motorcycle battery using the quick-connect harness.
Maintenance
Proper maintenance ensures the longevity and optimal performance of your DieHard 71219 charger and the batteries it services.
- Cleaning: Disconnect the charger from both the AC outlet and the battery before cleaning. Use a dry cloth to wipe down the casing. Do not use liquid cleaners or solvents.
- Cable Care: Regularly inspect the AC cord, battery cables, and connectors for any damage, fraying, or corrosion. Replace damaged components immediately.
- Storage: Store the charger in a cool, dry place when not in use. Ensure cables are neatly coiled and not kinked.
- Battery Maintenance: For long-term battery storage, connect the charger to maintain the battery's charge. The automatic maintenance mode prevents overcharging while keeping the battery ready for use.
Troubleshooting
If you encounter issues with your DieHard 71219 charger, refer to the following common problems and solutions:
| Problem | Possible Cause | Solution |
|---|---|---|
| Charger not operating / No LEDs illuminated | No AC power; Faulty AC outlet; Loose connections. | Check AC outlet with another appliance. Ensure AC cord is fully plugged in. Verify all battery connections are secure. |
| "Clamps Reversed" LED flashing | Incorrect battery polarity connection. | Disconnect charger from AC outlet. Reconnect red clamp to positive (+) terminal and black clamp to negative (-) terminal. Plug charger back into AC outlet. |
| Battery not charging / "Charging" LED not on | Battery is already fully charged; Battery is severely sulfated or damaged; Poor connection. | Check "Charged" LED. Ensure connections are clean and secure. If battery is severely discharged or damaged, it may not accept a charge. Consult a battery professional. |
| Charger gets warm during operation | Normal operation during bulk charging. | This is normal. Ensure adequate ventilation around the charger. |
Product Specifications
| Specification | Detail |
|---|---|
| Manufacturer | Schumacher Electric Corp. |
| Model Number | 71219 |
| Item Weight | 1.37 pounds (0.62 kg) |
| Product Dimensions | 7.25 x 3.88 x 6.75 inches (18.4 x 9.8 x 17.1 cm) |
| Amperage | 2 Amps |
| Voltage (Input) | 12 Volts (AC) |
| Voltage (Output) | 6/12 Volts (DC) |
| Charging Process | Microprocessor Controlled, 5-Stage Automatic |
Warranty and Support
DieHard products are manufactured to high-quality standards. For specific warranty information, including duration and terms, please refer to the warranty section in the physical owner's manual included with your product. This manual contains detailed instructions on how to register your product and obtain service if needed.
For further assistance or technical support, please contact DieHard customer service through the contact information provided in your owner's manual or on the official DieHard website.

