
1. Introduction
Thank you for purchasing the Rastar Ferrari F12 Remote Control Car, Model 48100. This 1:24 scale replica offers an engaging play experience with its detailed design, lights, and sounds. This manual provides important information for safe operation, setup, and maintenance of your new remote control car. Please read it thoroughly before use.
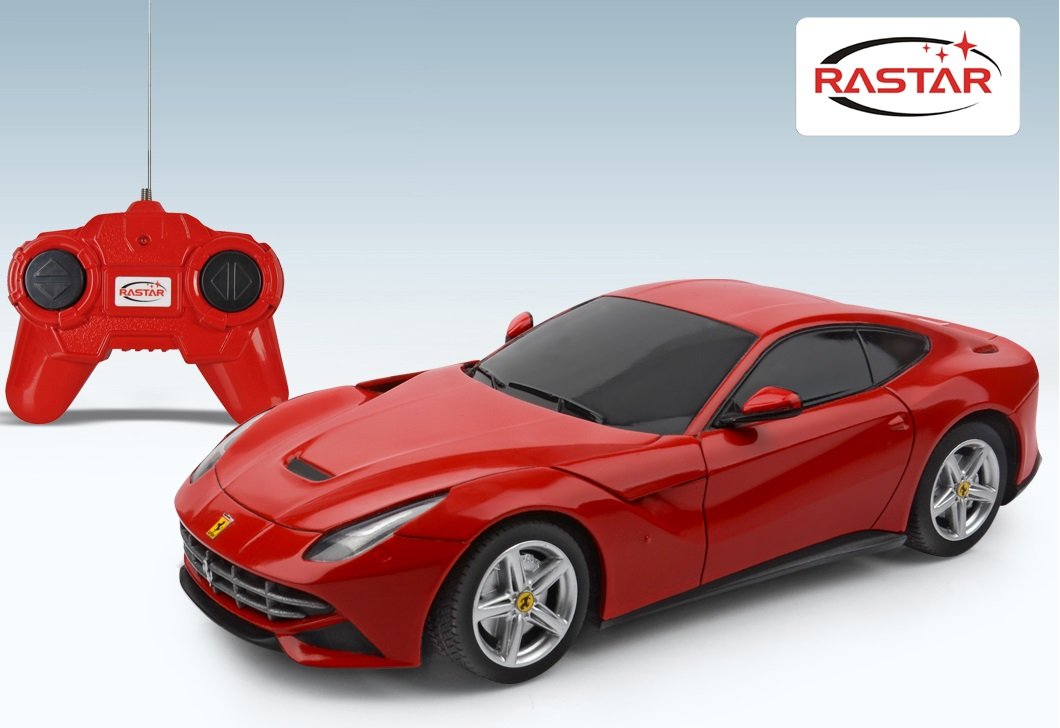
Image 1.1: Top-down view of the Rastar Ferrari F12 remote control car.
2. Safety Information
- Age Recommendation: This product is suitable for children aged 6 years and above.
- Adult Supervision: Always operate the toy under parental or adult supervision.
- Choking Hazard: This product contains small parts and is not suitable for children under 3 years due to potential choking hazards.
- Environmental Conditions: Keep the car away from flame sources, direct sunlight, high temperatures, and water to prevent damage or injury.
- Battery Safety:
- Do not mix old and new batteries.
- Do not mix alkaline, standard (carbon-zinc), or rechargeable (nickel-cadmium) batteries.
- Insert batteries with correct polarity (+ and -).
- Remove exhausted batteries promptly.
- Remove batteries if the product is not used for an extended period.
- Impacts: Avoid strong impacts or dropping the car, as this may damage the internal components.
3. Package Contents
Please check the package to ensure all items are present:
- 1 x Rastar Ferrari F12 Remote Control Car (Model 48100)
- 1 x Remote Control Transmitter
- 1 x Instruction Manual (this document)
4. Setup
4.1 Battery Installation (Car)
- Locate the battery compartment on the underside of the car.
- Use a screwdriver to open the battery compartment cover.
- Insert the required AA batteries (typically 3-5, refer to compartment markings) into the compartment, ensuring correct polarity.
- Replace the cover and secure it with the screw.
4.2 Battery Installation (Remote Control)
- Locate the battery compartment on the back of the remote control.
- Use a screwdriver to open the battery compartment cover.
- Insert the required AA batteries (typically 2, refer to compartment markings) into the compartment, ensuring correct polarity.
- Replace the cover and secure it with the screw.
4.3 Pairing the Car and Remote
The car and remote control are usually pre-paired. If they do not connect automatically:
- Ensure both the car and remote control have fresh batteries installed.
- Turn on the car using the ON/OFF switch, usually located on the underside.
- Turn on the remote control.
- The car and remote should automatically connect. If not, turn both off and on again.
5. Operating Instructions
Once the batteries are installed and the car is paired with the remote, you are ready to operate your Ferrari F12.
5.1 Basic Controls
- Forward: Push the left joystick/trigger forward.
- Backward: Pull the left joystick/trigger backward.
- Turn Left: While moving forward or backward, turn the right joystick/steering wheel left.
- Turn Right: While moving forward or backward, turn the right joystick/steering wheel right.

Image 5.1: Side view of the Rastar Ferrari F12 remote control car.
5.2 Lights and Sounds
The Ferrari F12 model features working headlights and taillights, and sound functions. These typically activate automatically when the car is in motion or can be controlled via specific buttons on the remote control (refer to your remote's specific layout if available).
5.3 Driving Tips
- Operate the car on smooth, flat surfaces for optimal performance.
- Avoid driving on sand, water, or excessively dusty areas to prevent damage to internal mechanisms.
- Keep the car within the effective range of the remote control for consistent response.
6. Maintenance
6.1 Cleaning
To clean your remote control car:
- Wipe the car with a soft, dry cloth.
- Do not use chemical cleaners or water, as this can damage electronic components.
- Remove any debris from the wheels and axles to ensure smooth operation.
6.2 Battery Care and Storage
- Always remove batteries from both the car and the remote control when not in use for extended periods.
- Store the car and remote in a cool, dry place, away from direct sunlight and moisture.
7. Troubleshooting
| Problem | Possible Cause | Solution |
|---|---|---|
| Car does not move or respond. | Low or incorrectly installed batteries in car or remote. Car/remote not turned on. Not paired. | Check and replace batteries. Ensure ON/OFF switches are in the 'ON' position. Re-pair the car and remote. |
| Poor control range or intermittent response. | Weak batteries. Interference from other RC devices. Obstacles blocking signal. | Replace batteries. Move to an area with less interference. Ensure clear line of sight between remote and car. |
| Lights or sounds not working. | Low batteries. Feature not activated. | Replace car batteries. Check remote for specific light/sound buttons. |
8. Specifications
- Brand: Rastar
- Model: 48100
- Vehicle Type: Remote Control Car
- Scale: 1:24
- Material: Multi-materials (Plastic and Metal)
- Color: Red
- Dimensions (Car): Approximately 17 x 7 x 5 cm (L x W x H)
- Power Source: Battery Powered (Batteries not included)
- Batteries Required (Car): 5 x AA batteries
- Batteries Required (Remote): 2 x AA batteries (typical, check remote for exact requirement)
- Age Recommendation: 6 years and above
- Features: Forward, Backward, Left, Right steering, Detailed interior/exterior, Lights, Sounds, Rubber tires.
- Assembly Required: No

Image 8.1: Rear view of the Rastar Ferrari F12 remote control car.


