
1. Introduction
Thank you for choosing the LILLIPUT A7S 7-inch 4K HDMI Field Monitor. This monitor is designed to enhance your photography and videography experience by providing a clear, high-resolution display for accurate focus, exposure, and composition. This manual provides essential information for the safe and effective use of your device.
Key Features:
- 7-inch IPS LCD Panel with 1920x1200 native resolution (324ppi)
- 1000:1 High Contrast and 500cd/m² High Brightness
- 170-degree Wide Viewing Angle
- 4K HDMI Input & Loop Output (3840x2160p and 4096x2160p support)
- Camera Auxiliary Functions: Peaking, Peaking Color, Peaking Level, False Color, Exposure, Exposure Level, Histogram, Audio Level Meter, Pixel Zoom, Check Field, Underscan, Image Freeze, Aspect Ratio, Center Marker, Screen Marker, Image Flip, Grid.
- F1 & F2 User-definable buttons for custom shortcuts
- Compact and lightweight design (20.5mm thickness, 320g weight)
- Includes a Silicon Rubber Case with Sun Shade for protection
2. Safety Information
- Do not expose the monitor to rain, moisture, or extreme temperatures.
- Avoid dropping or subjecting the monitor to strong impacts.
- Do not disassemble the monitor. Refer all servicing to qualified personnel.
- Use only the specified power adapters and battery types.
- Keep the monitor away from strong magnetic fields.
- Ensure proper ventilation to prevent overheating.
3. Package Contents
Verify that all items are present in your package:
- LILLIPUT A7S 7-inch Field Monitor
- Foldable Sun Hood
- Silicon Rubber Case (Black)
- F970 Battery Plate
- HDMI A/C Cable
- Hot Shoe Mount
- 12V DC Adapter (Free Gift from VIVITEQ)
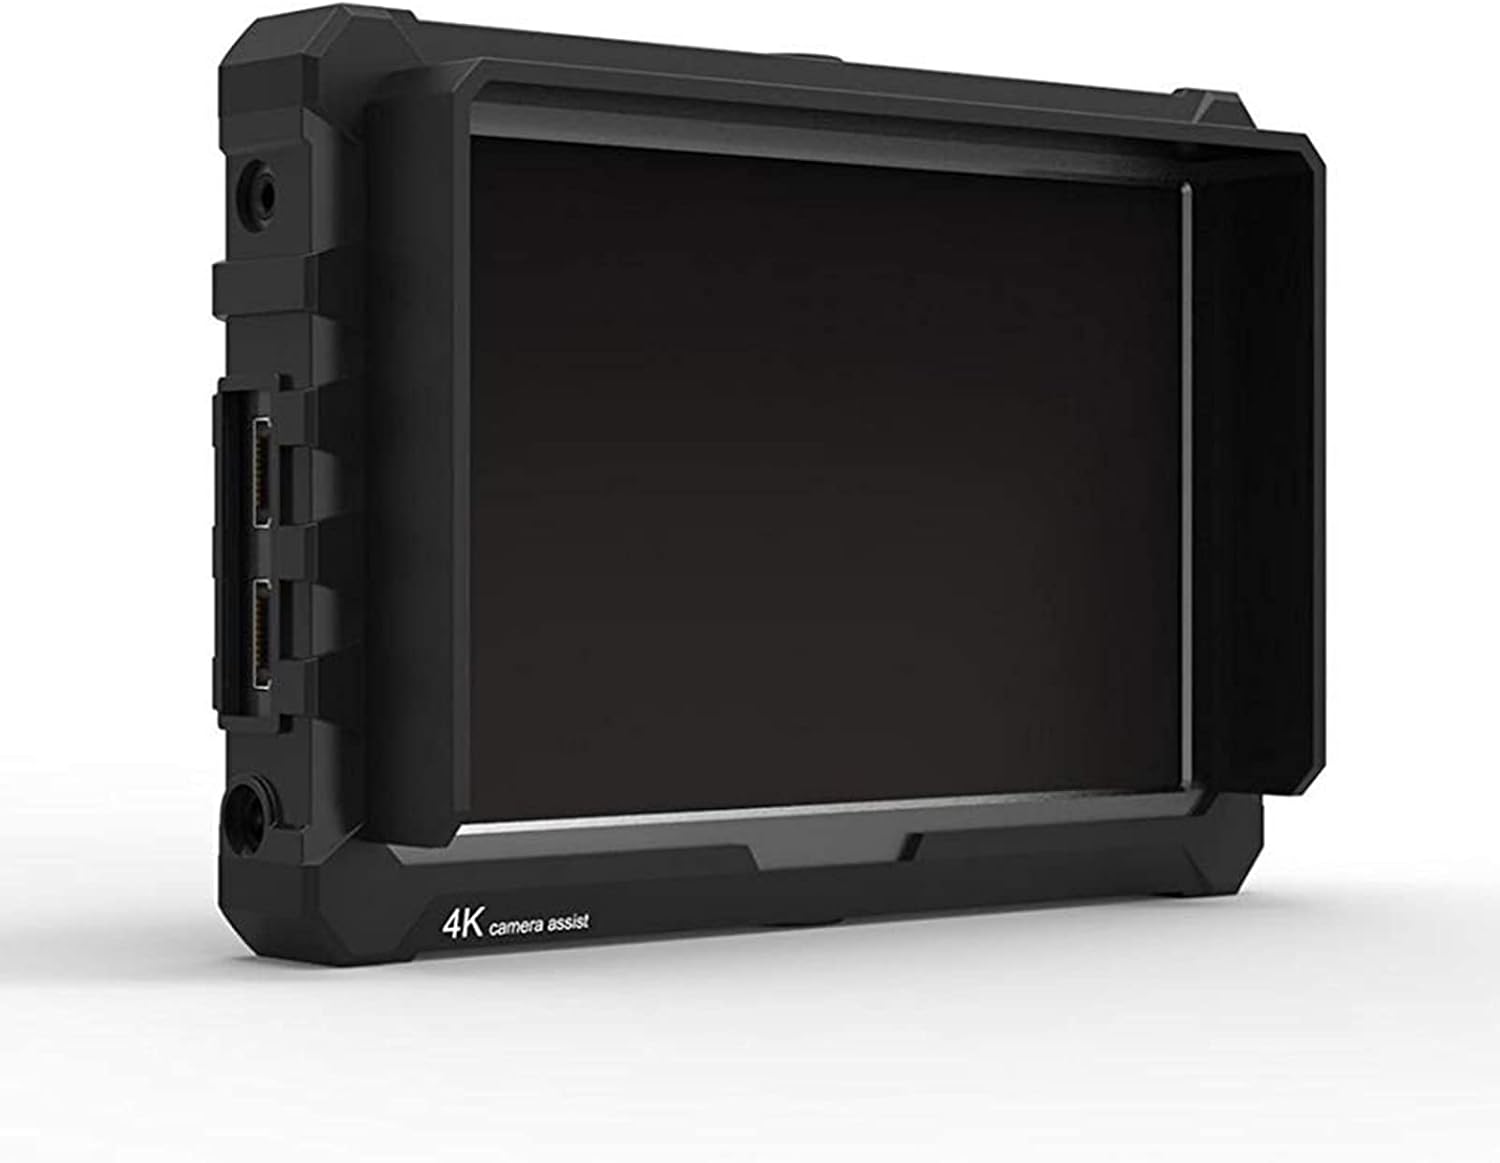
The image displays the LILLIPUT A7S monitor with its foldable sun hood attached, providing shade for better visibility in bright conditions.
4. Product Overview
Monitor Dimensions:

This diagram illustrates the physical dimensions of the LILLIPUT A7S monitor, including its width (182.1mm), height (124mm), and thickness (20.5mm). It also shows the 75mm VESA mounting points on the rear.
Ports and Controls:

This image provides a detailed view of the LILLIPUT A7S monitor's side and rear panels, highlighting all ports, buttons, and mounting points with corresponding numerical labels.
- MENU Dial: Press to display the menu when the screen is lit. Rotate left or right to select a desired menu option. Press again to confirm the selection.
- EXIT: To return or exit the menu function.
- F2 User-definable button: Default function is Level Meter.
- F1 User-definable button: Default function is Peaking.
- Power on/off button.
- Top 1/4 Screw hole position.
- Silicon rubber case.
- Earphone jack.
- HDMI Output Signal port.
- HDMI Input Signal port.
- DC 12V power input.
- Bottom 1/4 Screw hole position.
- Battery power switch.
- Battery plate into the slot.
- VESA 75mm mounting points.
5. Setup
5.1 Powering the Monitor
The LILLIPUT A7S monitor can be powered by either an AC adapter or a compatible F970 series battery.
Battery Installation:
- Ensure the monitor is powered off.
- Slide a compatible F970 battery into the battery plate slot (14) on the rear of the monitor until it clicks into place.
- To remove, press the release latch and slide the battery out.
AC Power Connection:
- Connect the provided 12V DC adapter to the DC 12V power input port (11) on the monitor.
- Plug the AC adapter into a wall outlet.
5.2 Mounting the Monitor
The monitor offers multiple mounting options for versatility.
Hot Shoe Mount:
- Attach the hot shoe mount to the 1/4-inch screw hole (6 or 12) on the top or bottom of the monitor.
- Secure the hot shoe mount to your camera's hot shoe or cold shoe adapter.
VESA Mounting:
The monitor features 75mm VESA mounting points (15) on the rear for attachment to compatible VESA arms or stands.
5.3 Connecting to a Camera
HDMI Connection:
- Connect one end of the HDMI A/C cable to your camera's HDMI output port.
- Connect the other end of the HDMI A/C cable to the HDMI Input Signal port (10) on the LILLIPUT A7S monitor.
- If you need to loop out the HDMI signal to another monitor or device, use the HDMI Output Signal port (9).
6. Operation
6.1 Basic Controls
- Power Button (5): Press and hold to turn the monitor on or off.
- MENU Dial (1): Press to enter the OSD menu. Rotate to navigate options, press again to confirm.
- EXIT Button (2): Press to go back one level in the menu or exit the menu entirely.
- F1/F2 Buttons (3, 4): These are user-definable shortcut buttons. You can assign frequently used auxiliary functions to them via the OSD menu.
6.2 Menu Navigation
To access and navigate the On-Screen Display (OSD) menu:
- With the monitor powered on, press the MENU Dial (1). The main menu will appear.
- Rotate the MENU Dial (1) left or right to scroll through the menu options.
- Press the MENU Dial (1) to select a highlighted option or enter a sub-menu.
- Rotate the MENU Dial (1) to adjust values or select sub-options.
- Press the MENU Dial (1) to confirm changes.
- Press the EXIT button (2) to go back to the previous menu level or exit the OSD.
6.3 Auxiliary Functions
The LILLIPUT A7S includes several professional auxiliary functions to assist with accurate monitoring:
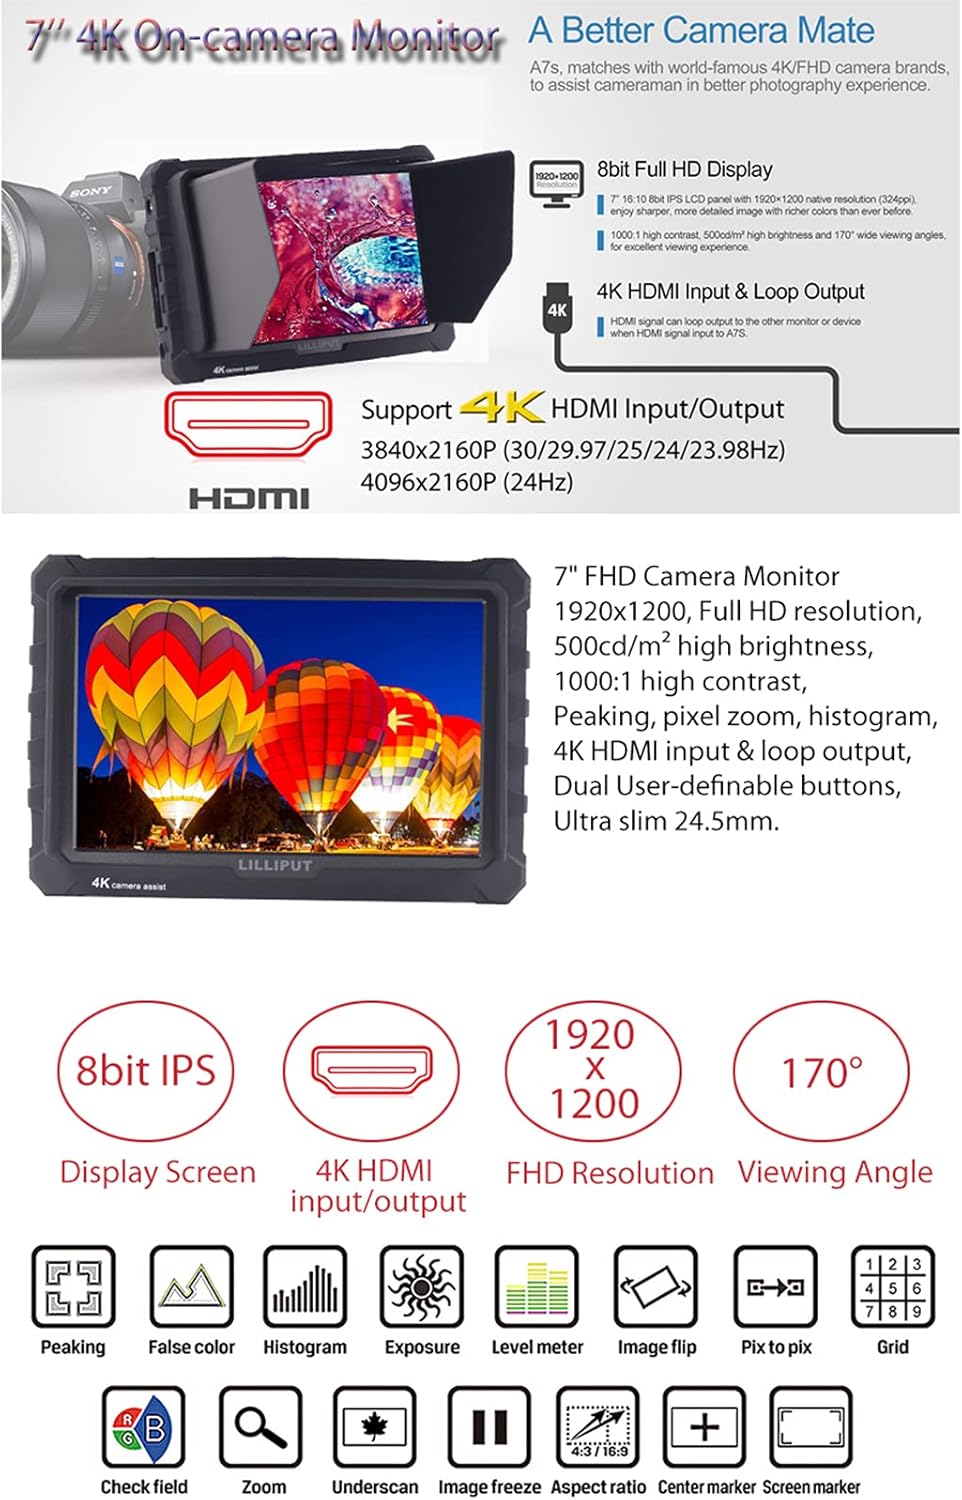
This image displays the various auxiliary function icons available on the LILLIPUT A7S monitor, including Peaking, False Color, Histogram, Exposure, Level Meter, Image Flip, Pix to Pix, Grid, Check Field, Zoom, Underscan, Image Freeze, Aspect Ratio, Center Marker, and Screen Marker.
- Peaking: Highlights sharp edges in the image to assist with focus. You can adjust peaking color and level.
- False Color: Displays different exposure levels as distinct colors, helping to identify overexposed or underexposed areas.
- Histogram: A graphical representation of the tonal distribution in your image, useful for checking exposure.
- Exposure (Zebras): Overlays zebra patterns on areas exceeding a set exposure threshold.
- Level Meter: Displays audio levels for monitoring sound input.
- Pixel Zoom: Magnifies a portion of the image for critical focus checks.
- Check Field: Displays the image in monochrome (Red, Green, Blue, or Mono) to check color channels.
- Underscan: Displays the full image frame, including areas outside the standard broadcast safe zone.
- Image Flip: Flips the image horizontally, vertically, or both, useful for various mounting orientations.
- Aspect Ratio: Adjusts the display aspect ratio to match your camera's output.
- Center Marker / Screen Marker: Overlays guides on the screen for composition.
7. Specifications
| Feature | Specification |
|---|---|
| Display Screen | 7" IPS |
| Physical Resolution | 1920x1200 |
| Aspect Ratio | 16:10 |
| Brightness | 500cd/m² |
| Contrast | 1000:1 |
| Viewing Angle | 170°/170° (H/V) |
| HDMI Input | 1 |
| HDMI Output | 1 |
| Speaker | 1 |
| Ear Phone Slot | 1 |
| Input Voltage | DC 7-24V |
| Battery Plate | F970 |
| Power Consumption | ≤12W |
| Operating Temperature | -20°C to 60°C |
| Storage Temperature | -30°C to 70°C |
| Dimensions (LWD) | 182.1 x 124 x 20.5mm |
| Weight | 320g |
| Item Weight | 2.31 pounds (including packaging) |
8. Troubleshooting
If you encounter issues with your LILLIPUT A7S monitor, please refer to the following common problems and solutions:
- No Power:
- Ensure the power button is pressed and held to turn on.
- Check if the AC adapter is securely connected and receiving power.
- If using a battery, ensure it is fully charged and correctly installed. Check the battery power switch (13).
- No Signal / Black Screen:
- Verify that the HDMI cable is securely connected to both the camera's output and the monitor's HDMI Input (10).
- Ensure your camera's HDMI output is enabled and configured correctly.
- Try a different HDMI cable to rule out cable issues.
- Confirm the camera's output resolution is supported by the monitor.
- Incorrect Colors / Image Distortion:
- Reset the monitor to factory default settings via the OSD menu.
- Check your camera's color settings.
- Ensure the HDMI cable is not damaged.
- Buttons Not Responding:
- Power cycle the monitor (turn off and on again).
- Ensure no debris is obstructing the buttons.
9. Maintenance
9.1 Care and Cleaning
- Screen: Use a soft, lint-free cloth specifically designed for electronics screens. Gently wipe the screen. Do not use harsh chemicals or abrasive materials.
- Body: Wipe the monitor body with a soft, damp cloth. Avoid getting moisture into ports or openings.
- Sun Hood/Rubber Case: These can be cleaned with a damp cloth and mild soap if necessary. Ensure they are completely dry before reattaching.
9.2 Storage
- When not in use, store the monitor in a cool, dry place, away from direct sunlight and extreme temperatures.
- Use the provided silicon rubber case and sun hood for added protection during storage and transport.
- If storing for an extended period, remove the battery.
10. Warranty and Support
10.1 Warranty Information
LILLIPUT products are manufactured to high quality standards. For specific warranty terms and conditions, please refer to the warranty card included with your product or contact your retailer. Keep your proof of purchase for warranty claims.
10.2 Customer Support
If you require further assistance or have questions not covered in this manual, please contact the seller (VIVITEQ) or LILLIPUT customer support. Contact information can typically be found on the product packaging or the official LILLIPUT website.


