
Introduction
This manual provides comprehensive instructions for the installation, operation, and maintenance of your Scosche MAGKIT MagicMount Magnetic Car Phone Mount. This product is designed to securely hold your mobile device on your vehicle's dashboard, offering a convenient and safe hands-free experience. Please read these instructions carefully before use to ensure optimal performance and safety.
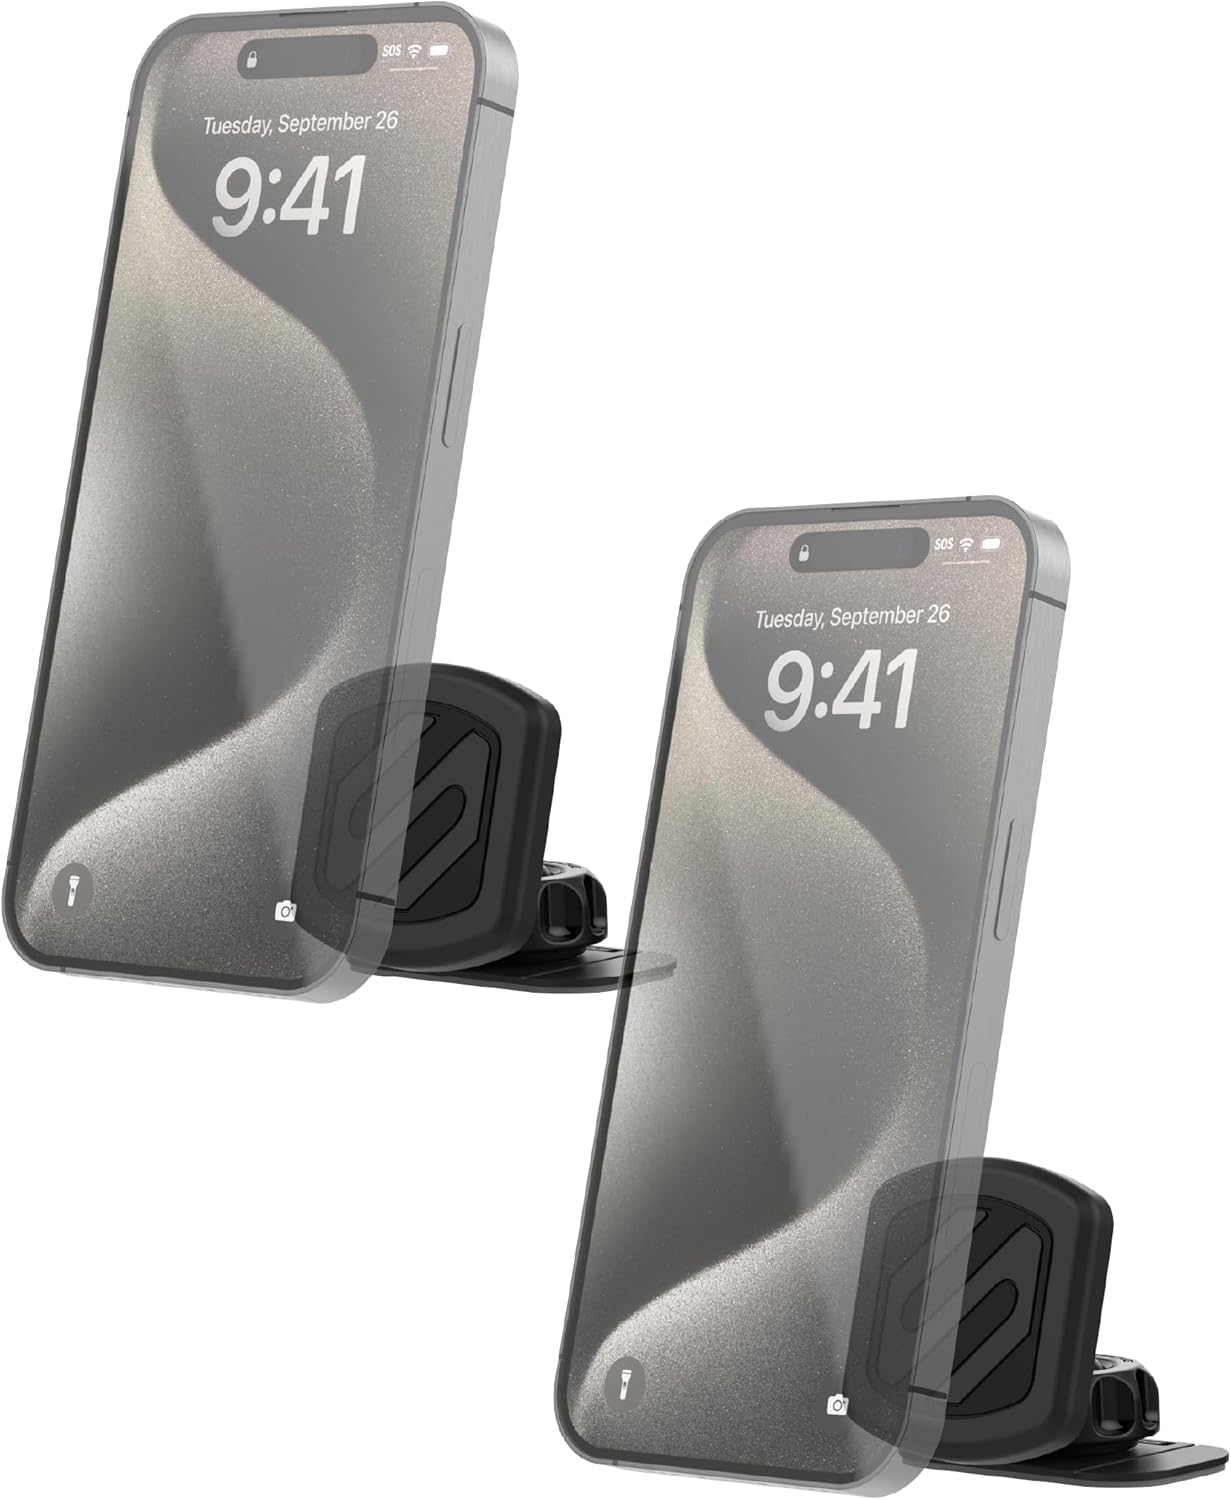
Image: Two Scosche MagicMounts securely holding smartphones on a dashboard.
Key Features:
- Powerful Neodymium Magnets: Provides a strong, secure grip for your mobile device.
- Cradle-Free Design: Allows full access to all device ports and controls.
- Temperature Resistant: Engineered to withstand varying temperatures, suitable for hot and cold climates.
- 360-Degree Adjustable Head: Offers optimal viewing angles.
- Integrated Cable Clip: Helps manage charging cables for a tidy setup.

Image: Diagram highlighting the Neodymium Magnets, Cradle-Free Design, and Temperature Resistant features of the MagicMount.
Setup Instructions
What's in the Box:
- MagicMount Dash Mount(s)
- MagicPlate(s)
- Protective Film(s)
- Alcohol Cleaning Wipe(s)
- User Manual

Image: An exploded view showing the MagicMount Dash Mount, MagicPlate, and an alcohol cleaning wipe, indicating a 360-degree adjustable head.
Step 1: Prepare the Mounting Surface
- Choose a flat, firm surface on your dashboard for mounting. Ensure the area is free from obstructions and allows for optimal viewing.
- Clean the chosen surface thoroughly with the provided alcohol cleaning wipe. Allow the surface to dry completely before proceeding. This ensures maximum adhesive bond.

Image: The MagicMount base adhered to a car dashboard, labeled 'SECURELY MOUNTS ANYWHERE'.
Step 2: Install the MagicMount Dash Mount
- Peel off the protective backing from the adhesive base of the MagicMount.
- Firmly press the mount onto the cleaned dashboard surface for 30 seconds.
- Allow the adhesive to cure for at least 24 hours before attaching your device. This is crucial for a strong, long-lasting bond.

Image: A smartphone mounted on the Scosche MagicMount on a car dashboard, labeled 'DASH MOUNT'.
Step 3: Attach the MagicPlate to Your Device
The MagicPlate is essential for the magnetic connection. It is not compatible with MagSafe technology; all devices must use the included plates.
- For devices with thin cases or no case: Apply the protective film to the back of your device where the MagicPlate will be placed. This prevents adhesive residue on your device. Then, peel the backing from the MagicPlate and firmly press it onto the protective film.
- For devices with rugged/thick cases: The MagicPlate can be placed directly onto the exterior of your phone case. Ensure the surface of the case is clean and dry. Peel the backing from the MagicPlate and firmly press it onto the case.
- For larger or heavier phones, placing the MagicPlate directly onto the phone or the exterior of the case provides the strongest magnetic hold.

Image: Instructions for MagicPlate installation, showing placement for phones with thin cases and rugged/thick cases.
Operating Instructions
Attaching Your Device:
Once the MagicMount is installed and the MagicPlate is attached to your device, simply bring your device close to the magnetic surface of the mount. The powerful magnets will automatically secure your device in place.
Adjusting Viewing Angle:
The MagicMount features a 4-axis, 360-degree adjustable head. Loosen the soft touch rubber lock-nut to adjust the angle and rotation of your device. Once the desired position is achieved, tighten the lock-nut to secure the mount in place, preventing movement during driving.

Image: A smartphone on the MagicMount showing arrows indicating rotation and tilt, with a callout for the 'Lock Nut Secures Position'.
Cable Management:
The MagicMount includes an integrated cable clip to help keep your charging cable organized and prevent clutter on your dashboard. Route your charging cable through this clip for a clean and convenient setup.

Image: The MagicMount with a USB-C cable neatly secured by the integrated cable management clip.
Maintenance
To ensure the longevity and optimal performance of your Scosche MagicMount, follow these simple maintenance guidelines:
- Cleaning: Periodically wipe the surface of the MagicMount and the magnetic head with a soft, damp cloth to remove dust and grime. Avoid using harsh chemicals or abrasive cleaners, as these can damage the finish or the magnetic properties.
- Adhesive Check: Occasionally check the adhesive base of the mount to ensure it remains firmly attached to your dashboard. If the adhesive shows signs of weakening, consider re-applying with a new automotive-grade adhesive (not included) or contacting support for guidance.
- Magnetic Plate: Ensure the MagicPlate on your device remains clean and free of debris to maintain a strong magnetic connection.
Troubleshooting
Issue: Mount is not sticking to the dashboard.
Solution:
- Ensure the dashboard surface was thoroughly cleaned with the alcohol wipe and completely dry before application.
- Apply firm pressure for at least 30 seconds during installation.
- Allow the adhesive to cure for the recommended 24 hours before placing any weight on the mount.
- Ensure the surface is flat and firm. Textured or curved surfaces may reduce adhesion.
Issue: Phone is not holding securely on the mount.
Solution:
- Verify that the MagicPlate is correctly attached to your device or case. For heavier phones, ensure the MagicPlate is placed directly on the phone or the exterior of the case for the strongest hold.
- Confirm that the MagicPlate is clean and free of any obstructions.
- Remember that the MagicMount is not compatible with MagSafe; all devices require the included MagicPlate for magnetic attachment.
Issue: Mount is loose or changes position while driving.
Solution:
- Tighten the soft touch rubber lock-nut located on the adjustable head of the mount. This secures the chosen viewing angle.
Specifications
| Feature | Detail |
|---|---|
| Product Dimensions | 1.75 x 2 x 1.5 inches |
| Item Weight | 2.24 ounces |
| Model Number | MAGKIT |
| Mounting Type | Dashboard (Adhesive) |
| Special Features | Adjustable, Magnetic, Cable Management |
| Compatible Devices | Smartphones (requires MagicPlate) |
| Color | Black |
Warranty Information
The Scosche MAGKIT MagicMount is backed by a 3-Year Limited Warranty. This warranty covers defects in materials and workmanship under normal use. For specific terms and conditions, please refer to the official Scosche website or contact customer support.
Customer Support
Scosche provides Lifetime Tech Support for the MAGKIT MagicMount. If you encounter any issues or have questions not covered in this manual, please contact Scosche customer support through their official website or the contact information provided with your product packaging.
For additional resources, including the PDF installation manual, please visit the official Scosche website or download the Installation Manual (PDF).


