
FIDECO Y842H
FIDECO Dual Bay USB 3.0 Hard Drive Docking Station User Manual
Model: Y842H
Introduction
Thank you for choosing the FIDECO Dual Bay USB 3.0 Hard Drive Docking Station. This device provides a convenient and efficient solution for accessing, managing, and cloning 2.5-inch and 3.5-inch SATA HDDs and SSDs. With its high-speed USB 3.0 interface and offline cloning capability, it is an ideal tool for data backup, recovery, and transfer.

Figure 1: FIDECO Dual Bay USB 3.0 Hard Drive Docking Station. This image shows the front and top view of the docking station, highlighting its two drive bays and three front-facing USB ports.
Package Contents
Please verify that all items are present and in good condition upon opening the package. If any items are missing or damaged, please contact customer support.
- FIDECO Dual Bay USB 3.0 Hard Drive Docking Station (Model: Y842H)
- USB 3.0 Data Cable
- Power Adapter
- User Manual (this document)

Figure 2: Contents of the FIDECO docking station package. This image displays the docking station, power adapter, USB cable, and user manual laid out next to the product box.
Setup Guide
Follow these steps to set up your FIDECO Hard Drive Docking Station:
- Insert SATA HDD/SSD: Gently slide your 2.5-inch or 3.5-inch SATA HDD or SSD into one or both of the drive bays. Ensure the drive is fully seated in the connector.
- Connect USB Cable: Connect one end of the provided USB 3.0 data cable to the USB 3.0 port on the back of the docking station and the other end to an available USB 3.0 port on your computer.
- Connect Power Adapter: Plug the power adapter into the DC 12V input port on the back of the docking station, then plug the adapter into a standard electrical outlet.
- Power On: Flip the power switch located on the back of the docking station to the 'ON' position. The power indicator LED on the front of the unit should illuminate.

Figure 3: Step-by-step setup process. This image illustrates inserting a hard drive, connecting the USB cable to a laptop, connecting the power adapter, and the location of the power switch on the back of the unit.
Once connected, your operating system should automatically detect the drives. For new drives or drives that are not formatted, you may need to initialize and format them through Disk Management (Windows) or Disk Utility (Mac OS) before use.
Operating Instructions
Data Transfer
After successful setup, the inserted hard drives will appear as removable storage devices on your computer. You can drag and drop files, copy, paste, or use any file management software to transfer data between your computer and the drives, or between the two drives in the docking station (via your computer).
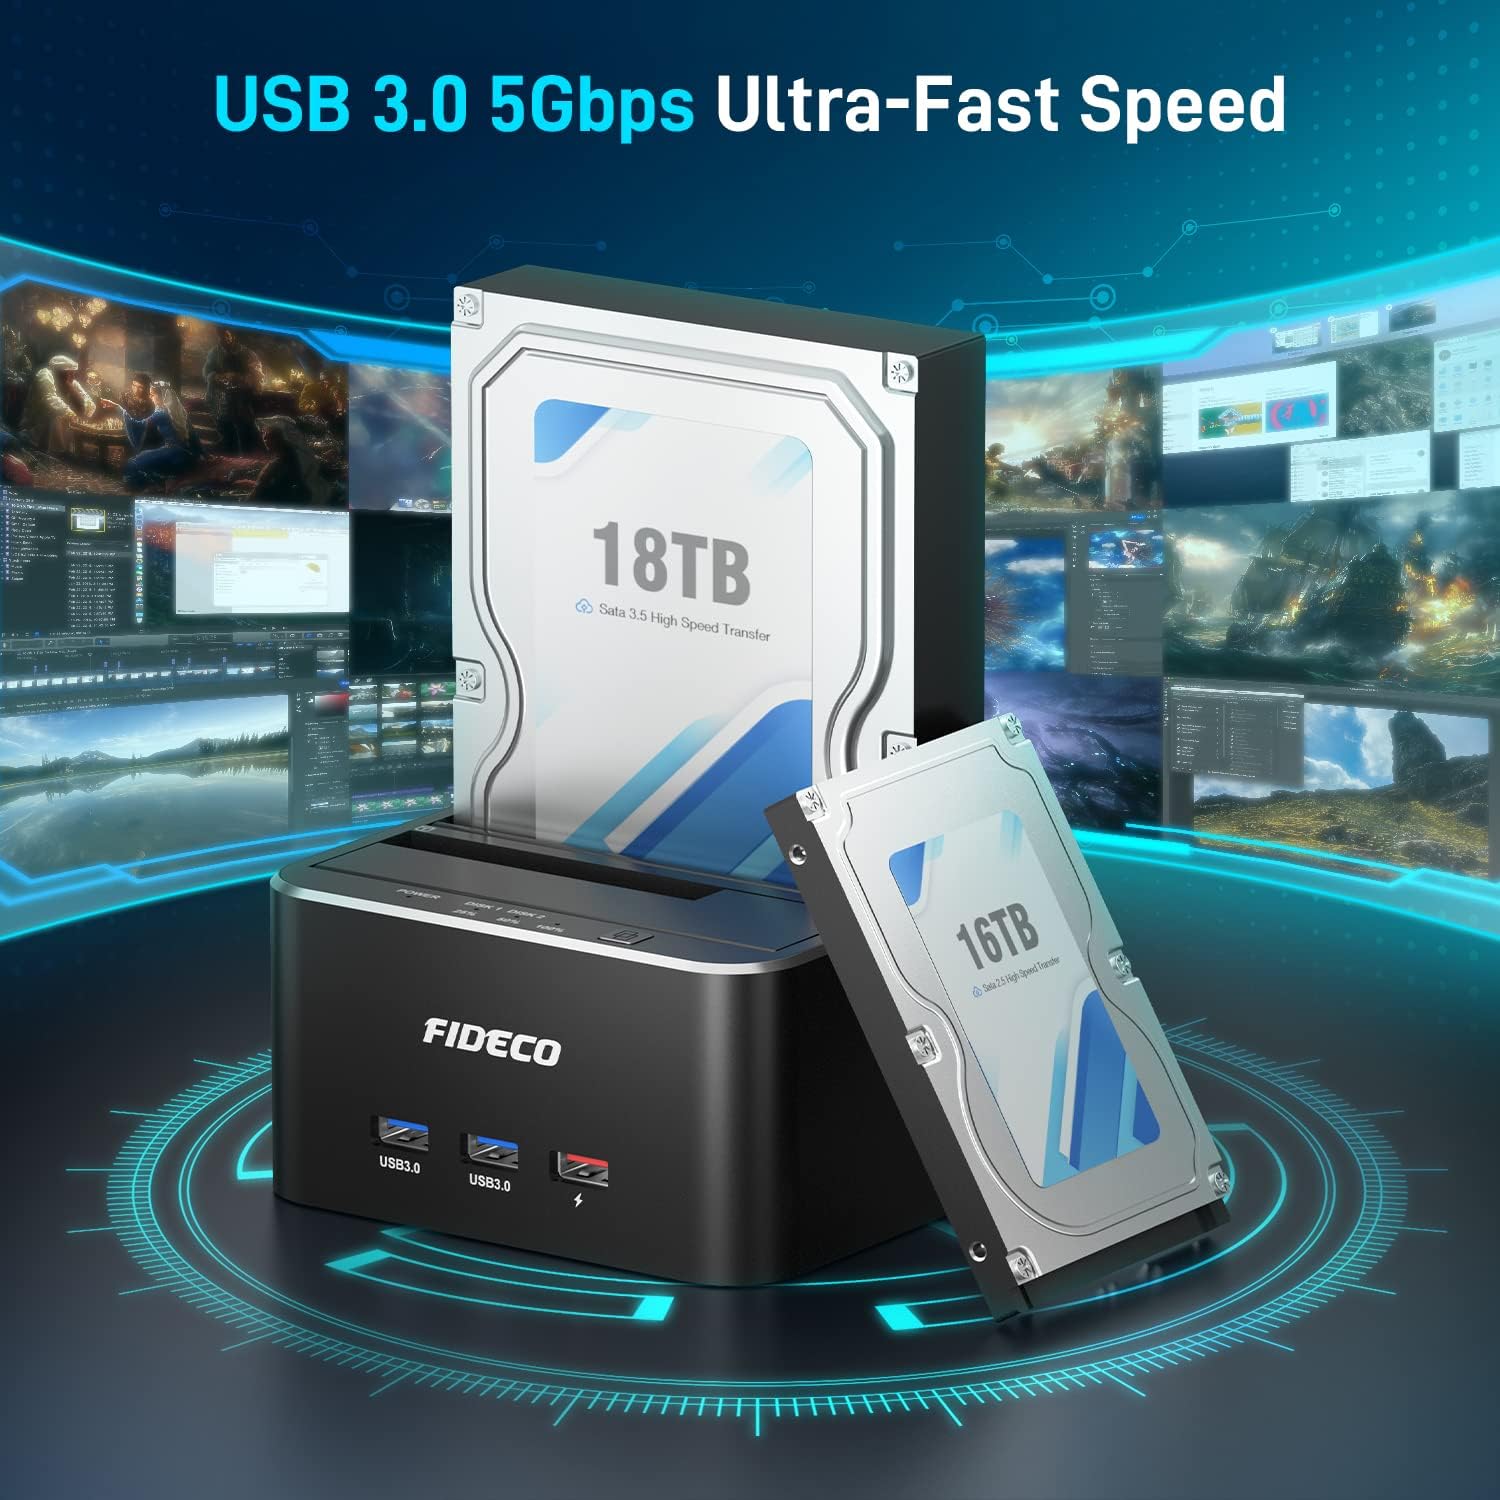
Figure 4: High-speed data transfer. This image visually represents the fast data transfer capabilities of the USB 3.0 interface, showing large hard drives connected to the docking station.
Offline Cloning Function
The FIDECO docking station supports offline cloning, allowing you to duplicate a hard drive without connecting to a computer. This is useful for creating backups or upgrading drives.
- Prepare Drives: Ensure the docking station is powered off. Insert the Source Disk (the drive you want to clone from) into Slot 1 (Disk 1). Insert the Target Disk (the drive you want to clone to) into Slot 2 (Disk 2). The target disk must be equal to or larger in capacity than the source disk.
- Disconnect from PC: Ensure the USB data cable is disconnected from your computer. The cloning process is performed offline.
- Power On: Turn on the power switch of the docking station.
- Initiate Cloning: Press and hold the "Clone" button on the front of the docking station for approximately 3 seconds until the blue indicator lights (25%, 50%, 75%, 100%) begin to flash.
- Monitor Progress: The blue indicator lights will progressively illuminate to show the cloning progress (25%, 50%, 75%, 100%).
- Cloning Complete: Once all four blue indicator lights remain solid, the cloning process is complete. You can then power off the docking station and remove the drives.

Figure 5: Offline cloning process. This image illustrates the setup for offline cloning, showing the source and target drives inserted and the clone button being pressed.

Figure 6: Detailed steps for offline cloning. This image provides a visual guide to the four main steps of the offline cloning process, from inserting drives to setting the target disk online after cloning.
Important Note: The offline cloning process will erase all data on the target disk. Please ensure you have backed up any important data from the target disk before initiating the clone.
USB Hub Functionality
The docking station features three additional USB ports on the front: two USB 3.0 data ports and one dedicated charging port. These ports function as a USB hub when the docking station is connected to your computer via the USB data cable and powered on.
- USB 3.0 Data Ports: Connect USB flash drives, external hard drives, keyboards, mice, or other USB peripherals for data transfer or input.
- Charging Port: Use this port to charge smartphones, tablets, or other USB-powered devices. Note that this port provides standard charging speeds (e.g., 5V/1A) and does not support fast charging protocols.

Figure 7: Multifunctionality of the docking station. This image highlights the two USB 3.0 data ports and one charging port on the front, demonstrating their use with USB drives and a smartphone.
Maintenance
- Keep the docking station clean and free from dust. Use a soft, dry cloth for cleaning.
- Avoid exposing the device to extreme temperatures, humidity, or direct sunlight.
- Do not block the ventilation openings on the device.
- Always safely eject drives from your operating system before powering off the docking station or disconnecting the USB cable to prevent data corruption.
- When not in use for extended periods, disconnect the power adapter from the wall outlet.
Troubleshooting
| Problem | Possible Cause / Solution |
|---|---|
| Drive not detected by computer. |
|
| Offline cloning fails or does not start. |
|
| Slow data transfer speeds. |
|
| USB hub ports not working. |
|
Specifications
| Feature | Detail |
|---|---|
| Model Number | Y842H |
| Brand | FIDECO |
| Interface | USB 3.0 (backward compatible with USB 2.0) |
| Data Transfer Rate | Up to 5 Gbps (USB 3.0 SuperSpeed) |
| Drive Compatibility | 2.5-inch & 3.5-inch SATA I/II/III HDD/SSD |
| Max Capacity Supported | Up to 20TB per bay (40TB total) |
| Number of Drive Bays | 2 |
| USB Hub Ports | 2 x USB 3.0 Data Ports, 1 x USB Charging Port |
| Offline Clone | Supported (No PC required) |
| Material | Aluminum (body), ABS Plastic (top) |
| Color | Black |
| Operating System Compatibility | Windows XP/Vista/7/8/8.1/10, Mac OS, Linux |
| Power Supply | External Power Adapter (DC 12V) |
| Item Weight | Approximately 1.7 lbs (0.77 kg) |
| UPC | 712492199598 |

Figure 8: Diagram showing the dimensions and port labels of the FIDECO docking station, including LED indicators, clone button, disk slots, USB 3.0 ports, charging port, DC input, and power switch.
Warranty and Support
FIDECO products come with a standard manufacturer's warranty. For specific warranty terms and conditions, please refer to the warranty card included in your package or visit the official FIDECO website.
For technical support, troubleshooting assistance, or any inquiries regarding your FIDECO product, please contact our customer support team. Contact information can typically be found on the FIDECO website or on the product packaging.
Online Resources:
- FIDECO Official Website (Please note: This is a placeholder URL as no specific support URL was provided in the input. Users should refer to their product documentation for the exact URL.)
- Email Support (Please note: This is a placeholder email as no specific support email was provided in the input. Users should refer to their product documentation for the exact email.)
Ask a question about this manual
Ask about setup, troubleshooting, compatibility, parts, safety, or missing instructions. Manuals+ will review the question and use this page’s manual context to help answer it.