
Doro Doro 2404
Doro 2404 Mobile Phone User Manual
Model: Doro 2404
Brand: Doro
Introduction
This manual provides essential information for the safe and effective use of your Doro 2404 mobile phone. Designed for ease of use, this 2G dual SIM phone features a large colour display, big buttons, and an emergency button, making it ideal for seniors. Please read this manual thoroughly before using your device.

Image: The Doro 2404 mobile phone in its open, flip-phone configuration, highlighting the large display and clearly spaced keypad.
1. Getting Started and Setup
1.1. Unboxing and Initial Check
Upon opening the package, ensure all components are present:
- Doro 2404 Mobile Phone
- UK Mains Charger
- USB Lead
- Quick Start Guide
1.2. Inserting the SIM Card(s) and Battery
The Doro 2404 supports dual SIM cards.
- Carefully remove the back cover of the phone.
- Insert your SIM card(s) into the designated slot(s) with the gold contacts facing down.
- Insert the battery, ensuring the contacts align correctly.
- Replace the back cover.
1.3. Charging the Battery
Before first use, fully charge the phone's battery.
- Connect the USB lead to the phone's charging port.
- Connect the other end of the USB lead to the UK mains charger.
- Plug the charger into a wall socket.
- The charging indicator will show the charging status. A full charge can take several hours.
Note: Talk time is up to 9 hours, and standby time lasts up to 600 hours.
2. Operating Your Doro 2404
2.1. Powering On/Off
- To power on: Press and hold the red end call/power button until the screen lights up.
- To power off: Press and hold the red end call/power button, then confirm shutdown on the screen.
2.2. Making and Receiving Calls
The Doro 2404 features a widely spaced keypad for easy dialing.
- To make a call: Dial the number using the keypad and press the green call button.
- To answer a call: Press the green call button when the phone rings.
- To end a call: Press the red end call button.

Image: A user holding the Doro 2404, illustrating the comfortable grip and large, easy-to-press buttons.
2.3. Sending and Receiving Text Messages (SMS/MMS)
Use the intuitive keypad for messaging.
- Navigate to the 'Messages' menu.
- Select 'Create new message'.
- Enter the recipient's number or select from contacts.
- Type your message using the keypad. Predictive text is available.
- Press 'Send'.
2.4. Using the Camera
Capture moments with the integrated VGA camera.
- Access the camera from the main menu or a dedicated shortcut key.
- Frame your shot using the display.
- Press the capture button to take a photo. The camera includes a flash for low-light conditions.
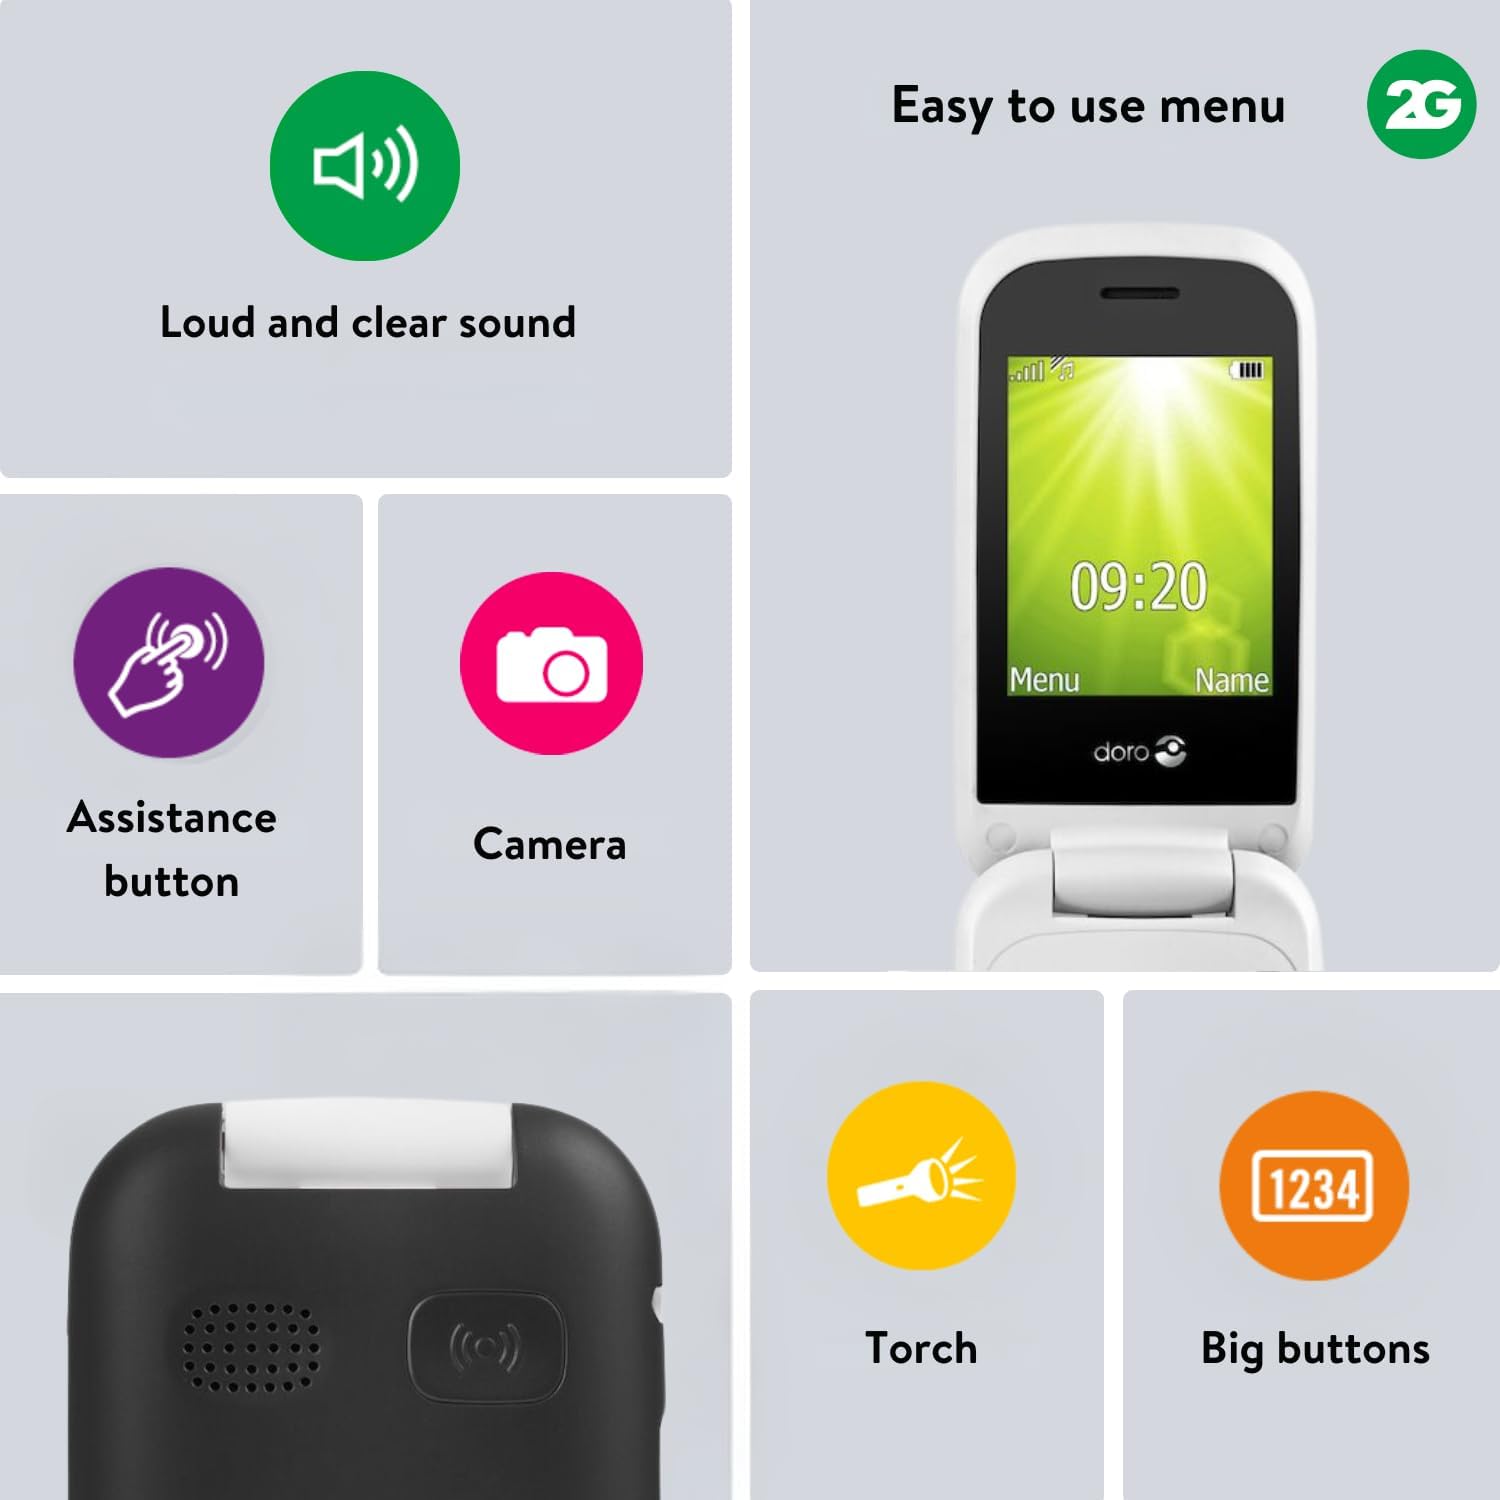
Image: Visual representation of key features, including the camera icon, indicating its functionality.
2.5. Assistance Button
The emergency assistance button provides quick access to help.
- The assistance button is located on the back of the phone.
- Important: Ensure the assistance function is activated and emergency contact numbers are pre-defined in the phone settings before use.
- When pressed, the phone will automatically call and/or send an SMS to your pre-defined contacts.
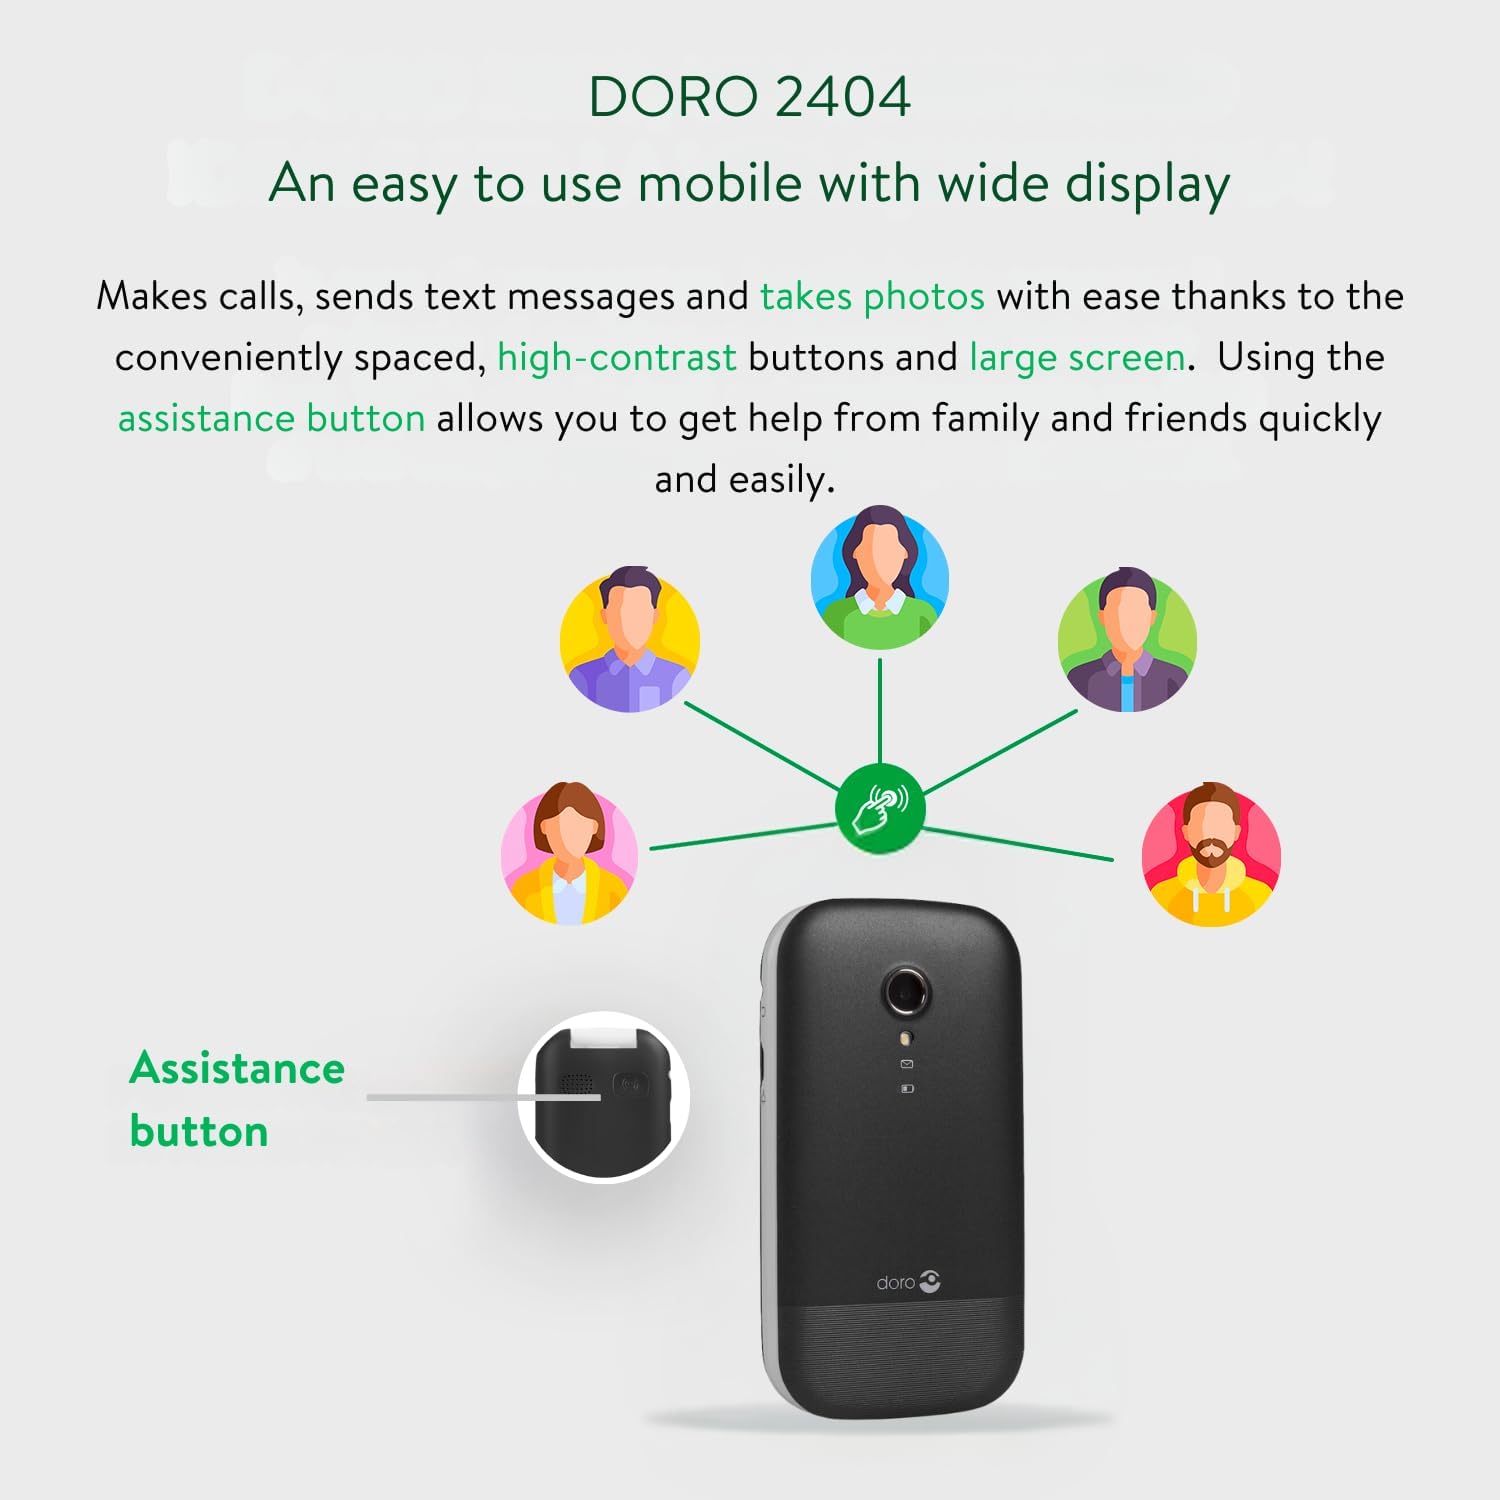
Image: A diagram illustrating the location of the assistance button on the Doro 2404 and how it connects to pre-defined contacts for help.
2.6. Other Features
- Bluetooth: For connecting to compatible wireless accessories.
- Speakerphone: For hands-free conversations.
- FM-Radio: Listen to your favourite radio stations.
- Torch: A built-in flashlight for convenience.
- Adjustable Font Sizes: Customize text size for better readability.
- Visual Ring Indicator: Provides a visual alert for incoming calls.
3. Maintenance and Care
3.1. Cleaning Your Phone
- Use a soft, dry, lint-free cloth to clean the phone's surface and screen.
- Avoid using harsh chemicals, cleaning solvents, or strong detergents.
- Do not expose the phone to excessive moisture.
3.2. Battery Care
- Only use Doro-approved chargers and batteries.
- Do not expose the battery to extreme temperatures.
- If the phone will not be used for an extended period, charge the battery to about 50% before storing it.
3.3. Storage
Store your phone in a cool, dry place away from direct sunlight and extreme temperatures.
4. Troubleshooting
This section addresses common issues you might encounter.
| Problem | Possible Cause | Solution |
|---|---|---|
| Phone does not turn on | Battery is depleted or not inserted correctly. | Charge the battery. Ensure the battery is correctly inserted. |
| Cannot make/receive calls | No network signal; SIM card not inserted or active. | Move to an area with better signal. Check SIM card insertion and activation with your service provider. |
| Poor sound quality | Low volume setting; network interference. | Adjust volume using side buttons. Move to an area with better signal. |
| Assistance button not working | Feature not activated; no emergency contacts set. | Activate the assistance function in settings. Set up emergency contact numbers. |
| Phone freezes or is unresponsive | Temporary software glitch. | Remove and reinsert the battery to perform a soft reset. |
5. Product Specifications
| Feature | Detail |
|---|---|
| Model Name | Doro 2404 |
| Brand | Doro |
| Operating System | Nucleus OS |
| Cellular Technology | 2G |
| Wireless Carrier | Unlocked for All Carriers |
| Screen Size | 2.4 Inches |
| Resolution | VGA |
| RAM Memory | 16 MB |
| Connectivity | Bluetooth |
| Battery | 1 Lithium Ion battery (included) |
| Product Dimensions | 5.3 x 1.8 x 10.1 cm |
| Weight | 100 g |
| Manufacturer | Doro |
| First Available | 11 Sept. 2017 |
6. Warranty and Support
6.1. Warranty Information
Your Doro 2404 mobile phone comes with a standard manufacturer's warranty. Please refer to the warranty card included in your product packaging for specific terms and conditions, including warranty period and coverage details. Keep your proof of purchase for warranty claims.
6.2. Customer Support
For further assistance, technical support, or service inquiries, please contact Doro customer support.
- Visit the official Doro website for support resources and contact details.
- Refer to the Quick Start Guide for initial contact information.
Note: Software updates are not guaranteed for this model.
Related documentsDoro 2404


Ask a question about this manual
Ask about setup, troubleshooting, compatibility, parts, safety, or missing instructions. Manuals+ will review the question and use this page’s manual context to help answer it.