
ICAMI DQ401
ICAMI HD Security Camera User Manual
Model: DQ401
1. Introduction
This manual provides comprehensive instructions for the installation, operation, and maintenance of your ICAMI HD Security Camera. This WiFi Dome IP Camera offers wireless home surveillance with audio and motion detection capabilities, providing reliable security monitoring.

2. Package Contents
Please verify that all items are present in your package:
- 1 x 720P Dome Camera
- 1 x CD with Software
- 1 x Power Adapter (12V1A with 10 feet cable)
- 1 x User Manual
- 1 x Network Cable
- 1 x Screw Bag for Mounting
3. Key Features
- Quick Setup: 60-second WiFi or wired quick installation.
- Remote Viewing: Support for smartphone (iPhone, Android) APP for remote viewing anytime, anywhere.
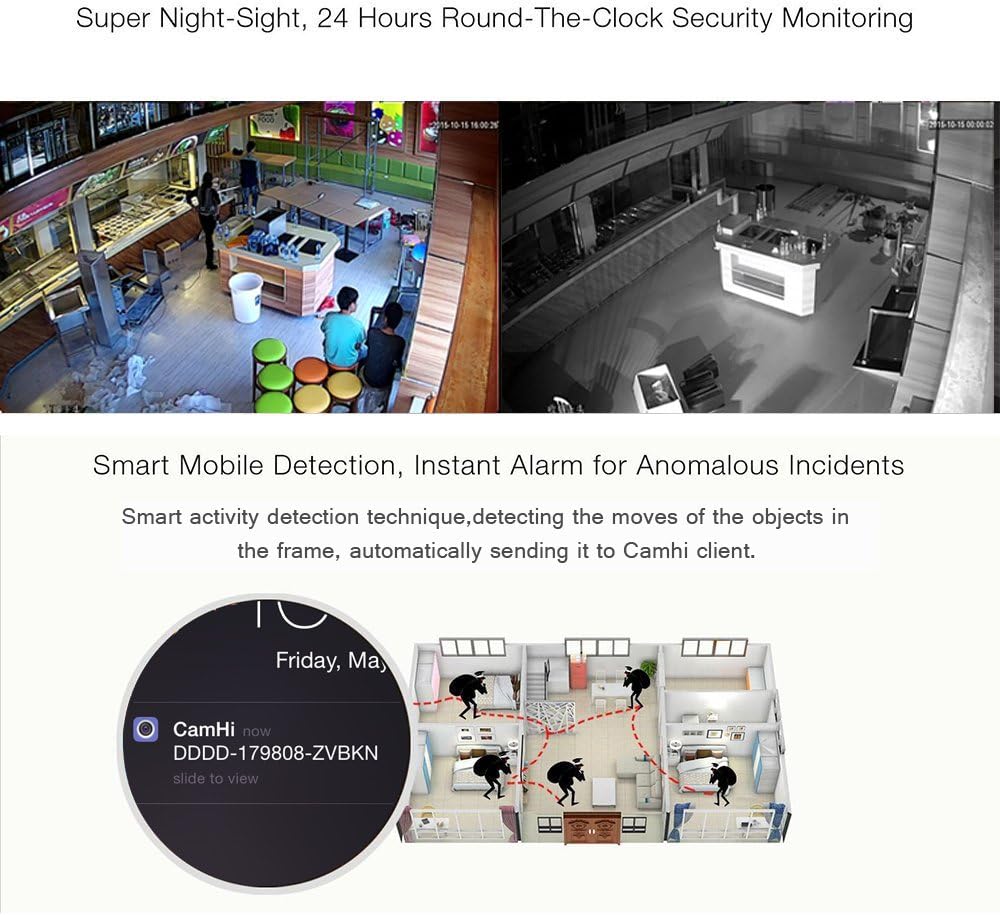
- High Definition: Indoor IR Dome WIFI IP camera with 15pcs IR LEDs supporting HD real 720P (1280*720) image display.
- Durable Design: Full Metal Casing for enhanced durability.
- Motion Detection & Alerts: Motion Detection with Email & FTP Alarm capabilities.
- Local Storage: Built-in SD Card Slot, supporting up to 64GB TF Card for automatic recording.
- P2P Cloud Technology: One-step internet access via QR code scan.
- NVR Compatibility: Works with multi-brand NVRs, including Hikvision and Dahua.
4. Setup Guide
Follow these steps to set up your ICAMI HD Security Camera:
- Power Connection: Connect the provided power adapter to the camera's power input. Ensure the connection is secure.
- Network Connection (Optional Wired): If using a wired connection, connect the network cable to the camera's RJ45 port and to your router.
- Download App: Download the 'CamHiPro' app from your smartphone's app store (available for iOS and Android).
- Add Device: Open the app and select 'Add Camera'. Choose 'IP Camera' and then 'New device'.
- Scan QR Code: Power on the camera. Once the camera is powered on and ready, use the app to scan the QR code located on the camera body.
- Connect to Wi-Fi: The app will prompt you to connect to the camera's Wi-Fi network (e.g., "IPCAM-XXXXXX"). Join this network.
- Configure Wireless: Enter your home Wi-Fi network name and password in the app. Ensure your Wi-Fi name and password do not contain special characters like @, #, or -. The camera does not support 5G Wi-Fi networks.
- Name Camera: Once connected, give your camera a descriptive name (e.g., "Living Room Camera").


Setup Video Guide
For a visual walkthrough of the setup process, please refer to the official video below:
Official video demonstrating the setup and initial configuration of the ICAMI WiFi Dome Camera using the mobile application.
5. Operating Instructions
Remote Viewing
Access your camera's live feed from anywhere using the CamHiPro app on your smartphone (iPhone, Android), tablet, or PC. The app allows for multi-platform viewing, ensuring you can monitor your property at all times.

Motion Detection and Alerts
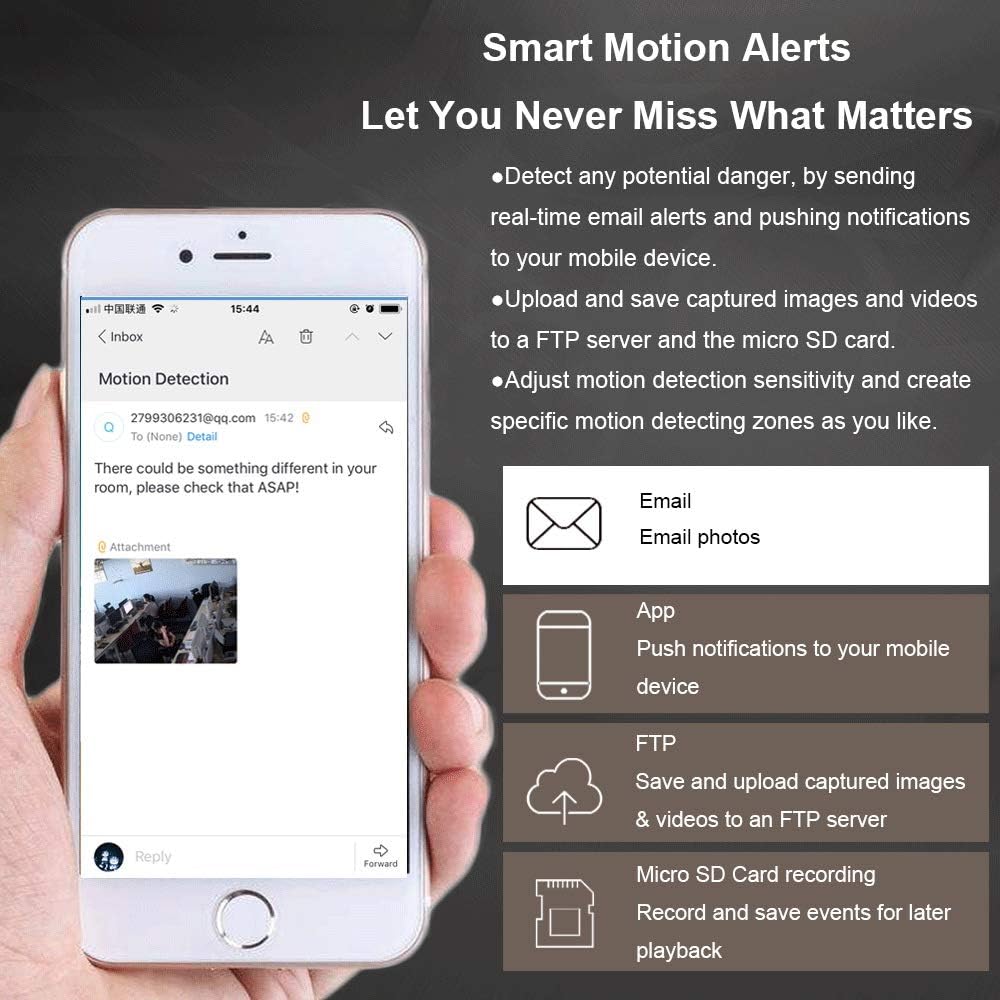
The camera features smart motion detection. When motion is detected, the camera can send real-time email alerts and push notifications to your mobile device. You can also adjust motion detection sensitivity and create specific detection zones within the app.
Recording and Storage
The camera supports local storage via a built-in micro SD card slot (max 64GB). Recorded events can be saved to the SD card for later playback. Additionally, captured images and videos can be uploaded and saved to an FTP server.

6. Maintenance
- Cleaning: Regularly wipe the camera lens and body with a soft, dry cloth to remove dust and smudges. Do not use harsh chemicals or abrasive cleaners.
- Environmental Considerations: While designed for outdoor use (IP65 rated), extreme cold weather conditions (below 0°C) may affect the performance of the IR LEDs over time. Ensure proper placement to minimize exposure to severe elements.
- Firmware Updates: Check the CamHiPro app periodically for any available firmware updates to ensure optimal performance and security.

7. Troubleshooting
- Camera Not Connecting to Wi-Fi:
- Ensure your Wi-Fi network is 2.4GHz, as the camera does not support 5G networks.
- Verify that your Wi-Fi name and password do not contain special characters (e.g., @, #, -).
- If connecting to a hotspot and the first attempt fails, try 2-3 more times as it can be affected by the Wi-Fi environment. - No Zoom, Pan, or Tilt Functionality:
- This model does NOT provide zoom, pan, or tilt functionality. It is a fixed-position dome camera. - IR LED Failure:
- If the infrared (IR) night vision LEDs stop working, especially after exposure to cold weather, this may indicate a component failure. Contact customer support for assistance. - App Issues:
- If the app frequently fails or requires rescanning the camera, ensure the app is updated to the latest version. Try restarting the app or your smartphone. - "Wireless" but Needs Power:
- The term "wireless" refers to the data transmission (Wi-Fi). The camera still requires a constant power source via the included power adapter.
8. Specifications
| Feature | Detail |
|---|---|
| Model Number | DQ401 |
| Image Sensor | 1/4" CMOS (1 megapixel) HD sensor |
| Display Resolution | 720p (1280*720 Pixels) |
| Lens | 3.6mm (F:1.4) |
| Night Visibility | Φ5mm 15 IR LEDs, up to 10m |
| Connectivity | Wi-Fi (2.4GHz), Ethernet |
| Power Source | Corded Electric (DC 12V1.0A) |
| Storage | Micro SD Card (Max 64GB) |
| Operating System Support | iOS, Android, PC (IE, Chrome, Firefox) |
| Form Factor | Dome |
| Material | Metal |
| Dimensions (L x W x H) | 4.33 x 5.51 x 5.43 inches |
| Weight | 1.1 pounds (500 Grams) |
| IP Rating | IP65 |

9. Warranty and Support
For any questions regarding your ICAMI HD Security Camera, please feel free to contact our customer support. While specific warranty details are not provided in this manual, general product support is available to assist with any inquiries or issues you may encounter.
Ask a question about this manual
Ask about setup, troubleshooting, compatibility, parts, safety, or missing instructions. Manuals+ will review the question and use this page’s manual context to help answer it.