
TMEZON MZ-CA-BAH3620HV-8P-U
TMEZON 8 Pack HD AHD/CVI/TVI/960H Bullet Security Camera User Manual
Model: MZ-CA-BAH3620HV-8P-U
1. Introduction
This manual provides comprehensive instructions for the installation, operation, and maintenance of your TMEZON 8 Pack HD AHD/CVI/TVI/960H Bullet Security Camera system. Please read this manual thoroughly before using the product to ensure proper setup and optimal performance. Keep this manual for future reference.
2. Product Overview
The TMEZON Bullet Security Camera is designed for robust surveillance, offering high-definition video capture for both indoor and outdoor environments. Its versatile compatibility with AHD, TVI, CVI, and CVBS formats makes it suitable for various existing CCTV systems.

Figure 2.1: TMEZON 8 Pack HD Bullet Security Cameras.
This image displays the eight white bullet-style security cameras included in the pack, showcasing their sleek design and compact form factor, ready for installation.

Figure 2.2: Single TMEZON Bullet Security Camera.
This image presents a single TMEZON bullet security camera from an angled perspective, highlighting its white metal casing and adjustable mounting bracket.
3. Key Features
- Crystal Clear 1080p Footage: Captures high-definition 2.0MP video, ensuring clear and detailed surveillance.
- Powerful 4-IN-1 Compatibility: Supports AHD, TVI, CVI, and CVBS video output, making it compatible with a wide range of DVRs. The default output is AHD.
- 100 ft IR Night Vision: Equipped with premium IR LEDs for automatic activation in low-light conditions, providing clear black and white vision up to 100 feet.
- IP67 Weatherproof & Dustproof: Built with a durable housing to withstand harsh weather conditions, protecting against dust and water ingress. Operates effectively in temperatures from -4 °F to 122 °F.
- Easy to Install and Operate: Features an adjustable 3-axis stand for flexible positioning and easy angle adjustment.
- Wide Angle 2.8mm Lens: Provides a broad field of view for comprehensive area coverage.
4. Package Contents
Verify that all items are present and in good condition upon unpacking.
- 8 x TMEZON HD AHD/CVI/TVI/960H Bullet Security Cameras
- Mounting Screws and Plugs (for each camera)
- User Manual (this document)
- Power Adapters (CE/FCC certified)
5. Setup and Installation
5.1 Camera Components

Figure 5.1: Camera Cable Connections.
This diagram illustrates the key connections on the camera's cable: the BNC Video Output for connecting to a DVR, the 12V DC Power Port for power supply, and the OSD Button for accessing the On-Screen Display menu and switching video modes.
5.2 Video Mode Switching
The camera supports AHD, TVI, CVI, and CVBS video formats. The default mode is AHD. If your DVR system uses TVI, CVI, or CVBS, you must adjust the camera to the corresponding mode using the OSD button. Failure to do so may result in no image or poor image quality.

Figure 5.2: 4-in-1 Video Mode Switching Guide.
This image provides a visual guide on how to switch the camera's video output mode. Pressing the OSD button in different directions for 5 seconds allows you to select between AHD (default), TVI, CVI, and CVBS (960H) analog modes.
- Switch from AHD (Default): Press Leftward for 5 Seconds.
- Switch from TVI: Press Rightward for 5 Seconds.
- CVI Mode Switch from CVI: Press Downward for 5 Seconds.
- Analog Mode Switch from CVBS (960H): Press Upward for 5 Seconds.
5.3 DVR Compatibility
Your DVR must support up to 1080N or higher resolution for optimal performance with these 1080P cameras. Refer to the diagram below for compatibility.

Figure 5.3: HD 1080P 4-in-1 Security Camera DVR Compatibility.
This image illustrates that the 1080P camera is compatible with AHD, TVI, CVI, and CVBS DVRs that support 1080N or higher resolution. It explicitly shows that 720P or 960P TVI/CVI/AHD DVRs will not display an image.
5.4 Mounting the Camera
The camera features an adjustable 3-axis stand for flexible mounting on walls or ceilings. Ensure the mounting surface is strong enough to support the camera's weight.
- Choose a suitable location for optimal surveillance coverage.
- Use the camera base as a template to mark drilling points on the mounting surface.
- Drill pilot holes and insert the provided wall plugs if necessary.
- Secure the camera base to the surface using the mounting screws.
- Adjust the camera angle using the 3-axis stand to achieve the desired field of view. The camera allows for 90-degree rotation.

Figure 5.4: Camera Dimensions and Rotation.
This image provides key dimensions of the camera (approximately 20 cm long, 6.5 cm high) and highlights its 90-degree rotation capability for flexible mounting. It also indicates the presence of a BNC cable for connection.
5.5 Connecting the Camera
- Connect the BNC video output cable from the camera to the corresponding video input port on your DVR.
- Connect the 12V DC power adapter to the camera's power port and then plug the adapter into a power outlet.
- Ensure all connections are secure.
6. Operating the Camera System
6.1 Day and Night Vision
The camera automatically switches between day (color) and night (black and white infrared) vision modes based on ambient light conditions. The hidden infrared light ensures clear imaging even in complete darkness.

Figure 6.1: Hidden Infrared Light Panel.
This close-up image highlights the infrared enhancement panel integrated into the camera's design, which makes the infrared effect more prominent and ensures a uniform image without vignetting during night vision.
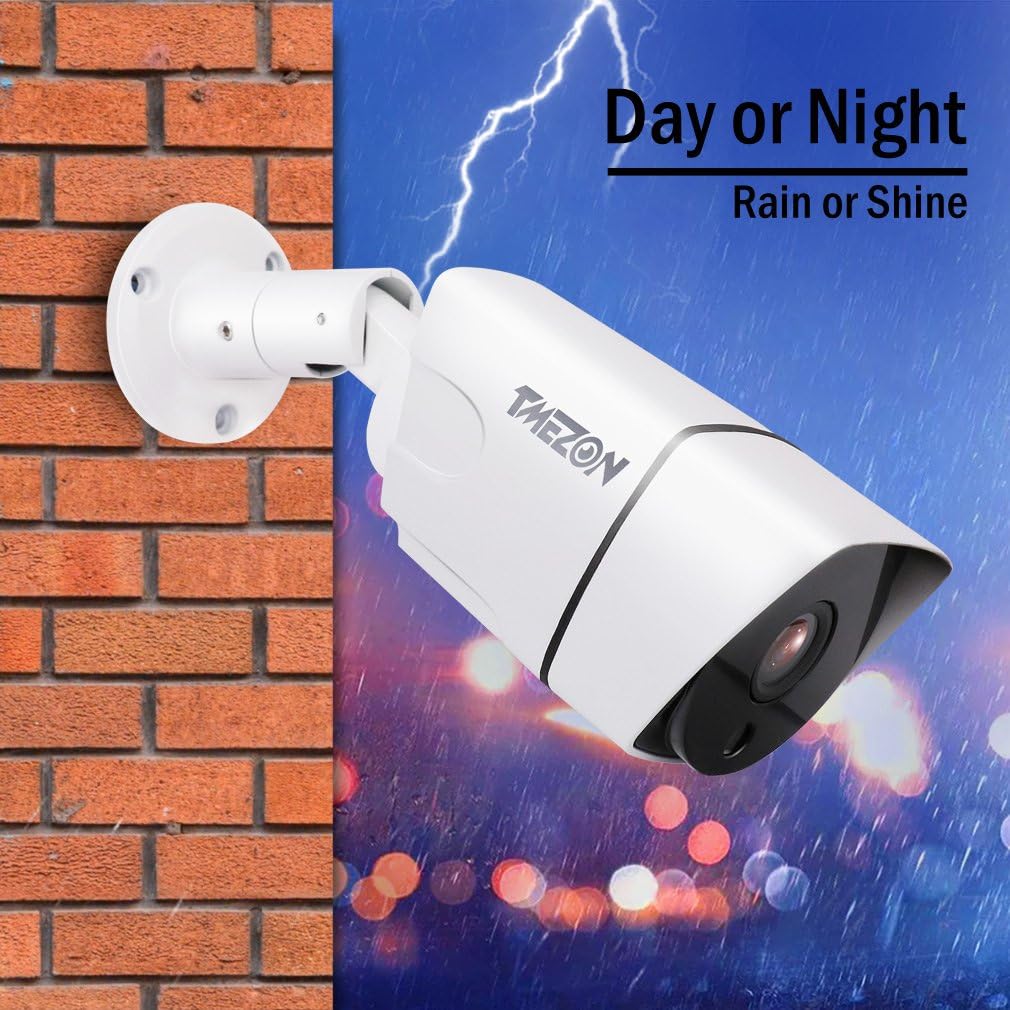
Figure 6.2: All-Weather Performance.
This image depicts the TMEZON camera mounted on an outdoor wall, with a stormy sky and rain effects, emphasizing its "Day or Night, Rain or Shine" weatherproof and dustproof capabilities.
6.2 Remote Access
While these cameras are wired, they integrate with a DVR system that typically offers remote access capabilities. Consult your DVR's manual for instructions on setting up remote viewing via smartphone, tablet, or PC.

Figure 6.3: Remote Access Capabilities.
This image illustrates the various devices through which the security system can be accessed remotely, including smartphones, tablets, PCs, and HD monitors, enabling monitoring from anywhere at any time.
7. Maintenance
- Cleaning: Gently wipe the camera lens and housing with a soft, damp cloth. Do not use harsh chemicals or abrasive cleaners.
- Cable Inspection: Periodically check all cables for signs of wear, damage, or loose connections.
- Firmware Updates: If your DVR system supports camera firmware updates, refer to your DVR manual for instructions.
- Environmental Protection: Although weatherproof, ensure the camera is not submerged in water or exposed to extreme physical impact.
8. Troubleshooting
| Problem | Possible Cause | Solution |
|---|---|---|
| No image on screen | Incorrect video mode; Loose cable connection; DVR incompatibility; No power. |
|
| Fuzzy or distorted image | Incorrect video mode; Dirty lens; Cable interference; IR lens cover issue (as per review). |
|
| Night vision not working | Insufficient power; IR LEDs malfunction; Obstruction. |
|
| Camera not powering on | Power adapter issue; Cable damage. |
|
9. Specifications
| Model Number | MZ-CA-BAH3620HV-8P-U |
| Video Capture Resolution | 1080p (2.0 MP) |
| Video Output Modes | AHD / TVI / CVI / CVBS (960H) |
| Lens | 2.8mm Wide Angle |
| Night Vision Range | Up to 100 feet (36 IR LEDs) |
| Material | Metal |
| Color | White |
| Weather Resistance | IP67 Waterproof & Dustproof |
| Operating Temperature | -4 °F to 122 °F (-20 °C to 50 °C) |
| Power Source | 12V DC (Power adapter included) |
| Optical Zoom | 3x (as per product specifications) |
| Item Weight | 8.53 pounds (for the 8-pack) |
| Package Dimensions | 17 x 9.25 x 9 inches |
10. Warranty and Support
TMEZON products are designed for reliability and performance. For warranty information and technical support, please refer to the contact details provided with your purchase documentation or visit the official TMEZON website. For common issues, please consult the troubleshooting section of this manual.
Manufacturer: TMEZON
Date First Available: January 1, 2016
Ask a question about this manual
Ask about setup, troubleshooting, compatibility, parts, safety, or missing instructions. Manuals+ will review the question and use this page’s manual context to help answer it.