
Magic Chef HNIM27ST
Magic Chef Countertop Ice Maker User Manual
Model: HNIM27ST | Brand: Magic Chef
1. Introduction and Overview
Thank you for choosing the Magic Chef Countertop Ice Maker. This appliance is designed to provide a convenient and efficient way to produce ice in your home or office. With its compact design and robust ice production capabilities, it is an ideal solution for your ice needs.
This ice maker is capable of producing up to 27 pounds of ice per day, making it suitable for various occasions. Please read this manual thoroughly before operating your new ice maker to ensure safe and optimal performance.

Figure 1.1: Front view of the Magic Chef Countertop Ice Maker.
2. Important Safety Information
To reduce the risk of fire, electric shock, or injury when using your ice maker, follow these basic precautions:
- Read all instructions before using the appliance.
- Do not touch the evaporator or ice basket when the unit is operating.
- Do not immerse the appliance, power cord, or plug in water or other liquids.
- Close supervision is necessary when any appliance is used by or near children.
- Unplug from the outlet when not in use and before cleaning.
- Do not operate any appliance with a damaged cord or plug, or after the appliance malfunctions or has been damaged in any manner.
- Do not use outdoors.
- Do not let the cord hang over the edge of a table or counter, or touch hot surfaces.
- Do not place on or near a hot gas or electric burner, or in a heated oven.
- Ensure proper ventilation around the unit. Maintain at least 6 inches of clearance from walls and other objects.
- Use only potable water for ice production.
3. Package Contents
Please check the contents of your package. If any items are missing or damaged, contact customer support immediately.
- Magic Chef Countertop Ice Maker (Model: HNIM27ST)
- Ice Scoop
- User Manual (this document)
4. Setup
4.1 Unpacking
- Carefully remove the ice maker from its packaging.
- Remove all packing materials, including foam and tape.
- Inspect the unit for any signs of damage. If damaged, do not operate and contact customer service.
4.2 Placement
Choose a suitable location for your ice maker:
- Place the unit on a flat, stable, and level surface.
- Ensure there is adequate ventilation around the unit. Leave at least 6 inches (15 cm) of space on all sides for proper air circulation.
- Avoid placing the unit near heat sources (e.g., ovens, radiators) or in direct sunlight.
- Do not place the unit in an enclosed cabinet or small, unventilated area.
4.3 Initial Cleaning
Before first use, clean the ice maker:
- Open the lid and remove the ice basket.
- Clean the interior with a soft cloth dampened with warm water and a mild detergent.
- Rinse thoroughly with clean water and drain any remaining water.
- Wipe the exterior with a soft, damp cloth.
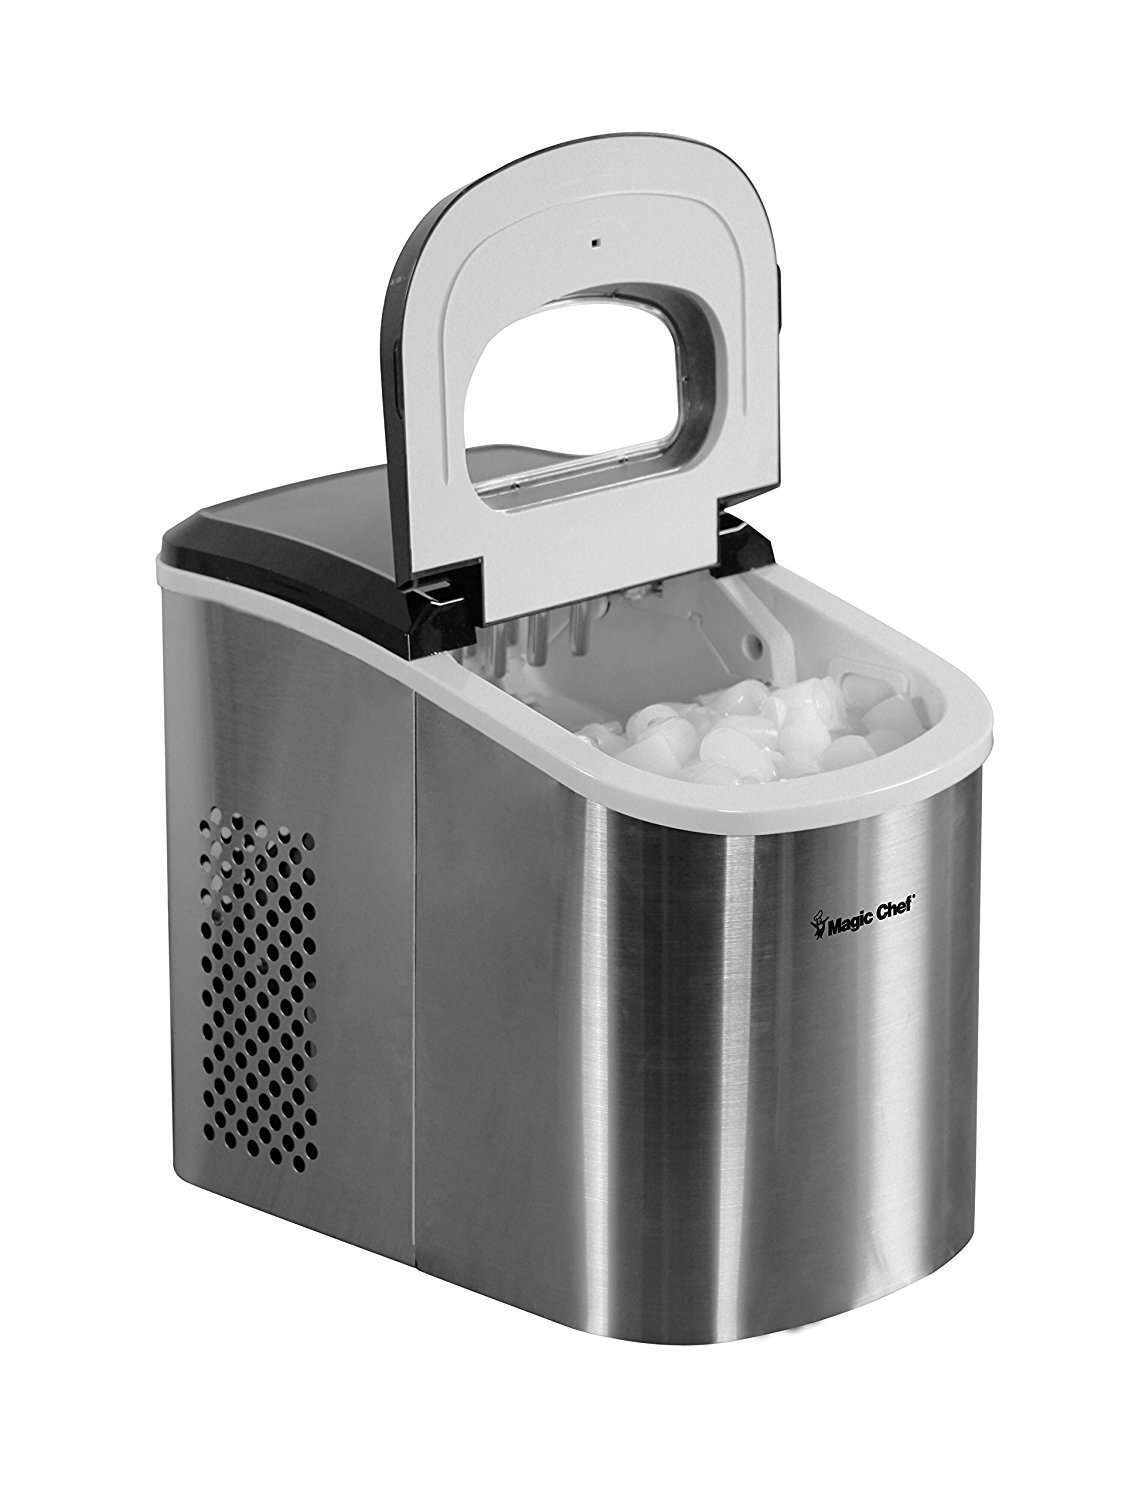
Figure 4.1: Side view of the ice maker with the lid open, showing the internal components.
5. Operating Instructions
5.1 Filling the Water Reservoir
- Open the lid of the ice maker.
- Remove the ice basket.
- Fill the water reservoir with potable water up to the MAX fill line. Do not overfill.
- Replace the ice basket and close the lid.
5.2 Starting Ice Production
- Plug the power cord into a grounded electrical outlet (120V).
- Press the ON/OFF button on the control panel. The unit will begin the ice-making cycle.
- The first batch of ice may take slightly longer to produce (approximately 6-13 minutes). Subsequent cycles will be faster.
5.3 Control Panel Indicators

Figure 5.1: Top view of the ice maker showing the control panel.
- ADD WATER indicator: Illuminates when the water reservoir needs refilling. The unit will pause ice production until water is added.
- ICE FULL indicator: Illuminates when the ice basket is full. The unit will automatically stop ice production. Remove ice to resume.
- ON/OFF button: Powers the unit on or off.
- SELECT button: Allows you to choose between small and large ice cube sizes.
5.4 Harvesting Ice
When the ICE FULL indicator lights up, the ice basket is full. Open the lid and use the provided ice scoop to remove the ice. The unit will automatically resume ice production once ice is removed and the sensor is clear.

Figure 5.2: Top view of the ice maker with the lid open, showing ice cubes in the basket.
6. Maintenance and Cleaning
Regular cleaning and maintenance will ensure the longevity and optimal performance of your ice maker.
6.1 Daily Cleaning
- After each use, drain any remaining water from the reservoir.
- Wipe the interior and exterior with a soft, damp cloth.
- Dry thoroughly before storing.
6.2 Weekly Cleaning (or as needed)
- Unplug the ice maker from the power outlet.
- Remove the ice basket.
- Prepare a solution of warm water and a small amount of mild dish soap.
- Clean the water reservoir, ice basket, and ice scoop with the solution. Use a soft brush for hard-to-reach areas.
- Rinse all components thoroughly with clean water.
- Drain the unit completely.
- Wipe all surfaces dry with a clean cloth.
6.3 Descaling (Monthly or Bi-Monthly)
Mineral deposits from water can build up over time. To descale:
- Mix a solution of water and vinegar (1:1 ratio) or a commercial descaling agent according to product instructions.
- Pour the solution into the water reservoir.
- Run the ice maker for a few cycles (without consuming the ice) to circulate the solution.
- Drain the solution completely.
- Rinse the reservoir thoroughly with clean water multiple times to remove any residue or vinegar smell.
- Run a few cycles with clean water and discard the ice to ensure no descaling agent remains.
6.4 Storage
If the ice maker will not be used for an extended period:
- Perform a thorough cleaning and descaling.
- Ensure the unit is completely dry inside and out.
- Store in a cool, dry place, away from direct sunlight and extreme temperatures.
7. Troubleshooting
Before contacting customer service, please refer to the following troubleshooting guide:
| Problem | Possible Cause | Solution |
|---|---|---|
| Ice maker not working | No power; Unit is unplugged; Power outage. | Check power cord connection; Check circuit breaker; Try a different outlet. |
| "ADD WATER" light is on | Water reservoir is empty or below minimum level. | Add potable water to the reservoir up to the MAX fill line. |
| "ICE FULL" light is on | Ice basket is full; Ice is blocking the sensor. | Remove ice from the basket; Rearrange ice to clear the sensor. |
| Ice cubes are too small or not forming | Water temperature is too high; Ambient temperature is too high; Insufficient water. | Use colder water; Ensure unit is in a cool, well-ventilated area; Ensure water level is sufficient. |
| Unit is noisy | Normal operation sounds (compressor, water pump); Unit not level. | Ensure unit is on a flat, stable surface; Some noise is normal during operation. |
8. Specifications
| Brand | Magic Chef |
| Model Name | Countertop Ice Maker |
| Manufacturer Reference | HNIM27ST |
| Capacity | 27 Pounds (daily production) |
| Product Dimensions | 38.1 x 24.13 x 30.73 cm (15 x 9.5 x 12.1 inches) |
| Item Weight | 9.16 kg (20.19 lbs) |
| Voltage | 120 Volts |
| Material | Stainless Steel |
| ASIN | B074TK4NXG |
| UPC | 665679006052 |
| First Available Date | August 15, 2017 |
9. Warranty and Support
This Magic Chef ice maker is covered by a limited warranty. Please refer to the warranty card included with your purchase for specific terms and conditions, including warranty period and coverage details.
For technical support, troubleshooting assistance, or to inquire about warranty claims, please contact Magic Chef customer service. Contact information can typically be found on the manufacturer's website or on the product packaging.
Please have your model number (HNIM27ST) and proof of purchase ready when contacting support.
Related documentsHNIM27ST


Ask a question about this manual
Ask about setup, troubleshooting, compatibility, parts, safety, or missing instructions. Manuals+ will review the question and use this page’s manual context to help answer it.