
1. Important Safety Information
Read and understand all safety warnings and instructions before operating this pressure washer. Failure to follow these instructions may result in electric shock, fire, and/or serious injury.
- Electrical Safety: Always connect the pressure washer to a grounded outlet. Do not use with ungrounded extension cords. The unit is equipped with a Ground Fault Circuit Interrupter (GFCI) plug for your safety. Test the GFCI before each use.
- High Pressure Hazard: The high-pressure spray can cause serious injury. Never direct the spray at people, pets, or electrical devices. Keep hands and face clear of the nozzle.
- Water Connection: Ensure all water connections are tight to prevent leaks. Use only clean water. Do not use hot water.
- Personal Protective Equipment: Wear safety glasses, hearing protection, and appropriate clothing to protect against spray and debris.
- Stability: Operate the pressure washer on a stable, level surface.

2. Product Overview
The Ryobi 1,600-PSI 1.2-GPM Electric Pressure Washer is designed for various cleaning tasks around the home. It features a compact design with integrated storage for accessories.

2.1 Key Features
- 1,600 PSI and 1.2 GPM: Provides effective cleaning power for various surfaces.
- Lightweight and Portable: Easy to move and store.
- On-board Storage: Conveniently stores nozzles and other accessories.
- Three Nozzles Included: 15° (yellow), Soap (blue), and Turbo for versatile cleaning.
- GFCI Protection: Integrated Ground Fault Circuit Interrupter for electrical safety.
2.2 Components
- Pressure Washer Unit
- High-Pressure Hose (25 feet)
- Spray Wand with Quick Connect Coupler
- 15° Nozzle (Yellow)
- Soap Nozzle (Blue)
- Turbo Nozzle
- GFCI Power Cord

3. Setup
Follow these steps to prepare your pressure washer for operation.
- Unpack Components: Remove all items from the packaging and ensure all components listed in Section 2.2 are present.
- Connect High-Pressure Hose: Attach one end of the high-pressure hose to the pressure washer's high-pressure outlet and the other end to the spray gun. Ensure connections are hand-tight.
- Attach Spray Wand: Connect the spray wand to the spray gun.
- Select and Attach Nozzle: Choose the desired nozzle (e.g., 15° for general cleaning) and insert it into the quick-connect coupler on the spray wand. Pull back the collar, insert the nozzle, and release the collar to secure it. Tug on the nozzle to ensure it is firmly seated.
- Connect Water Supply: Attach a standard garden hose (not included) to the water inlet on the pressure washer. Ensure the connection is tight to prevent leaks. Turn on the water supply fully.
- Purge Air from System: Before plugging in the unit, squeeze the trigger on the spray gun to allow water to flow through the system and expel any trapped air. Continue until a steady stream of water emerges from the nozzle.
- Connect Power: Plug the GFCI power cord into a grounded 120V AC electrical outlet. Press the 'RESET' button on the GFCI plug if necessary.
4. Operating Instructions
Once the unit is set up, follow these steps for safe and effective operation.
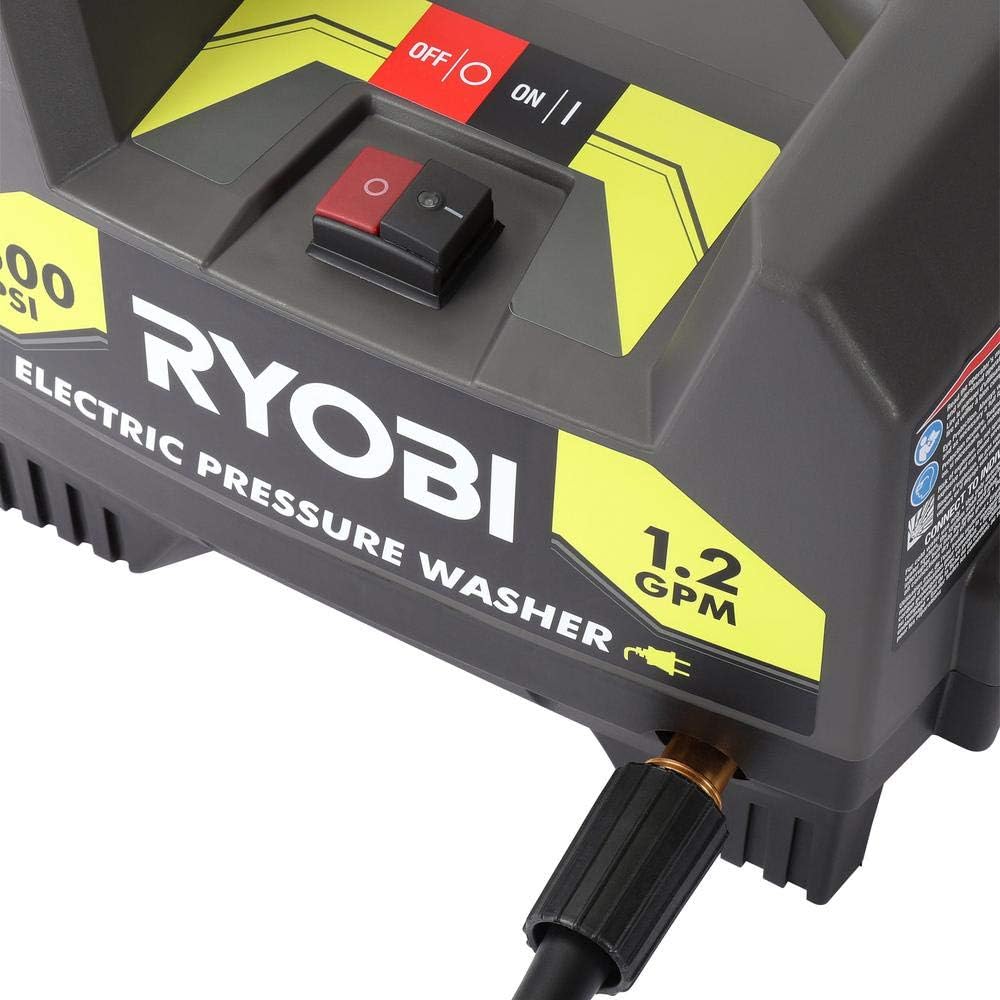
- Start the Pressure Washer: With the water supply on and the GFCI plugged in and reset, turn the pressure washer's ON/OFF switch to the 'ON' position. The motor will start.
- Begin Cleaning: Squeeze the trigger on the spray gun to start the high-pressure spray. Maintain a safe distance from the surface being cleaned, typically 6-12 inches, adjusting as needed.
- Changing Nozzles: To change nozzles, release the spray gun trigger and engage the safety lock. Pull back the quick-connect collar, remove the current nozzle, and insert the new nozzle. Release the collar and ensure it is secure.
- Using the Soap Nozzle: For applying detergent, attach the blue soap nozzle. The pressure washer will operate at a lower pressure, allowing it to draw detergent from an external container (if applicable, or use a separate foam cannon). Apply detergent to the surface, allow it to dwell, then switch to a high-pressure nozzle (e.g., 15° or Turbo) for rinsing.
- Shutting Down: When finished, turn the pressure washer's ON/OFF switch to the 'OFF' position. Turn off the water supply. Squeeze the spray gun trigger to release any remaining pressure in the system. Disconnect the garden hose and power cord.

5. Maintenance
Regular maintenance ensures optimal performance and extends the life of your pressure washer.
- Nozzle Cleaning: If a nozzle becomes clogged, use the included nozzle cleaning tool (or a small paper clip) to clear any debris from the nozzle opening. Rinse thoroughly.
- Water Inlet Filter: Periodically check the water inlet filter for debris. Clean or replace if necessary to prevent damage to the pump.
- Hose and Cord Inspection: Regularly inspect the high-pressure hose and power cord for any signs of damage, cuts, or wear. Replace damaged components immediately.
- Storage: Store the pressure washer in a dry, protected area where temperatures will not fall below freezing.
- Winterization: If storing in freezing temperatures, drain all water from the pump, hose, and spray gun. Consider using a pump protector solution to prevent internal damage.
6. Troubleshooting
Refer to this section for common issues and their solutions.
| Problem | Possible Cause | Solution |
|---|---|---|
| Motor does not start | No power to unit; GFCI tripped; ON/OFF switch off | Check power outlet; Reset GFCI; Turn ON/OFF switch to 'ON' |
| No pressure or low pressure | Water supply off or restricted; Air in pump; Clogged nozzle; Incorrect nozzle | Ensure water supply is fully open; Purge air from system; Clean nozzle; Use appropriate high-pressure nozzle |
| Water leaks | Loose connections; Damaged O-rings or seals | Tighten all connections; Inspect and replace damaged O-rings/seals |
| Motor runs continuously | Air in pump; Internal leak | Purge air from system; Contact customer support if issue persists |
7. Specifications
Technical specifications for the Ryobi 1,600-PSI 1.2-GPM Electric Pressure Washer.
| Specification | Value |
|---|---|
| Brand | RYOBI |
| Model Number | RY141612 |
| Power Source | Corded Electric |
| Maximum Pressure | 1,600 PSI |
| Maximum Flow Rate | 1.2 Gallons Per Minute (GPM) |
| Hose Length | 25 Feet |
| Product Dimensions (L x W x H) | 12.5" x 9.5" x 10" |
| Item Weight | 16.4 Pounds |
| UPC | 046396018373 |
8. Warranty and Support
This Ryobi product is covered by a manufacturer's warranty. Please refer to the warranty card included with your product for specific terms and conditions, including duration and coverage details.
For technical assistance, replacement parts, or warranty claims, please contact Ryobi customer support directly. Keep your purchase receipt and product model number (RY141612) readily available when contacting support.
You may also visit the official Ryobi website for additional resources, FAQs, and service center locations.


