
BLAZEVIDEO A252
BLAZEVIDEO Game & Trail Camera User Manual
Model: A252 | Brand: BLAZEVIDEO
1. Introduction
Thank you for choosing the BLAZEVIDEO Game & Trail Camera. This manual provides detailed instructions for setting up, operating, and maintaining your camera to ensure optimal performance. This camera is designed for capturing high-resolution photos and videos of wildlife, as well as for home surveillance and field monitoring. Its robust, waterproof design makes it suitable for various outdoor environments.
2. Safety Information
- Do not immerse the camera in water, despite its waterproof rating. It is designed to withstand rain and dust, not submersion.
- Use only recommended battery types (8*AA batteries). Do not mix old and new batteries, or different types of batteries.
- Ensure the battery compartment is securely closed to maintain waterproofing.
- Keep the camera away from extreme temperatures and direct sunlight for prolonged periods to prevent damage.
- Handle the SD card with care. Avoid touching the metal contacts.
- Do not attempt to disassemble or repair the camera yourself. Refer to qualified service personnel.
3. Package Contents
Please check the package contents to ensure all items are present:
- BLAZEVIDEO Game & Trail Camera (x2)
- Mounting Strap (x2)
- Mini USB Cable (x2)
- User Manual (x2)

Image: Included components of the BLAZEVIDEO Game & Trail Camera, including the camera body, strap, USB cable, and user manual.
4. Product Overview
Familiarize yourself with the main components of your BLAZEVIDEO Game & Trail Camera:

Image: Front view of two BLAZEVIDEO Game & Trail Cameras, showcasing their camouflage design and lens placement.
- Infrared LEDs: 36pcs 940nm no-glow LEDs for night vision.
- Lens: Captures 64MP photos and 1296P videos.
- PIR Sensor: Passive Infrared sensor for motion detection with a 0.3-second trigger speed.
- LCD Screen: 2.4-inch color screen for menu navigation and viewing media.
- Keypad: Buttons for menu control and settings adjustment.
- Battery Slot: Holds 8*AA batteries (not included).
- SD Card Slot: Supports up to 512GB SD cards (not included).
- Mini USB Port: For connecting to a computer.
- DC Port: For external power supply (6V/2A).
- Tripod Screw Mat: Standard UNC 1/4-20 thread for mounting.
5. Setup
5.1 Battery Installation
The camera operates on 8*AA batteries. For best performance and extended battery life, we recommend using high-quality alkaline or rechargeable AA batteries.
- Open the camera casing by unlatching the side clips.
- Locate the battery compartment.
- Insert 8*AA batteries, ensuring correct polarity (+/-) as indicated inside the compartment.
- Close the battery compartment cover and secure the side clips firmly to maintain the IP66 waterproof rating.
5.2 SD Card Installation
A Class 10 or higher SD card (up to 512GB) is required to store photos and videos.
- With the camera powered off, locate the SD card slot inside the camera casing.
- Insert the SD card with the metal contacts facing down until it clicks into place.
- To remove, gently push the SD card until it pops out.
5.3 Mounting the Camera
The camera can be mounted using the included strap or a tripod.
- Strap Mounting: Thread the provided strap through the slots on the back of the camera and secure it around a tree or pole. Adjust the strap for a firm fit.
- Tripod Mounting: Use the 1/4-20 threaded insert on the bottom of the camera to attach it to a tripod or other compatible mounting accessory.
Position the camera approximately 3-6 feet (1-2 meters) from the ground, aiming it towards the area you wish to monitor. Ensure there are no obstacles directly in front of the lens or PIR sensor.
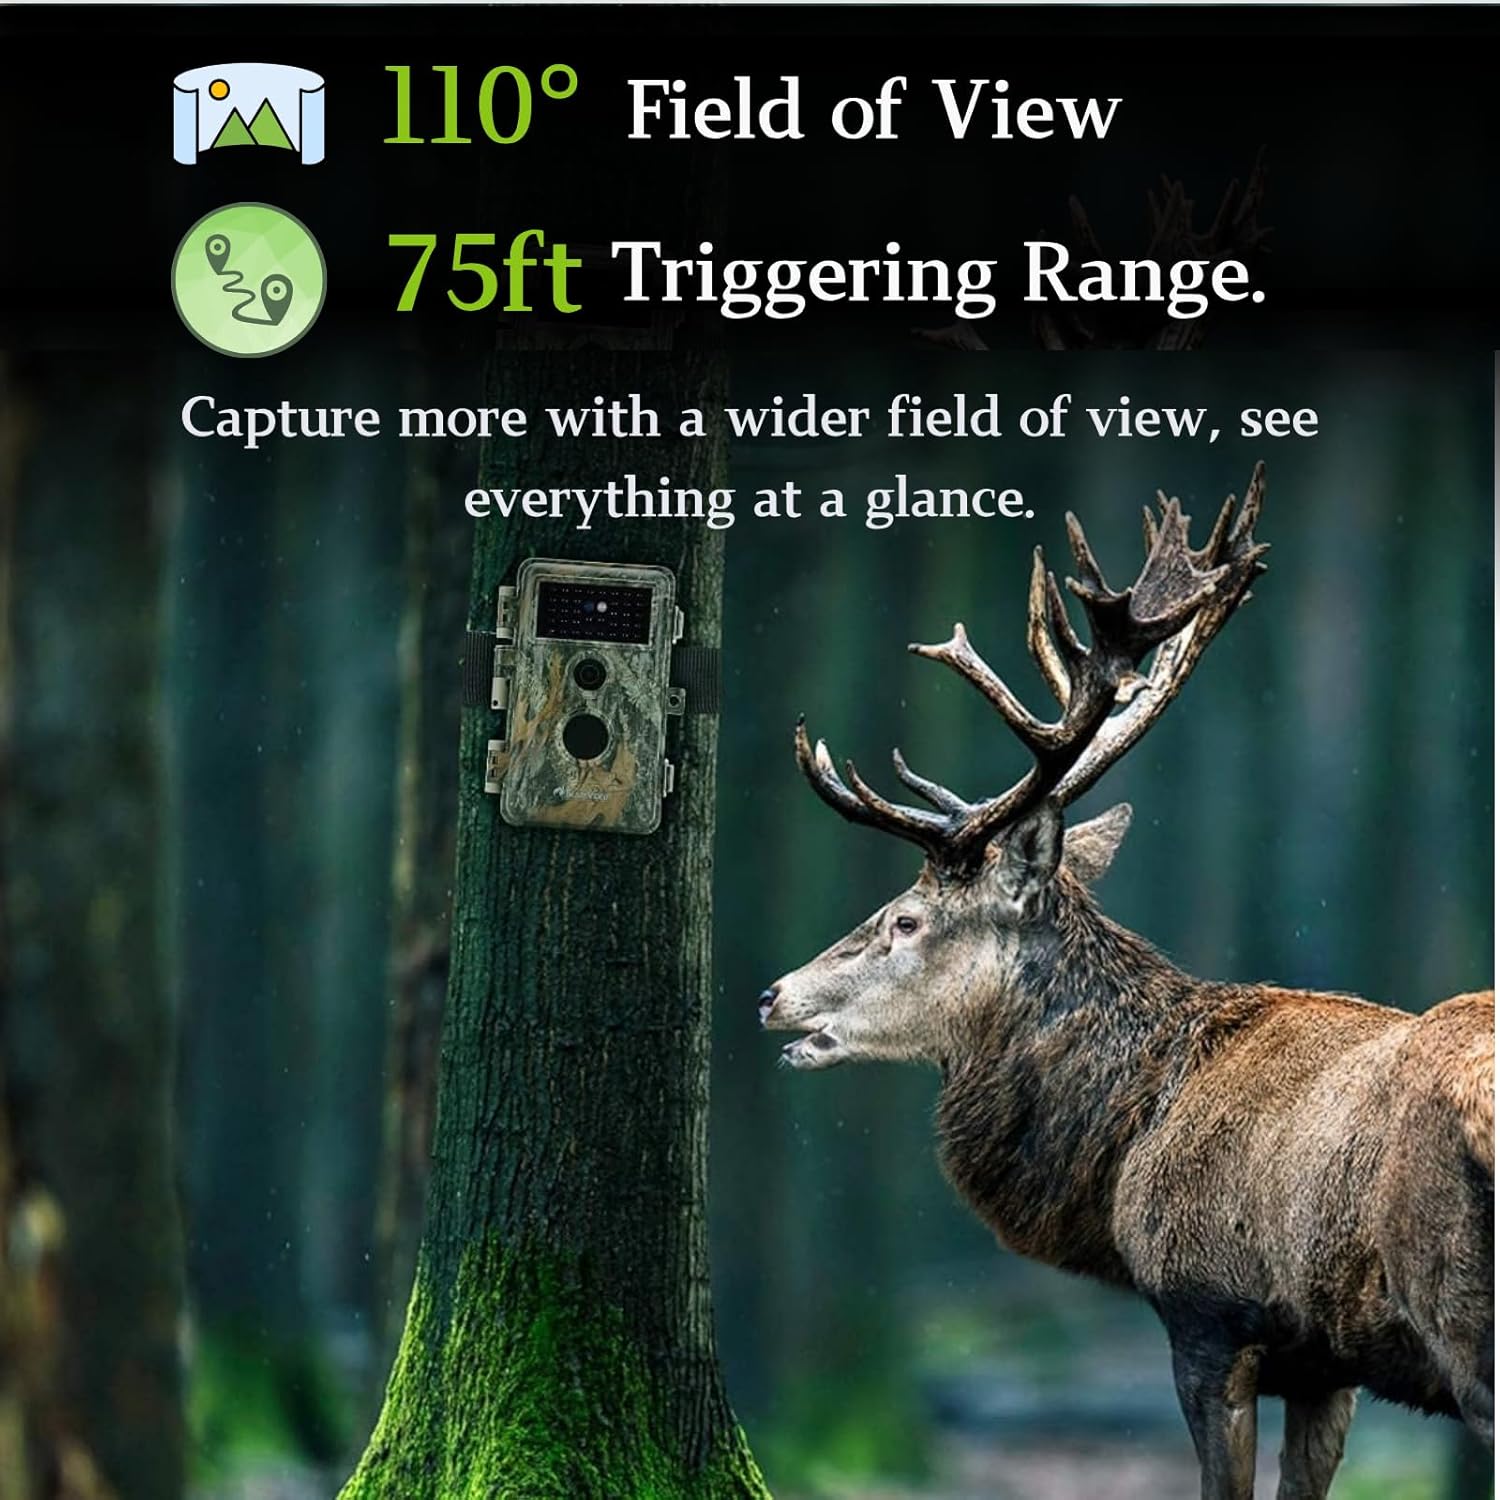
Image: A BLAZEVIDEO camera mounted on a tree, demonstrating its wide field of view and detection range in a natural setting.
6. Operating the Camera
6.1 Powering On/Off
To power on the camera, slide the power switch from "OFF" to "SETUP" mode. The LCD screen will light up, allowing you to access the menu. To begin recording, slide the switch to "ON" mode. The screen will turn off, and the camera will enter monitoring mode. To power off, slide the switch back to "OFF".
6.2 Menu Navigation
In "SETUP" mode, use the keypad buttons to navigate the menu:
- MENU: Enters/exits the main menu.
- UP/DOWN: Navigates through menu options.
- LEFT/RIGHT: Changes settings values.
- OK: Confirms selection or takes a manual photo/video.
6.3 Setting Capture Modes and Parameters
Access the menu to configure your camera's settings:
- Mode: Select between Photo, Video, or Photo+Video.
- Photo Resolution: Choose up to 64MP for high-quality images.
- Video Resolution: Select up to 1296P for clear video recordings. The camera uses H.264 MP4 format for efficient storage and easy sharing.
- PIR Interval: Set the delay between detections.
- Trigger Speed: The camera features a rapid 0.3-second trigger speed to capture fast-moving subjects.
- Night Vision: Equipped with 36pcs 940nm no-glow infrared LEDs, providing clear night vision up to 75 feet (23 meters) without disturbing wildlife.
- Time-Lapse: Enable time-lapse mode to capture images at set intervals, useful for observing slow processes like plant growth.
- Password Protection: Set a password to prevent unauthorized access to your camera's settings and captured media.
- Serial Number: Assign a unique serial number to each camera for easy identification, especially when using multiple units.

Image: Visual comparison demonstrating the clarity of 64MP high-resolution photos and 1296P Ultra HD video captured by the camera.
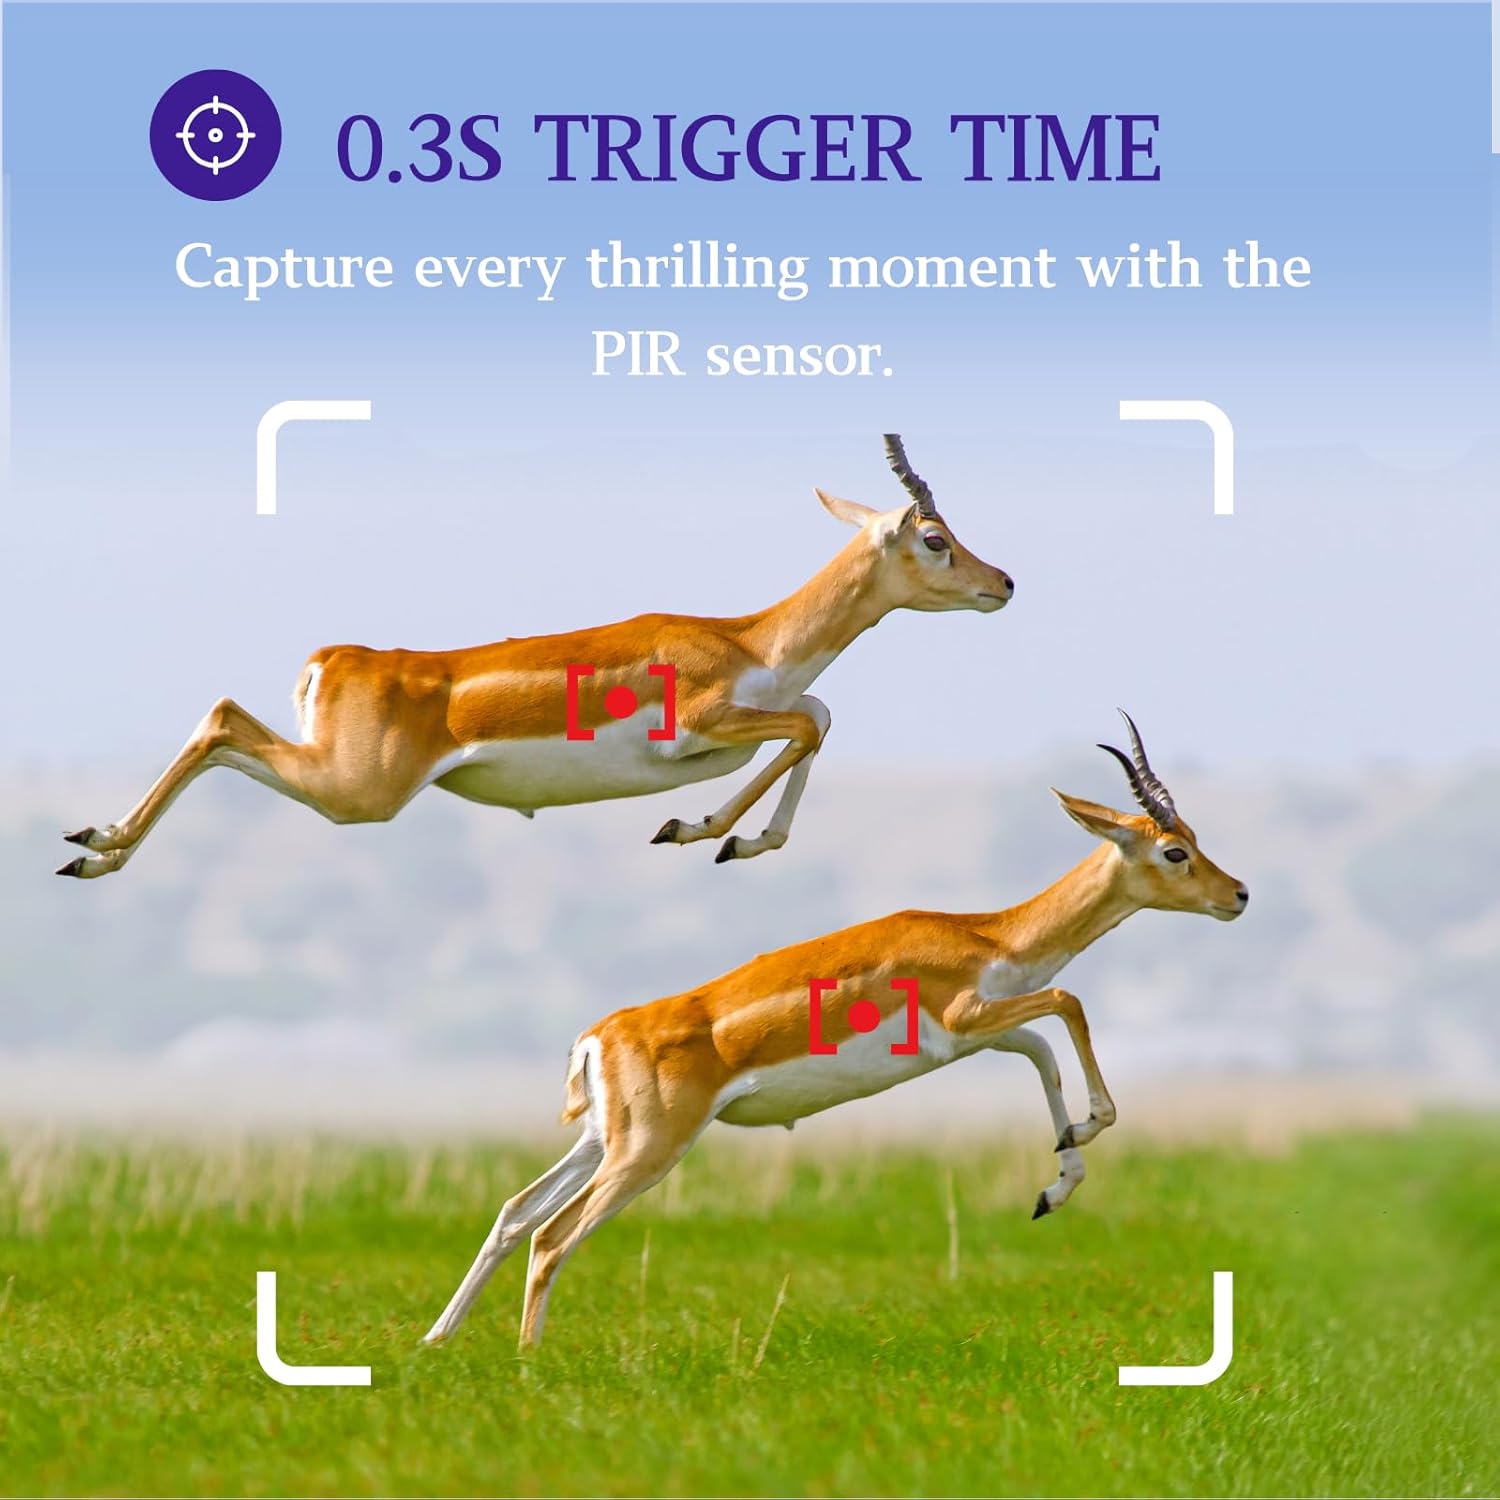
Image: Illustration of the camera's 0.3-second trigger time, designed to capture fast-moving subjects.
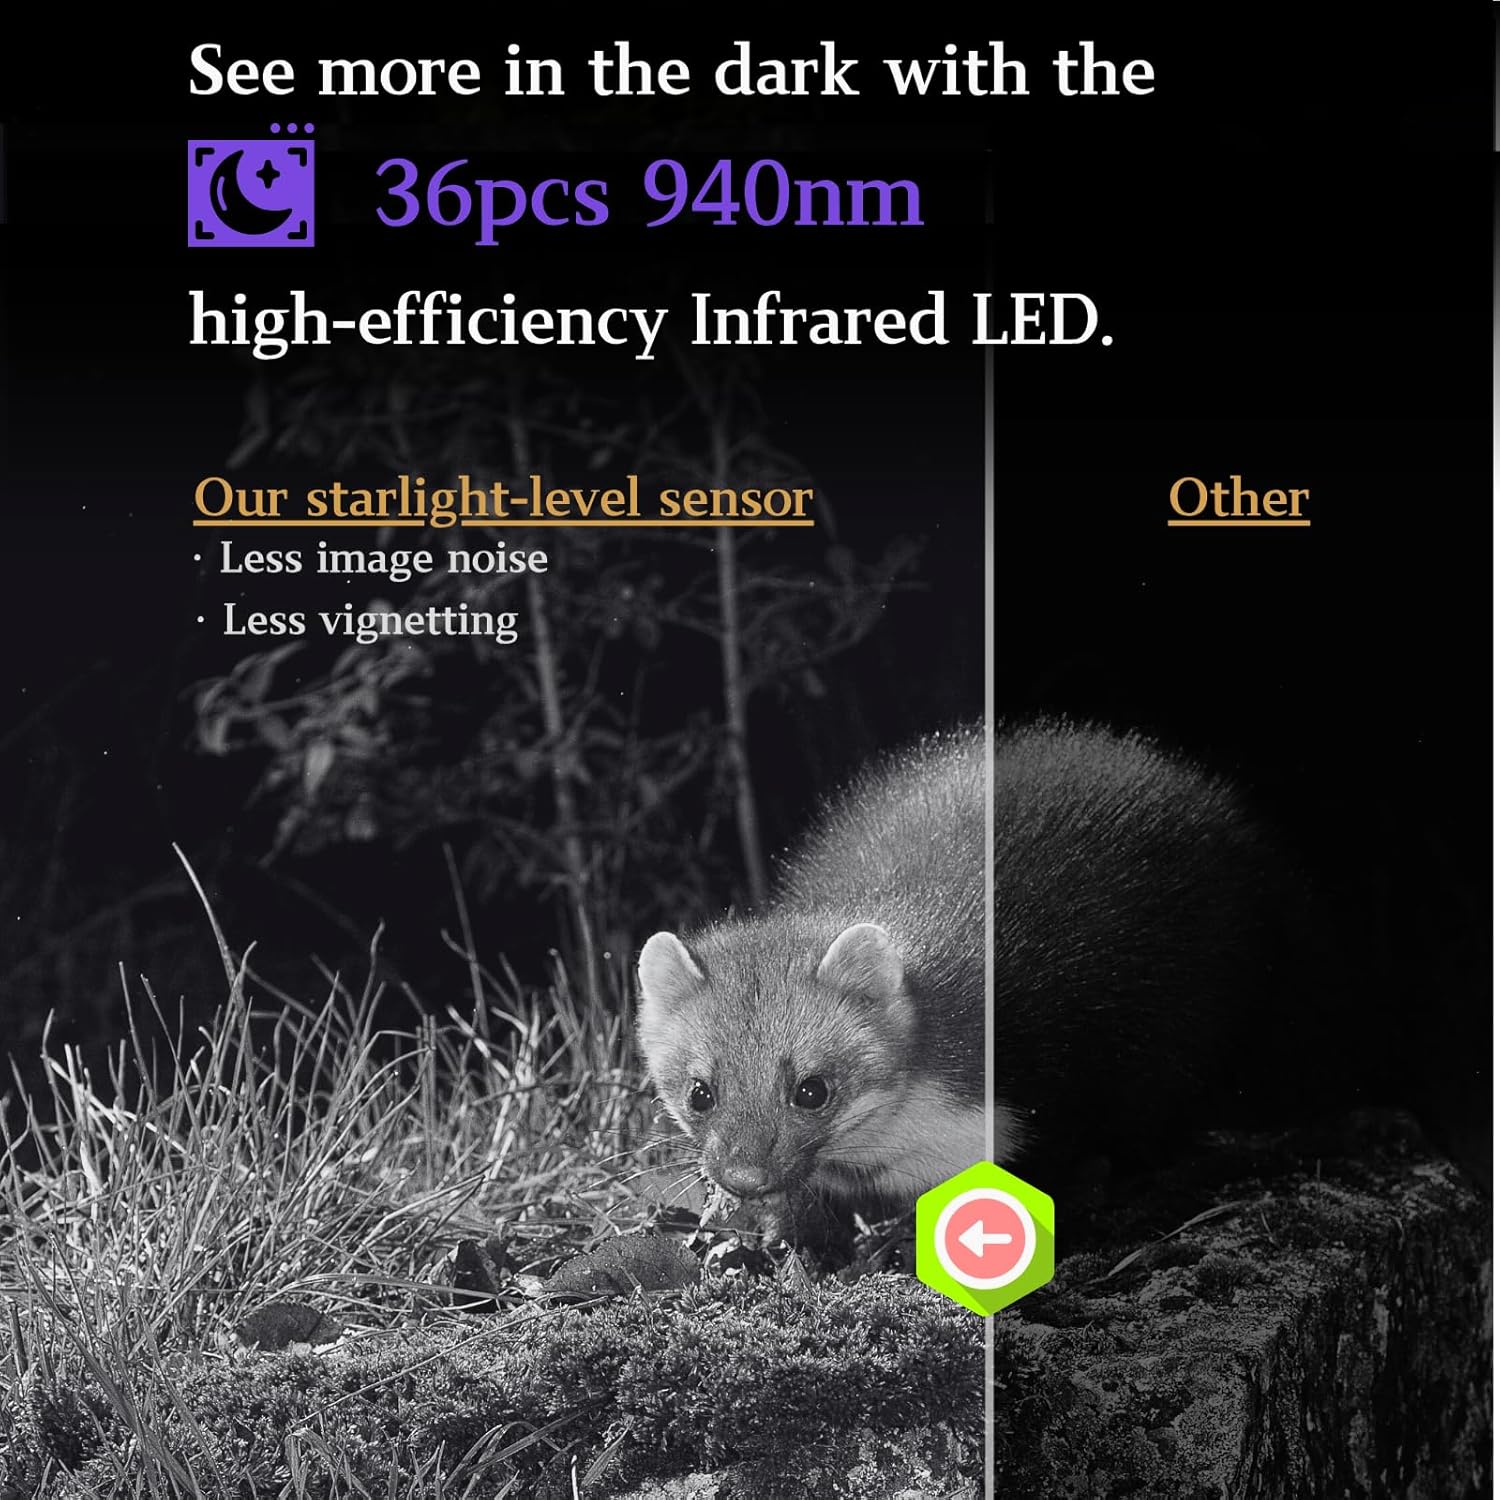
Image: Demonstrates the superior night vision capabilities using 36pcs 940nm high-efficiency Infrared LEDs.
6.4 Viewing Captured Media
You can view photos and videos directly on the camera's 2.4-inch LCD screen in "SETUP" mode. Use the navigation buttons to browse through files. For larger viewing, connect the camera to a computer using the Mini USB cable or insert the SD card directly into a card reader.
Video: Example footage captured by the BLAZEVIDEO Game Camera, showcasing its clear video capabilities in a natural environment with deer.
7. Maintenance
- Cleaning: Use a soft, dry cloth to clean the camera lens and body. Do not use abrasive cleaners or solvents.
- Battery Care: Remove batteries if the camera will not be used for an extended period to prevent leakage.
- SD Card Management: Regularly format your SD card in the camera's menu to ensure optimal performance and prevent data corruption. Back up important files before formatting.
- Waterproofing: Always ensure the battery compartment and all ports are securely sealed to maintain the IP66 waterproof rating, protecting against rain and dust.

Image: The camera demonstrating its IP66 waterproof and dustproof capabilities in a rainy outdoor setting.
8. Troubleshooting
| Problem | Possible Solution |
|---|---|
| Camera not powering on. | Check battery polarity, ensure batteries are fresh, or try an external power source. |
| Poor image/video quality at night. | Ensure the area is within the 75ft IR range. Check for obstructions in front of the IR LEDs. |
| Camera not detecting motion. | Adjust PIR sensitivity in settings. Ensure no heat sources or moving branches are triggering false alarms or blocking detection. |
| SD card error. | Format the SD card in the camera. Try a different SD card (Class 10 or higher, up to 512GB). |
| Short battery life. | Use high-quality alkaline or rechargeable batteries. Reduce video length or photo burst settings. |
9. Specifications
| Feature | Detail |
|---|---|
| Photo Resolution | Up to 64 MP |
| Video Resolution | 1296P (H.264 MP4) |
| Field of View | 110 Degrees |
| Trigger Speed | 0.3 seconds |
| Detection Range | 75 feet (23 meters) |
| Night Vision Range | 75 feet (23 meters) |
| IR LEDs | 36pcs 940nm No-Glow Infrared LEDs |
| Display Screen | 2.4-inch Color LCD |
| Storage | SD Card (up to 512GB, not included) |
| Power Source | 8*AA Batteries (not included) or 6V/2A DC external |
| Water Resistance | IP66 Waterproof |
| Dimensions (L x W x H) | 7.4 x 4.96 x 3.31 inches |
| Weight | 2 pounds |
10. Warranty and Support
BLAZEVIDEO provides a one-year free new replacement service for this product. For any questions, technical support, or warranty claims, please contact BLAZEVIDEO Official customer service. Refer to the contact information provided with your purchase or visit the official BLAZEVIDEO website.
You can also find additional resources and FAQs on the BLAZEVIDEO Store on Amazon.
Related documentsA252


Ask a question about this manual
Ask about setup, troubleshooting, compatibility, parts, safety, or missing instructions. Manuals+ will review the question and use this page’s manual context to help answer it.