
PRUNUS J-429
PRUNUS J-429 Portable Radio User Manual
Model: J-429
1. Introduction
Thank you for choosing the PRUNUS J-429 Portable Radio. This manual provides detailed instructions for the safe and efficient operation of your device. Please read this manual thoroughly before use and retain it for future reference.
The PRUNUS J-429 is a versatile portable radio featuring FM, AM (MW), and SW bands, along with MP3 playback capabilities via USB, SD, and TF card slots. Its compact design and user-friendly interface make it ideal for various listening environments.
2. Product Overview
2.1 Package Contents
- PRUNUS J-429 Portable Radio
- USB Charging Cable
- Rechargeable Lithium-Ion Battery (pre-installed or separate)
- User Manual (this document)
2.2 Device Layout and Controls
Familiarize yourself with the various parts and controls of your PRUNUS J-429 radio:

Figure 2.1: Front view of the PRUNUS J-429 Portable Radio, showing the speaker grille, digital display, numeric keypad, and control buttons.

Figure 2.2: Detailed view highlighting the large numeric buttons, scan/playback controls, and the charging indicator light near the DC5V port.
- ON/OFF Switch: Located on the top, slides to power the unit on or off.
- Telescopic Antenna: Extend for better radio reception.
- Digital Display: Shows frequency, mode, and track information.
- Numeric Keypad (0-9): For direct frequency input or track selection.
- KK (Previous/Rewind): Skips to the previous track or rewinds during playback.
- SCAN (Play/Pause): Initiates automatic station scanning in radio mode; plays/pauses in MP3 mode.
- >> (Next/Fast Forward): Skips to the next track or fast forwards during playback.
- O (Mode): Switches between FM, AM (MW), SW, USB, SD/TF, and AUX modes.
- M (Menu/Volume): Short press to cycle through modes; long press to enter volume adjustment.
- DC5V Port: For charging the internal battery using the provided USB cable.
- USB Port: For connecting USB flash drives for MP3 playback.
- SD/TF Card Slot: For inserting SD or TF (MicroSD) cards for MP3 playback.
- AUX Port (3.5mm): For connecting external audio devices.
3. Setup
3.1 Battery Installation and Charging
The PRUNUS J-429 comes with a rechargeable Lithium-Ion battery. Ensure the battery is properly installed before first use.
- Locate the battery compartment on the back of the radio.
- Insert the battery, ensuring the polarity matches the diagram inside the compartment.
- Close the battery compartment cover securely.
To charge the radio:
- Connect the small end of the provided USB charging cable to the DC5V port on the radio.
- Connect the standard USB end to a USB power adapter (e.g., phone charger, computer USB port) or a power bank.
- The charging indicator light (often near the DC5V port) will illuminate during charging and typically turn off or change color when fully charged.
- A full charge takes approximately 3-5 hours.
3.2 Initial Power On
Slide the ON/OFF switch on the top of the radio to the "ON" position. The digital display will light up, and the radio will typically start in the last used mode or default to FM radio.
4. Operating Instructions
4.1 Adjusting Volume
Press and hold the M button until the volume level appears on the display. Use the KK and >> buttons to increase or decrease the volume. Release the M button to set the volume.
4.2 Radio Mode (FM/AM/SW)
To switch between radio bands (FM, AM/MW, SW), short press the O (Mode) button until the desired band is displayed.

Figure 4.1: The PRUNUS J-429 radio displaying a frequency, illustrating its digital tuning capability.
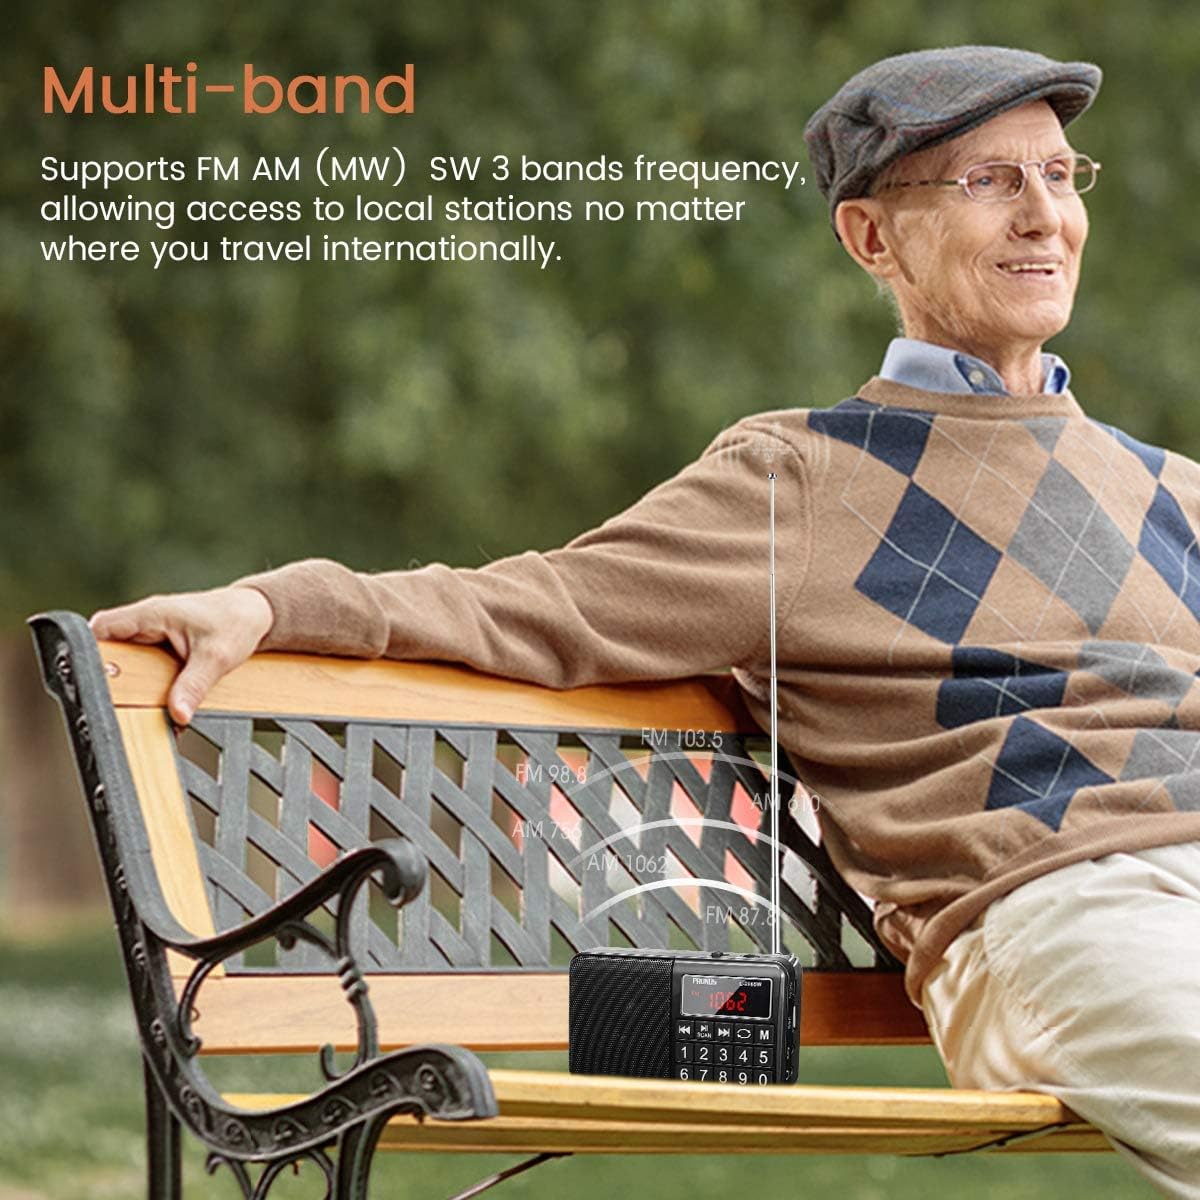
Figure 4.2: The radio with its telescopic antenna extended, demonstrating its multi-band reception capabilities for FM, AM (MW), and SW frequencies.
4.2.1 Automatic Scanning
In radio mode, press the SCAN button to initiate an automatic scan for available stations. The radio will scan and save all strong signals it finds. Once scanning is complete, you can use the KK and >> buttons to cycle through the saved stations.
4.2.2 Manual Tuning / Direct Frequency Input
To manually tune to a specific frequency or enter it directly:
- In radio mode, use the numeric keypad (0-9) to directly enter the desired frequency (e.g., 103.5 for FM 103.5 MHz).
- After entering the frequency, the radio will automatically tune to it.
- Alternatively, short press the KK or >> buttons to fine-tune the frequency step by step.
4.2.3 Antenna Usage
For optimal FM and SW reception, fully extend the telescopic antenna. For AM (MW) reception, the radio uses an internal ferrite bar antenna, so antenna extension is not necessary, but rotating the radio may improve reception.
4.3 MP3 Playback (USB/SD/TF)
The radio supports MP3 audio files from USB flash drives, SD cards, and TF (MicroSD) cards.
- Insert a USB flash drive into the USB port or an SD/TF card into the respective slot. Ensure the card is inserted correctly with the metal contacts facing down.
- Press the O (Mode) button until "USB" or "TF/SD" appears on the display. The radio will automatically begin playing the first MP3 file.
- Use the SCAN button to Play/Pause playback.
- Use the KK and >> buttons to skip to the previous or next track. Long press these buttons to fast forward or rewind.
- To select a specific track, use the numeric keypad to enter the track number.
4.4 Auxiliary Input (AUX)
To play audio from an external device (e.g., smartphone, MP3 player) through the radio's speaker:
- Connect one end of a 3.5mm audio cable (not included) to the AUX port on the radio.
- Connect the other end of the cable to the headphone jack or audio output of your external device.
- Press the O (Mode) button until "AUX" appears on the display.
- Control playback and volume from your external device.
5. Maintenance
Proper care and maintenance will ensure the longevity of your PRUNUS J-429 radio.
- Cleaning: Use a soft, dry cloth to clean the exterior of the radio. Do not use abrasive cleaners, waxes, or solvents.
- Battery Care: If the radio will not be used for an extended period, fully charge the battery and then store the radio in a cool, dry place. Recharge the battery every 3-6 months to maintain its health.
- Storage: Store the radio in a dry environment, away from direct sunlight, extreme temperatures, and high humidity.
- Antenna: Handle the telescopic antenna carefully to prevent bending or breaking. Retract it when not in use.
6. Troubleshooting
If you encounter issues with your PRUNUS J-429 radio, refer to the following common problems and solutions:
| Problem | Possible Cause | Solution |
|---|---|---|
| Radio does not power on. | Battery is depleted or not installed correctly. | Charge the battery. Ensure the battery is inserted with correct polarity. |
| Poor radio reception. | Antenna not extended; weak signal; interference. | Fully extend the telescopic antenna. Reposition the radio. Move away from electronic devices causing interference. |
| No sound from USB/SD/TF. | Incorrect mode; unsupported file format; corrupted media. | Ensure the radio is in USB/SD/TF mode. Verify files are in MP3 format. Try a different USB drive or SD card. |
| Buttons are unresponsive. | Temporary software glitch. | Turn the radio off and then on again. |
7. Specifications
| Feature | Specification |
|---|---|
| Brand | PRUNUS |
| Model | J-429 |
| Tuner Technology | AM, FM, SW |
| Speaker Output Power | 3 Watts |
| Power Source | Battery Powered (1 Lithium Ion battery included) |
| Voltage | 5 Volts (via USB charging) |
| Connectivity | USB, 3.5mm Audio (AUX) |
| Media Playback | MP3 from USB, SD, TF cards |
| Display Type | LCD or LED Digital Display |
| Dimensions (L x W x H) | 12.45 x 7.37 x 3.05 cm (approx. 4.9 x 2.9 x 1.2 inches) |
| Weight | 259.96 g (approx. 9.17 ounces) |
| Material | Plastic |
8. Safety Information
Please observe the following safety precautions to prevent damage to the device or injury to yourself:
- Do not expose the radio to water, rain, or excessive moisture.
- Avoid extreme temperatures, direct sunlight, and high humidity.
- Do not disassemble, modify, or attempt to repair the radio yourself. Refer all servicing to qualified personnel.
- Keep the radio away from strong magnetic fields.
- Use only the provided USB cable for charging.
- Dispose of batteries according to local regulations. Do not dispose of batteries in fire.
- Keep out of reach of children.
9. Warranty and Support
For information regarding warranty coverage and customer support, please refer to the documentation provided at the time of purchase or contact your retailer. PRUNUS is committed to providing quality products and support.
Related documentsJ-429


Ask a question about this manual
Ask about setup, troubleshooting, compatibility, parts, safety, or missing instructions. Manuals+ will review the question and use this page’s manual context to help answer it.