
AB BL26-30D
AB Plate Heat Exchanger Instruction Manual
Model: BL26-30D
Brand: AB
1. Introduction
This manual provides essential information for the installation, operation, and maintenance of your AB Plate Heat Exchanger, Model BL26-30D. This unit is designed for efficient heat transfer in various water-to-water applications, including domestic water heating, floor heating, and snow melting systems. Please read this manual thoroughly before installation and operation to ensure safe and optimal performance.
2. Safety Information
Always adhere to local codes and regulations during installation and operation. Failure to follow these guidelines may result in property damage, injury, or death.
- Ensure the system is depressurized and cooled before performing any maintenance or installation.
- Wear appropriate personal protective equipment (PPE), including gloves and eye protection.
- Verify all connections are secure and leak-free before pressurizing the system.
- Do not exceed the maximum operating pressure and temperature specified for the unit.
- Installation should be performed by a qualified professional if you are not experienced with plumbing and HVAC systems.
3. Product Overview
The AB BL26-30D Plate Heat Exchanger is a compact and highly efficient unit constructed from 316L stainless steel plates brazed with 99.9% copper. This design ensures durability, resistance to leakage, and excellent heat transfer capabilities.
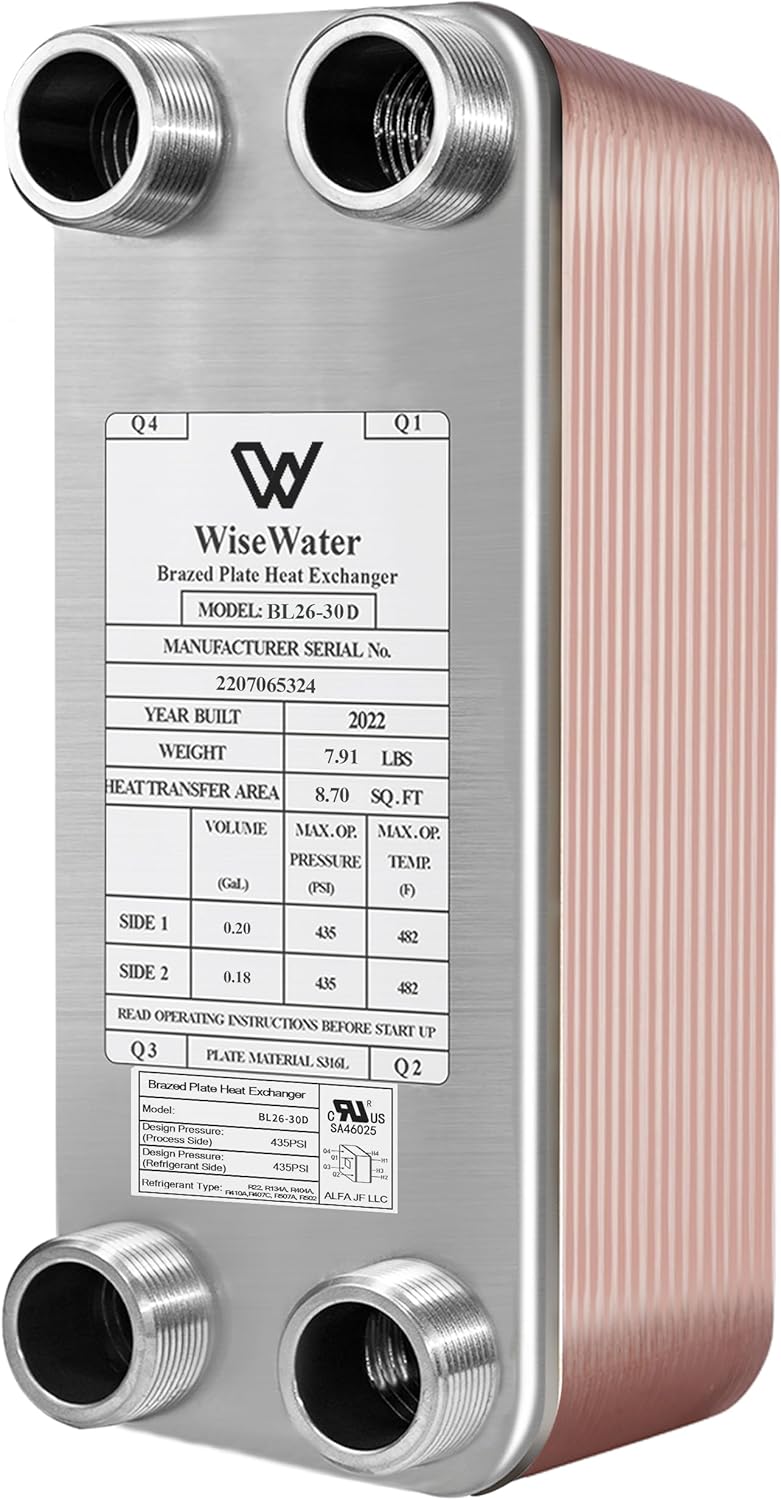
Image: Front view of the AB BL26-30D Plate Heat Exchanger, showing its model number, serial number, year built, weight, heat transfer area, volume, maximum operating pressure, and temperature on its label.
Key Features:
- Premium Construction: Made from high-quality 316L stainless steel plates brazed with 99.9% copper for superior durability and corrosion resistance.
- High Efficiency: Designed with an asymmetric fish bone plate pattern to create strong turbulences, ensuring high heat exchange efficiency and a heat recovery rate over 90%.
- Versatile Applications: Suitable for a wide range of heating and cooling applications.
- Standard Connections: Features 1" NPT threaded connections for easy and flexible hookup.
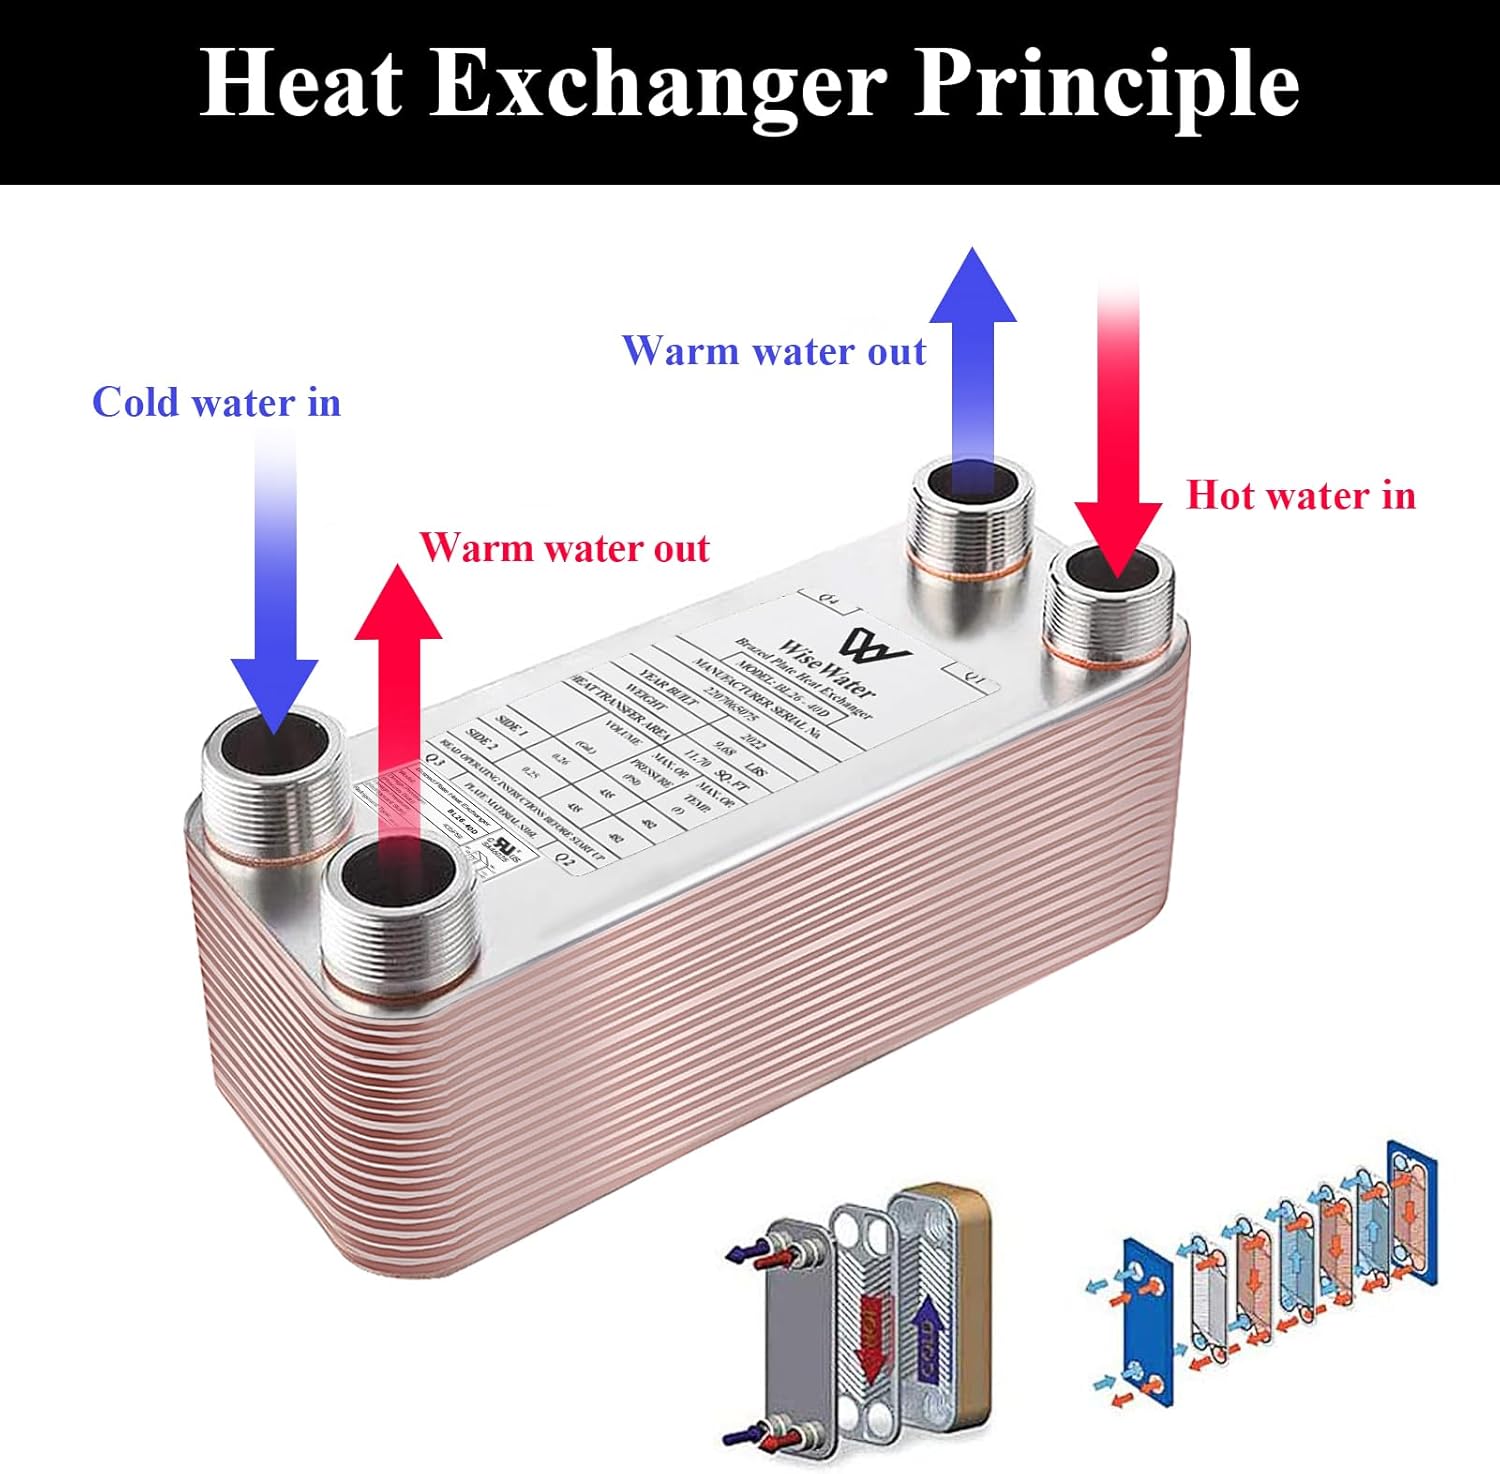
Image: A diagram showing the internal flow path of hot and cold water through the plates of a heat exchanger, illustrating the heat exchange principle.

Image: A detailed view highlighting the 316L stainless steel and copper brazed construction, along with approximate dimensions of 4.37" x 12.2" and 1" NPT connections.
4. Applications
The AB Plate Heat Exchanger is suitable for a variety of thermal transfer needs:
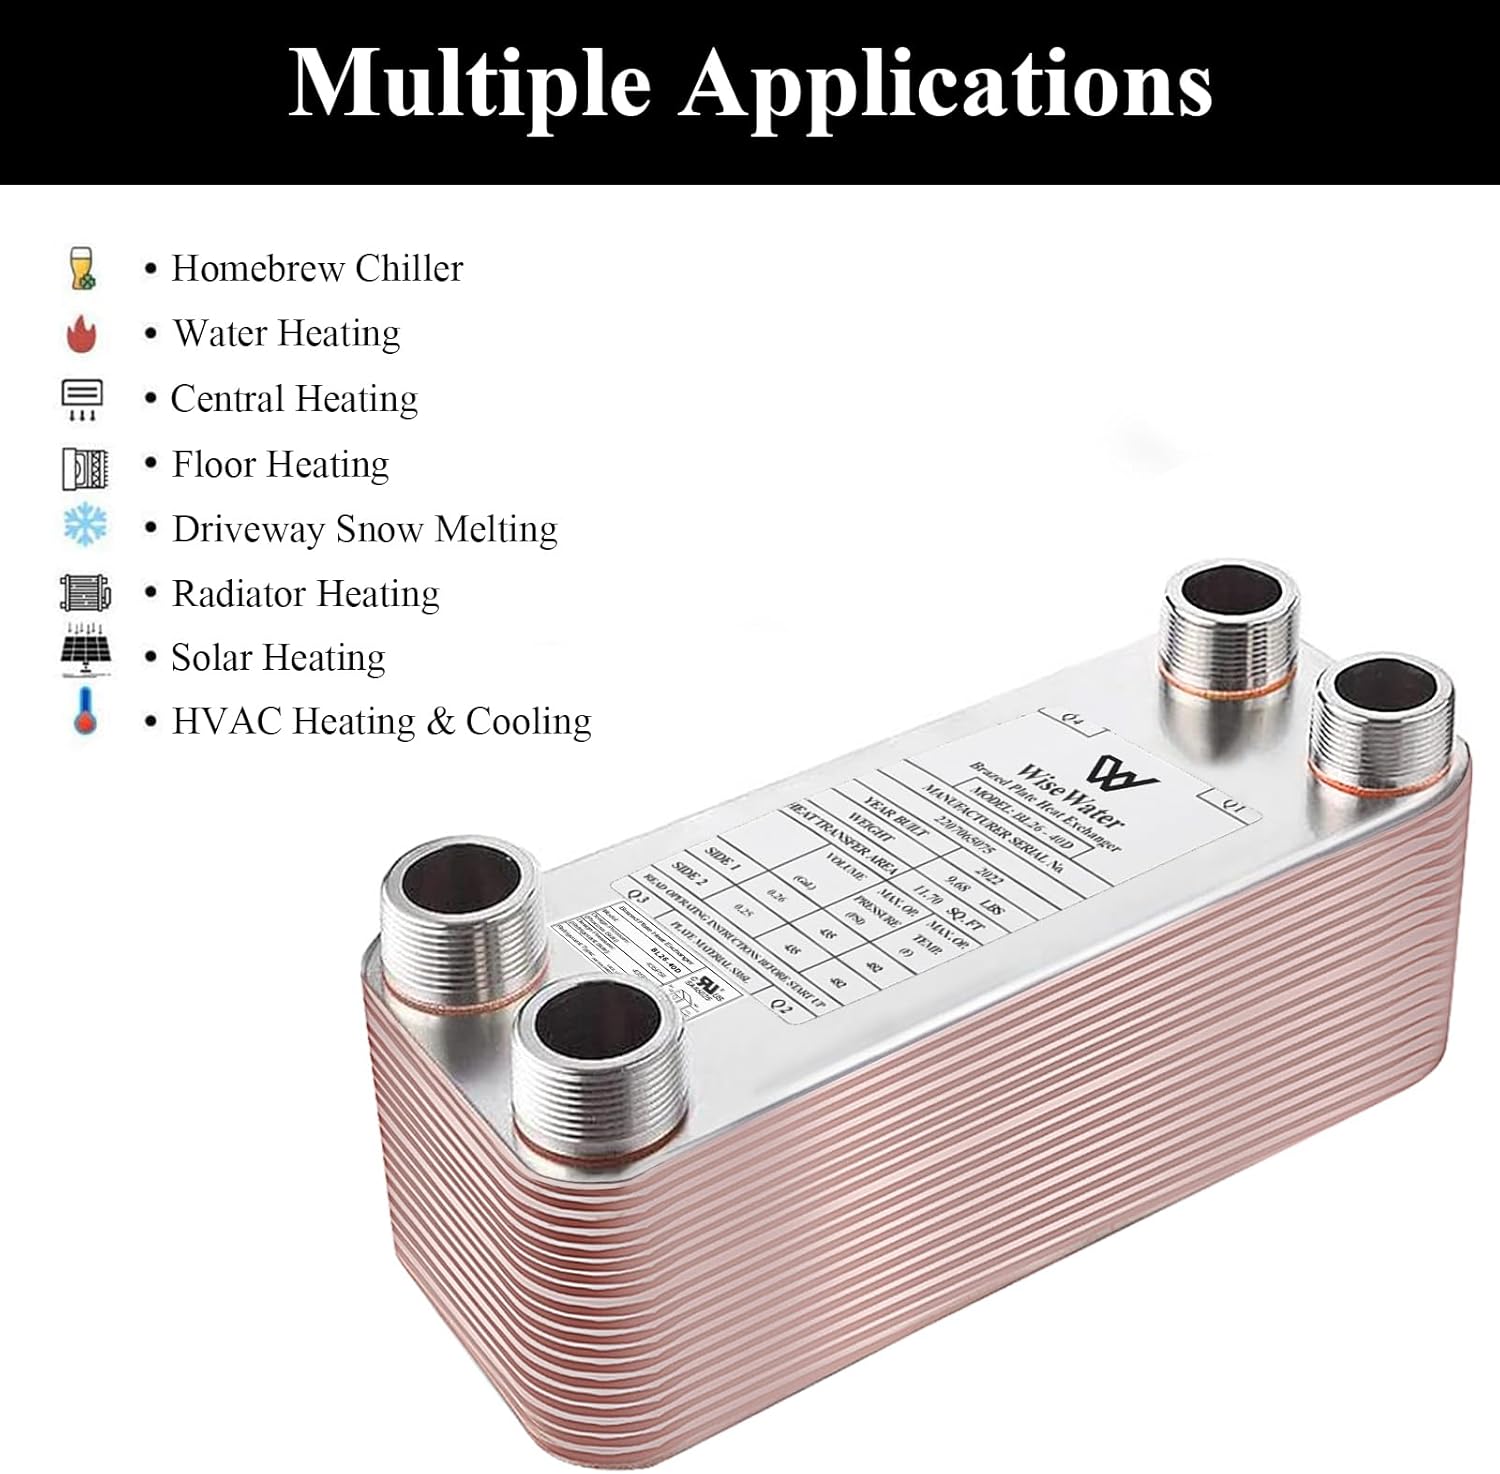
Image: An infographic listing and visually representing various applications including Homebrew Chiller, Water Heating, Central Heating, Floor Heating, Driveway Snow Melting, Radiator Heating, Solar Heating, and HVAC Heating & Cooling.
- Domestic Water Heating
- Floor Heating Systems
- Snow Melting Systems
- District or Zone Heating Systems
- Outdoor Wood Furnaces
- Hydraulic and Lube Oil Coolers
- Radiator Heating
- Hydronic Heating
- Solar Heating
- Wood Boiler Systems
Video: An animated demonstration of the 316L SS Plate Heat Exchanger, showcasing its construction, heat transfer mechanism, and suitability for various media like water, glycol, and oil. The video highlights the efficiency and design features of the heat exchanger.
5. Setup and Installation
Proper installation is crucial for the performance and longevity of your heat exchanger. Consider the following steps:
- Mounting: Securely mount the heat exchanger in a vertical position, if possible, to facilitate proper flow and air purging. Ensure adequate space for connections and future maintenance.
- Piping Connections: Connect the primary and secondary loops to the appropriate ports. The BL26-30D features 1" NPT connections. Use thread sealant (e.g., PTFE tape or pipe dope) on all threaded connections to prevent leaks.
- Flow Direction: For optimal heat transfer, ensure counter-flow arrangement where the hot fluid enters at the top and exits at the bottom on one side, while the cold fluid enters at the bottom and exits at the top on the other side. Refer to the product label for port identification (Q1, Q2, Q3, Q4).
- System Flushing: Before initial operation, flush both primary and secondary loops to remove any debris or air.
- Insulation: Insulate the heat exchanger and associated piping to minimize heat loss or gain, improving overall system efficiency.

Image: An example setup showing a heat exchanger integrated into a typical heating system with associated plumbing and tanks.
6. Operating Instructions
Once installed and all connections are verified, the heat exchanger operates passively as part of your heating or cooling system. Ensure proper flow rates and temperatures are maintained within the system for efficient operation.
- Monitor system pressures and temperatures to ensure they remain within the specified operating limits.
- The heat exchanger is designed for continuous operation. No manual adjustments are typically required during normal use.
- For optimal performance, ensure that the fluids flowing through the heat exchanger are clean and free of suspended solids that could cause fouling.
7. Maintenance
Regular maintenance helps ensure the longevity and efficiency of your heat exchanger.
- Periodic Inspection: Regularly inspect the heat exchanger for any signs of leaks, corrosion, or external damage.
- Cleaning: If a decrease in heat transfer efficiency is observed, the heat exchanger may require cleaning to remove scale or fouling. This typically involves circulating a descaling solution through the unit. Consult a professional for chemical cleaning procedures.
- Pressure Checks: Periodically check the system pressure to ensure it is within the recommended range.
- Fluid Quality: Maintain good fluid quality in both loops to prevent premature fouling and corrosion.
8. Troubleshooting
Refer to the following table for common issues and their potential solutions:
| Problem | Possible Cause | Solution |
|---|---|---|
| Reduced Heat Transfer | Fouling/Scaling inside plates, insufficient flow rate, air in system. | Clean the heat exchanger, check pump operation and flow, purge air from system. |
| Leaks at Connections | Improperly tightened connections, worn thread sealant. | Tighten connections, reapply thread sealant. |
| Unusual Noises | Air in system, cavitation due to low pressure. | Purge air, check system pressure and adjust if necessary. |
If the problem persists after attempting these solutions, contact customer support.
9. Specifications
Detailed technical specifications for the AB BL26-30D Plate Heat Exchanger:
| Parameter | Value |
|---|---|
| Model | BL26-30D |
| Manufacturer | AB |
| Material | SS316L Stainless Steel, Copper Brazed |
| Dimensions (L x W x H) | 12 x 4 x 3.05 inches |
| Item Weight | 9.97 pounds |
| Number of Plates | 30 |
| Heat Transfer Area | 8.70 sq. ft. |
| BTU Capacity | 250,000 - 330,000 BTU/hr |
| Connector Type | 1" MPT (Male Pipe Thread) |
| Max. Operating Pressure | 435 PSI |
| Max. Operating Temperature | 482°F |
| Design Pressure | 435 PSI / 652 PSI |
| Testing Pressure | 652 PSI / 979 PSI |
| Max. Flow | 79.3 GPM |

Image: A detailed table outlining specifications such as Max. Flow, Connector type, Design Temperature, Design Pressure, and Testing Pressure for various plate heat exchanger models, including the BL26 series.

Image: A hydronic duty table providing performance data for BL26 series heat exchangers under different heating scenarios, including domestic hot water, floor heating, and snow melting, with details on flow rates, BTU/hr, and operating temperatures.
10. Warranty and Support
Your AB Plate Heat Exchanger comes with a 1-year warranty covering manufacturer defects. For any issues, questions, or technical support, please contact AB customer service.
For further assistance, you may visit the official AB Store on Amazon:
We are committed to providing 100% satisfaction service and premium quality products.
Ask a question about this manual
Ask about setup, troubleshooting, compatibility, parts, safety, or missing instructions. Manuals+ will review the question and use this page’s manual context to help answer it.