
1. Product Overview
The Performance Tool W50003 is a versatile 3-inch portable mini bench grinder and polisher designed for precision work. It features a variable speed control from 0 to 10,000 RPM, making it suitable for various tasks from deburring to fine carving. The unit includes a flexible shaft for enhanced maneuverability in intricate applications.
- Variable Speed Control: Allows for precision buffing and grinding with speeds from 0 to 10,000 RPM.
- Flexible 31-inch Arm Shaft: Provides excellent maneuverability for grinding small wood or metal objects.
- Powerful 120W Motor: High-speed motor with sensitive speed control.
- Versatile Utility: Ideal for deburring, fine carving, grinding, buffing, and use as a rotary tool.

2. Safety Information
Always prioritize safety when operating power tools. Failure to follow these instructions may result in serious injury.
- Eye Protection: Always wear ANSI-approved safety goggles or a face shield when operating the grinder.
- Work Area: Ensure your work area is clean, well-lit, and free from clutter. Keep children and bystanders away.
- Stable Mounting: Securely mount the bench grinder to a workbench to prevent movement during operation.
- Guards: Ensure all guards and eye shields are in place and properly adjusted before use.
- Unplug When Not in Use: Disconnect the grinder from the power source before changing accessories, making adjustments, or when not in use.
- Proper Attire: Do not wear loose clothing, gloves, neckties, or jewelry that can get caught in moving parts. Tie back long hair.
- Ventilation: Operate in a well-ventilated area to avoid inhaling dust or fumes.
- Avoid Overloading: Do not force the tool. Allow the grinder to reach full speed before applying the workpiece.
- Inspect Before Use: Check for damaged parts, misalignment, or any condition that may affect operation. Replace damaged parts immediately.
3. What's in the Box
Your Performance Tool W50003 package includes the following components:
- Performance Tool W50003 Mini Bench Grinder and Polisher Unit
- 3x3/4-inch, 80-grit Grinder Stone (pre-installed)
- Fiber Wheel (pre-installed)
- Flexible Shaft (31-inch)
- 10 Assorted 1/8-inch Shaft Grinding Stones
- Adjustable Eye Shields


4. Setup
Follow these steps to set up your bench grinder for safe and effective operation:
- Unpacking: Carefully remove all components from the packaging. Inspect for any shipping damage.
- Mounting: Securely fasten the bench grinder to a stable workbench using appropriate bolts and nuts (not included). Ensure the grinder is level and cannot move during operation.
- Attach Eye Shields: Install the clear adjustable eye shields onto the designated brackets above each grinding wheel. Adjust them to provide maximum protection without obstructing your view of the workpiece.
- Connect Flexible Shaft (Optional): To use the flexible shaft, ensure the grinder is unplugged. Unscrew the cap on the right side of the grinder's motor housing. Insert the flexible shaft's drive end into the motor shaft and tighten the cap securely.

5. Operating Instructions
Before operating, ensure all safety precautions are followed and the unit is properly set up.
5.1 Powering On and Speed Control
- Plug the grinder into a standard 120V AC outlet.
- Locate the power switch (often a toggle switch near the base or under a wheel guard) and turn it to the 'ON' position.
- Adjust the variable speed control knob to your desired RPM. Start at a lower speed and gradually increase as needed for the task. The speed ranges from 0 to 10,000 RPM.
5.2 Using the Grinding Stone
The 80-grit grinding stone is suitable for deburring, sharpening, and general material removal.
- Ensure the eye shield is positioned correctly.
- Allow the wheel to reach full operating speed.
- Gently bring the workpiece into contact with the grinding stone. Apply light, even pressure.
- Move the workpiece across the face of the wheel to ensure even wear and prevent grooving.
5.3 Using the Fiber Wheel
The fiber wheel is designed for polishing and buffing tasks.
- Apply polishing compound to the fiber wheel if desired.
- Allow the wheel to reach full operating speed.
- Gently press the workpiece against the fiber wheel, moving it consistently to achieve an even polish.
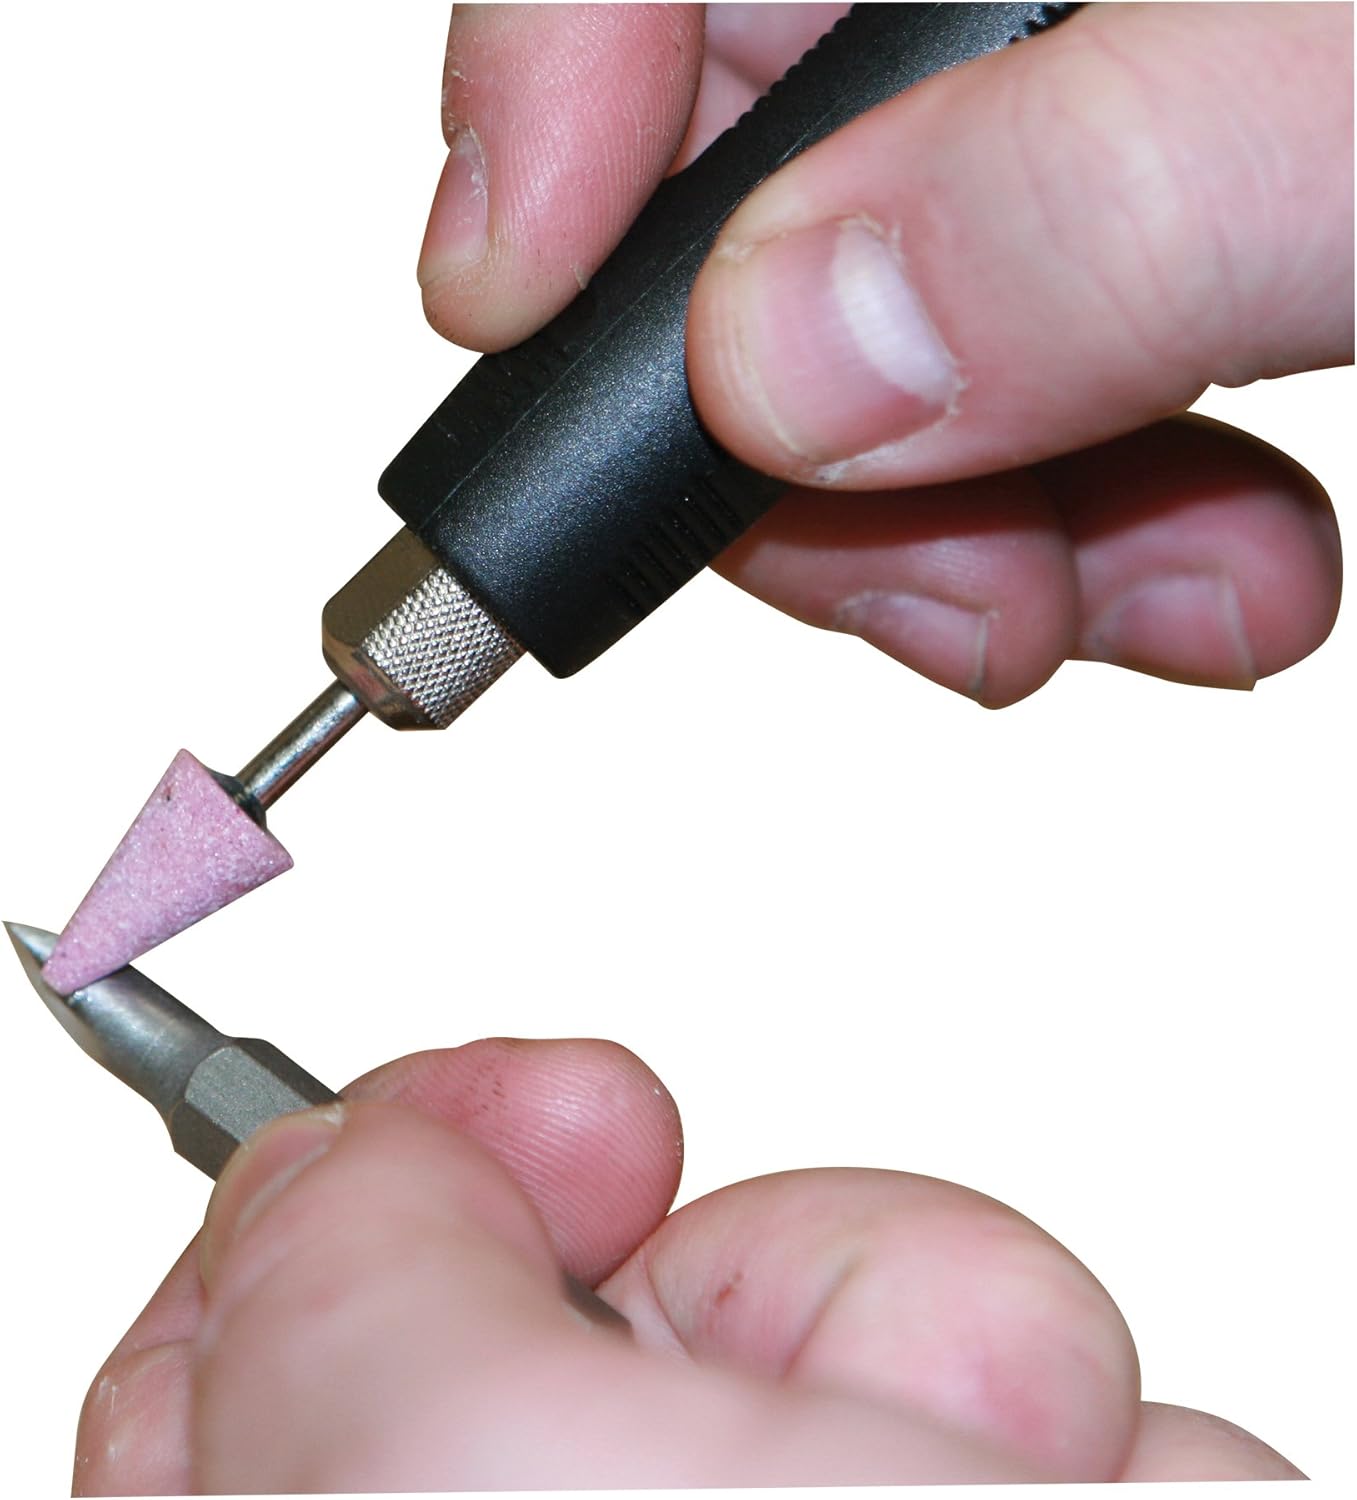
5.4 Using the Flexible Shaft
The flexible shaft allows for detailed work and access to confined spaces.
- Ensure the flexible shaft is securely attached to the grinder (refer to Section 4.3).
- Select the appropriate 1/8-inch shaft grinding stone or accessory and insert it into the collet of the flexible shaft handpiece. Tighten the collet nut firmly.
- Turn on the grinder and adjust the speed.
- Hold the handpiece firmly and apply the accessory to the workpiece with light, controlled pressure.
6. Maintenance
Regular maintenance ensures the longevity and safe operation of your grinder.
- Cleaning: After each use, unplug the grinder and clean off any dust or debris with a soft brush or compressed air. Do not use solvents.
- Wheel Inspection: Periodically inspect the grinding stone and fiber wheel for wear, cracks, or damage. Replace worn or damaged wheels immediately.
- Flexible Shaft Care: Keep the flexible shaft clean and free of kinks. Store it properly to prevent damage.
- General Inspection: Regularly check all nuts, bolts, and screws for tightness. Ensure power cord is free from damage.
7. Troubleshooting
If you encounter issues with your grinder, refer to the following common troubleshooting steps:
| Problem | Possible Cause | Solution |
|---|---|---|
| Grinder does not start | No power, faulty switch, loose connection | Check power outlet, ensure power switch is ON, inspect power cord. |
| Grinder stops under light pressure | Motor overload, low speed setting, worn brushes | Increase speed, apply less pressure, inspect motor brushes (if accessible). |
| Excessive vibration | Unbalanced wheel, loose mounting, damaged shaft | Inspect wheels for damage, ensure grinder is securely mounted, check shaft for bends. |
| Flexible shaft not rotating | Improper connection, damaged inner cable | Ensure flexible shaft is fully engaged and tightened. Inspect inner cable for damage. |
8. Specifications
Detailed technical specifications for the Performance Tool W50003:
| Feature | Specification |
|---|---|
| Brand | Performance Tool |
| Model Number | W50003 |
| Power Source | Corded Electric |
| Wattage | 120 watts |
| Maximum Rotational Speed | 10,000 RPM |
| Grinder Stone Size | 3 x 3/4-inch, 80-grit |
| Flexible Shaft Length | 31 inches |
| Material | Metal, Wood |
| Color | Black and Gray |
| UPC / GTIN | 039564126383 |

9. Warranty and Support
This Performance Tool product comes with a LIMITED WARRANTY. For specific details regarding warranty coverage, terms, and conditions, please refer to the warranty card included with your product or visit the official Performance Tool website.
For technical assistance, replacement parts, or any other inquiries, please contact Performance Tool customer support directly. Contact information can typically be found on the product packaging or the manufacturer's website.


