Introduction
This manual provides detailed instructions for the Plantronics Voyager 3240 Bluetooth Headset with Charging Case. It covers essential information for setting up, operating, maintaining, and troubleshooting your device to ensure optimal performance and longevity.
What's in the Box
Verify that all items are present in your package:
- Plantronics Voyager 3240 Bluetooth Headset
- Charging Case
- Ear Cushions (various sizes)
- Micro USB Charge Cable
- Optional Clip-on Ear Loop
Product Overview
Familiarize yourself with the components of your Plantronics Voyager 3240 headset and its charging case.

Image: The Plantronics Voyager 3240 headset alongside its portable charging case, showcasing the sleek design and compact form factor.
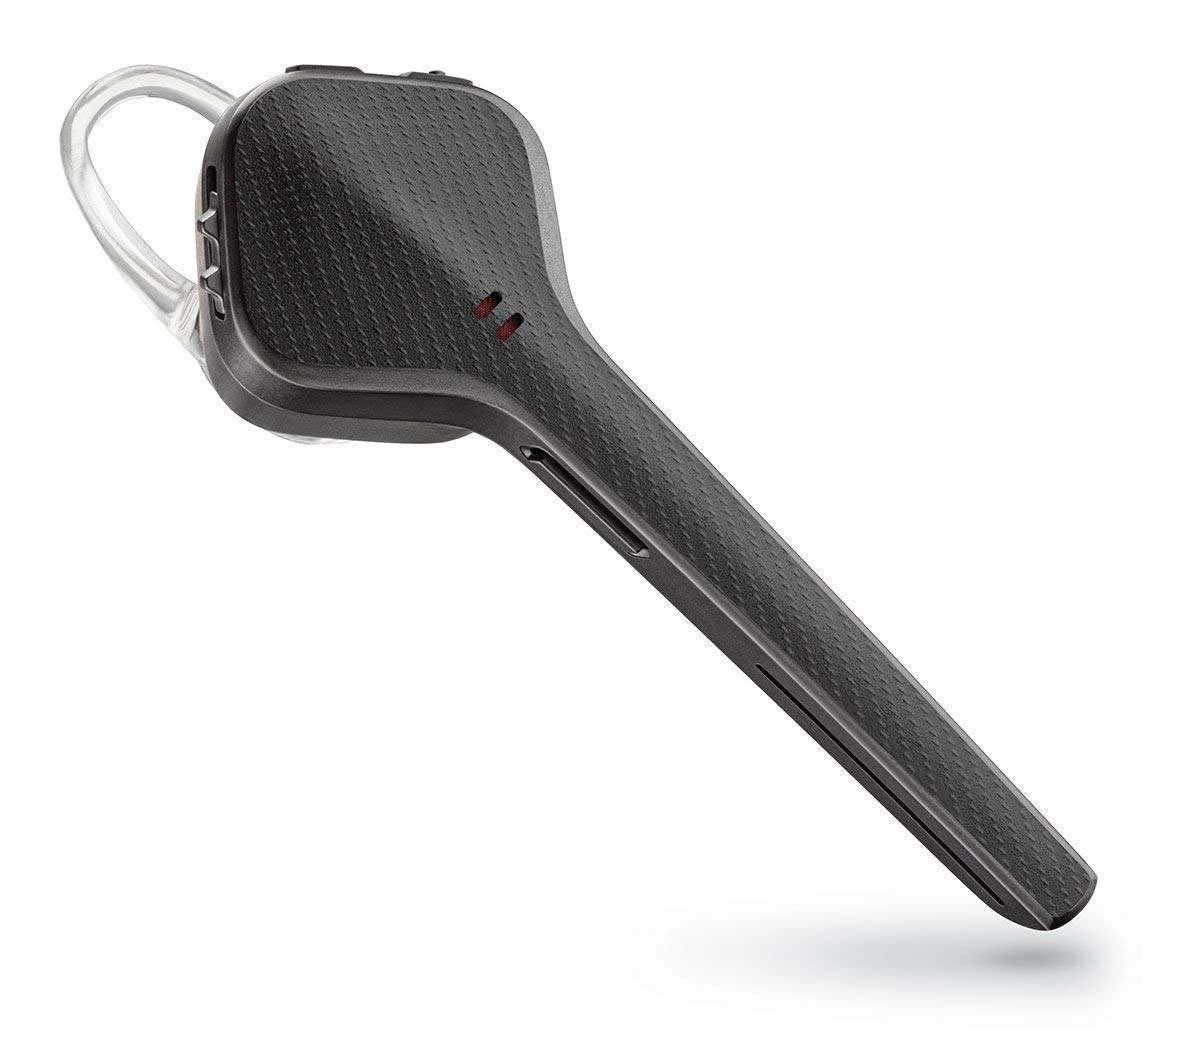
Image: A close-up view of the Plantronics Voyager 3240 Bluetooth headset, highlighting its ergonomic shape and control buttons.

Image: The Plantronics Voyager 3240 headset securely placed within its charging case, ready for charging or storage.
Headset Features:
- Power Button: On/Off control.
- Call Button: Answer/end calls, voice assistant activation.
- Volume Buttons: Adjust audio volume.
- Mute Button: Mute/unmute microphone.
- Microphone: Triple-mic array for noise cancellation.
- LED Indicator: Displays battery and connection status.
Charging Case Features:
- Charging Slot: Holds and charges the headset.
- Battery Indicator LEDs: Shows charging case battery level.
- Micro USB Port: For charging the case.
Setup
1. Charging the Headset and Case
Before first use, fully charge your headset and charging case. The headset provides up to 6 hours of talk time, and the charging case offers an additional 10 hours.
- Charge Headset: Place the headset into the charging case. The headset's LED will indicate charging status.
- Charge Case: Connect the micro USB cable to the charging case and plug the other end into a USB wall charger or computer USB port. The case's LEDs will indicate its charging status.
- Allow approximately 90 minutes for a full charge of the headset and case.
2. Pairing with a Mobile Device
To use your headset, it must be paired with your Bluetooth-enabled device.
- Activate Pairing Mode: With the headset powered off, press and hold the Call button until the headset's LED flashes red and blue, indicating pairing mode.
- Enable Bluetooth: On your mobile device, go to Bluetooth settings and ensure Bluetooth is turned on.
- Select Device: From the list of available devices, select "PLT V3240 Series."
- Confirm Pairing: If prompted for a passcode, enter "0000" (four zeros). Once paired, the headset LED will stop flashing and you will hear "pairing successful."
Operating Instructions
Wearing the Headset
The Voyager 3240 is designed for comfortable wear. Choose the ear tip that provides the best fit and acoustic seal. The optional ear loop can be used for added stability.

Image: The Plantronics Voyager 3240 headset positioned on a surface next to a smartphone and car keys, illustrating its compact size and portability for daily use.
Call Management
- Answer Call: Press the Call button or say "Answer" when a call comes in (if voice answering is enabled).
- End Call: Press the Call button.
- Reject Call: Press and hold the Call button for 2 seconds.
- Redial Last Number: Double-press the Call button.
- Mute/Unmute: Press the Mute button during a call.
Voice Commands and Alerts
The headset supports voice commands and provides audio alerts for various statuses.
- Voice Assistant: Press and hold the Call button for 2 seconds to activate your smartphone's voice assistant (Siri, Google Assistant, Cortana).
- Voice Alerts: The headset will announce caller names (if in your phone's contacts), connection status, remaining talk time, and mute status.
Audio Streaming
You can stream audio from your paired device, such as music, podcasts, or GPS directions.
- Play/Pause: Use your device's media controls.
- Volume Control: Use the volume buttons on the headset or your device.
Multi-point Connectivity
The headset can connect to two mobile devices simultaneously.
- Pair the headset with the first device as described in the "Pairing" section.
- Once connected, turn off Bluetooth on the first device.
- Put the headset back into pairing mode and pair with the second device.
- After successful pairing with the second device, re-enable Bluetooth on the first device. The headset will now be connected to both.
Maintenance
Cleaning
- Wipe the headset and charging case with a soft, dry, lint-free cloth.
- Do not use abrasive cleaners or solvents.
- Clean ear tips regularly with a damp cloth and mild soap, then dry thoroughly before reattaching.
Storage
- Store the headset in its charging case when not in use to protect it and keep it charged.
- Avoid storing in extreme temperatures or direct sunlight.
Troubleshooting
If you experience issues with your headset, try the following solutions:
| Problem | Solution |
|---|---|
| Headset does not power on. | Ensure the headset is charged. Place it in the charging case or connect directly to a power source. |
| Cannot pair with device. |
|
| No audio or poor audio quality. |
|
| Battery drains quickly. |
|
Specifications
Key technical specifications for the Plantronics Voyager 3240 Bluetooth Headset:
| Feature | Detail |
|---|---|
| Model Name | Voyager 3240 |
| Connectivity Technology | Wireless (Bluetooth) |
| Wireless Range | Up to 30 meters (98 feet) |
| Talk Time | Up to 6 hours (headset), additional 10 hours with charging case |
| Standby Time | Up to 7 days |
| Noise Cancellation | Triple-mic with enhanced DSP |
| Control Type | Voice Control, Buttons |
| Item Weight | 190 g (0.19 Kilograms) |
| Batteries | 2 Lithium Polymer batteries (included) |
| Water Resistance Level | Water Resistant |
| Form Factor | In-ear / On-ear (with optional ear loop) |
Warranty and Support
For warranty information, technical support, or further assistance, please refer to the official Plantronics (now Poly) website or contact their customer service directly. Keep your proof of purchase for warranty claims.
Online Support: Visit the Plantronics/Poly support page for FAQs, software downloads, and contact options.
Product Registration: Register your product online to receive updates and support.


