
1. Introduction and Overview
The BESTSUN Tactical Flashlight 501B_MT10_03Q is a high-performance, single-mode LED flashlight designed for various applications including shooting, hunting, hiking, camping, and emergency use. It features a super bright 2000 lumen output, a durable 6061T aluminum body, and an IP65 waterproof rating. This manual provides detailed instructions for the proper setup, operation, and maintenance of your flashlight.
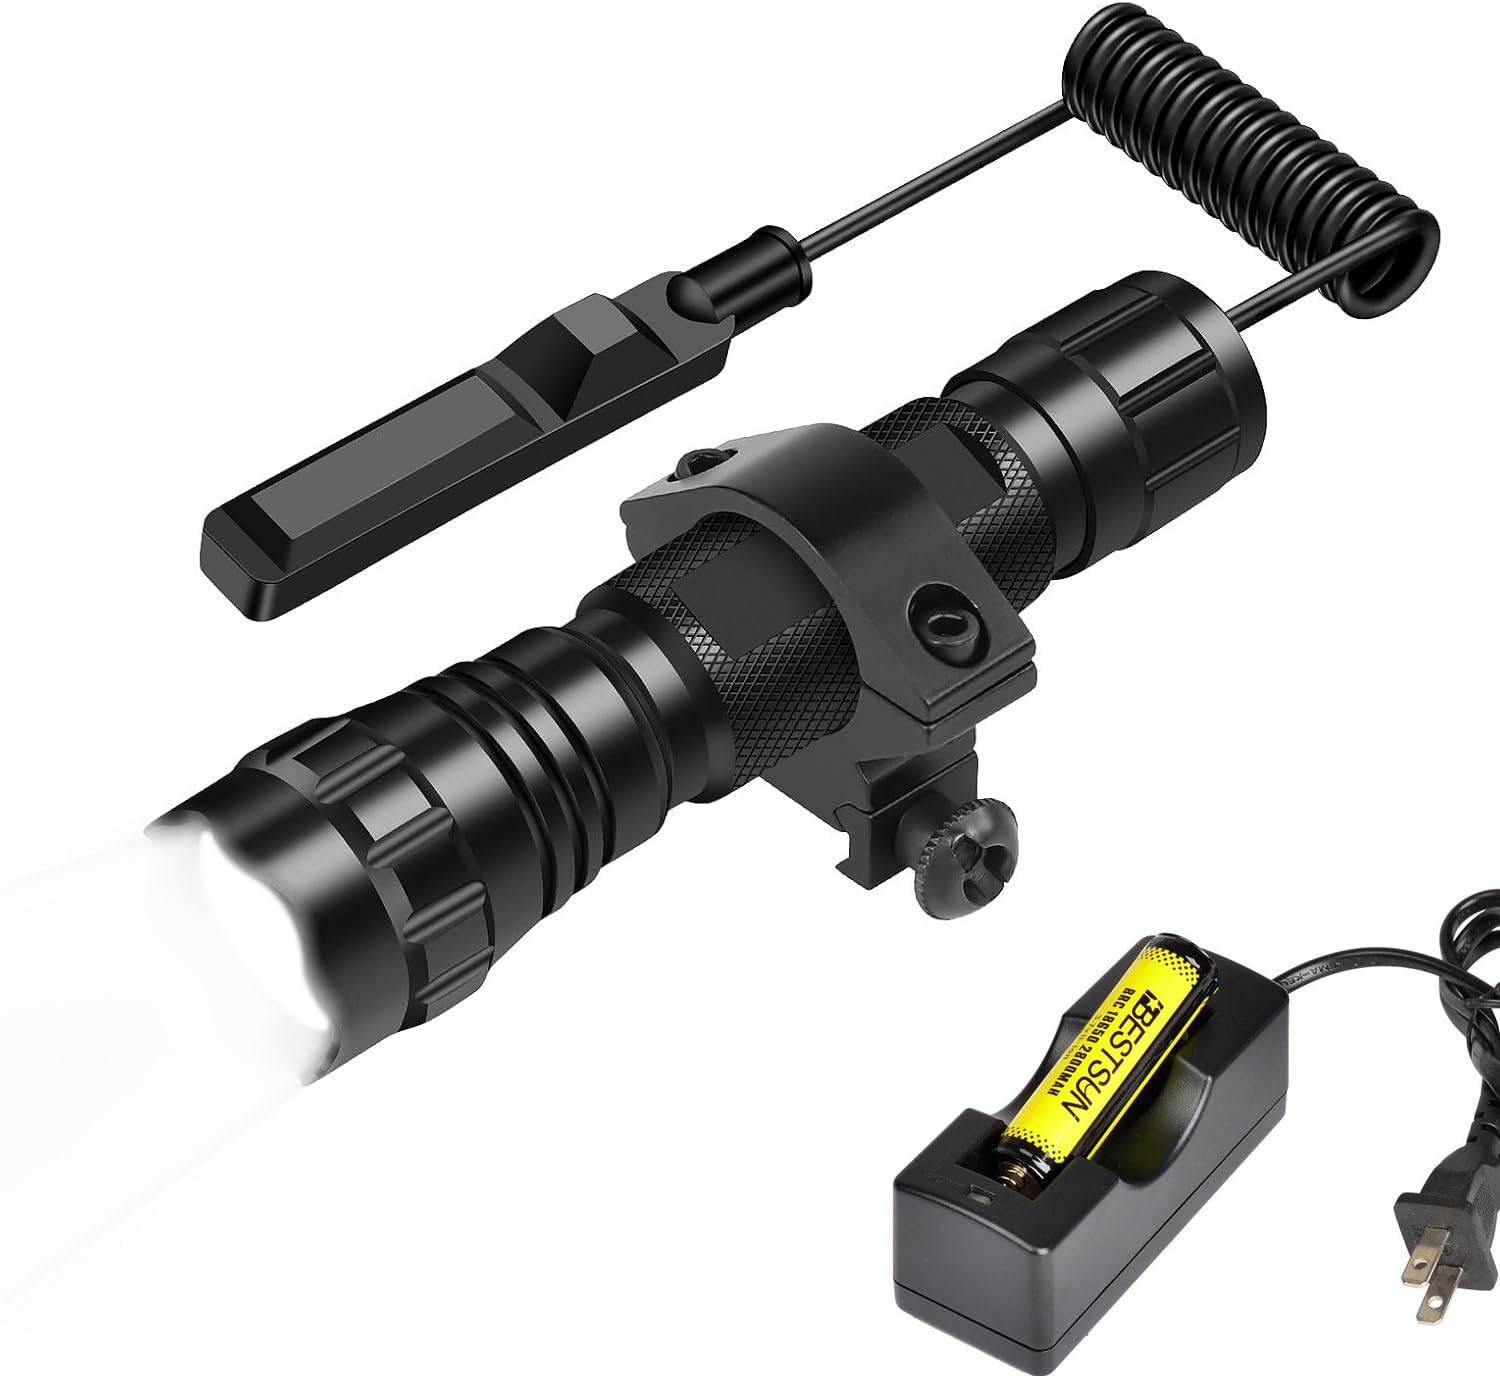
Image 1.1: BESTSUN Tactical Flashlight with included pressure switch.
2. What's in the Box
Your BESTSUN Tactical Flashlight package includes the following components:
- 1x BESTSUN Tactical Flashlight (2000 lumens)
- 1x Dual Mode Remote Pressure Switch
- 1x 20mm Picatinny Rail Mount
- 1x Rechargeable Lithium Polymer Battery (18650, 2800mAh)
- 1x Battery Charger
- 1x Plastic Gift Box (for storage)

Image 2.1: All components included in the BESTSUN Tactical Flashlight kit.
3. Setup
3.1. Battery Installation and Charging
- Unscrew the tail cap of the flashlight.
- Insert the provided 18650 rechargeable battery with the positive (+) end facing towards the flashlight head.
- Screw the tail cap back on securely.
- To charge the battery, place it into the provided battery charger. Plug the charger into a standard wall outlet. The charger's indicator light will typically show red during charging and turn green when fully charged.
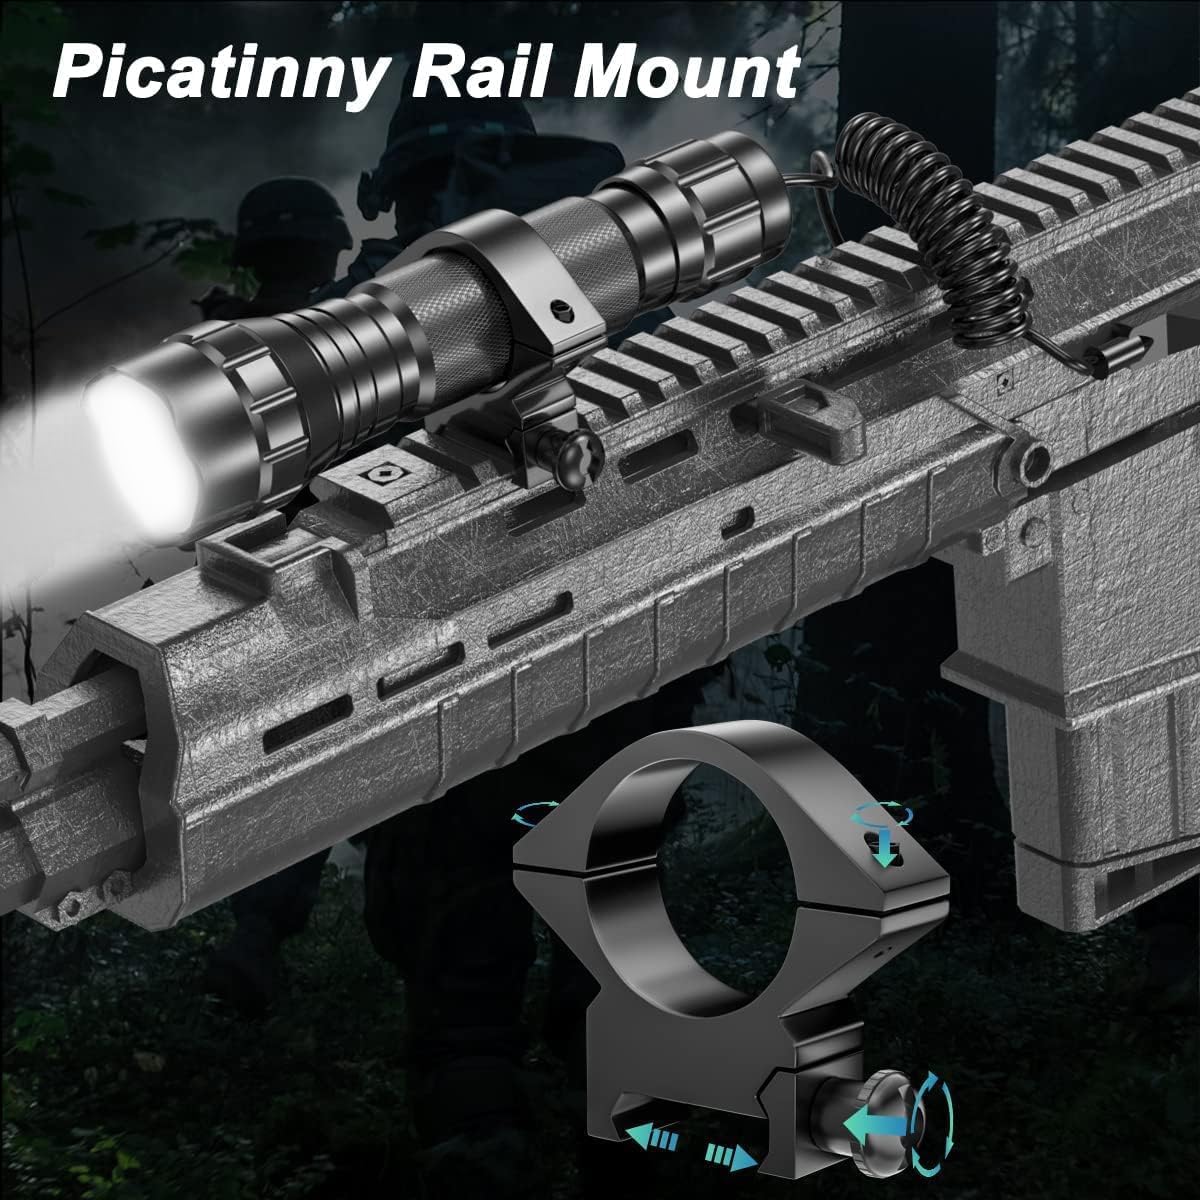
Image 3.1: The included 18650 rechargeable battery.
3.2. Attaching the Picatinny Rail Mount
The flashlight comes with a 20mm Picatinny rail mount for attachment to compatible firearms or accessories.
- Loosen the screw on the Picatinny mount.
- Place the mount onto the Picatinny rail in your desired position.
- Tighten the screw to secure the mount firmly to the rail.
- Insert the flashlight into the ring of the mount and tighten the retaining screws to hold it in place.

Image 3.2: The 20mm Picatinny mount for securing the flashlight.
3.3. Connecting the Remote Pressure Switch
The dual-mode remote pressure switch allows for convenient operation when the flashlight is mounted.
- Unscrew the standard tail cap from the flashlight.
- Screw on the tail cap of the remote pressure switch in its place, ensuring it is fully tightened to maintain electrical contact.
- Position the pressure pad in a convenient location on your weapon or gear. The back of the pressure pad may have 3M adhesive for secure attachment.

Image 3.3: Illustration of the remote pressure switch and standard tail switch.
4. Operating Instructions
4.1. Using the Standard Tail Switch
- Press the button on the tail cap once to turn the flashlight ON.
- Press the button again to turn the flashlight OFF.
4.2. Using the Remote Pressure Switch
The remote pressure switch offers two modes of operation:
- Momentary On: Press and hold the pressure pad to activate the light. Release the pressure pad to turn the light OFF.
- Constant On: Press the small button on the pressure switch to turn the light ON continuously. Press the button again to turn the light OFF.

Image 4.1: The flashlight provides a powerful, long-distance beam.
5. Maintenance
5.1. Cleaning
- Wipe the flashlight body with a soft, damp cloth.
- Do not use abrasive cleaners or solvents.
- Clean the threads of the tail cap and head regularly and apply a thin layer of silicone grease to maintain the waterproof seal.
5.2. Waterproofing
The flashlight has an IP65 waterproof rating, meaning it is protected from dust ingress and low-pressure water jets from any direction. It is suitable for use in rainy conditions but should not be submerged in water.

Image 5.1: The flashlight is designed to be water-resistant (IP65 rated).
5.3. Battery Care
- Always use the provided charger for the rechargeable battery.
- Do not overcharge or completely drain the battery.
- Store the battery in a cool, dry place when not in use.
- If the flashlight will not be used for an extended period, remove the battery to prevent leakage.
6. Troubleshooting
| Problem | Possible Cause | Solution |
|---|---|---|
| Flashlight does not turn on. | Battery is dead or incorrectly inserted. | Charge the battery or reinsert it with the correct polarity. |
| Flashlight flickers or is dim. | Low battery, loose connections, or dirty contacts. | Charge the battery, tighten the tail cap and head, clean battery contacts. |
| Remote pressure switch not working. | Switch not fully connected or damaged. | Ensure the remote switch tail cap is fully tightened. Inspect the cable for damage. |
| Battery not charging. | Charger malfunction or improper connection. | Ensure the charger is properly plugged in and the battery is correctly seated. Try a different outlet. |
7. Specifications
- Model Number: 501B_MT10_03Q
- Light Source: XML-L2 LED
- White Brightness: 2000 Lumens
- Light Path Distance: 200 Meters (700ft)
- Power Source: Battery Powered
- Battery Type: 1x 18650 Lithium Polymer (included)
- Material: 6061T Aluminum
- Color: Black
- Water Resistance Level: IP65 (Water Resistant)
- Mounting Type: Picatinny Mount
- Item Dimensions (D x W x H): 5.8" x 2.5" x 1.6"
8. Warranty and Support
The BESTSUN Tactical Flashlight 501B_MT10_03Q comes with a 1-year limited warranty from the date of purchase. This warranty covers manufacturing defects and workmanship under normal use. It does not cover damage caused by misuse, accidents, unauthorized modifications, or normal wear and tear.
For warranty claims, technical support, or any questions regarding your product, please contact BESTSUN customer service through the retailer where you purchased the item or visit the official BESTSUN store online. Please have your purchase receipt and model number available when contacting support.
BESTSUN Store: https://www.amazon.com/stores/BESTSUN/page/66674A31-8CF1-497D-9BD1-5DEB13E6356E