
DIGOO M1Z
DIGOO DG-M1Z 1080P Home Security Camera User Manual
Model: M1Z
1. Introduction
This manual provides detailed instructions for the installation, operation, and maintenance of your DIGOO DG-M1Z 1080P Home Security Camera. Please read this manual thoroughly before using the product to ensure proper functionality and safety.
2. Product Overview
2.1 Key Features
- True 1080P HD Video Quality (2.0MP Image Sensor)
- 130° Wide Angle Lens (2.8mm)
- 11 Pcs IR LED for Night Vision (up to 10m)
- Two-Way Audio Communication
- Motion Detection with E-mail Alerts
- Pan & Tilt Functionality
- Support for Micro TF Card Slot (up to 64GB) for Local Storage
- H.264 Video Compression
- ONVIF Support
- Compatible with iOS, Android, and Windows PC via "Digoo Eye" App
2.2 Camera Components
The DIGOO DG-M1Z camera features a compact design with essential components for surveillance. Refer to the image below for a visual representation.

Image 1: Front view of the DIGOO DG-M1Z camera, showing the lens, IR LEDs, and base with the DIGOO logo.
Key components include:
- Camera Lens: Captures video footage.
- Infrared (IR) LEDs: Provide illumination for night vision.
- Microphone: For audio input during two-way communication.
- Speaker: For audio output during two-way communication and alarms.
- Micro TF Card Slot: For local video storage (up to 64GB).
- Power Port: DC 5V/2A+ input.
- Ethernet Port: For wired network connection.
3. Setup Guide
3.1 Powering On the Camera
- Connect the provided Micro USB power cable (3 meters long) to the camera's power port.
- Plug the other end of the cable into a DC 5V/2A+ power adapter (ensure the adapter provides sufficient current).
- The camera will power on and initiate its startup sequence.
3.2 Installing the "Digoo Eye" App
The "Digoo Eye" application is required to configure and operate your camera. It is available for iOS, Android, and Windows PC.
- For mobile devices, search for "Digoo Eye" in your device's app store (Google Play Store for Android, Apple App Store for iOS).
- Download and install the application.
- For Windows PC, download the client software from the official DIGOO website (if available).

Image 2: A smartphone displaying the "Digoo Eye" application interface, showing a live camera feed and control options.
3.3 Network Configuration
The camera supports both wireless (Wi-Fi) and wired network connections. Note: The camera only supports 2.4GHz Wi-Fi networks, not 5GHz.
3.3.1 Wireless Connection (Acoustic Smart Link)
- Ensure your mobile device is connected to a 2.4GHz Wi-Fi network.
- Open the "Digoo Eye" app and follow the on-screen instructions to add a new device.
- Select the "Acoustic smart link configuration" option.
- The app will guide you through entering your Wi-Fi password and using sound to pair the camera.
3.3.2 Wired Connection
- Connect an Ethernet cable from your router to the camera's Ethernet port.
- The camera will automatically connect to the network.
- Open the "Digoo Eye" app and follow the instructions to add a new device, selecting the wired connection option.
4. Operating Instructions
4.1 Live View and Pan/Tilt Control
Once connected, you can access the live video feed through the "Digoo Eye" app. Use the on-screen controls to pan (horizontal movement) and tilt (vertical movement) the camera lens to adjust the viewing angle.

Image 3: Illustration of key camera functionalities including Pan & Tilt, Two-Way Talking, Inframe Light (IR), and Screeching Alarm.
4.2 Two-Way Audio
The camera supports two-way audio communication. In the app's live view, tap the microphone icon to speak through the camera's speaker, and listen through your device's speaker to audio captured by the camera's microphone.

Image 4: Depiction of multi-account video sharing and two-way audio communication feature.
4.3 Motion Detection and Alerts
Configure motion detection settings within the "Digoo Eye" app. When motion is detected, the camera can trigger an alarm, send real-time message pushes, and E-mail alerts to your configured accounts.

Image 5: Visual explanation of motion detection functionality, showing alerts and diverse applications.
4.4 Recording and Playback
Insert a Micro TF card (up to 64GB) into the camera's slot for local video storage. The camera supports continuous recording or event-triggered recording based on your settings. You can review recorded footage directly from the "Digoo Eye" app.
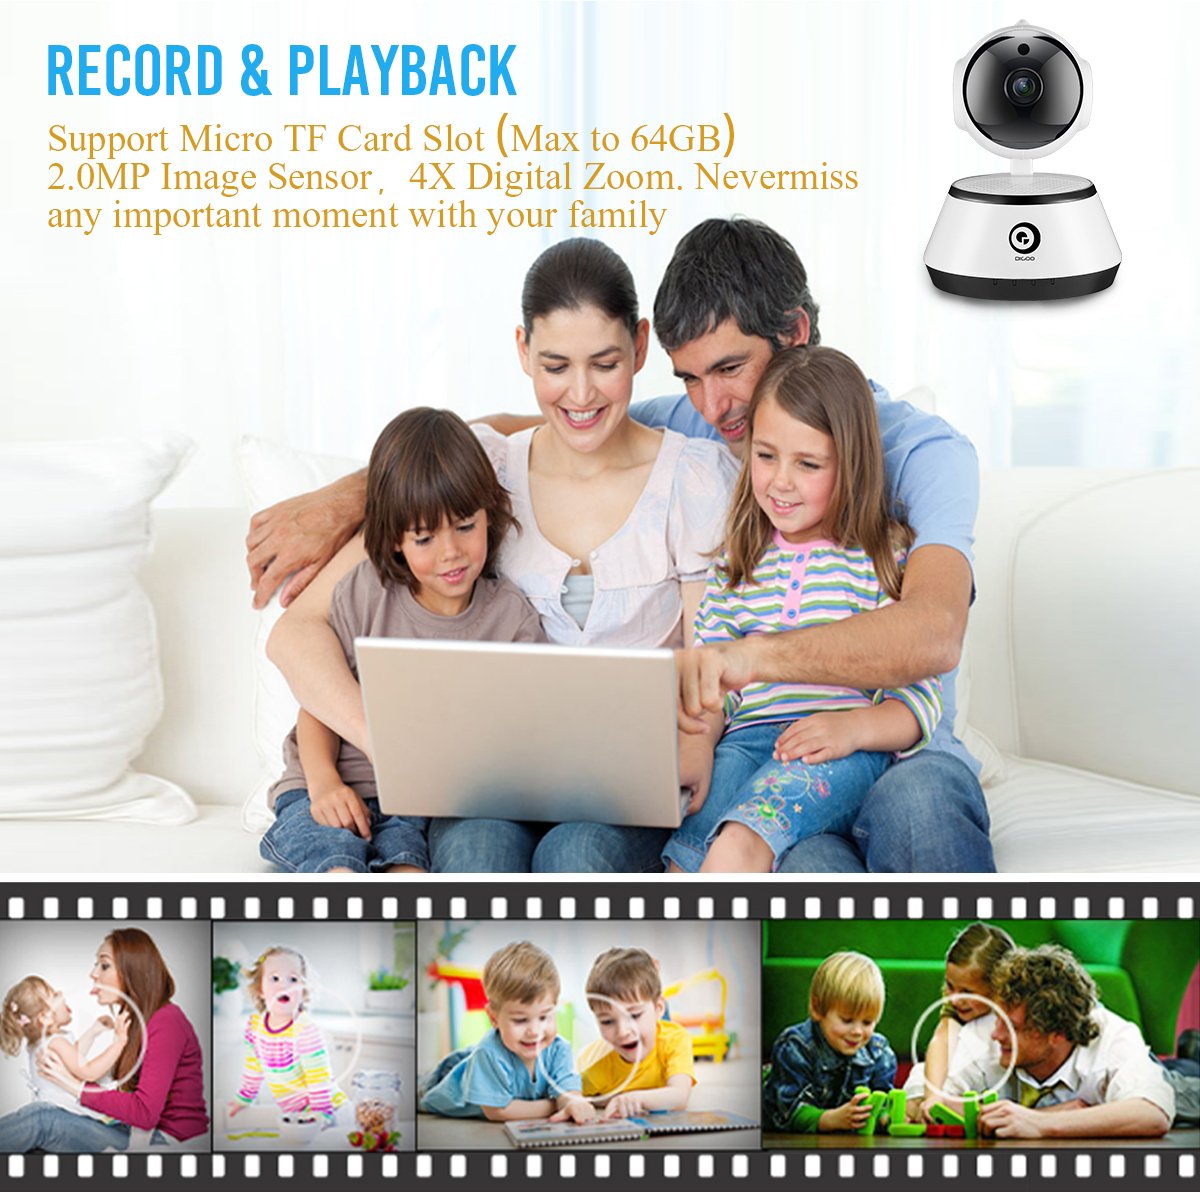
Image 6: A family viewing recorded video, highlighting the record and playback feature with a timeline of events.
4.5 Night Vision
The camera automatically switches to night vision mode in low-light conditions, utilizing its 11 IR LEDs to provide clear black-and-white video up to 10 meters.

Image 7: Visual comparison demonstrating the clarity of 1080P HD video quality compared to lower resolutions.
5. Maintenance
- Cleaning: Gently wipe the camera lens and body with a soft, dry cloth. Avoid using harsh chemicals or abrasive materials.
- Firmware Updates: Periodically check the "Digoo Eye" app for available firmware updates to ensure optimal performance and security.
- Power Supply: Ensure the camera is always connected to a stable DC 5V/2A+ power source.
- Environmental Conditions: Operate the camera within the specified temperature range (-10°C to +60°C) and humidity (RH95% Max). While it can be used indoors or outdoors, ensure it is protected from direct weather exposure if used outdoors.
6. Troubleshooting
- Camera not powering on:
- Ensure the power adapter is correctly connected and providing sufficient power (DC 5V/2A+). Try a different power outlet or adapter.
- Unable to connect to Wi-Fi:
- Verify your Wi-Fi network is 2.4GHz. The camera does not support 5GHz networks.
- Check your Wi-Fi password for accuracy.
- Ensure the camera is within range of your Wi-Fi router.
- Restart your router and the camera.
- If using acoustic smart link, ensure there is no excessive background noise.
- No video feed in the app:
- Confirm the camera is powered on and connected to the network.
- Check your internet connection.
- Restart the app and the camera.
- Micro TF card not recording:
- Ensure the TF card is inserted correctly.
- Check if the TF card is formatted correctly (usually FAT32).
- Verify that recording settings are enabled in the "Digoo Eye" app.
- The card might be full; consider backing up data and formatting or replacing it.
7. Specifications
| Feature | Detail |
|---|---|
| Model | DG-M1Z SHARK |
| Image Sensor | 1/2.7 Progressive CMOS Sensor |
| Lens | 2.8mm, 130° Wide Angle Lens, 5.0MP Lens |
| RAM | 1GB |
| Resolution | FHD 1080P (2.0MP) |
| Frame Rate | 25fps± (internet adaptively adjustment) |
| Digital Zoom | 4X Digital Zoom |
| Video Compression | H.264 |
| Audio Compression | G.711 |
| Storage | Micro TF Card Slot (Max 64GB) |
| Connectivity | Wireless (2.4G Wi-Fi), Wired (Ethernet), ONVIF |
| Alarm Function | Motion Detection, One Button Guard/Dis-Guard, E-mail alert |
| IR Light | 11 Pcs IR LED |
| IR Distance | Night Visibility 10m+ |
| Operating Temperature | -10°C ~ +60°C RH95% Max |
| Power Supply | DC 5V/2A+ |
| Power Consumption | 3W-5W |
| Dimensions | 15.01 x 11.99 x 10.01 cm |
| Weight | 381 g |
| App Compatibility | iOS, Android, Windows PC ("Digoo Eye") |
8. Warranty and Support
For warranty information and technical support, please refer to the documentation provided with your purchase or visit the official DIGOO website. Keep your purchase receipt as proof of purchase for warranty claims.
For further assistance, you may contact DIGOO customer support through their official channels.
Ask a question about this manual
Ask about setup, troubleshooting, compatibility, parts, safety, or missing instructions. Manuals+ will review the question and use this page’s manual context to help answer it.