
1. Safety Instructions
Please read all instructions carefully before installing and operating your Audiopipe APCLE10001D amplifier. Failure to follow these guidelines may result in damage to the amplifier, speakers, or vehicle, and may void your warranty.
- Disconnect the vehicle's negative battery terminal before any installation.
- Ensure proper grounding. The ground connection should be short and connected to a clean metal point on the vehicle chassis.
- Use appropriate gauge wiring for power, ground, and speaker connections to prevent overheating and ensure optimal performance.
- Install the amplifier in a location that allows for adequate ventilation to prevent overheating. Avoid mounting in enclosed spaces without airflow.
- Protect all wiring from sharp edges and moving parts. Use grommets when passing wires through metal panels.
- Do not expose the amplifier to moisture or extreme temperatures.
- Seek professional installation if you are unsure about any part of the process.
2. Package Contents
Verify that all items are present in the package:
- Audiopipe APCLE10001D Class D 1000W Power Amplifier
- Mounting Hardware (screws)
- User Manual (this document)
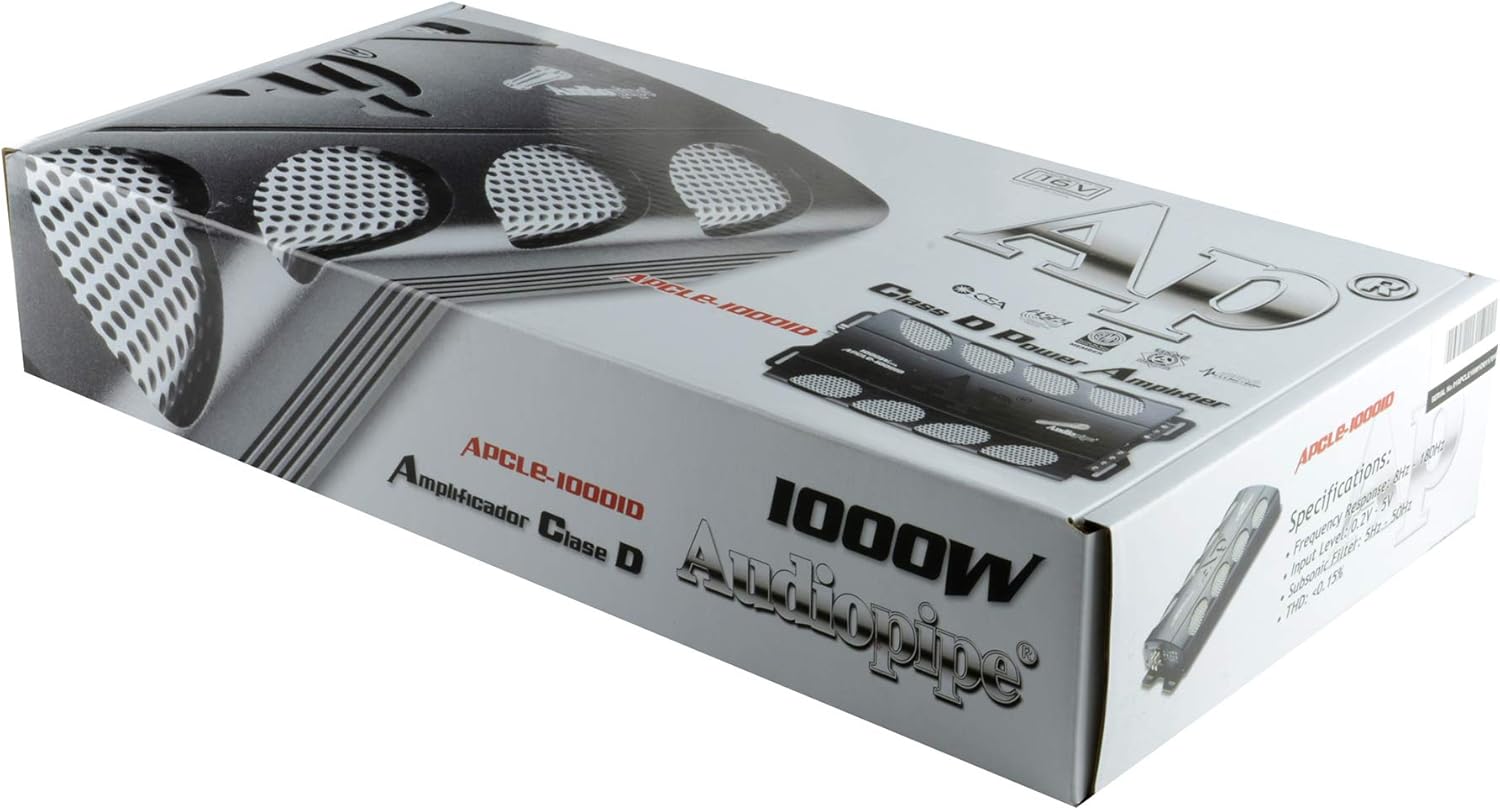
Image: Contents of the Audiopipe APCLE10001D amplifier package, including the amplifier unit and mounting hardware.
3. Product Overview
3.1 Features
The Audiopipe APCLE10001D is a Class D mono amplifier designed for car audio systems, offering efficient power delivery and robust performance.
- Class D Topology for high efficiency.
- 1000 Watts maximum power output.
- Full MOSFET circuit design.
- Adjustable Gain, Low Pass Filter (LPF), Subsonic Filter, and Bass Boost controls.
- Protection circuitry for thermal, overload, and short circuit conditions.
3.2 Component Identification

Image: Top view of the Audiopipe APCLE10001D amplifier, showing the Audiopipe logo and 1000W APCLE-10001D model designation.
3.2.1 Control Panel (Rear)

Image: Detailed view of the amplifier's rear control panel, featuring RCA inputs, gain control, LPF, subsonic filter, bass boost frequency, and bass boost level adjustments.
- PROTECT Indicator: Illuminates when the amplifier is in protection mode.
- POWER Indicator: Illuminates when the amplifier is powered on.
- REMOTE Terminal: Input for optional remote bass level control.
- INPUT (RCA): Audio signal input from the head unit.
- BRIDGE IN (RCA): Used for bridging multiple amplifiers.
- BRIDGE OUT (RCA): Output for bridging multiple amplifiers.
- GAIN Control: Adjusts the input sensitivity to match the head unit's output.
- LPF (Low Pass Filter) Control: Adjusts the cutoff frequency for low-pass filtering (40Hz - 180Hz).
- SUBSONIC Control: Adjusts the cutoff frequency for the subsonic filter (OFF - 50Hz).
- BASS BOOST FREQ Control: Selects the center frequency for bass boost (30Hz - 80Hz).
- BASS BOOST Control: Adjusts the level of bass boost (0dB - 12dB).
3.2.2 Terminal Panel (Side)

Image: Side view of the amplifier showing the power input terminals (+12V, REM, GND) and speaker output terminals, with a 1 Ohm minimum impedance rating.
- SPEAKER Terminals: Connect to your subwoofer(s). Observe polarity and minimum impedance (1 Ohm).
- POWER Terminals:
- +12V: Connect to the positive terminal of the vehicle battery via a fuse.
- REM (Remote): Connect to the remote turn-on output of your head unit.
- GND (Ground): Connect to a clean, bare metal point on the vehicle chassis.
4. Setup & Installation
Proper installation is crucial for optimal performance and safety. If you are unsure about any steps, consult a professional installer.
4.1 Mounting Location
Choose a mounting location that provides adequate ventilation for the amplifier. Avoid mounting it upside down or in enclosed spaces without airflow. Common locations include the trunk, under a seat, or behind a seat.

Image: An Audiopipe APCLE10001D amplifier mounted in the trunk of a vehicle, demonstrating a typical installation location.
4.2 Wiring Connections
Before making any connections, disconnect the vehicle's negative battery terminal.
- Power Wire (+12V): Run a heavy gauge power wire (e.g., 4 AWG or 8 AWG depending on total system power) directly from the positive terminal of the vehicle battery to the amplifier's +12V terminal. Install an inline fuse holder within 18 inches (45 cm) of the battery.
- Ground Wire (GND): Connect a short (less than 3 feet / 1 meter) heavy gauge ground wire from the amplifier's GND terminal to a clean, bare metal point on the vehicle chassis. Ensure good electrical contact.
- Remote Turn-On Wire (REM): Connect a smaller gauge wire (e.g., 18 AWG) from the head unit's remote turn-on output to the amplifier's REM terminal. This wire turns the amplifier on and off with the head unit.
- RCA Input Cables: Connect RCA cables from the head unit's pre-amp outputs to the amplifier's INPUT (RCA) jacks.
- Speaker Wires: Connect speaker wires from the amplifier's SPEAKER terminals to your subwoofer(s). Ensure correct polarity (+ to + and - to -). Verify that the total impedance of your speakers connected to the amplifier is not below 1 Ohm.
After all connections are made, reconnect the vehicle's negative battery terminal.
5. Operating Instructions
5.1 Initial Power-Up and Basic Settings
Once all wiring is complete and checked, turn on your head unit. The POWER indicator on the amplifier should illuminate. If the PROTECT indicator illuminates, refer to the Troubleshooting section.
- Gain Control: Start with the GAIN control set to minimum (fully counter-clockwise). Play a familiar piece of music at a moderate volume on your head unit. Slowly increase the GAIN control until you hear distortion, then back it off slightly. This sets the amplifier's input sensitivity to match your head unit's output without clipping.
- LPF (Low Pass Filter): For subwoofers, set the LPF to a frequency typically between 80Hz and 120Hz. This ensures only low frequencies are sent to the subwoofer. Adjust to blend smoothly with your main speakers.
- SUBSONIC Filter: If you have a ported enclosure, the subsonic filter helps protect your subwoofer from playing frequencies below its tuning frequency, which can cause damage. Set it slightly below your enclosure's tuning frequency (e.g., 25Hz-35Hz). For sealed enclosures, it can often be set to OFF or a very low frequency.
- BASS BOOST: Use the BASS BOOST FREQ and BASS BOOST controls sparingly. Excessive bass boost can lead to distortion and potential damage to your subwoofer. Start at 0dB and increase gradually if desired, listening for clarity.
6. Maintenance
The Audiopipe APCLE10001D amplifier requires minimal maintenance. Follow these guidelines to ensure longevity:
- Keep the amplifier clean and free from dust and debris. Use a soft, dry cloth for cleaning.
- Ensure adequate airflow around the amplifier. Periodically check that vents are not obstructed.
- Inspect wiring connections periodically for corrosion or loose terminals. Tighten as necessary.
- Avoid spilling liquids on the amplifier.
7. Troubleshooting
If you experience issues with your amplifier, refer to the following common problems and solutions:
| Problem | Possible Cause | Solution |
|---|---|---|
| No Power / Power LED Off |
|
|
| Protect LED On |
|
|
| No Audio Output |
|
|
| Distorted Sound |
|
|
8. Specifications
| Feature | Specification |
|---|---|
| Model | APCLE10001D |
| Type | Class D Mono Amplifier |
| Output Power | 1000 Watts (Max) |
| Minimum Impedance | 1 Ohm |
| Low Pass Filter (LPF) | 40Hz - 180Hz |
| Subsonic Filter | OFF - 50Hz |
| Bass Boost Frequency | 30Hz - 80Hz |
| Bass Boost Level | 0dB - 12dB |
| Dimensions (L x W x H) | 11.3 x 7 x 2.2 inches (28.7 x 17.8 x 5.6 cm) |
| Item Weight | 8.8 pounds (3.99 kg) |
| Voltage | 16 Volts, 5 Volts (Operating Voltage Range) |
| Manufacturer | Audiopipe |
9. Warranty and Support
For warranty information and technical support, please refer to the documentation provided with your purchase or visit the official Audiopipe website. Keep your proof of purchase for warranty claims.
Contact Information: Please visit the Audiopipe official website for the most current support contact details.


