
1. Introduction
The HEATIT JHSF-40-1 Self-Regulating Heating Cable is designed to provide reliable freeze protection for water pipes in various environments. This energy-efficient cable automatically adjusts its heat output based on ambient temperatures, preventing pipes from freezing while optimizing energy consumption. It is suitable for both metal and plastic water pipes.
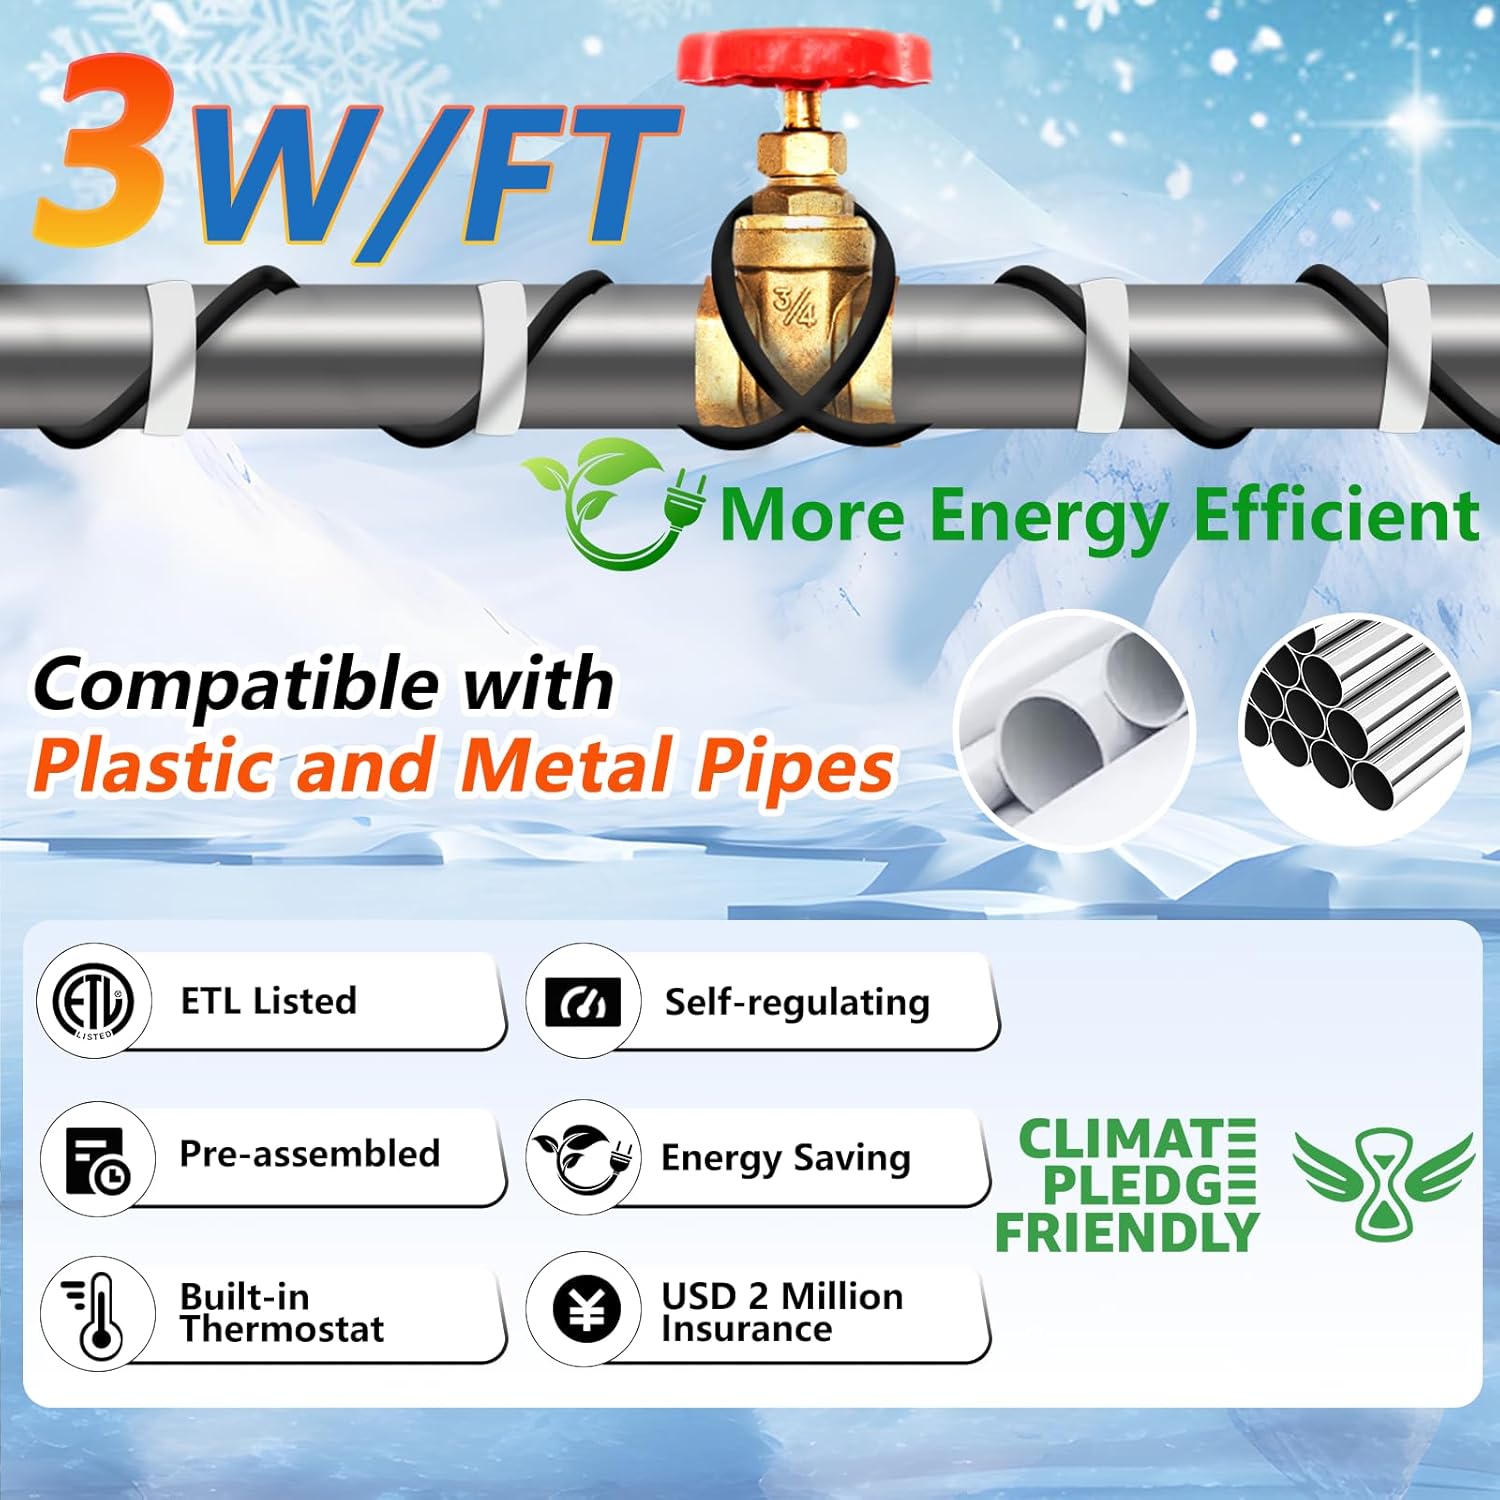
Image: Overview of HEATIT Self-Regulating Heating Cable features and compatibility.
2. Safety Information
Your safety is paramount. Please read and understand all instructions before installation and use. Failure to follow these instructions may result in electric shock, fire, or property damage.
- ETL Certified: This heating cable is fully ETL certified, ensuring compliance with rigorous North American safety standards for electrical, mechanical, and chemical products. The plug is UL certified for added safety.
- Product Liability Insurance: This product is backed by up to USD 2 million in product liability insurance, providing peace of mind.
- Water-Filled Pipes Only: The heating cable is designed for use on rigid water-filled plastic and metal water pipes. It is NOT suitable for empty water pipes, fuel lines, hoses, gutters, or steam lines.
- Insulation Required: For optimal freeze protection and safety, 1/2 inch fiberglass or equivalent non-flammable pipe insulation with a vapor seal is recommended over the heating cable and pipe.
- Avoid Damage: Do not attempt to repair or energize damaged heating cable. Do not run the cable through building walls, ceilings, or floors.
- Ground-Fault Protection: Always plug into a 120V AC ground-fault protected outlet.

Image: ETL certification documents for the HEATIT heating cable.
3. Product Features
- Self-Regulating Technology: The cable automatically adjusts its heating power in response to ambient conditions. It generates more heat in colder temperatures and less heat as temperatures rise, preventing overheating and optimizing energy use.
- Integrated Thermostat: Features a built-in thermostat that activates the cable at approximately 38°F (3°C) and deactivates it at 50°F (10°C), ensuring efficient operation only when needed.
- Wide Compatibility: Suitable for various pipe materials including copper, PVC, galvanized, ABS plastic, and steel.
- Pre-Assembled Design: Ready for immediate installation with a 2 ft power cord and a grounded plug with an indicator light.
- Durable and Weatherproof: The outer sheath is sturdy and durable, providing long-term protection in outdoor conditions. The end seal is waterproof.

Image: Self-regulating technology diagram.

Image: Automatic power adjustment based on temperature.

Image: Key components of the heating cable.
4. Setup and Installation
The HEATIT heating cable is designed for easy installation. Follow these steps for proper setup:
- Determine Cable Length: Refer to the cable length calculation table (see Specifications section) to choose the appropriate length for your pipe diameter and lowest expected temperature.
- Test the Cable: Before installation, uncoil the cable and plug it into a 120V AC ground-fault protected outlet. The indicator light on the plug should turn on. Place the thermostat of the cable into an ice bucket or wrap it tightly with a frozen ice pack for a few minutes. The cable should feel slightly warm. Turn it off after testing.
- Fix Thermostat: Position the thermostat at the pipe's coolest point, ensuring direct contact with the pipe. Use the provided glass cloth tape to secure it.
- Affix Cable: Affix the heating cable onto the pipe. It can be installed in a linear arrangement, spiraled around it, or overlapped. Use the provided glass cloth tape to secure the cable every 10 feet or as needed to ensure snug contact.
- Apply Insulation: Encase the entire pipe, cable, and thermostat in HEATIT insulation tape (extra purchase) or 1/2 inch fiberglass insulation specifically designed for pipe applications. This is crucial for optimal performance and safety.
- Plug and Play: Plug the cable into a 120V AC ground-fault protected outlet. The indicator light on the plug will turn on, indicating power is supplied.

Image: Step-by-step installation guide.
Video: HEATIT Heat tape - Compatible Pipes & Step-by-Step Guide. This video demonstrates the installation process and compatible pipe types.
Video: HEATIT JHSF Self Regulating Heat Trace Cable. A brief overview of the product and its features.
5. Operating Instructions
Once properly installed and plugged into a ground-fault protected outlet, the HEATIT heating cable operates automatically. The integrated thermostat monitors the pipe temperature:
- The cable will activate and begin heating when the pipe temperature drops to approximately 38°F (3°C).
- The cable will deactivate when the pipe temperature rises to approximately 50°F (10°C).
- The indicator light on the plug will illuminate when the cable is powered, but this does not necessarily mean the cable is actively heating. It only indicates that power is supplied to the unit.

Image: Important tips regarding the indicator light and thermostat function.
6. Maintenance
To ensure continued optimal performance and safety of your HEATIT heating cable, regular maintenance is recommended:
- Periodic Inspection: Visually inspect the heating cable, plug, and insulation for any signs of wear, damage, or deterioration, especially before and after the winter season.
- Cleanliness: Keep the cable and surrounding area free from debris, dirt, and moisture.
- Secure Connections: Ensure the cable remains securely affixed to the pipe and that the thermostat maintains good contact.
7. Troubleshooting
If you encounter issues with your HEATIT heating cable, refer to the following troubleshooting tips:
- Cable Not Heating:
- Check if the indicator light on the plug is on. If not, ensure the outlet has power and is ground-fault protected.
- Verify the ambient temperature is below 38°F (3°C). The thermostat only activates the heating function when temperatures are low enough.
- Ensure the thermostat is in direct contact with the pipe at its coldest point and is properly insulated.
- Pipes Still Freezing:
- Confirm that the entire length of the pipe requiring protection is covered by the heating cable and insulation.
- Ensure the insulation is adequate (1/2 inch fiberglass or equivalent) and properly installed over the cable and pipe.
- Verify the cable is securely attached to the pipe to maximize heat transfer.
- Ensure the pipe is filled with water, as the cable is not designed for empty pipes.
- Indicator Light On, But No Heat: This is normal if the ambient temperature is above 50°F (10°C). The light indicates power is supplied, but the thermostat has deactivated the heating function.
If problems persist after following these steps, contact customer support for further assistance.
8. Specifications
| Feature | Detail |
|---|---|
| Model Number | JHSF-40-1 |
| Length | 40 ft |
| Power Output | 3W/FT |
| Voltage | 120V |
| Activation Temperature | 38°F (3°C) |
| Deactivation Temperature | 50°F (10°C) |
| Minimum Operating Temperature | -40°F (-40°C) |
| Certifications | ETL Listed, UL Certified Plug |
| Material | Self-regulating heating core, durable outer sheath |
| Included Components | Heating cable, glass cloth tape, user manual |

Image: Cable length calculation and recommendation table.
9. Warranty and Support
HEATIT is committed to providing high-quality and safe products. This heating cable is backed by a product liability insurance policy of up to USD 2 million, ensuring reliability and peace of mind.
For any questions, technical support, or warranty claims, please refer to the contact information provided in your product packaging or visit the official HEATIT website.
