
1. Introduction
This manual provides essential information for the safe and efficient operation, setup, and maintenance of your Rothenberger Romax 4000 pressing tool. The Romax 4000 is designed for reliable pipe pressing applications, offering a compact and powerful solution for professional use. This kit includes pressing jaws for 16mm, 20mm, and 26mm pipe diameters and is powered by a 4Ah battery.
Key features include:
- Lightweight design at approximately 3.6 kg for comfortable use, even in challenging positions.
- Fast pressing cycle, completing a full press in under 5 seconds.
- High performance and long-lasting battery life for extended operation.
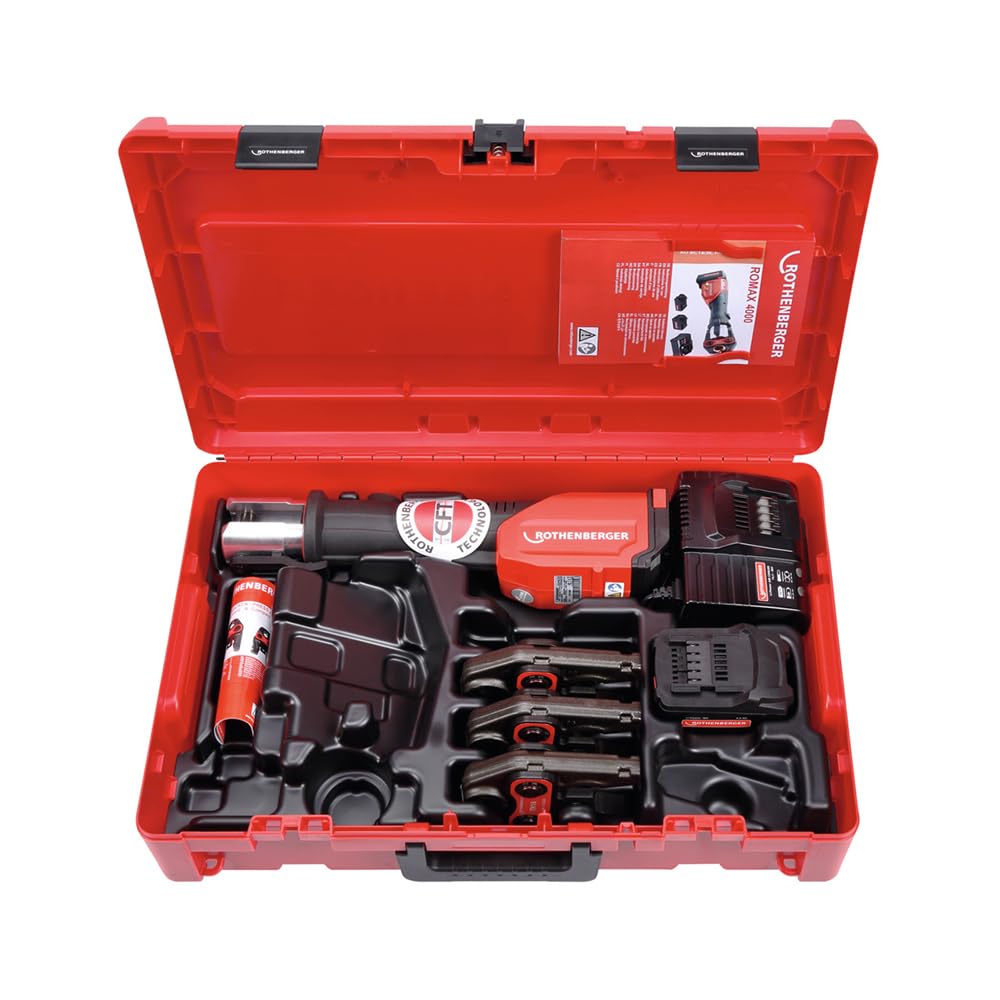
Image 1.1: The Rothenberger Romax 4000 pressing tool, showcasing its compact design and integrated battery.
2. Safety Instructions
Always adhere to the following safety guidelines to prevent injury and damage to the tool.
- Read the Manual: Familiarize yourself with all instructions and warnings before operating the tool.
- Personal Protective Equipment (PPE): Always wear safety glasses, gloves, and appropriate work attire.
- Work Area: Ensure your work area is clean, well-lit, and free from obstructions. Keep children and bystanders away.
- Tool Condition: Inspect the tool and pressing jaws for damage before each use. Do not operate a damaged tool.
- Battery Safety: Use only Rothenberger approved batteries and chargers. Do not expose batteries to extreme temperatures or moisture.
- Secure Workpiece: Ensure the pipe and fittings are properly secured before initiating a pressing cycle.
- Avoid Overreaching: Maintain proper footing and balance at all times.
- Unplug When Not In Use: Disconnect the battery when changing accessories, performing maintenance, or storing the tool.
3. Setup
3.1 Battery Installation
- Ensure the tool is switched off.
- Align the battery pack with the battery slot at the base of the tool.
- Slide the battery into the slot until it clicks securely into place.
- To remove, press the battery release button and slide the battery out.
3.2 Pressing Jaw Installation
- Ensure the battery is removed from the tool for safety.
- Open the jaw retention pin on the tool head.
- Select the appropriate pressing jaw size (16mm, 20mm, or 26mm) for your application.
- Insert the pressing jaw into the tool head, ensuring it is fully seated.
- Close the jaw retention pin to secure the jaw. Verify the jaw is firmly locked before use.
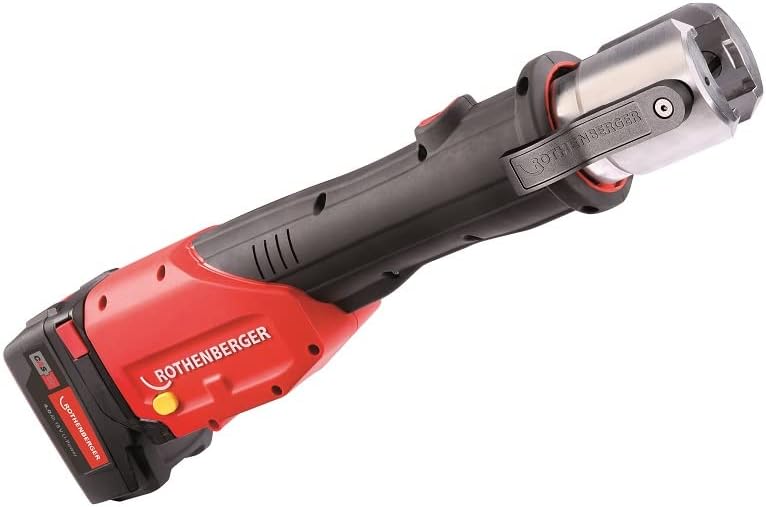
Image 3.1: The Romax 4000 tool head, illustrating where pressing jaws are inserted and secured.
4. Operating Instructions
4.1 Preparing for Pressing
- Ensure the pipe ends are clean, deburred, and correctly prepared according to the fitting manufacturer's instructions.
- Place the fitting onto the pipe.
- Open the pressing jaw by pressing the release button (if applicable) and position it around the fitting.
4.2 Performing a Press
- With the pressing jaw correctly positioned around the fitting, ensure your hands are clear of the pressing area.
- Press and hold the trigger button to initiate the pressing cycle.
- The tool will automatically complete the pressing cycle in less than 5 seconds. Do not release the trigger until the cycle is finished.
- Once the cycle is complete, release the trigger. The jaw will automatically open slightly or can be manually opened to release the pressed fitting.
- Visually inspect the pressed connection to ensure it is secure and correctly formed.

Image 4.1: The Romax 4000 in operation, demonstrating the pressing action on a pipe fitting.
5. Maintenance
Regular maintenance ensures the longevity and optimal performance of your Romax 4000.
- Cleaning: After each use, clean the tool and pressing jaws with a dry cloth to remove dirt, dust, and debris. Do not use harsh chemicals or solvents.
- Jaw Inspection: Regularly inspect pressing jaws for wear, damage, or deformation. Replace worn or damaged jaws immediately.
- Battery Care: Store batteries in a cool, dry place. Do not allow batteries to fully discharge for extended periods. Charge batteries regularly, even if not in use.
- Lubrication: Consult a qualified service technician for any lubrication requirements of internal components. Do not attempt to lubricate internal parts yourself unless specifically instructed.
- Storage: Store the tool and accessories in their original case or a suitable protective container in a dry, secure location, out of reach of children.
6. Troubleshooting
Refer to the following table for common issues and their solutions.
| Problem | Possible Cause | Solution |
|---|---|---|
| Tool does not start | Battery not inserted correctly or discharged. | Ensure battery is fully inserted. Charge or replace battery. |
| Pressing cycle incomplete | Low battery charge. Incorrect jaw size. | Charge battery. Verify correct jaw size for fitting. |
| Jaws do not open after press | Mechanical obstruction or internal issue. | Ensure no debris is obstructing jaws. If problem persists, contact service. |
| Tool overheats | Continuous heavy use. | Allow tool to cool down. Reduce workload or take breaks. |
If you encounter issues not listed here or if solutions do not resolve the problem, contact Rothenberger customer support or an authorized service center.
7. Specifications
| Feature | Specification |
|---|---|
| Model Number | 1000001925 |
| Manufacturer | Rothenberger |
| Dimensions (L x W x H) | 5.2 x 5.2 x 50.2 cm |
| Weight | 13.65 kg (Note: Product description states 3.6kg, this specification might include packaging or full kit weight) |
| Voltage | 18 Volts |
| Power Type | DC/AC (Battery operated) |
| Battery Type | Lithium-ion (1 required) |
| Included Components | 1 unit (tool, specific jaws, 4Ah battery) |
| Pressing Jaw Sizes | TH 16mm, 20mm, 26mm |
| Country of Origin | Spain |
8. Warranty and Support
Rothenberger products are manufactured to high-quality standards. For specific warranty information, please refer to the documentation included with your purchase or visit the official Rothenberger website. Typically, a standard manufacturer's warranty covers defects in materials and workmanship.
For technical support, spare parts, or service inquiries, please contact your local Rothenberger dealer or customer service center. When contacting support, please have your model number (1000001925) and purchase date available.
Return Policy: This product may be subject to a 30-day return policy from the point of purchase, as per retailer terms.


