
1. Introduction
The Voltas Pure R Water Dispenser with Refrigerator offers convenient access to hot, cold, and normal temperature water, along with a built-in cooling cabinet. This appliance is designed for durability and ease of use, featuring a long-lasting plastic front panel, faucets, and an SS304 inner body material. This manual provides essential information for the safe and efficient operation of your water dispenser.
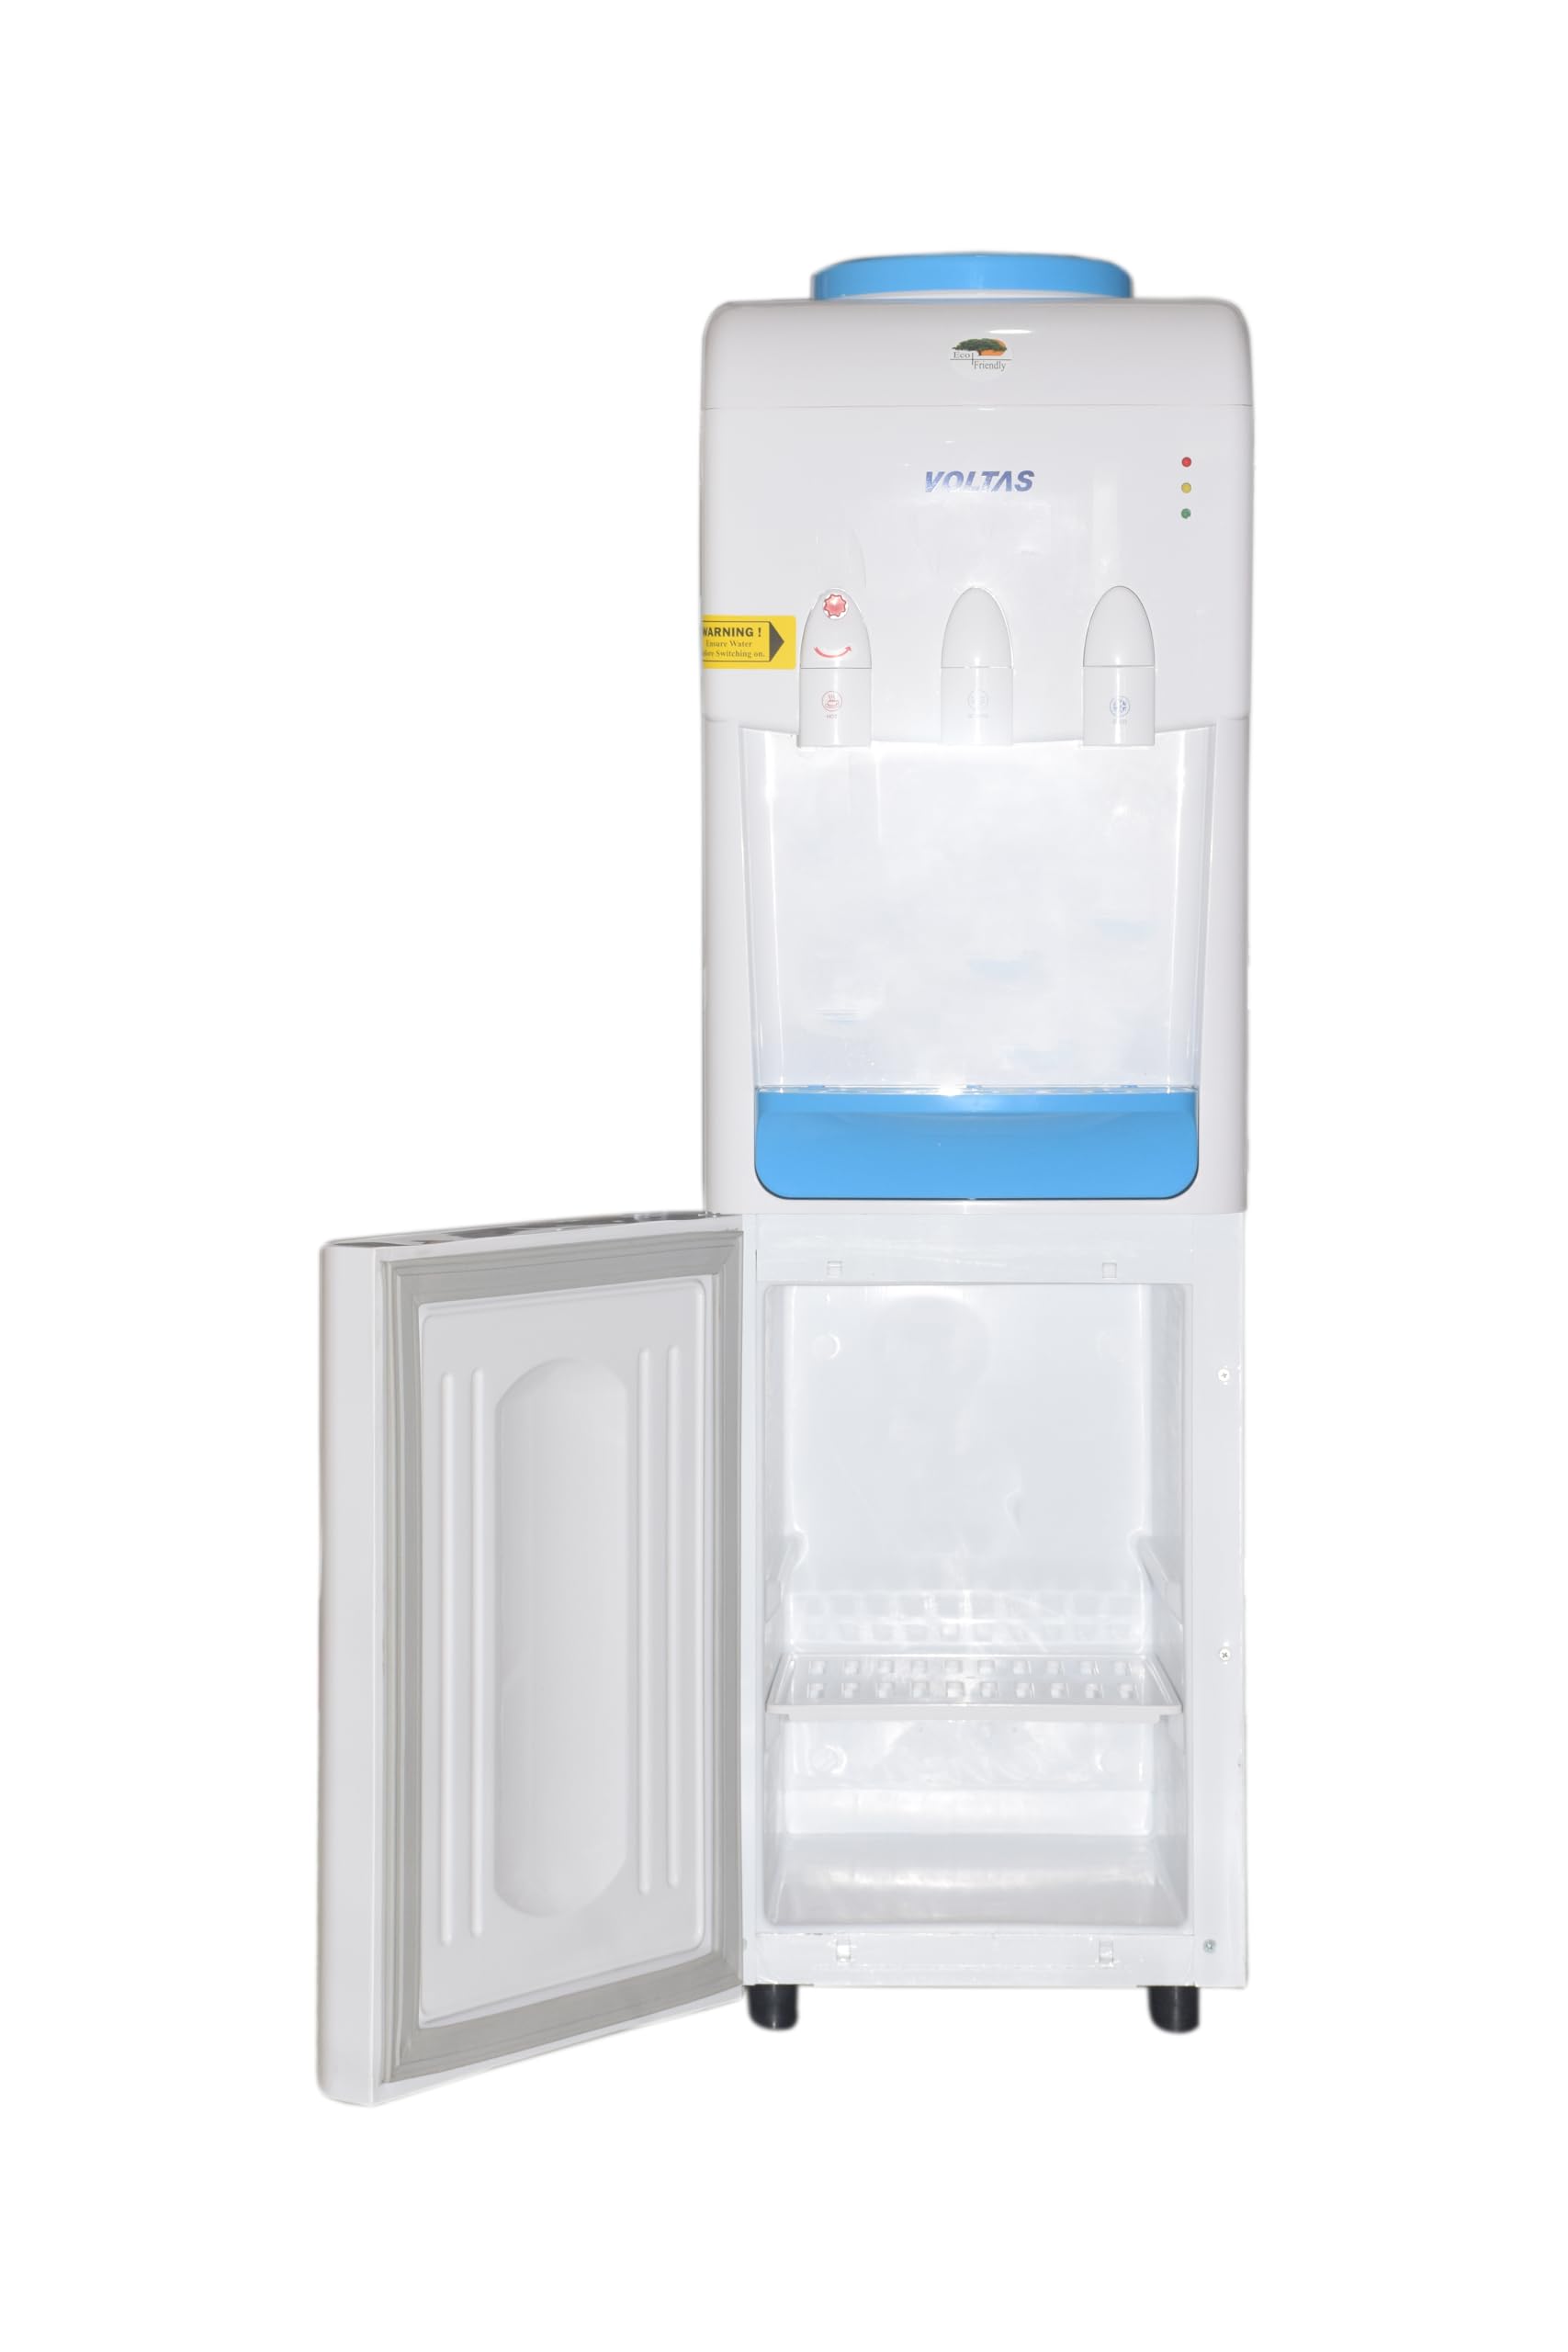
Image 1.1: Front view of the Voltas Pure R Water Dispenser with Refrigerator.
2. Important Safety Instructions
To reduce the risk of fire, electric shock, or injury, always follow these basic safety precautions:
- Read all instructions before using the appliance.
- Do not immerse the power cord, plug, or any part of the appliance in water or other liquids.
- Ensure the appliance is properly grounded. Use only a grounded electrical outlet.
- Unplug the dispenser from the outlet before cleaning or performing any maintenance.
- Keep children away from the hot water tap to prevent burns. This model includes an LED safety indicator for child protection from hot water.
- Do not operate the appliance with a damaged cord or plug, or if it malfunctions or is damaged in any manner.
- Place the dispenser on a firm, level surface to prevent tipping.
- Do not block any ventilation openings. Maintain adequate space around the unit for proper airflow.
3. Package Contents
Your Voltas Pure R Water Dispenser package includes:
- Voltas Pure R Water Dispenser with Refrigerator Unit
- Removable Drip Tray
- User Manual (this document)
4. Setup
4.1. Placement
- Choose a location with a firm, level surface capable of supporting the dispenser and a full water bottle.
- Ensure the dispenser is placed away from direct sunlight and heat sources.
- Allow at least 10 cm (4 inches) of space from the back and sides of the unit for proper ventilation.
4.2. Power Connection
- Ensure the power outlet matches the voltage requirements of the dispenser (230V AC, 50Hz).
- Plug the power cord into a grounded three-pin electrical outlet.
4.3. Water Bottle Installation
- Remove the protective seal from the top of a standard 20-liter water bottle.
- Carefully invert the water bottle and place it firmly onto the bottle support on top of the dispenser. Ensure it is seated correctly to prevent leaks.
4.4. Initial Use
- Before turning on the heating or cooling functions, dispense water from all three taps (hot, normal, cold) until water flows steadily. This primes the tanks and prevents damage from dry heating.
- After priming, switch on the cooling and heating switches located at the back of the unit. Allow approximately 15-30 minutes for the water to reach desired temperatures.

Image 4.1: Rear view of the water dispenser, showing power switches.
5. Operating Instructions
5.1. Dispensing Water
The dispenser features three taps for different water temperatures:
- Hot Water: Press the red tap. For safety, this tap often includes a child safety lock. Push the safety lock forward (or press the button) and then press the tap to dispense hot water.
- Normal Water: Press the middle tap to dispense water at ambient temperature (or slightly cooled, depending on the unit's internal design).
- Cold Water: Press the blue tap to dispense chilled water.

Image 5.1: Hot, Normal, and Cold water taps with capacity details.
5.2. Using the Cooling Cabinet
The lower section of the dispenser features a cooling cabinet with a capacity of 20 liters. This cabinet provides a cool storage space for beverages or small items. To access, open the door located at the bottom front of the unit.

Image 5.2: Water dispenser with the cooling cabinet open.
6. Maintenance
6.1. Cleaning the Exterior
- Unplug the dispenser before cleaning.
- Wipe the exterior surfaces with a soft, damp cloth. Do not use abrasive cleaners or solvents.
- The dispenser features an easy-clean surface for convenience.
6.2. Cleaning the Drip Tray
- The drip tray is removable for easy cleaning.
- Pull the drip tray forward to remove it. Empty any collected water and wash it with mild soap and water.
- Rinse thoroughly and replace the tray.

Image 6.1: Removable drip tray.
6.3. Internal Cleaning (Descaling)
Regular descaling of the hot water tank is recommended, especially in areas with hard water. Consult a qualified technician or the Voltas customer service for detailed internal cleaning procedures.
7. Troubleshooting
If you encounter issues with your water dispenser, refer to the following common problems and solutions:
| Problem | Possible Cause | Solution |
|---|---|---|
| No hot or cold water | Power switch off; Water tank empty; Thermostat issue | Ensure hot/cold switches are on; Replace water bottle; Contact service if problem persists. |
| Water leakage | Water bottle not seated correctly; Damaged bottle; Drain plug loose | Re-seat bottle; Replace bottle; Tighten drain plug. |
| Unusual noise | Unit not level; Compressor vibration; Fan obstruction | Adjust unit to be level; Ensure adequate space around unit; Contact service if noise is excessive. |
| Cooling cabinet not cooling | Door not closed properly; Ventilation blocked; Compressor issue | Ensure door is sealed; Clear ventilation; Contact service. |
If the problem persists after attempting these solutions, please contact Voltas customer service.
8. Specifications
| Feature | Specification |
|---|---|
| Model Number | Voltas WD Minimagic Pure R-6210204 |
| Color | White |
| Material | Plastic (Enclosure), SS304 (Inner Body) |
| Gross Volume | 3.2 Liters |
| Cooling Capacity | 2.5 Litres/Hour |
| Heating Capacity | 5 Litres/Hour |
| Hot Water Storage Capacity | 0.9 Litres |
| Heating Power Consumption | 500 Watts +/- 5 Percent |
| Cooling Cabinet Capacity | 20 Liters |
| Product Dimensions (D x W x H) | 13.3D x 14.4W x 38.6H Centimeters |
| Installation Type | Freestanding |
| Power Source | Corded Electric |
| Item Weight | 18660 Grams |
| Country of Origin | India |

Image 8.1: Dimensions of the Voltas Pure R Water Dispenser.
9. Warranty and Support
Your Voltas Pure R Water Dispenser is backed by a 1-year comprehensive warranty from the date of purchase. This warranty covers manufacturing defects and ensures peace of mind with your purchase.
For any service requests, technical assistance, or warranty claims, please contact Voltas customer service:
- Customer Service Numbers: 9650694555 / 18605994555
- Manufacturer Contact Information: Voltas Limited, Voltas House 'A Dr. Babasaheb Ambedkar Road, Chinchpokli, Mumbai - 400033

Image 9.1: Warranty and support information.