
1. Introduction
This manual provides instructions for the safe and proper installation, operation, and maintenance of your UpStart Components replacement surface burner elements. These elements are designed to be compatible with various White Westinghouse range, stove, and cooktop models, including CWEF312FSB, 316442301, and 316439801. Please read this manual thoroughly before proceeding with installation or use.
2. Safety Information
WARNING: Risk of electric shock or injury.
- Always disconnect power to the appliance at the circuit breaker or fuse box before attempting any installation, repair, or maintenance. Failure to do so can result in serious injury or death.
- Ensure the appliance has cooled completely before handling any parts. Hot surfaces can cause burns.
- Wear appropriate personal protective equipment, such as gloves, during installation to prevent cuts or scrapes.
- If you are unsure about any part of the installation process, consult a qualified technician.
- Do not operate the appliance with damaged or improperly installed parts.
3. Setup and Installation
This section outlines the steps for replacing your existing surface burner elements. The kit includes one 8-inch (5-turn) element and one 6-inch (4-turn) element.
Tools Required:
- Screwdriver (if needed to access burner connections)
- Gloves (recommended)
Installation Steps:
- Disconnect Power: Before beginning, ensure the range, stove, or cooktop is completely disconnected from its power source at the circuit breaker or fuse box.
- Allow Cooling: Verify that the appliance and existing burner elements are cool to the touch.
- Remove Old Element: Gently lift the existing burner element. It should pull straight out from the receptacle. Some models may require a slight twist or wiggling motion. Observe how the old element connects to the terminal block.
- Identify Replacement: Identify the correct replacement element (8-inch or 6-inch) that matches the size of the element you just removed. The 8-inch element has 5 turns, and the 6-inch element has 4 turns.
- Insert New Element: Align the two prongs of the new burner element with the holes in the terminal block receptacle. Push the element firmly and straight into the receptacle until it is securely seated. Ensure the element is level and stable.

Image 3.1: Both 8-inch (left) and 6-inch (right) replacement surface burner elements. The 8-inch element features 5 turns, while the 6-inch element has 4 turns, each with distinct center caps and terminal prongs.
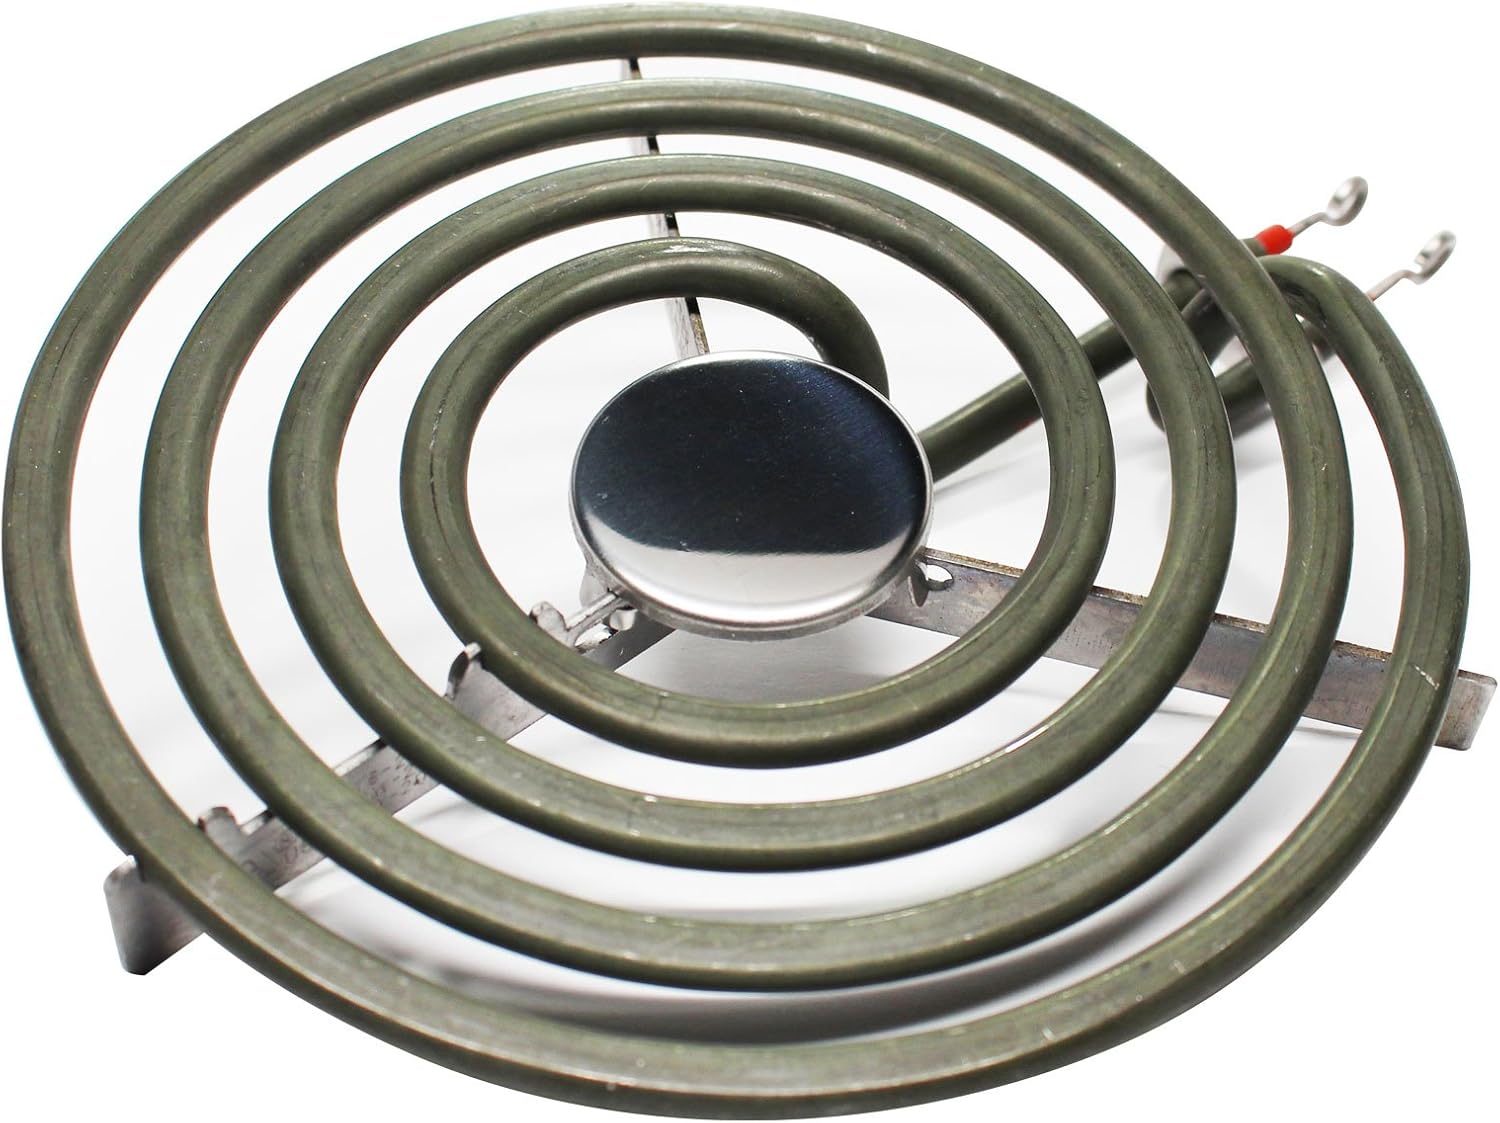
Image 3.2: A close-up view of the 8-inch surface burner element, showing its five coiled turns and the central reflective cap. The support brackets are visible underneath.

Image 3.3: Side view illustrating the two terminal prongs of a surface burner element, which connect into the appliance's receptacle. Red insulation is visible on the prong bases.

Image 3.4: Top-down view of the 6-inch surface burner element, highlighting its four coiled turns and the dark central cap. The element's support structure is visible.
- Test Operation: Once all elements are securely installed, restore power to the appliance. Test each new burner element to ensure it heats up correctly.
4. Operating Instructions
These replacement elements function identically to the original parts. Refer to your appliance's original user manual for specific operating instructions regarding temperature control, cooking settings, and safety precautions related to general use.
- Ensure cookware is flat-bottomed and appropriately sized for the burner element.
- Do not leave cooking unattended.
- Avoid placing aluminum foil or other materials directly on the elements.
5. Maintenance and Care
Proper maintenance ensures the longevity and efficient performance of your burner elements.
- Cleaning: Allow elements to cool completely before cleaning. Wipe spills immediately with a damp cloth. For stubborn stains, a mild non-abrasive cleaner can be used. Avoid submerging elements in water.
- Inspection: Periodically inspect the elements for any signs of damage, such as cracks, bends, or loose connections. If damage is observed, replace the element.
- Storage: If removing elements for cleaning the drip pans, ensure they are stored in a safe place where they will not be bent or damaged.
6. Troubleshooting
If you experience issues after installing the new burner elements, refer to the following common problems and solutions:
| Problem | Possible Cause | Solution |
|---|---|---|
| Element does not heat up or heats slowly. |
|
|
| Uneven heating. |
|
|
| Element sparks or smokes excessively. |
|
|
If troubleshooting steps do not resolve the issue, contact UpStart Components customer support or a qualified appliance technician.
7. Specifications
- Product Type: Surface Burner Heating Elements
- Brand: UpStart Components
- Compatibility: White Westinghouse models CWEF312FSB, 316442301, 316439801, and other compatible ranges, stoves, and cooktops.
- Element 1: 8-inch diameter, 5 turns
- Element 2: 6-inch diameter, 4 turns
- Material: Durable heating coil
8. Warranty and Support
This product is an UpStart Components brand replacement part. Any warranties for this product are offered solely by UpStart Components. This product is not affiliated with any OEM brands and is not covered under any warranties offered by the original manufacturers.
For warranty claims, technical assistance, or further support, please contact UpStart Components directly. Refer to the product packaging or the UpStart Components website for current contact information.