
1. Introduction
This manual provides instructions for the proper use and maintenance of your Retevis EEK004 C-Type Earhook 2-Pin Earpiece. This accessory is designed to enhance communication clarity and convenience when used with compatible two-way radios.
2. Key Features
- Comfortable C-Type Earhook Design: Features a soft earplug and earhook for secure and comfortable wear, suitable for extended use.
- Durable Push-to-Talk (PTT) Microphone: Includes a remote PTT button with an integrated microphone and a clothing clip for hands-free operation.
- Clear Audio Quality: Designed to deliver clear sound with good bass and treble response.
- Standard 2-Pin K-Head Connector: Ensures broad compatibility with various two-way radio models.
- Flexible Cable: Provides durability and ease of movement.
- Lightweight Construction: Weighs approximately 1.6 ounces for minimal user fatigue.
3. What's in the Box
The package includes:
- 2 x Retevis EEK004 Walkie Talkie Earpiece
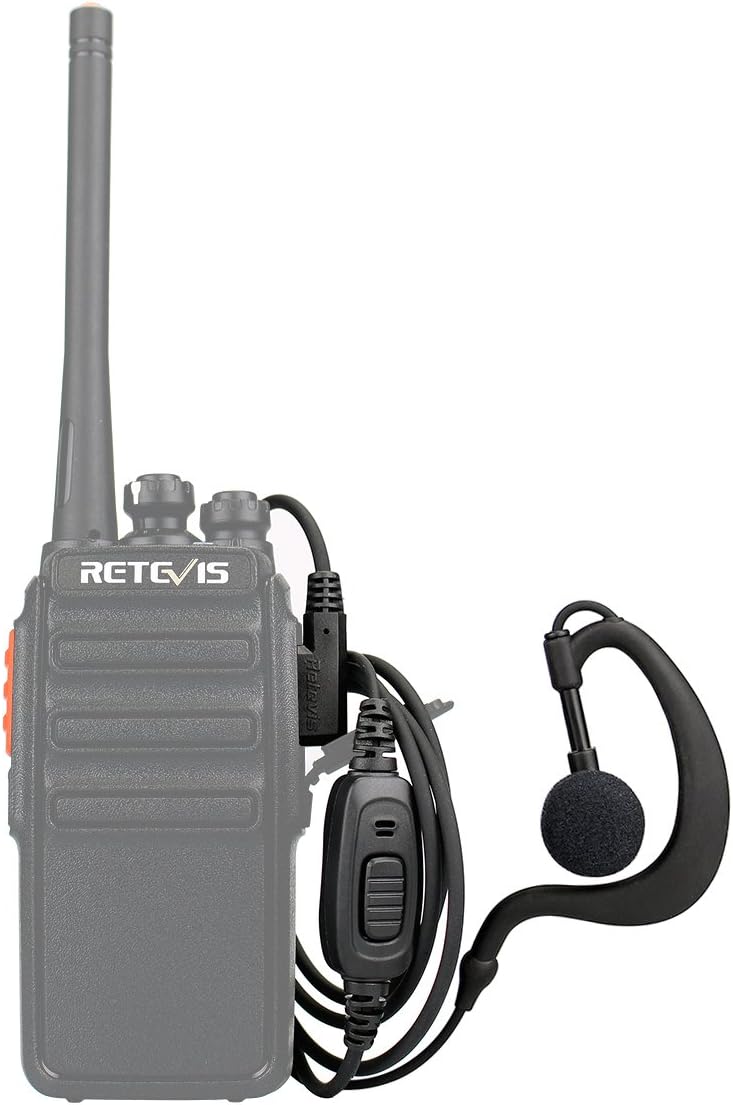
Image: Two Retevis EEK004 C-Type Earhook Earpieces shown connected to a two-way radio (radio not included).
4. Setup Instructions
- Connect the Earpiece: Locate the 2-pin K-head connector on your Retevis EEK004 earpiece. Align the pins with the corresponding ports on your compatible two-way radio. Gently push the connector firmly into the radio's accessory jack until it is fully seated.
- Position the Earhook: Place the C-type earhook over your ear. Adjust the earplug for a comfortable and secure fit. The earhook design allows for use on either the left or right ear.
- Secure the PTT Microphone: Use the integrated clothing clip on the PTT microphone to attach it to your collar or another convenient location. This ensures the microphone is close to your mouth for clear transmission and the PTT button is easily accessible.
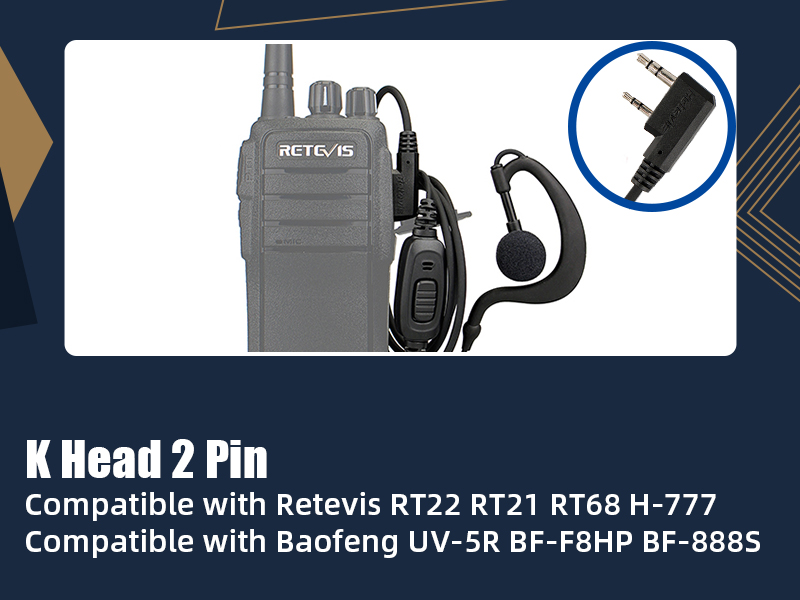
Image: Detailed view of the K-head 2-pin connector.
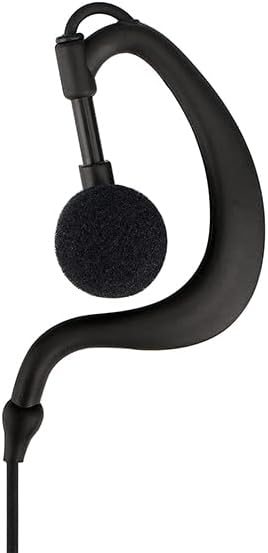
Image: Close-up of the C-type earhook, highlighting its ergonomic shape.
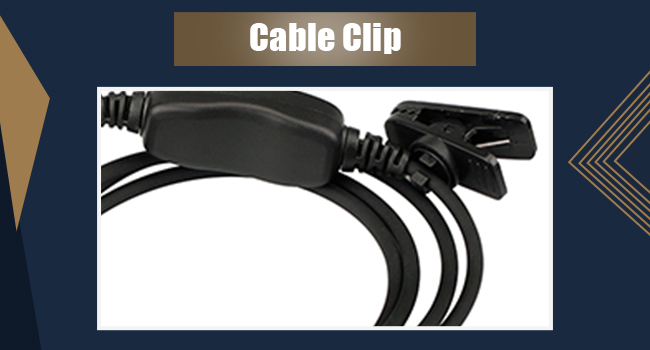
Image: The cable clip on the PTT microphone, designed for attachment to clothing.
5. Operating Instructions
- Receiving Audio: Once connected, audio from your two-way radio will be routed through the earpiece. Adjust the volume on your radio for a comfortable listening level.
- Transmitting Audio (Push-to-Talk): To transmit, press and hold the PTT button on the microphone unit. Speak clearly into the microphone. Release the PTT button when you have finished speaking to return to receive mode.
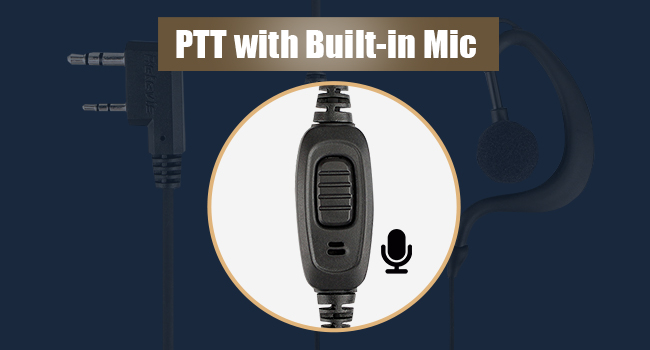
Image: The PTT button with a built-in microphone, indicating its function for transmitting voice.
6. Maintenance
- Cleaning: Regularly wipe the earpiece and microphone with a soft, damp cloth. Avoid using harsh chemicals or abrasive materials.
- Storage: When not in use, store the earpiece in a clean, dry place away from direct sunlight and extreme temperatures. Avoid tangling the cable.
- Cable Care: Do not pull on the cable to disconnect the earpiece from the radio. Always grasp the connector itself.
7. Troubleshooting
| Problem | Possible Cause | Solution |
|---|---|---|
| No audio from earpiece. | Earpiece not fully connected. Radio volume too low. Earpiece or radio fault. | Ensure the 2-pin connector is fully inserted. Increase the radio's volume. Test with another earpiece or radio if available. |
| Cannot transmit (PTT not working). | PTT button stuck or faulty. Earpiece not fully connected. Radio settings. | Ensure the PTT button moves freely. Re-insert the connector. Check your radio's settings for external microphone usage. |
| Poor audio quality (static, muffled sound). | Loose connection. Interference. Damaged cable/earpiece. | Check and secure the 2-pin connection. Move away from potential sources of electromagnetic interference. Inspect the cable for damage. |
8. Specifications
- Model Name: EEK004
- Model Number: FJ9118A2
- Connector Type: K-Head 2-Pin
- Ear Placement: In Ear (C-Type Earhook)
- Impedance: 150 Ohms
- Frequency Range: 300 Hz to 3400 Hz
- Control Type: Push Button (PTT), Volume Control (via radio)
- Material: Rubber (enclosure)
- Item Weight: 1.6 ounces
- Cable Features: Tangle Free
- Water Resistance Level: Moisture Resistant
- Dimensions (approximate): 5.91 x 4.72 x 0.67 inches
- Cable Length (PTT to 2-pin connector): Approximately 35.4 inches (90 cm)
- Cable Length (Earphone to PTT): Approximately 8.3 inches (20 cm)

Image: Cable length measurements for the earpiece, showing 20cm from earphone to PTT and 90cm from PTT to 2-pin connector.
9. Compatibility
The Retevis EEK004 earpiece is compatible with two-way radios featuring a K-head 2-pin connector. This includes, but is not limited to, the following models:
- Retevis: RT22, RT21, RT68, RT68H, H777, H777H, RT27, RT86, RT86A, RT86S, RT-5R, RB26, RB26H, C4
- Pxton/Baofeng: BF-888S, BF-T26, BF-F8HP PRO, AR-5RM GMRS Radio, UV-5R, UV-5RM, K5 Plus, UV-32, UV-21R, 5RH Pro, GM21, UV-5G PLUS, GM15PRO, MP31
- Kenwood
- BTECH: UV-PRO
- Radioddity: GM 30
- TIDRADIO: TD-H3 (ham and GMRS radio)

Image: The Retevis EEK004 earpiece shown connected to a two-way radio, demonstrating its compatibility.
10. Product Video
Video: An official product video demonstrating the Retevis EEK004 Two-Way Radio Earpiece, showcasing its features and use.
11. Warranty and Support
Retevis provides a 1-year warranty for accessories and a 30-day no-reason return policy. If you encounter any issues beyond the warranty period, maintenance services are still offered, with buyers responsible for associated costs.
For support, please contact Retevis on Amazon. Inquiries are typically responded to within 12 hours.
For further information, visit the product detail page.
